Tungsten Carbide Burs: A Beginner's Guide to Types and Use
Tungsten Carbide Burs: What Every Beginner Needs to Know
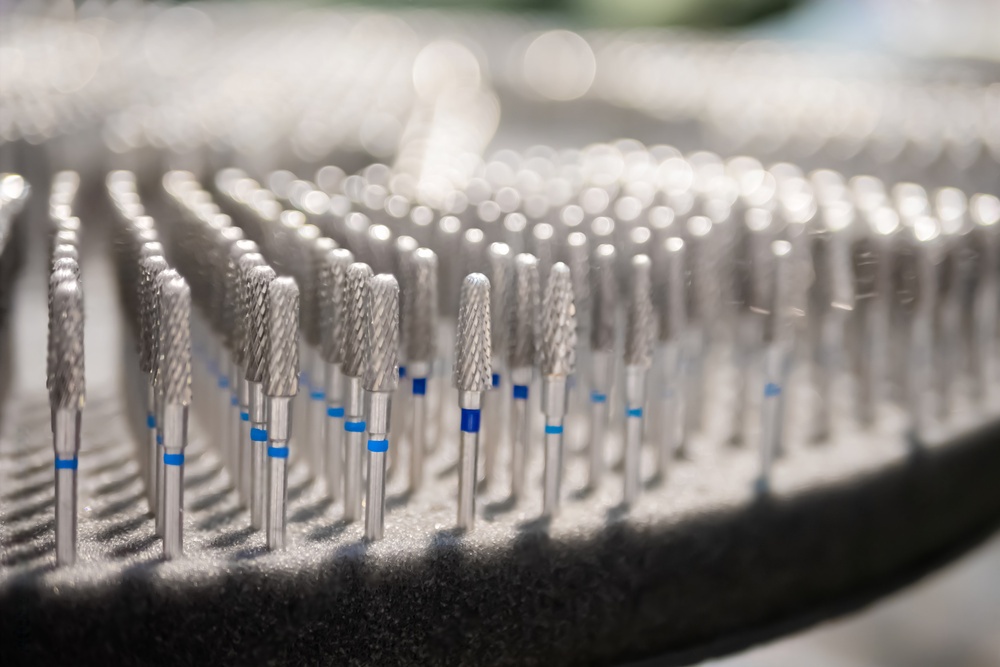
Tungsten carbide burs are among the most widely used rotary cutting instruments in dentistry, jewelry making, metalworking, and woodworking. Whether you are a dental student handling your first handpiece or a hobbyist setting up a Dremel workstation, understanding these small but powerful tools will save you time, money, and frustration.
This guide walks you through the basics: what tungsten carbide burs are made of, how to pick the right shape, how to operate them safely, and how to keep them performing at their best.
What Is Tungsten Carbide?
Tungsten carbide is a composite of tungsten carbide particles bonded together with a metallic binder, usually cobalt. The resulting material is extremely hard — roughly twice as stiff as steel — and retains a sharp cutting edge far longer than high-speed steel alternatives.
Because of this hardness, tungsten carbide burs can cut through metals, ceramics, acrylics, composites, and even bone with minimal deformation of the cutting flutes. The cobalt binder content typically ranges from 3% to 15% by weight. Lower cobalt percentages produce a harder but more brittle tool, while higher cobalt content increases toughness at the expense of some hardness. Most general-purpose dental and industrial burs use cobalt content between 6% and 10%, which strikes a practical balance between wear resistance and fracture toughness.
Key Material Properties
| Property | Tungsten Carbide | Stainless Steel |
|---|---|---|
| Vickers Hardness | 1,300–1,800 HV | 150–300 HV |
| Flexural Strength | Up to 4,000 MPa | ~500 MPa |
| Thermal Conductivity | High | Moderate |
| Typical Lifespan | 10–50x longer than steel | Baseline |
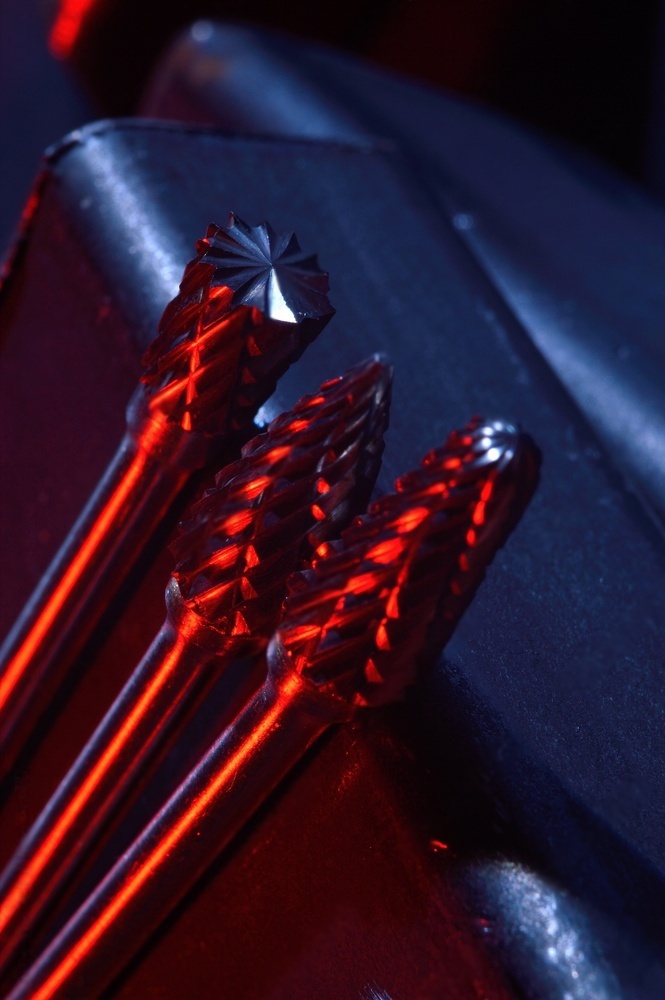
Common Tungsten Carbide Bur Shapes
Selecting the correct shape is the single most important decision a beginner can make. Each profile is engineered for a specific cutting action, and using the wrong shape forces you to work harder while producing inferior results.
- Cylindrical (plain or cross-cut) — Flat-end cylinder for bulk material removal and creating flat surfaces. A good all-around starting bur. The cylindrical shape provides maximum contact area, making it efficient for reducing large volumes of material quickly.
- Round / Ball — Spherical head for creating concavities, accessing caries in dentistry, or carving hollows in wood and wax. Round burs are also commonly used for initial caries entry in restorative procedures.
- Flame — Tapered to a fine point for detail work, finishing margins, and reaching tight angles. The flame shape excels at feathering edges and blending contours in both dental and craft applications.
- Pear / Egg — A rounded taper that blends curves smoothly, popular for contouring restorations. This shape is particularly useful when you need to create a transition between two surfaces without leaving a sharp line.
- Inverted Cone — Designed to create undercuts and flat-bottomed cavities, common in restorative dentistry. The inverted cone produces a defined floor in the preparation, which helps with retention of filling materials.
- Taper (flat or round end) — Versatile profile for crown preparation, slot cutting, and general shaping. Available with varying degrees of taper, these burs can produce both convergent and divergent walls depending on the angle of approach.

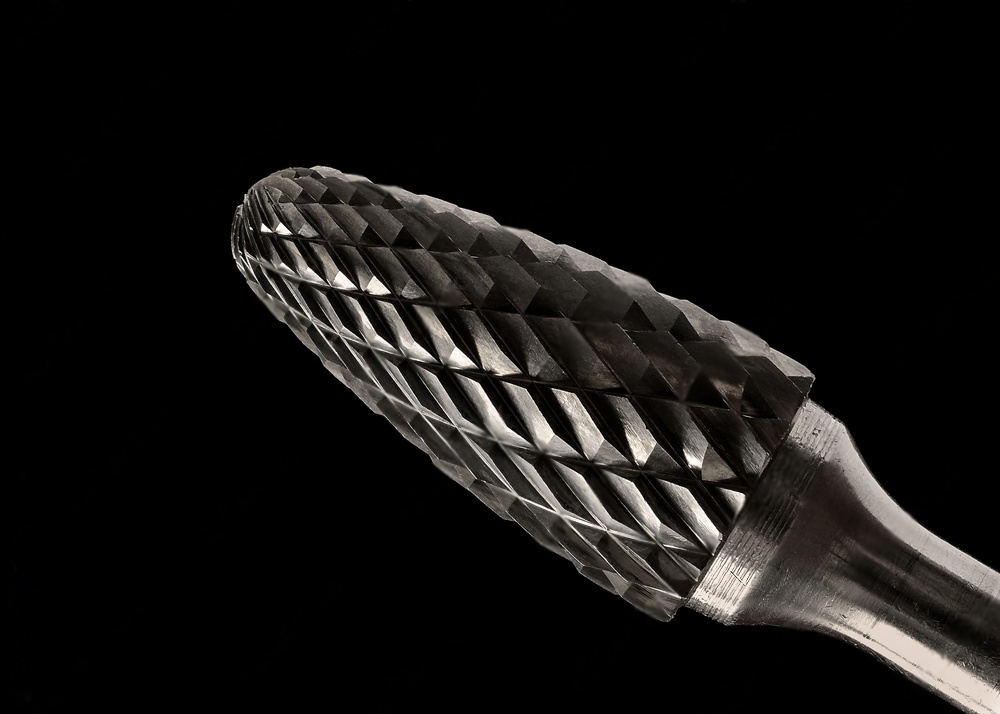
Single-Cut vs. Double-Cut Flutes
The flute pattern on a tungsten carbide bur determines how aggressively it cuts and the quality of the surface finish left behind. Understanding the difference between these two patterns will help you choose the right tool for each stage of your work.
Single-Cut
Single-cut burs have one set of flutes spiraling around the head. They remove material more slowly but leave a smoother finish. These are the better choice when surface quality matters — for example, finishing a dental restoration or polishing a metal surface. Single-cut burs also produce longer chips, which can be an advantage when working with softer metals because the chips clear more easily from the work area.
Double-Cut (Cross-Cut)
Double-cut burs feature two sets of intersecting flutes that break chips into smaller pieces. They cut faster and are better suited to rapid stock removal. However, they leave a rougher surface that may require additional finishing. The cross-hatched flute pattern also reduces the tendency for the bur to grab or chatter, which makes double-cut burs a solid choice for roughing passes on hard materials.
Beginners often find single-cut burs easier to control because the lower cutting aggression gives more tactile feedback. As you build confidence, you can introduce double-cut burs for the roughing stage and switch to single-cut for finishing.
How to Use Tungsten Carbide Burs Safely
Operating rotary instruments at speeds between 10,000 and 400,000 RPM demands respect. Follow these guidelines to protect yourself and your workpiece.
- Wear personal protective equipment. Safety glasses, a dust mask, and gloves are non-negotiable. In clinical settings, add a face shield. Fine particles generated during cutting can irritate the eyes and lungs, and debris can be ejected at high velocity.
- Secure the bur properly. Insert the shank fully into the chuck or handpiece collet and tighten it before powering on. A loose bur can wobble, producing an uneven cut and potentially detaching during use.
- Match speed to material. Harder materials generally call for lower RPM to avoid overheating. Softer materials allow higher speeds. When in doubt, start at the lower end of the recommended range and increase gradually.
- Use light, even pressure. Let the bur do the cutting. Pressing too hard generates excess heat, dulls flutes prematurely, and can fracture the bur head. A good rule of thumb is to use no more pressure than you would with a pencil on paper.
- Apply coolant when needed. Water spray or a lubricant prevents heat build-up, particularly during extended cuts on metal or ceramic. In dental applications, water spray from the handpiece serves this purpose automatically.
- Work in a ventilated area. Fine dust from milled materials can be hazardous if inhaled over time. Dust extraction systems or at minimum an open workspace with good air circulation should be used.
Choosing the Right Shank Type
Tungsten carbide burs come in three standard shank diameters. Make sure your bur matches your handpiece or rotary tool, as a mismatch can damage the collet, the bur, or both.
| Shank Type | Diameter | Typical Use |
|---|---|---|
| FG (Friction Grip) | 1.6 mm | High-speed dental handpieces |
| RA (Right Angle) | 2.35 mm | Low-speed contra-angle handpieces |
| HP (Handpiece) | 2.35 mm | Straight handpieces, lab motors, Dremel-style tools |
FG shanks are held in place by friction inside the turbine chuck — there is no mechanical lock. This means they must be the correct diameter to avoid slipping. RA and HP shanks use a latch or collet mechanism that provides a more positive grip, which is why they are preferred for procedures requiring higher lateral force.
If you are unsure which shank type you need, check the specifications printed on your handpiece or consult the manufacturer's documentation. Using the wrong shank diameter can damage both the tool and the bur.
Maintenance Tips for Longer Bur Life
A well-maintained tungsten carbide bur will outlast a neglected one many times over. These habits are straightforward and worth building from day one.
- Clean after every use. Brush off debris with a brass wire brush. Avoid steel brushes, which can damage carbide surfaces. For stubborn buildup, an ultrasonic cleaner with an enzymatic solution works well.
- Sterilize properly in clinical settings. Autoclave tungsten carbide burs according to standard sterilization protocols. They tolerate repeated autoclave cycles well, unlike some coated instruments that can degrade under repeated thermal stress.
- Inspect regularly. Look for chipped flutes, bent shanks, or visible wear. A damaged bur cuts unevenly and poses a safety risk. Hold the bur at eye level and rotate it slowly to check for asymmetry.
- Store in a bur block. Keeping burs organized in a block prevents them from knocking against each other, which can chip cutting edges. Bur blocks also make it easy to identify missing instruments after a procedure.
When to Replace Your Tungsten Carbide Burs
Even the hardest bur eventually wears out. Watch for these signs that indicate replacement is due:
- The bur requires noticeably more pressure to cut through the same material.
- Cutting produces more heat than usual, even at proper speed settings.
- The surface finish after cutting is rougher than expected.
- Visual inspection reveals rounded or chipped flute edges.
Replacing worn burs promptly protects your work quality and, in dental applications, patient safety. A dull bur forces you to compensate with extra pressure, which increases the risk of slipping and causes unnecessary trauma to surrounding tissue in clinical situations.
Getting Started: Recommended First Burs
If you are building your first collection of tungsten carbide burs, start with these three shapes:
- A medium-grit cylindrical cross-cut for general material removal.
- A round bur for concavities and access preparations.
- A flame or tapered bur for finishing and detail work.
With just these three profiles, you can handle the majority of cutting and shaping tasks you will encounter as a beginner. As your skills develop, you can expand into specialized shapes like inverted cones, football burs, and fine-finishing single-cut varieties. Buying a starter kit that includes several shapes is often more cost-effective than purchasing individual burs, and it gives you the opportunity to experiment with different profiles on scrap material before committing to a project.
For a side-by-side comparison of tungsten carbide and diamond instruments, see our article on carbide burs vs. diamond burs.
Final Thoughts
Tungsten carbide burs are reliable, long-lasting, and effective across a wide range of applications. The keys to success as a beginner are selecting the right shape for the task, using proper speed and pressure, and maintaining your instruments consistently. Master these fundamentals first, and the more advanced techniques will follow naturally. Take the time to practice on scrap materials, keep your burs clean and organized, and do not hesitate to replace a worn tool — the investment pays for itself in better results and safer working conditions.
