Diamond dental burs are precision instruments that represent a significant investment for any dental practice or laboratory. Their cutting performance depends directly on the condition of the diamond particles bonded to the shank surface. Without proper maintenance, diamond burs lose their effectiveness quickly, produce rougher cuts, generate more heat, and need replacement far sooner than necessary. This guide covers practical, proven methods for cleaning, sterilizing, inspecting, and storing diamond burs to get the most use out of every instrument.
Why Diamond Bur Maintenance Matters
A new diamond dental bur cuts efficiently because thousands of sharp diamond particles protrude from the bonding matrix, each acting as a tiny cutting point. During clinical use, debris from tooth structure, restorative materials, and biological tissue fills the spaces between diamond particles. This clogging reduces the bur's cutting ability, forces the operator to apply more pressure, and generates excess heat that can damage the pulp or reduce patient comfort.
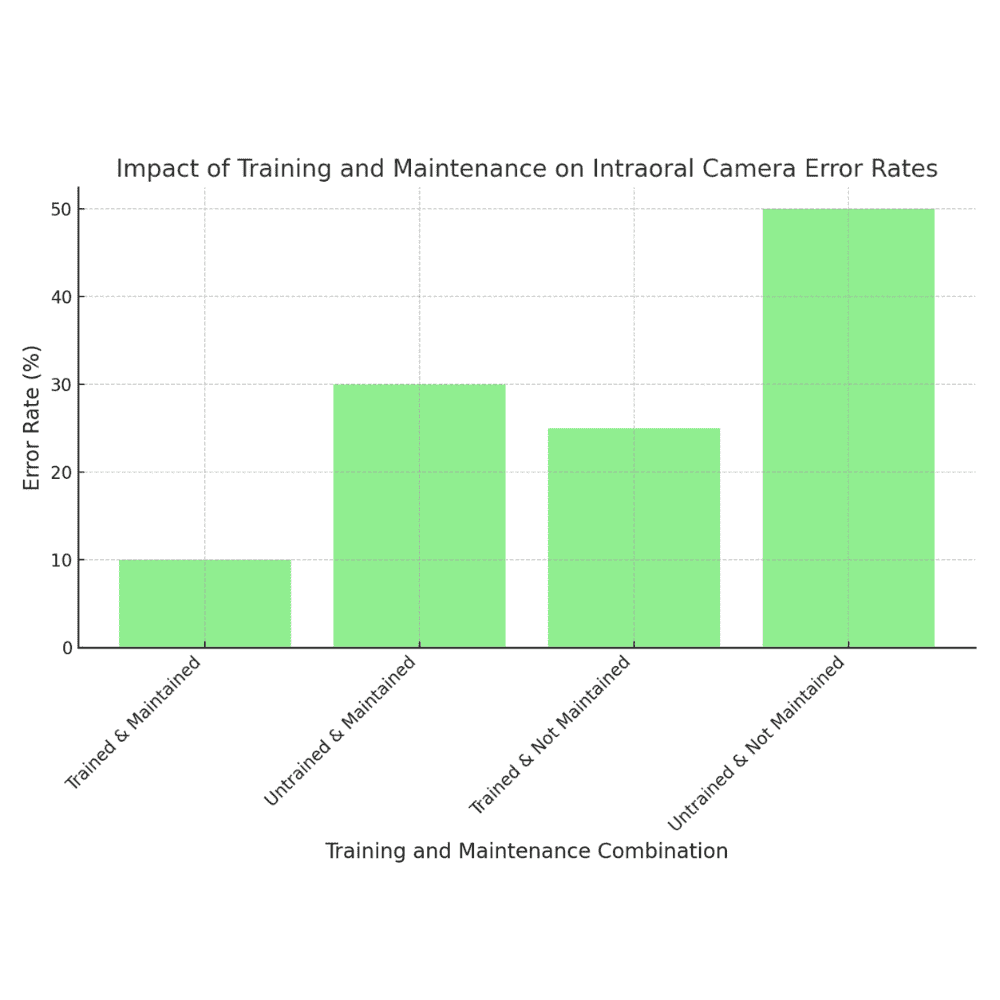
Studies show that a properly maintained diamond bur retains 80 to 90 percent of its original cutting efficiency through multiple sterilization cycles, while a neglected bur can lose over half its cutting ability after just a few uses. The time spent on maintenance pays for itself in longer bur life, better clinical outcomes, and lower supply costs.
Step-by-Step Cleaning Process
Cleaning should happen immediately after each use, before any debris has time to harden on the diamond surface. Here is a reliable cleaning protocol.
1. Pre-Rinse Under Running Water
Hold the used bur under warm running water to flush away loose debris, blood, and saliva. Do this within minutes of removing the bur from the handpiece. Allowing biological material to dry on the diamond surface makes it much harder to remove later.
2. Ultrasonic Cleaning
Place the burs in an ultrasonic cleaner filled with an enzymatic cleaning solution designed for dental instruments. Run the cycle for 5 to 10 minutes. The ultrasonic vibrations dislodge particles trapped deep between diamond crystals that manual brushing alone cannot reach. This step is the single most effective way to restore cutting performance between uses.
3. Manual Brushing
After ultrasonic cleaning, inspect each bur under magnification. If visible debris remains, use a clean brass wire brush or stiff nylon brush to scrub along the length of the diamond-coated working end. Brush in the direction of the bur's long axis, not across it, to avoid bending or dislodging diamond particles. For a detailed walkthrough, see our guide to cleaning diamond burs.
4. Rinse and Dry
Rinse the burs thoroughly with distilled or deionized water to remove cleaning solution residue. Dry them completely using compressed air or a lint-free cloth. Residual moisture promotes corrosion of the metal shank and can compromise the bonding matrix over time.
Sterilization Methods for Diamond Burs
Proper sterilization is mandatory for any instrument that contacts the oral cavity. Diamond burs must be sterilized after every patient use, following your practice's infection control protocol and local regulatory requirements.
Autoclave Sterilization (Preferred Method)
Steam autoclaving at 134 degrees Celsius (273 degrees Fahrenheit) for 3 to 5 minutes in a prevacuum autoclave, or at 121 degrees Celsius (250 degrees Fahrenheit) for 15 to 20 minutes in a gravity displacement autoclave, is the standard method for dental burs. Package burs in sterilization pouches or cassettes before autoclaving.
Research indicates that quality diamond burs withstand at least 20 to 30 autoclave cycles without significant loss of diamond particles, provided they were properly cleaned before sterilization. Autoclaving a dirty bur, however, can bake debris into the diamond matrix, permanently reducing cutting performance.
Chemical Sterilization
When autoclaving is not available, cold chemical sterilization using glutaraldehyde-based solutions is an alternative. Submerge cleaned burs for the time specified by the solution manufacturer (typically 10 hours for full sterilization). Rinse thoroughly after removal. Note that chemical sterilization may degrade certain bonding materials faster than autoclaving over repeated cycles.
For a full overview of sterilization protocols, refer to our sterilization guide for dental burs.
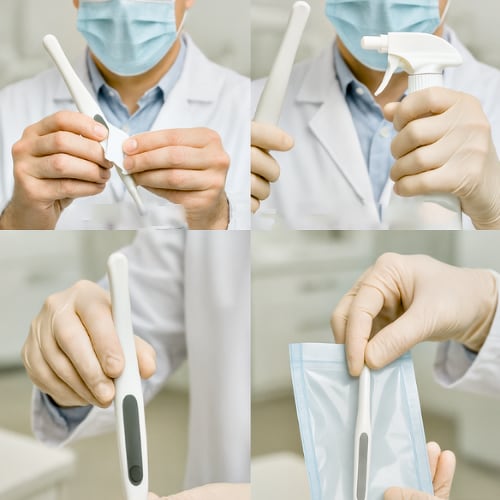
Inspecting Diamond Burs for Wear
Regular inspection prevents you from using worn burs that compromise treatment quality. Check each bur before use with the following criteria.
| Inspection Point | What to Look For | Action Required |
|---|---|---|
| Diamond coating | Smooth or shiny patches where diamond particles are missing | Replace the bur |
| Shank straightness | Visible bending or wobble when rotated | Discard immediately |
| Corrosion | Rust spots or discoloration on the shank | Replace if corrosion extends to the working end |
| Cutting test | Bur requires noticeably more pressure or time to cut | Replace the bur |
| Debris buildup | Clogged diamond surface despite cleaning | Attempt ultrasonic cleaning; replace if unsuccessful |
A bent shank causes runout (wobble during rotation), which produces inaccurate cuts, damages the handpiece bearings, and creates vibration that affects both operator precision and patient comfort. Never attempt to straighten a bent dental bur. Discard it.
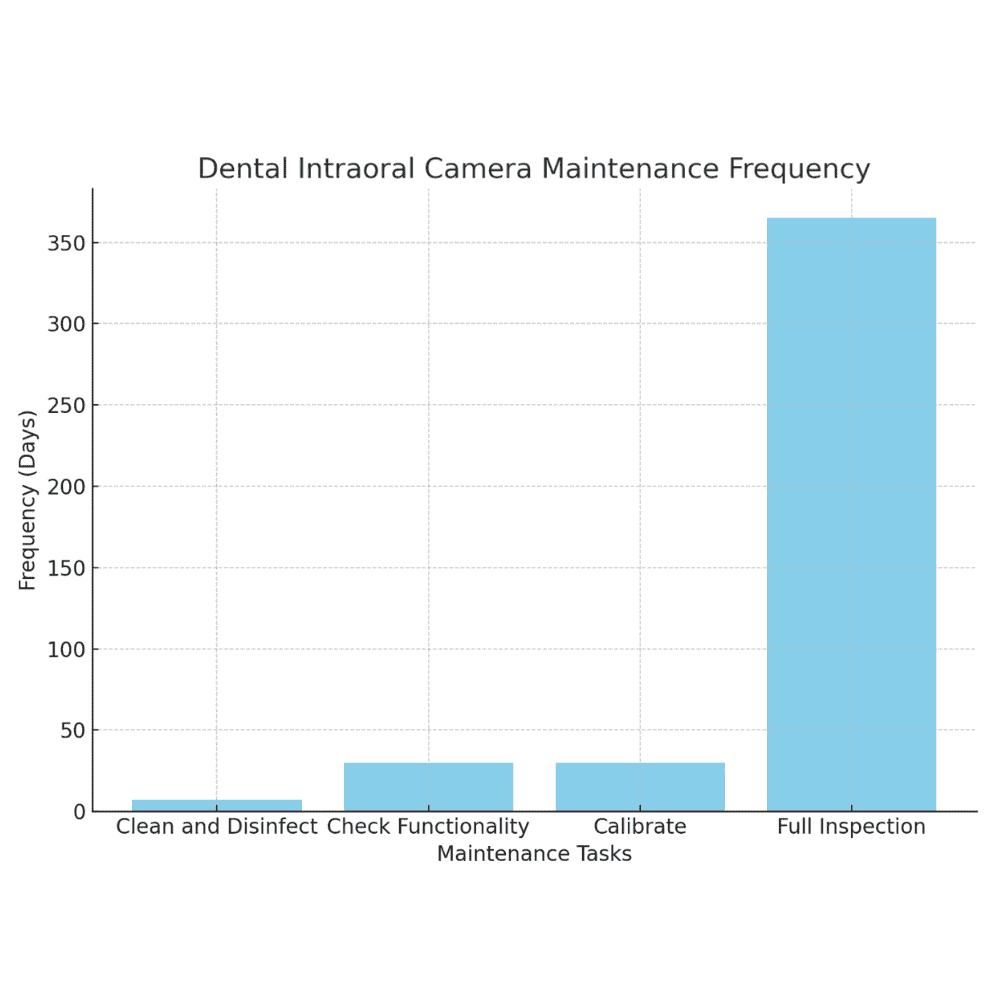
Proper Storage Practices
How you store diamond burs between uses affects their longevity and readiness for the next procedure.
Use Dedicated Bur Blocks or Organizers
Store each bur in a designated slot in a bur block or organizer. This prevents burs from contacting each other, which can chip diamond coatings and dull cutting surfaces. It also keeps your inventory organized by shape, grit, and size for fast selection during procedures.
Keep Burs Dry
Store bur blocks in a dry, enclosed cabinet away from moisture. Even after sterilization, ensure burs are completely dry before placing them in storage. Moisture trapped in a sealed container promotes corrosion.
Separate New and Used Burs
Maintain separate storage for new (unused) burs and burs that have been through clinical use and sterilization cycles. This helps you track each bur's approximate usage history and rotate stock appropriately.
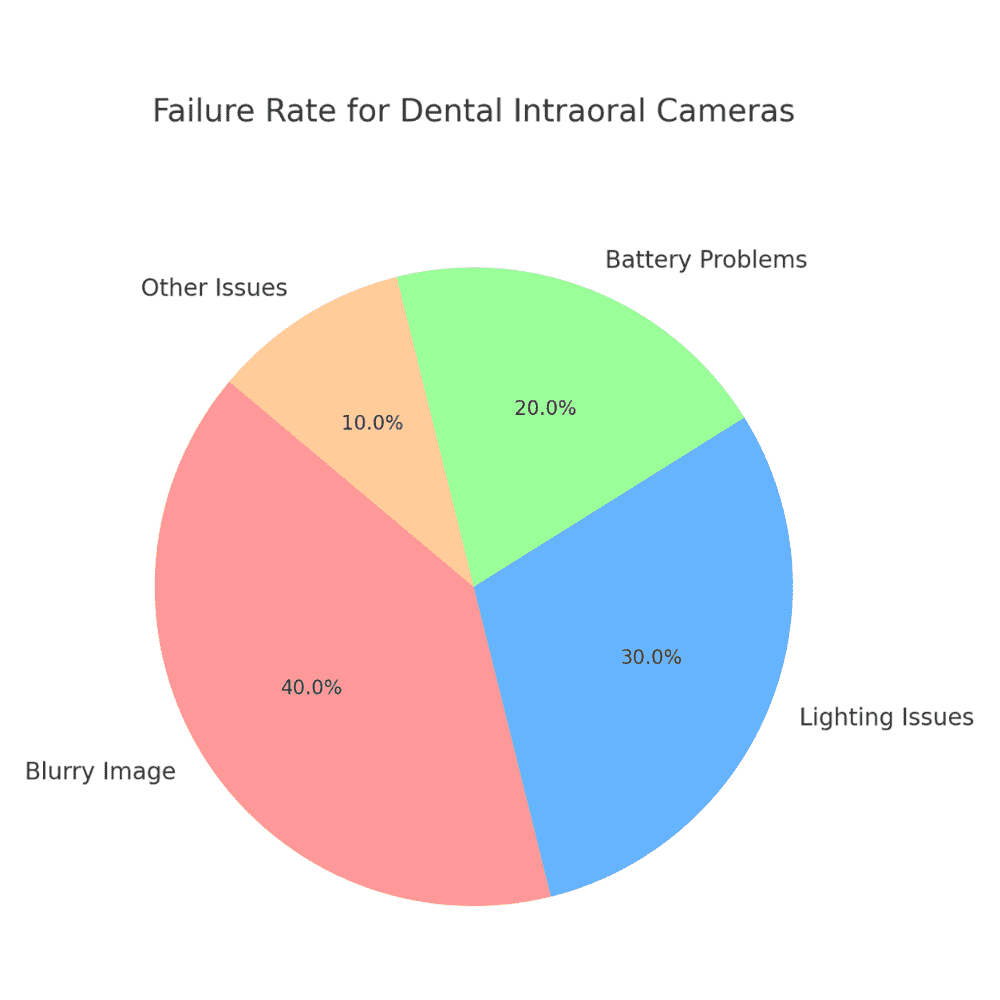
How Many Uses Can You Expect?
The lifespan of a diamond bur depends on several factors:
- Diamond type: Sintered diamond burs generally last longer than electroplated (single-layer) burs because the diamond particles are distributed throughout the bonding matrix rather than only on the surface.
- Material being cut: Cutting enamel and porcelain wears diamond burs faster than cutting dentin or composite.
- Pressure applied: Excessive force accelerates diamond particle loss. Let the bur's rotation do the cutting.
- Speed and coolant: Running burs at appropriate speed with adequate water spray reduces thermal stress on the bonding matrix.
- Maintenance quality: Burs that are cleaned and sterilized properly after every use last significantly longer than neglected ones.
As a general guideline, a quality electroplated diamond bur used for crown preparations should be replaced after 3 to 5 preparations. A sintered diamond bur may last 10 to 20 preparations or more. However, always rely on visual inspection and cutting performance rather than a fixed number.
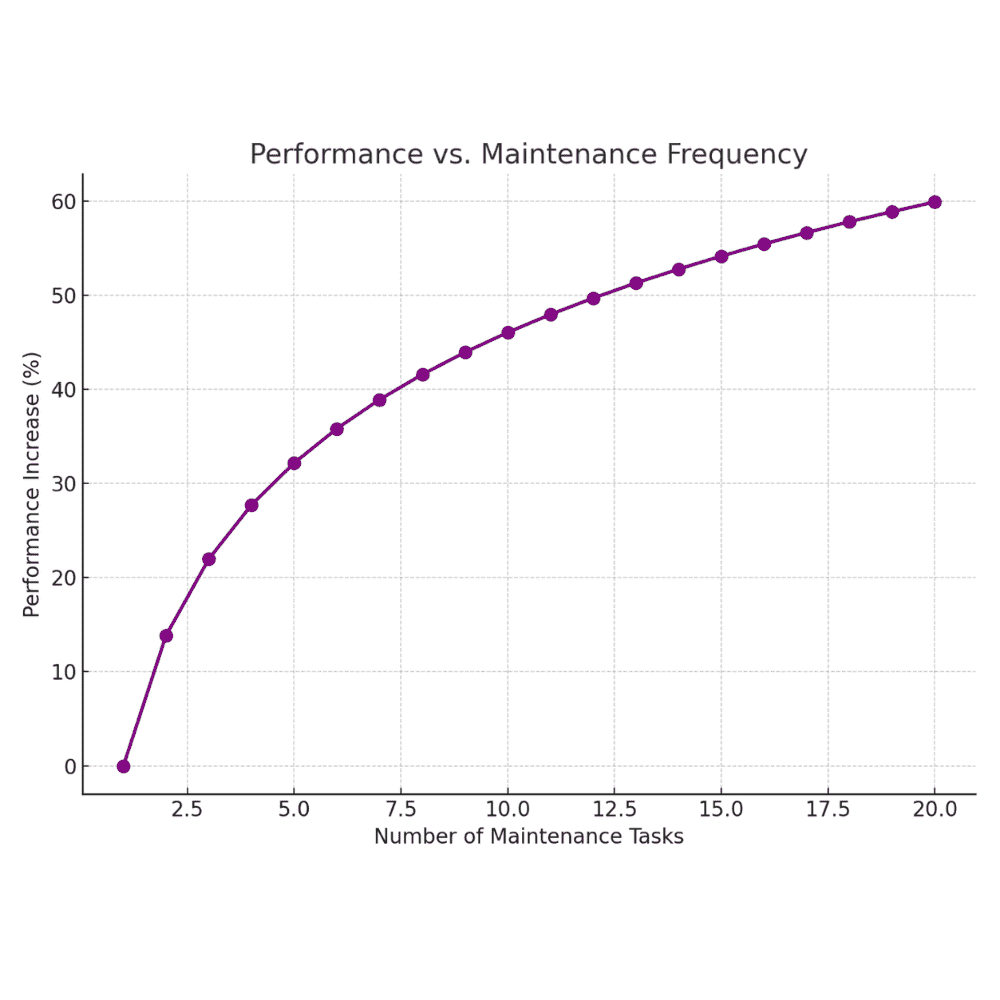
Common Maintenance Mistakes
Avoid these errors that shorten diamond bur life:
- Skipping ultrasonic cleaning: Manual brushing alone leaves debris embedded between diamond particles. Always use an ultrasonic cleaner.
- Autoclaving dirty burs: Heat bakes biological debris onto the diamond surface, making it nearly impossible to remove and permanently reducing cutting ability.
- Storing burs loose in a drawer: Burs that rattle against each other and other instruments lose diamond coating from mechanical damage.
- Reusing single-use burs: Some disposable diamond burs are designed for one-time use. Attempting to sterilize and reuse them leads to poor performance and potential infection control issues.
- Using chemical disinfectants as cleaners: Disinfection and cleaning are separate steps. Disinfectants alone do not remove the physical debris that clogs diamond surfaces.
Maintenance Schedule Summary
| Task | When | Method |
|---|---|---|
| Pre-rinse | Immediately after use | Running warm water |
| Ultrasonic cleaning | After every patient | Enzymatic solution, 5-10 minutes |
| Manual brushing | As needed after ultrasonic | Brass or nylon brush |
| Sterilization | After every patient | Autoclave (preferred) or chemical |
| Visual inspection | Before each use | Magnification, cutting test |
| Inventory check | Weekly | Verify stock, discard worn burs |
Putting It All Together
Maintaining diamond dental burs is straightforward once you build the routine into your daily workflow. Clean immediately after use, sterilize properly, inspect before each procedure, and store in an organized system. These habits protect your investment, ensure consistent cutting performance, and support the infection control standards that every dental practice must meet. A well-maintained diamond bur is a reliable tool that delivers precise, efficient results for both the operator and the patient.