How to Make a Wooden Ring with a Rotary Tool
Making a wooden ring by hand is one of the most satisfying small-scale woodworking projects you can take on. With a rotary tool and a few accessories, you can turn a scrap of hardwood into a polished, wearable piece in under an hour. This guide walks through every step, from selecting the right wood to applying a protective oil finish.
What You Need to Make a Wooden Ring
Tools
- Rotary tool (Dremel or similar)
- Electric saw or hand saw
- Diamond burs (for drilling and shaping)
- Mounted sandpaper discs (coarse through 2500 grit)
- Mandrel for mounting sandpaper
- Drill or drill press
Materials
- Hardwood blank (walnut, oak, maple, or exotic species)
- An existing ring for sizing reference
- Pencil
- Walnut oil or tung oil
- Paper towels
- Small bowl of water (for wet sanding)
Choosing the Right Wood
Not every piece of wood works well for ring making. You want a dense, tight-grained hardwood that will hold up to daily wear. Good choices include walnut, maple, cherry, oak, and rosewood. Avoid softwoods like pine or cedar, which scratch easily and split under stress.
Look for pieces with interesting grain patterns or contrasting heartwood and sapwood. Burls and spalted wood create striking rings but can be more fragile, so save those for display pieces rather than everyday wear.
Step-by-Step: Making Your Wooden Ring
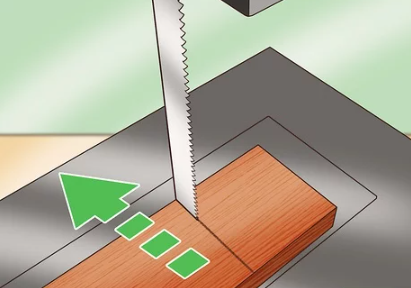
Step 1. Cut a Small Wood Blank
Using an electric saw or hand saw, cut a slice from your chosen piece of wood. The blank should be roughly 10-15mm thick and large enough to fit around your finger with extra material on the outside for shaping. A piece about 40mm square works well for most ring sizes.
Cut with the grain running across the width of the ring, not along the band. This orientation gives you much better strength and reduces the chance of the ring cracking during wear.
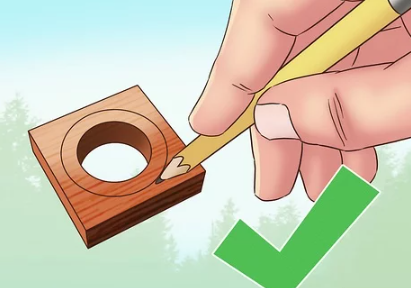
Step 2. Mark the Ring Circle
Place an existing ring that fits your finger on the wood blank. Trace around the inside and outside with a pencil to mark both the finger hole and the outer edge of the ring. This gives you clear guide lines for drilling and shaping.
If you do not have a ring for reference, measure your finger diameter with a strip of paper and mark a circle of that size on the blank.
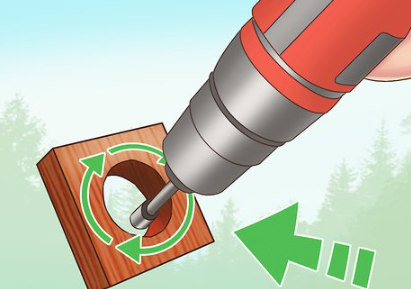
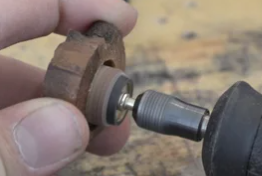
Step 3. Drill the Finger Hole
This is where your rotary tool earns its keep. Mount a diamond bur and carefully drill out the center hole, following the inner circle you marked. Start with a small pilot hole, then gradually widen it by working along the pencil line.
Key tips for drilling:
- Run the rotary tool at medium speed; too fast and you risk splitting the wood or burning it.
- Let the bur do the work. Pressing too hard generates heat and causes cracks.
- Work in small passes, removing a little material at a time.
- Clear sawdust frequently so you can see your guide lines.
Step 4. Fit the Ring to Your Finger
Once the center hole is drilled out, slide the blank onto your finger. It will likely be too tight at first. Use a cylindrical diamond bur or mounted sandpaper on your rotary tool to remove material from the inside of the hole, a small amount at a time.
The goal is a ring that slides over your knuckle with slight resistance but sits comfortably at the base of your finger. Check the fit frequently. It is very easy to remove too much material, and once the hole is too large, there is no going back.
Note: Wet sanding the inside at this stage produces a smoother bore and gives you better control over the final size.
Step 5. Shape the Outside of the Ring
With the finger hole sized, shape the outside of the ring. Mount coarse sandpaper (80-120 grit) on a mandrel and use your rotary tool to round off the outer edge and remove excess wood until you reach your desired ring width and profile.
Common ring profiles include:
| Profile | Description | Best For |
|---|---|---|
| Flat band | Straight sides, flat top | Modern, minimalist look |
| Comfort fit | Rounded inside and outside | Everyday wear |
| D-shape | Flat inside, rounded outside | Classic style |
| Beveled | Angled edges with flat center | Contemporary style |
Once the profile shape is established, switch to medium grit (220-400) sandpaper to smooth out tool marks and scratches left by the coarse grit.
Step 6. Sand and Polish to a High Finish
This step takes patience but makes the difference between an amateur-looking ring and a professional one. Work through progressively finer grits of sandpaper:
| Grit | Purpose |
|---|---|
| 400 | Remove shaping scratches |
| 600 | Smooth the surface |
| 800 | Begin to develop sheen |
| 1000 | Refine the surface further |
| 1500 | Near-polish finish |
| 2000-2500 | Glass-smooth final polish |
Wet sanding at 1000 grit and above produces noticeably better results. Dip the ring in water, then sand with the wet paper. The water acts as a lubricant and carries away fine dust, preventing it from clogging the sandpaper.
After the final grit, wipe the ring dry and inspect it under good light. If you see any remaining scratches, go back one grit level and work through the sequence again in that area.
For an even higher polish, consider finishing with silicone polishers on your rotary tool. These flexible polishing points conform to curved surfaces and produce an excellent luster on hardwoods.
Step 7. Apply an Oil Finish
A bare wood ring will absorb moisture, stain, and eventually crack. Applying a finish protects the wood and brings out the natural color and grain pattern.
Walnut oil is an excellent choice for wooden rings because it is food-safe, dries to a semi-hard film, and deepens the wood's natural color. Tung oil and linseed oil are also good options.
To apply the finish:
- Pour a small amount of oil onto a paper towel.
- Rub it into the entire surface of the ring, inside and out.
- Let it soak in for 10-15 minutes.
- Wipe off any excess with a clean paper towel.
- Allow 24 hours to dry, then apply a second coat.
Two to three coats give good protection. Reapply oil every few months if you wear the ring daily.
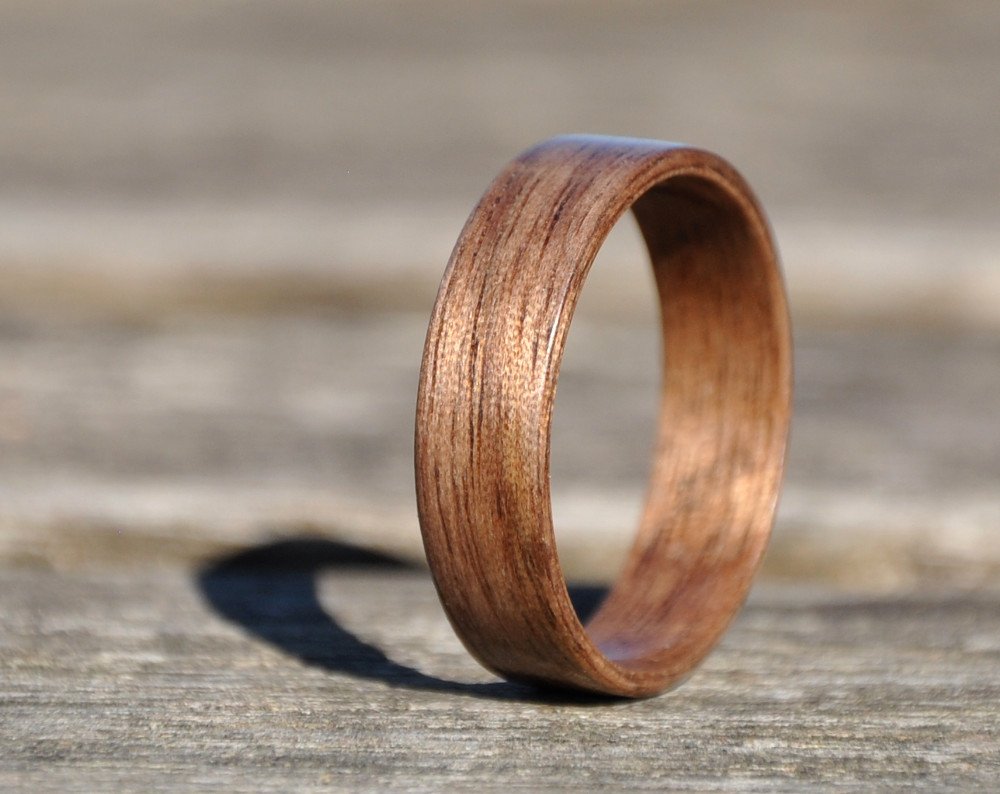
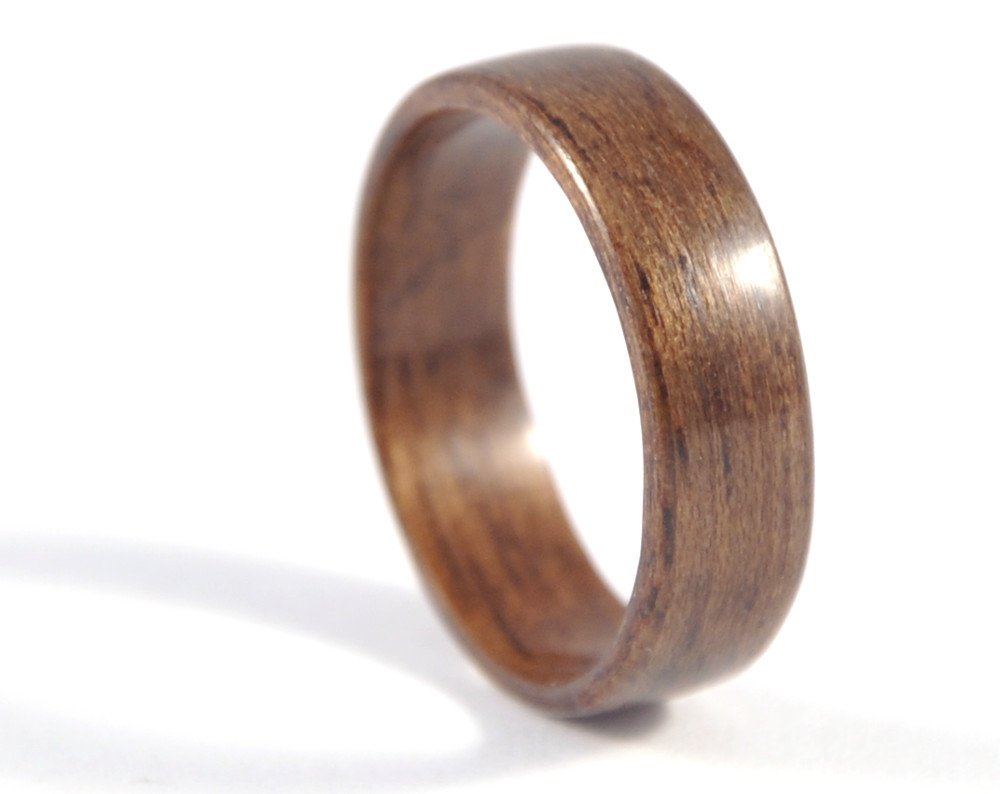
Step 8. The Finished Ring
After the oil has dried, your wooden ring is ready to wear. A well-made ring from dense hardwood can last for years with proper care. Avoid prolonged exposure to water, remove the ring before washing dishes, and reapply oil when the wood starts to look dry.
Strengthening Your Wooden Ring
A plain wooden ring, especially one made from thinner stock, can be fragile. There are several ways to add durability without changing the appearance:
- CA glue stabilization: Apply thin cyanoacrylate glue to the entire surface and let it cure. This hardens the outer layer and adds water resistance. Sand lightly with 2000 grit afterward to restore smoothness.
- Epoxy lining: Coat the inside of the ring with a thin layer of clear epoxy. This protects the area most exposed to moisture from your skin.
- Thicker band: If strength is a priority, leave the ring walls at least 4-5mm thick. Thinner walls look elegant but break more easily under stress.
Troubleshooting Common Problems
- Ring cracked during drilling: You were either pushing too hard or the grain orientation was wrong. Cut a new blank with the grain running across the band width.
- Rough finish even after high-grit sanding: Make sure you are sanding through every grit in sequence. Skipping grits leaves deeper scratches that finer paper cannot remove.
- Ring is too loose: Apply several extra coats of oil or a thin coat of cyanoacrylate (CA) glue to build up the inside diameter slightly.
- Wood looks dull after oiling: The wood may need more sanding. Go back to 1500 grit, work through to 2500, then reapply oil.
Related Guides
If you enjoyed this project, check out our guide on how to polish jade for another hands-on craft project using rotary tools. For more on choosing the right accessories for your rotary tool, read our article on bur shapes for jewelry making.
