Choosing the Right Dental Handpiece for Each Procedure
How to Choose the Right Dental Handpiece for Every Procedure
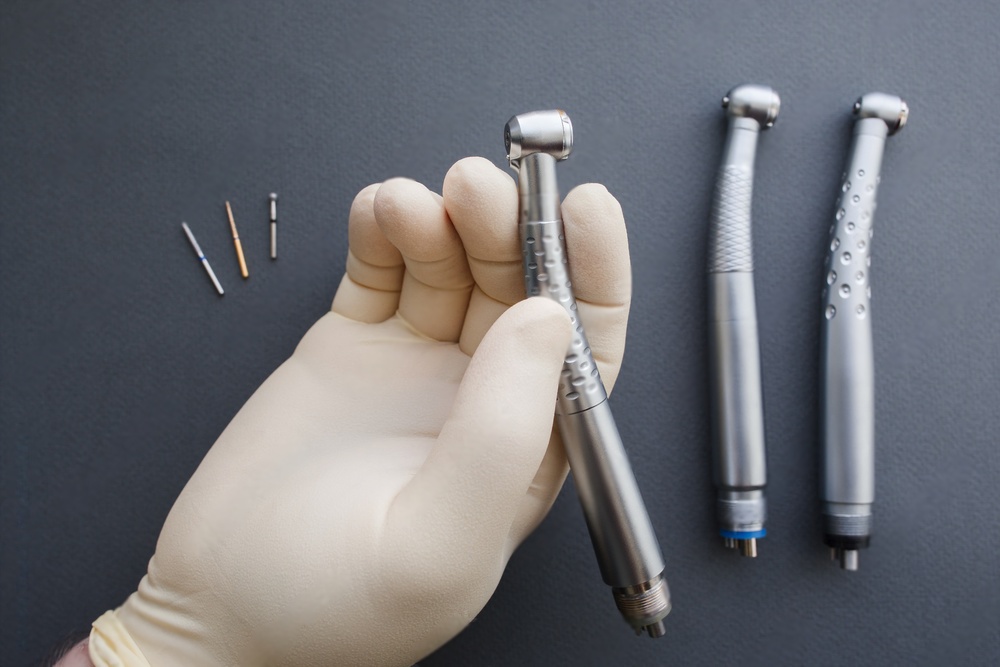
Dental handpieces are among the most frequently used instruments in any practice, yet many clinicians default to the same one or two handpieces for nearly every task. Matching the right handpiece to each procedure improves cutting efficiency, reduces patient discomfort, and extends the life of both the handpiece and the burs you use with it.
This guide breaks down handpiece selection by procedure type, covering speed ranges, torque requirements, and the clinical reasoning behind each recommendation.
Understanding Handpiece Categories
Dental handpieces fall into three broad categories based on their operating speed. Each category serves a different clinical purpose, and understanding these differences is the foundation of good instrument selection.
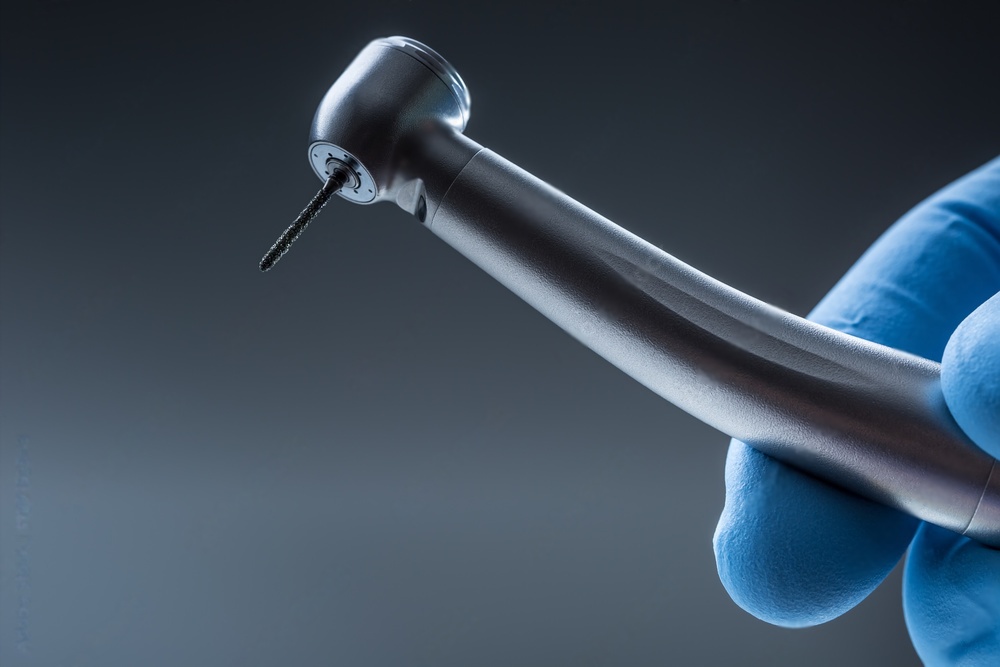
High-Speed Handpieces (200,000 - 500,000 RPM)
High-speed handpieces are designed for rapid material removal. They use air turbine mechanisms to achieve rotational speeds up to 500,000 RPM, making them the go-to choice for cutting through hard tooth structure. These handpieces typically accept FG (friction grip) burs and feature integrated water spray for cooling.
Low-Speed Handpieces (2,000 - 40,000 RPM)
Low-speed handpieces provide greater torque at reduced speeds. They consist of a motor connected to either a straight or contra-angle attachment. The lower speed range gives clinicians better tactile feedback and finer control, which is essential for procedures that demand precision over cutting speed.
Specialty Handpieces
This category includes surgical handpieces, endodontic handpieces with torque-limiting features, and implant motors with programmable speed and torque settings. These instruments are engineered for specific procedures where standard handpieces fall short.

Cavity Preparation and Restorative Work
Cavity preparation requires removing decayed tooth structure quickly while preserving healthy enamel and dentin. A high-speed handpiece is the standard choice for this procedure.
At speeds between 300,000 and 500,000 RPM, a high-speed handpiece paired with a diamond or tungsten carbide bur cuts through enamel with minimal vibration and heat generation. The water spray system is critical here, as it cools the tooth during cutting and prevents thermal damage to the pulp.
Recommended Setup for Cavity Prep
| Component | Specification |
|---|---|
| Handpiece type | High-speed air turbine |
| Speed range | 300,000 - 500,000 RPM |
| Bur type | FG diamond or carbide (round, pear, or fissure shapes) |
| Water spray | Required - multi-port preferred |
| Key consideration | Light intermittent pressure to avoid pulp overheating |
For finishing and smoothing cavity margins after initial preparation, switch to a low-speed handpiece with finishing burs. The reduced speed allows you to refine margins without removing excess tooth structure.
Endodontic Procedures
Root canal treatment demands precision navigation through narrow, curved canals. A low-speed handpiece is the clear choice for endodontic work, as the reduced RPM provides the tactile sensitivity needed to feel resistance changes within the canal system.
Why Low Speed Matters in Endodontics
Root canals are rarely straight. The canals curve, branch, and vary in diameter from tooth to tooth. At high speeds, a clinician has almost no tactile feedback through the handpiece. At low speeds (typically 300 to 600 RPM for rotary endodontic files), you can feel when a file encounters resistance, begins to bind, or reaches the apex.
Modern endodontic handpieces add torque-limiting technology that automatically reverses the file when torque exceeds a preset value. This feature significantly reduces the risk of file separation within the canal, which is one of the most common and frustrating complications in endodontic treatment.
Endodontic Handpiece Features to Look For
- Programmable torque control: Allows you to set maximum torque values based on the file manufacturer's specifications.
- Auto-reverse function: Reverses rotation direction when the torque limit is reached, preventing file breakage.
- Reciprocating motion option: Some modern systems use alternating clockwise and counterclockwise rotation, which reduces cyclic fatigue in NiTi files.
- Compact head design: A smaller head improves access to posterior teeth where space is limited.
Orthodontic Procedures
Orthodontic work involves tasks ranging from bracket removal to band cutting and adhesive cleanup. Each task has different speed and torque requirements.
Band Cutting and Removal
Cutting orthodontic bands requires a handpiece that delivers high torque at moderate speeds. A medium-speed handpiece operating around 25,000 to 30,000 RPM provides enough cutting force to slice through metal bands without generating excessive friction heat against the tooth surface. Pair it with a thin, tapered tungsten carbide bur for clean cuts.
Adhesive Removal After Debonding
After removing brackets, residual adhesive must be cleaned from the enamel surface. A low-speed handpiece with a fluted tungsten carbide bur (such as a 12-flute finishing bur) removes adhesive efficiently without gouging the enamel. Work at 20,000 to 30,000 RPM and use light, sweeping strokes across the bonded area. For more detailed technique guidance, see our article on using cleaning burs after debonding.

Implant Placement
Implant surgery places the highest demands on handpiece performance. The handpiece must cut through cortical and cancellous bone without generating temperatures above 47 degrees Celsius, which is the threshold for irreversible bone necrosis (osteonecrosis).
Requirements for Implant Handpieces
- Precise speed control: Implant protocols specify exact RPM ranges for each drill in the sequence, typically between 800 and 1,500 RPM for osteotomy preparation.
- High torque output: Cortical bone is dense and requires sustained cutting force. A surgical handpiece must maintain consistent torque even under load.
- Internal and external irrigation: Continuous saline irrigation keeps bone temperature within safe limits. Internal irrigation through the bur is more effective than external spray alone.
- Torque-controlled implant insertion: Final implant seating requires torque values between 25 and 50 Ncm, depending on the implant system. The handpiece must provide accurate torque measurement during this phase.
Implant Osteotomy Drill Sequence
| Step | Drill Type | Typical RPM | Irrigation |
|---|---|---|---|
| Pilot drill | Round or lance | 800 - 1,200 | Internal + external |
| Sequential twist drills | Increasing diameter | 800 - 1,200 | Internal + external |
| Countersink (if needed) | Countersink drill | 800 - 1,000 | External |
| Implant insertion | N/A (torque wrench) | 15 - 35 | None |
Prophylaxis and Polishing
Dental cleaning and polishing procedures use low-speed handpieces with prophy angles. The typical speed range is 2,000 to 5,000 RPM, which is fast enough to polish effectively but slow enough to avoid enamel damage or excessive heat.
Prophy angles accept rubber cups and bristle brushes that hold polishing paste. The low-speed rotation combined with the flexibility of the rubber cup allows the clinician to adapt the polishing action to the contours of each tooth. For polishing restorations to a high gloss, silicone rubber polishers attached to a low-speed straight handpiece deliver excellent results.
Crown and Bridge Work
Sectioning crowns for removal and adjusting bridge frameworks involve a mix of high-speed cutting and low-speed finishing. Start with a high-speed handpiece and a thin diamond disc or carbide fissure bur to make the initial cut through the crown. Then switch to a low-speed handpiece for fine adjustments and margin refinement.
When working on metal frameworks, use carbide cross-cut fissure burs at moderate speed (25,000 to 30,000 RPM). These burs cut metal efficiently without clogging, and the cross-cut flute design helps evacuate metal chips from the cutting path.
Handpiece Maintenance and Longevity
Regardless of which handpiece you select, proper maintenance directly affects performance and lifespan. Follow these practices to keep your handpieces running smoothly.
- Lubricate after every use: Run the handpiece with lubricant before autoclaving. This prevents corrosion inside the turbine or gear mechanism.
- Autoclave according to manufacturer specifications: Over-sterilization or incorrect temperatures damage internal seals and bearings.
- Replace worn burs promptly: A dull bur forces the clinician to apply more pressure, which accelerates wear on the handpiece bearings and reduces cutting precision.
- Inspect chuck mechanisms regularly: A worn chuck that fails to grip the bur securely creates dangerous wobble during operation.
For more detailed guidance on handpiece care, our article on sterilization and maintenance of dental handpieces covers the full protocol.
Summary: Quick Reference by Procedure
| Procedure | Handpiece Type | Speed Range |
|---|---|---|
| Cavity preparation | High-speed | 300,000 - 500,000 RPM |
| Root canal treatment | Low-speed endodontic | 300 - 600 RPM |
| Orthodontic band cutting | Medium-speed | 25,000 - 30,000 RPM |
| Implant osteotomy | Surgical implant motor | 800 - 1,500 RPM |
| Prophylaxis and polishing | Low-speed with prophy angle | 2,000 - 5,000 RPM |
| Crown sectioning | High-speed | 300,000 - 400,000 RPM |
Selecting the right handpiece for each procedure is a straightforward decision once you understand the relationship between speed, torque, and the material you are cutting. Match the instrument to the task, maintain it properly, and your handpieces will deliver reliable performance for years of clinical use.
