Dental burs are among the most frequently used instruments in clinical practice, yet improper handling remains a persistent source of preventable complications. From selecting the wrong bur to neglecting basic maintenance, these errors compromise patient outcomes and shorten the lifespan of expensive rotary instruments. Whether you are a recent graduate building clinical habits or an experienced practitioner looking to refine your workflow, this guide covers seven common mistakes and the straightforward corrections that eliminate them.
Mistake 1: Selecting the Wrong Bur for the Procedure
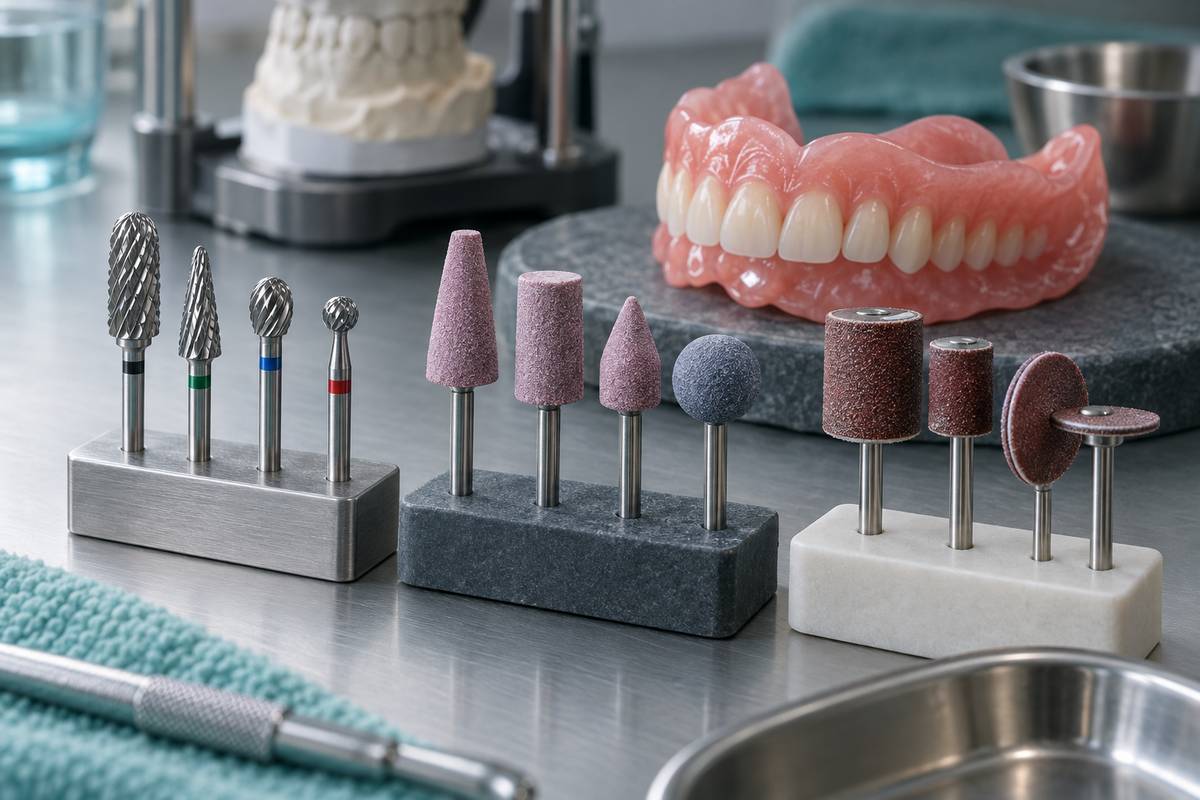
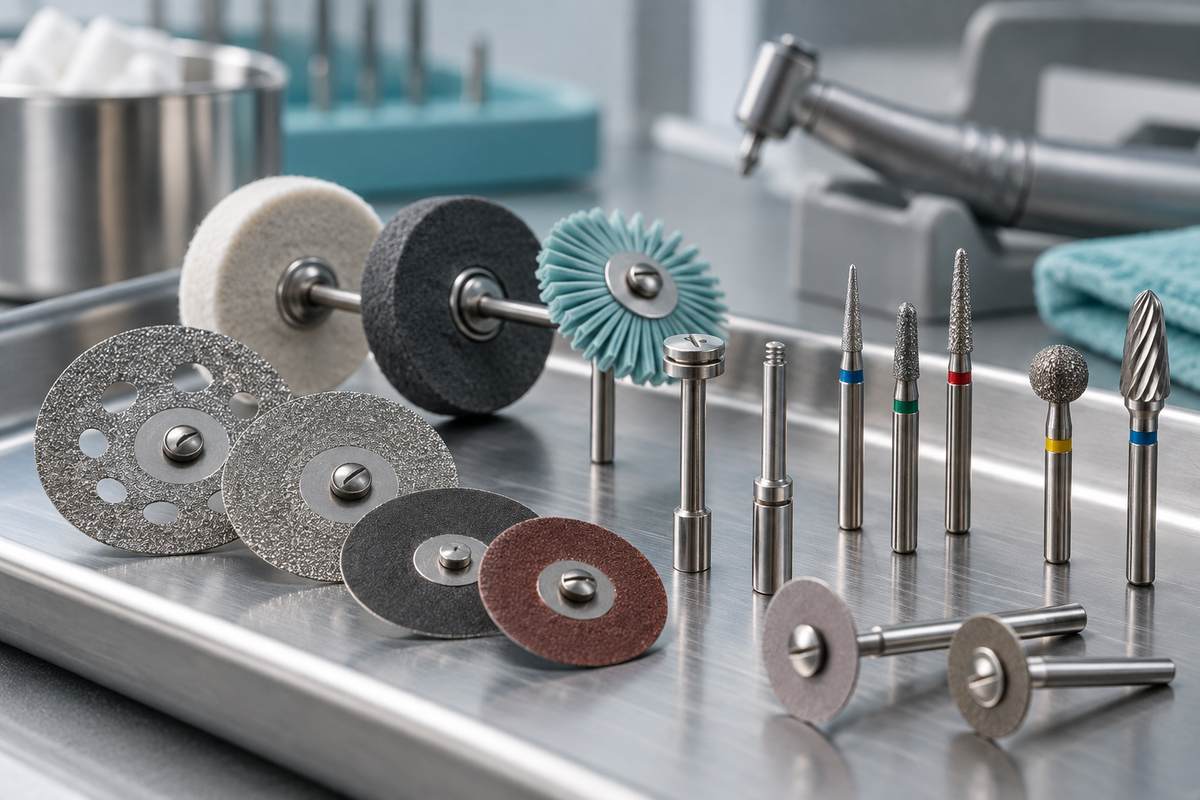
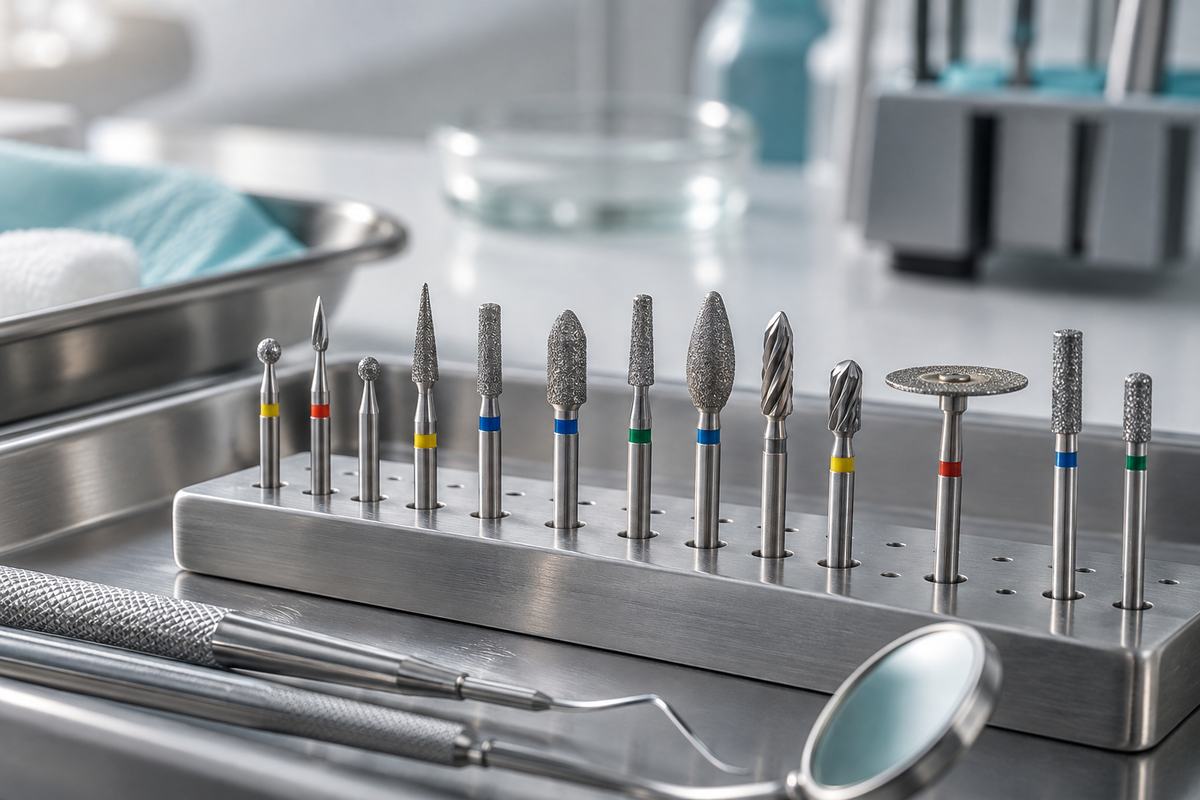
Every bur shape and material is engineered for specific tasks. A round bur designed for caries excavation will not produce clean margins in crown preparation. A tapered fissure bur intended for cavity outlining will perform poorly when used for gross enamel reduction. Pear-shaped burs excel at undercut preparation but create problems when used for flat surface finishing. Mismatching the bur to the task forces the clinician to compensate with altered technique, which increases the risk of tooth damage and produces substandard preparation quality.
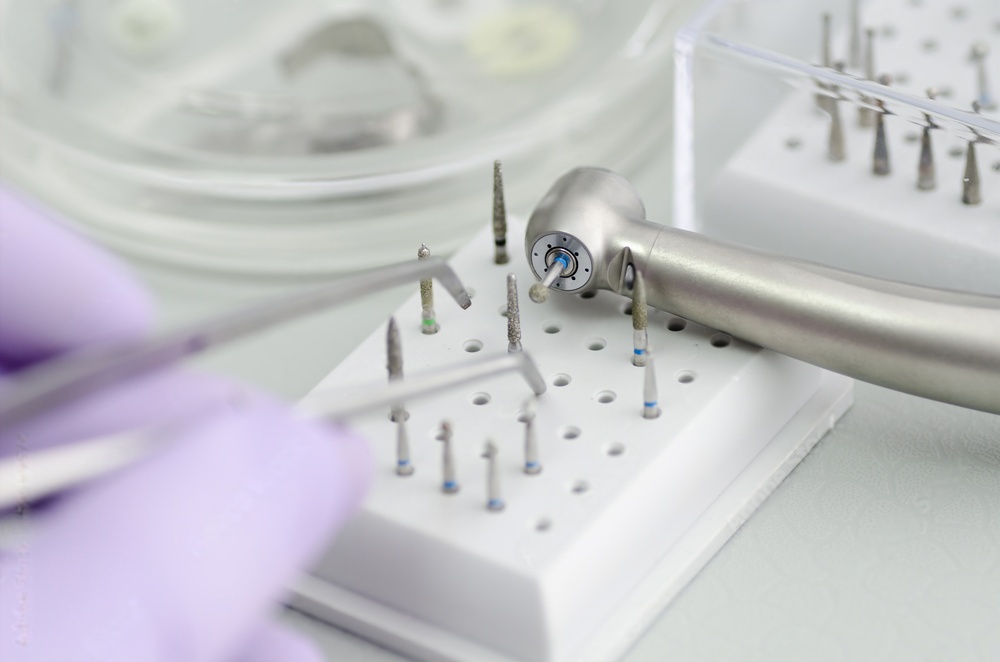
The material composition of the bur matters just as much as the shape. Diamond burs are the correct choice for cutting through enamel, porcelain, and ceramic materials because their abrasive surface grinds efficiently through hard, brittle substrates. Carbide burs with their fluted blades are better suited for dentin excavation, composite finishing, and metal trimming. Steel burs serve well for low-speed applications like caries removal in dentin but lack the hardness for enamel work. Selecting the wrong material type forces the bur to work against its design, producing rough surfaces, excessive heat, and premature wear.
How to Avoid It
- Familiarize yourself with the full range of bur shapes and their intended applications before building your clinical kit
- Keep a quick-reference chart in the operatory that matches common procedures to recommended bur shapes and materials
- Organize your bur inventory by procedure type rather than by size alone so the correct instrument is always within reach
- When uncertain about which bur to use, consult the manufacturer specifications or ask a more experienced colleague before proceeding
Mistake 2: Inadequate Sterilization Between Patients
Cross-contamination through improperly sterilized burs poses a serious infection control risk. Residual biological material on bur surfaces, including blood, saliva, and pulpal tissue, can harbor bacteria and viruses that survive for extended periods on metal surfaces. Thorough sterilization between every patient is non-negotiable.
The complex geometry of bur cutting surfaces creates microspaces where debris becomes trapped. Diamond burs are particularly susceptible because biological material lodges between the diamond particles and resists simple rinsing. Carbide burs can similarly trap tissue fragments in flute grooves. Without thorough cleaning before autoclaving, sterilization may not reach all contaminated surfaces.
Proper Sterilization Protocol
- Pre-soak burs immediately after use in an enzymatic cleaning solution to prevent debris from drying onto the surface
- Scrub each bur with a brass-bristle brush under running water to remove all visible deposits
- Place cleaned burs in an ultrasonic cleaner for the manufacturer-recommended cycle time
- Rinse thoroughly, then package burs in sterilization pouches or cassettes
- Autoclave at the appropriate temperature and pressure settings, and verify cycle completion with biological indicators
For a comprehensive walkthrough of each step, refer to our complete dental bur sterilization guide.
Mistake 3: Applying Excessive Lateral Pressure
Dental handpieces operate at speeds between 200,000 and 450,000 RPM for high-speed applications. At these rotational velocities, the bur itself does the cutting work through either abrasive grinding or fluted blade action. The clinician's role is to guide the bur along the desired path with a light, controlled touch. Pressing the bur harder against the tooth does not meaningfully increase the cutting rate because the material removal is governed by rotational speed and bur geometry, not by applied force.
What excessive pressure does accomplish is entirely negative. The additional force generates friction heat conducted directly into the tooth, raising intrapulpal temperatures to levels that cause irreversible pulp damage. Patients experience this as sharp pain even through adequate anesthesia. The bur also suffers: diamond particles shear from the bonding matrix prematurely, and carbide flute edges chip or deform under loads they were not designed to withstand.
Correct Technique
- Apply light, brushstroke-like contact between the bur and the tooth, allowing the instrument to glide rather than dig
- Allow the abrasive surface or cutting flutes to do the work at operating speed without supplemental force
- Establish a stable fulcrum on an adjacent tooth and use controlled wrist movements to maintain gentle pressure
- If the bur is not cutting effectively with light pressure, it is likely dull and should be replaced rather than forced
Mistake 4: Insufficient Water Coolant During Cutting
High-speed bur rotation generates significant frictional heat at the interface between the cutting surface and the tooth. Without adequate water spray to carry this heat away, surface temperatures at the cutting site can exceed the critical threshold for irreversible pulp damage within just a few seconds of continuous contact. The water coolant serves a dual purpose: it absorbs thermal energy through evaporation and physically flushes cut debris away from the operating field to maintain visibility.
Dry cutting creates additional problems beyond thermal injury. Airborne particulate debris reduces the operator's visual field and creates an inhalation hazard. The debris also settles on the bur surface, clogging diamond grit or packing into carbide flutes, which reduces cutting efficiency and forces the operator to apply more pressure, compounding the overheating problem.
Cooling Best Practices
- Verify that all water spray ports on the handpiece are open and functioning before beginning any cutting procedure
- Maintain a minimum water flow rate as specified by the handpiece manufacturer, typically 30 to 50 milliliters per minute
- Use intermittent cutting strokes rather than continuous contact to allow heat dissipation between passes
- Check water lines regularly for blockages, particularly in practices with hard water or older delivery units
Thermal management is especially critical when working with tungsten carbide burs, which conduct heat more readily than diamond burs due to the thermal properties of the carbide material itself.
Mistake 5: Using Worn or Damaged Burs
A dull bur requires more pressure to achieve the same cutting result, creating a destructive cycle of increased force, excess heat generation, patient discomfort, and accelerated bur degradation. Worn diamond burs lose their abrasive particles progressively, producing a glazed, smooth surface that slides across the tooth rather than cutting into it. The operator instinctively pushes harder to compensate, which accelerates the remaining particle loss and generates thermal energy that puts the pulp at risk.
Carbide burs develop their own set of wear patterns that compromise clinical performance. The thin cutting edges of the flutes chip under normal use, and the remaining edges become rounded rather than sharp. A worn carbide bur tears through tissue rather than slicing cleanly, leaving rough, jagged surfaces that require additional finishing work. In severe cases, a damaged carbide flute can catch on the preparation wall and cause the handpiece to jerk unpredictably, potentially injuring soft tissue or fracturing weakened tooth structure.
Inspection Guidelines
- Examine bur heads under magnification before each use, looking for missing diamond particles, bent shanks, or discoloration
- Discard diamond burs that appear smooth or shiny, as these visual cues indicate significant grit loss
- Replace carbide burs with visible chips on flute edges, bent flutes, or discoloration from overheating
- Track bur usage with a rotation system so instruments nearing the end of their lifespan are retired proactively
Mistake 6: Running at Incorrect RPM Settings
Each bur type and diameter has an optimal speed range. Running a large-diameter bur at maximum RPM creates dangerous peripheral velocities and excessive vibration that reduces tactile control. Centrifugal forces at excessive speeds can also cause the bur to wobble, producing inaccurate preparations and increasing fracture risk.
Running too slowly creates different problems. A fine finishing diamond bur below its intended speed range produces rough surface textures rather than the smooth finish it was designed to create. Carbide burs at insufficient speed chatter or grab because individual flutes engage the material for longer periods per rotation, creating intermittent rather than continuous cutting action.
Speed Selection Guidelines
| Bur Type | Recommended Speed Range | Application |
|---|---|---|
| Diamond (coarse) | 300,000 - 350,000 RPM | Crown prep, bulk reduction |
| Diamond (fine) | 250,000 - 300,000 RPM | Finishing, margin refinement |
| Carbide (surgical length) | 150,000 - 250,000 RPM | Bone cutting, impaction removal |
| Carbide (finishing) | 80,000 - 120,000 RPM | Composite finishing, contouring |
| Slow-speed steel | 5,000 - 40,000 RPM | Caries excavation, endodontic access |
Always consult the bur manufacturer's specifications and your handpiece documentation for exact speed recommendations specific to each instrument you use. Speed ranges can vary between manufacturers even for burs of similar size and type.
Mistake 7: Improper Bur Storage and Handling
Tossing burs into a common drawer or container after cleaning causes cutting surfaces to contact each other repeatedly, dulling diamond grit and chipping carbide flutes before they ever reach a patient's mouth. This storage-related damage is invisible to the naked eye in many cases but accumulates over time, gradually reducing the effective cutting performance of burs that may still appear serviceable upon casual inspection.
Disorganized storage creates a secondary problem that compounds the physical damage. When burs of different types, sizes, and grits are mixed together, finding the correct instrument for a specific procedural step takes longer. These small delays add up across a full day of appointments, and the resulting frustration can lead clinicians to grab whatever bur is closest rather than the one best suited to the task, circling back to Mistake 1.
Proper Storage Practices
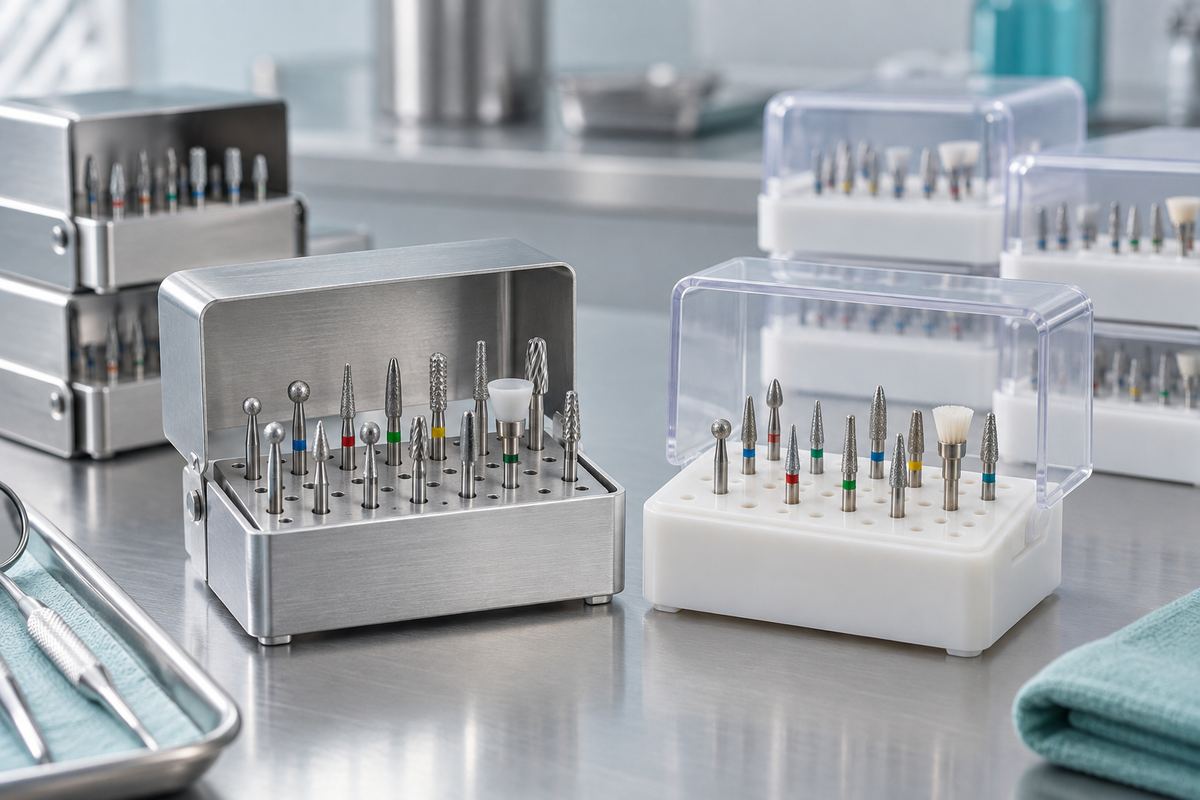
- Use bur blocks or autoclavable stands with individual slots sized to hold each bur without allowing lateral movement or contact with adjacent instruments
- Organize burs by type, grit, and shape using a consistent layout that all team members understand and maintain
- Keep sterilized burs in sealed pouches or covered blocks and store them separately from used burs awaiting reprocessing to prevent mix-ups
- Position bur stands in a clean, dry area of the operatory away from aerosol contamination zones generated by handpiece use and ultrasonic scaling
Building Better Bur Habits
Each of these seven mistakes is fully correctable with awareness and consistent protocol adherence. The common thread running through all of them is straightforward: treat dental burs as precision instruments that require proper selection, maintenance, and technique rather than as disposable commodities that can withstand any treatment. The investment required to improve bur handling habits is minimal, consisting primarily of attention and consistency, while the returns in patient safety, procedural quality, and instrument longevity are substantial and immediate.
Start by auditing your current practices against each of the seven categories above. Identify any areas where your protocols have drifted from best practice, and implement specific corrections. Share this information with your entire dental team, because assistants and hygienists who handle bur setup and sterilization play a critical role in preventing several of these mistakes before the clinician ever picks up the handpiece.