Dental Photography Lamps: What Every Clinician Needs to Know
Accurate documentation of intraoral conditions depends on consistent, high-quality lighting. Dental mobile photography lamps are purpose-built to deliver even, color-accurate illumination that standard operatory lights cannot match. Whether you are recording baseline conditions, tracking treatment progress, or presenting case results to patients, a dedicated photography lamp makes a measurable difference in image quality.
This guide covers the role of these lights in clinical workflows, the technical features that matter most, and practical advice for getting the best results in your practice.
Why Standard Operatory Lights Fall Short
Overhead dental lights are designed for visibility during procedures, not for photography. They typically produce a focused beam aimed at the working field, which creates uneven coverage and hard shadows inside the oral cavity. The color temperature of these lights also shifts depending on angle and distance, meaning the same tooth can appear noticeably different in two photographs taken minutes apart.
These inconsistencies make it difficult to compare images over time, which undermines the primary purpose of clinical photography: objective documentation. A dedicated dental photography lamp addresses each of these shortcomings by providing:
- Uniform diffused light that minimizes harsh shadows on teeth and soft tissue, giving the camera sensor an even exposure across the frame
- Stable color temperature (typically 5000 to 5500 K) for accurate shade matching that does not drift between shots
- High Color Rendering Index (CRI) of 90 or above, preserving true tissue colors so that redness, translucency, and subtle shade differences are faithfully recorded
- Adjustable intensity to handle both close-up macro shots and wider full-arch views without over- or under-exposing
Key Features to Evaluate Before Buying
Not all dental photography lamps perform equally. The following specifications should guide your purchasing decision and help you avoid products that look impressive on paper but disappoint in practice.
Light Output and Color Accuracy
Look for LED-based lamps rated at CRI 95 or higher. A color temperature range of 4800 to 5500 K suits most dental photography needs, and daylight-balanced output around 5200 K is the most versatile starting point. Lamps with stepless dimming give you finer control than those with fixed brightness settings, which is particularly useful when photographing highly reflective restorations like polished zirconia or metal crowns. Pay attention to the beam angle as well. A wider beam angle of 90 degrees or more provides more uniform coverage of the oral cavity, while narrow-beam lamps may leave the periphery underexposed.
Portability and Mounting Options
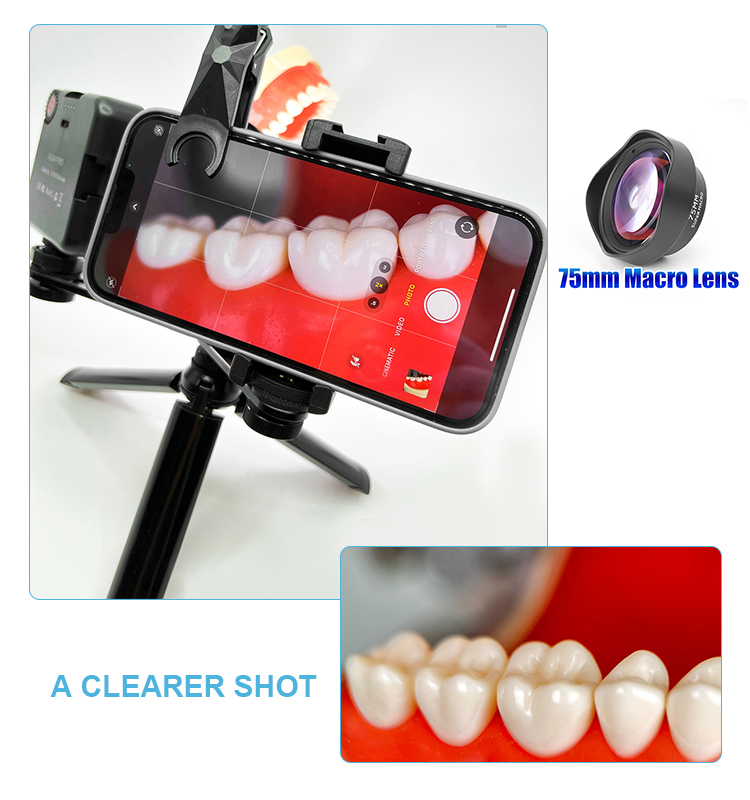
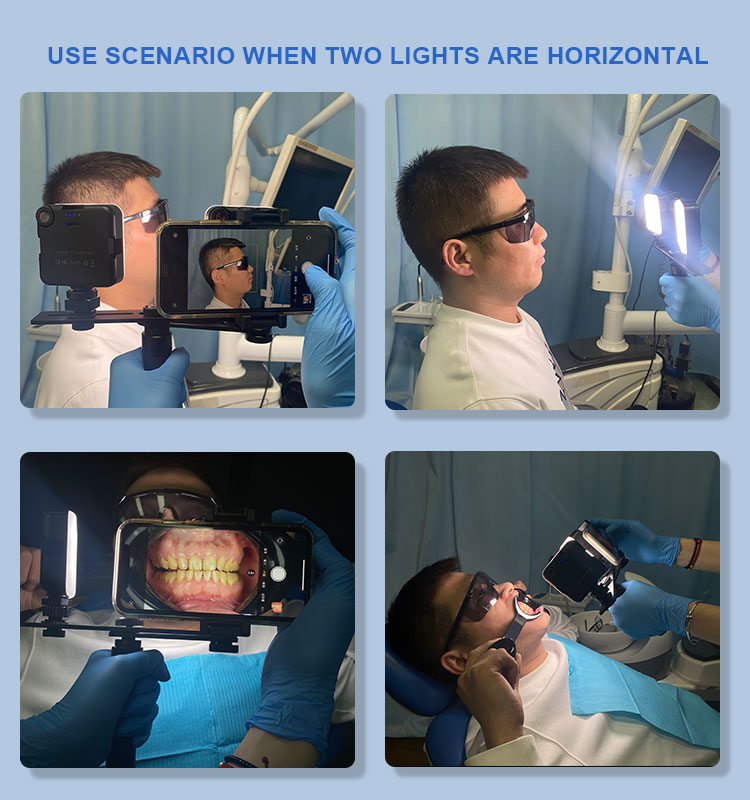
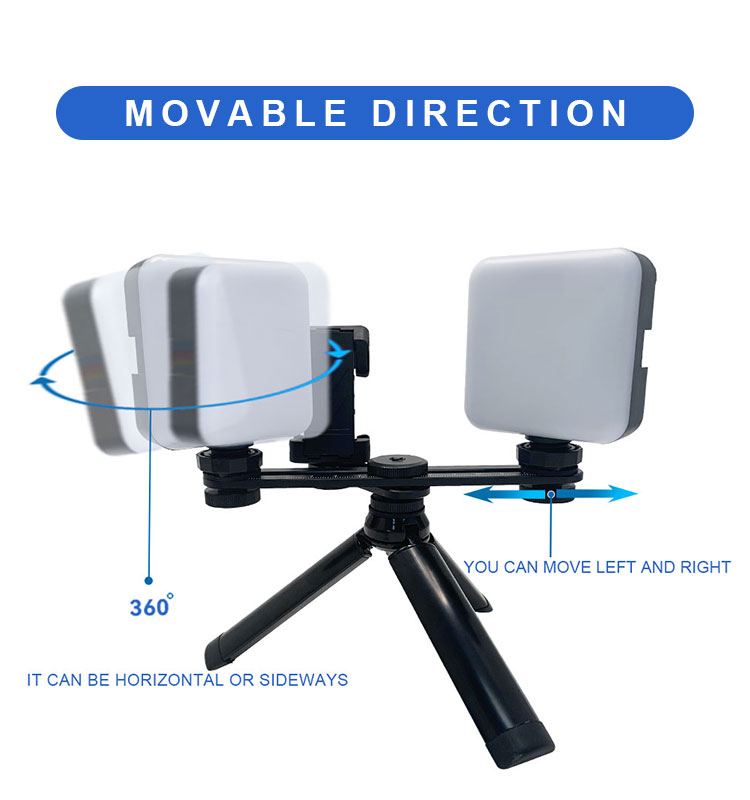
Mobile lamps should be lightweight enough to reposition quickly between operatories without requiring a second pair of hands. Common configurations include floor-standing units with locking casters, articulating clamp-on arms for countertops, and handheld ring lights that attach directly to the camera lens. Floor-standing models offer the greatest stability and the largest light panels, but they occupy floor space that may be scarce in smaller operatories. Clamp-on arms save floor space but require a sturdy mounting surface. Ring lights are the most portable option and produce virtually shadow-free illumination, though their output is usually lower than panel-style units.
Battery Life and Power
Cordless models offer the most flexibility but must hold charge through a full session. A minimum battery life of 90 minutes of continuous use at full brightness is a practical benchmark for a busy morning schedule. Some units support hot-swappable batteries, which eliminates downtime between patients entirely. If your practice photographs every patient at every visit, a corded model with unlimited runtime may be the better choice. Dual-power lamps that accept both AC and battery operation offer the most versatility.
Build Quality and Sterilization Compatibility
The lamp housing should resist the clinical disinfectants your practice uses, including alcohol-based wipes and quaternary ammonium compounds, without surface degradation or discoloration. Smooth, sealed surfaces with no exposed screws or crevices are easier to wipe down between patients. Metal housings generally outlast plastic ones in a busy practice environment, though they add weight. Check whether the manufacturer provides a list of approved cleaning agents to avoid voiding the warranty.
Clinical Applications of Dental Photography Lamps
A well-lit photograph is useful at every stage of treatment, from initial examination through final delivery. Below are the most common clinical applications where a dedicated photography lamp proves its value.
Diagnosis and Treatment Planning
High-quality images let you identify early caries, craze lines, gingival inflammation, marginal discrepancies on existing restorations, and shade variations that may not be obvious under operatory lighting. When you photograph these findings consistently, you build a visual timeline that supports evidence-based decision-making. Side-by-side image comparisons over multiple visits help both you and the patient track changes accurately, whether monitoring a suspicious lesion or evaluating the response to periodontal therapy.
Patient Communication and Case Acceptance
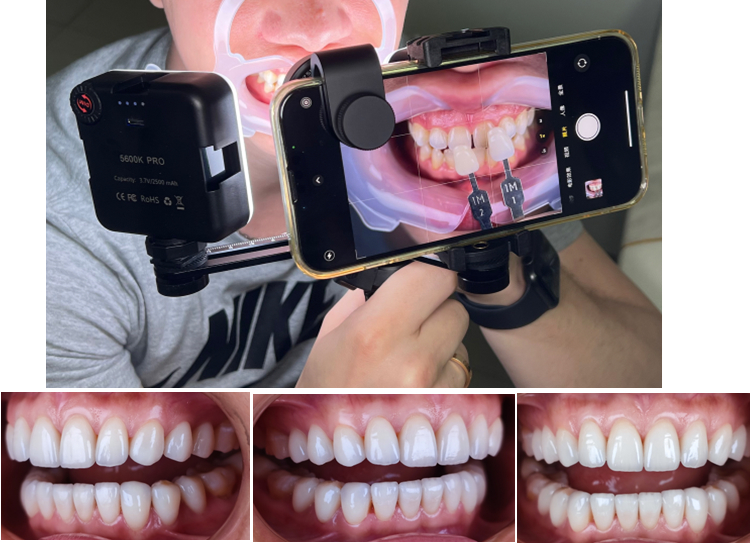
Patients who can see their own dental conditions on screen are more likely to understand and accept recommended treatment. A photograph of a cracked cusp or recurrent decay under an old filling is far more persuasive than a verbal description alone. Before-and-after photographs taken under the same lighting conditions make the results of restorative and cosmetic procedures immediately visible, which strengthens patient trust and satisfaction. Many practices report higher case acceptance rates after introducing standardized photography.
Lab Communication and Shade Matching
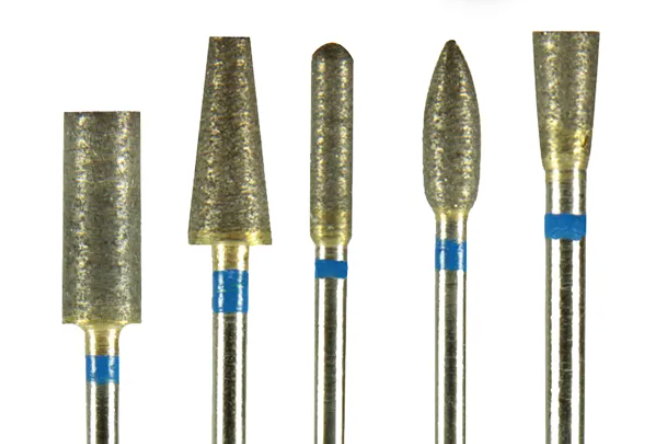
Sending properly lit shade-reference photos to your dental laboratory reduces the number of remakes and adjustments. When the lab technician can see accurate color, surface texture, and translucency under standardized light, the final restoration matches the adjacent teeth more reliably on the first attempt. Include a shade tab in the photograph next to the prepared tooth so the technician has a physical reference point. Quality burs and instruments from diamond dental bur suppliers also play a role in achieving precise preparation margins that photograph well and translate into accurate impressions and digital scans.
Continuing Education and Case Presentations
Documenting cases with consistent lighting builds a professional portfolio that is useful for study clubs, conference lectures, peer-reviewed publications, and social media content. Reviewers and colleagues can evaluate your clinical work more fairly when every image in the series was captured under the same conditions.
Setting Up Your Photography Station
Even the best lamp will underperform if the rest of the setup is not considered. Follow these guidelines for repeatable results every time you pick up the camera.
| Factor | Recommendation |
|---|---|
| Background | Use a matte black or dark blue contraster to isolate the teeth and eliminate distracting background elements |
| Camera settings | Manual mode, ISO 100 to 200, aperture f/22 to f/32 for maximum depth of field across the arch |
| Lamp position | 45-degree angle to the buccal surface, 20 to 30 cm from the subject for even illumination |
| Retractors | Clear or opaque cheek retractors depending on the view needed; clear retractors reduce shadow artifacts |
| Mirrors | Rhodium-coated occlusal mirrors reduce ghosting and double reflections common with standard glass mirrors |
Standard Intraoral Views to Capture
Most clinical photography protocols call for a standard series of views that can be captured in under five minutes once the team is practiced. A typical set includes:
- Full-face smile at rest and with a broad smile
- Retracted frontal view in maximum intercuspation
- Right and left lateral retracted views
- Upper and lower occlusal views using a mirror
- Close-up of the area of interest (e.g., the tooth being prepared or restored)
Capturing this standard series at every relevant appointment creates a consistent visual record that is far more useful than a handful of ad hoc snapshots.
Common Mistakes to Avoid
Even experienced clinicians make errors that reduce image quality. Watch for these pitfalls and train your team to catch them before the patient leaves the chair:
- Mixing light sources. Turn off or block overhead operatory lights when using the photography lamp. Mixed color temperatures from different light sources produce unnatural color casts that make shade evaluation unreliable.
- Inconsistent distance. Maintain the same lamp-to-subject distance for all standard views so brightness and exposure remain comparable across sessions. Mark a reference point on the floor or use a fixed arm to ensure repeatability.
- Skipping white balance. Calibrate your camera to the lamp's color temperature at the start of each session using a gray card. Auto white balance often shifts between shots and introduces subtle color inconsistencies.
- Fogged mirrors. Warm occlusal mirrors under a hot-air syringe for a few seconds before placing them intraorally. Condensation forms almost instantly on a cold mirror in the humid oral environment, blurring the reflected image.
- Wet fields. Dry the teeth and surrounding tissue gently with gauze or air before photographing. Saliva and water droplets create specular highlights that obscure surface detail and interfere with shade evaluation.
Maintaining Your Photography Lamp
Proper maintenance extends the usable life of the unit and keeps image quality consistent over months and years of daily use. Follow these practices:
- Wipe the housing with a manufacturer-approved surface disinfectant after each patient contact. Allow the recommended wet contact time before wiping dry.
- Clean the light panel or diffuser with a soft, lint-free microfiber cloth. Avoid abrasive cleaners or paper towels that can scratch the surface and reduce light transmission.
- Inspect the power cord and battery contacts monthly for fraying, corrosion, or loose connections.
- Store the lamp in a dry, temperature-controlled area away from direct sunlight when not in use. Prolonged UV exposure can yellow plastic diffuser panels over time.
- Check battery health monthly if using a cordless model, and replace the cells once capacity drops below 70 percent of the original rating.
Integrating Photography Into Daily Workflow
The biggest barrier to routine dental photography is the perception that it takes too much time. In reality, a well-organized system adds only three to five minutes per appointment. Reduce friction by standardizing the process across your team:
- Assign a specific team member, typically a dental assistant, to handle camera and lamp setup before the patient is seated in the chair.
- Create a laminated shot list for each appointment type (for example, new patient exam requires eight standard views; single-unit crown delivery requires four).
- Use cloud-based storage tied directly to the patient record in your practice management software so images are accessible immediately during treatment planning discussions and consultations.
- Review the image set together with the patient on a monitor in the operatory before they leave. This reinforces findings, improves education, and opens the door to discussing any additional treatment needs.
For more tips on caring for your equipment over time, see our article on maintaining dental photography lamp equipment.
Final Thoughts
A dental mobile photography lamp is a straightforward investment that improves diagnostic accuracy, patient communication, shade matching, and lab outcomes. Focus on color accuracy, portability, and build quality when selecting a unit, and build a repeatable workflow around it with your clinical team. The return shows up in better documentation, higher case acceptance, fewer lab remakes, and a stronger professional reputation.