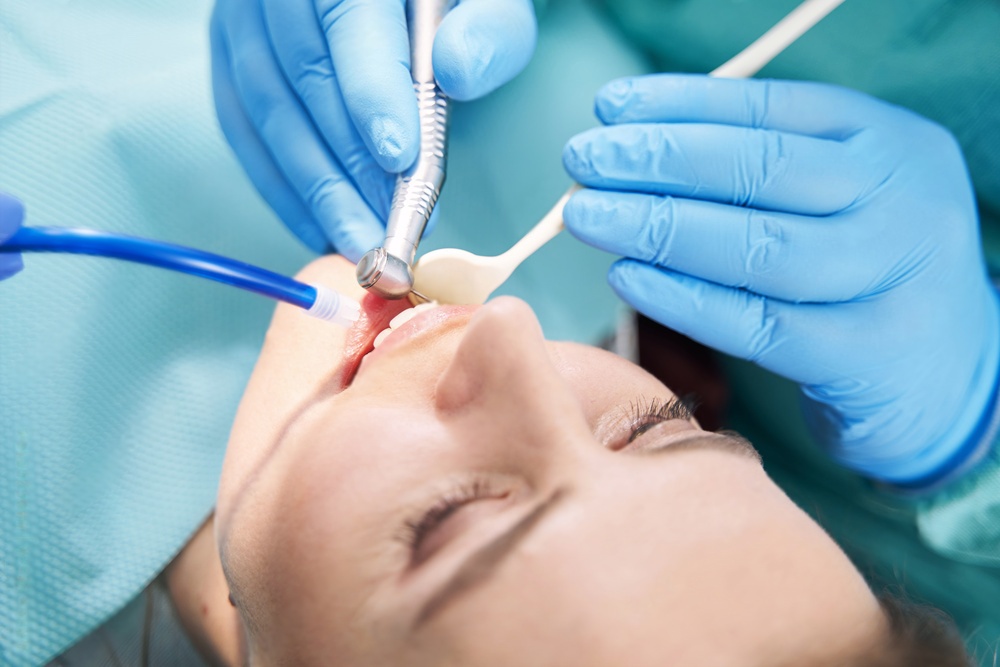
Endodontists perform some of the most physically demanding work in dentistry. Hours of sustained grip on handpieces, limited working space inside the root canal system, and the precision required for each procedure create a perfect setup for musculoskeletal disorders. Research consistently shows that more than half of practicing endodontists report chronic pain in the neck, shoulders, lower back, or hands at some point in their careers.
The good news is that most of this pain is preventable. With deliberate attention to posture, equipment selection, stretching routines, and workspace design, you can protect your body and extend your career by decades.
Why Endodontists Face Higher Injury Risk
Several factors make endodontic practice especially hard on the body compared to general dentistry:
- Prolonged static postures — Root canal procedures often last 45 to 90 minutes, during which the clinician holds a near-fixed position with arms raised and neck flexed.
- Repetitive fine motor movements — File insertion, rotation, and handpiece activation demand thousands of identical micro-movements per procedure.
- Limited access — Working through a small access cavity deep in the tooth forces awkward wrist angles and increased grip pressure.
- Vibration exposure — Powered handpieces transmit vibration into the fingers and hand, contributing to conditions like carpal tunnel syndrome over time.
- Visual demands — Straining to see into narrow canals leads to forward head posture and rounded shoulders, even when magnification is used.
Understanding these specific risk factors is the first step toward addressing them systematically rather than simply pushing through discomfort.
Optimizing Your Seated Position
Your operator chair is the foundation of good clinical ergonomics. A poorly adjusted chair forces compensating postures throughout the entire body.
Chair Height and Tilt
Set the chair height so your feet rest flat on the floor with your thighs parallel to the ground or angled slightly downward. Your hips should sit slightly higher than your knees. Many clinicians sit too high, which causes the feet to dangle and removes the stable base your spine needs. A saddle-style stool can help maintain the natural lumbar curve and open the hip angle to approximately 110 degrees.
Arm and Elbow Position
Your upper arms should hang close to your torso with elbows bent at roughly 90 degrees when holding a handpiece at the working height. If you find your elbows drifting away from your body or your shoulders rising toward your ears, the patient chair height needs adjustment, not your posture.
Patient Positioning
Tilt and rotate the patient's head to bring the treatment site to you rather than bending to reach it. For maxillary teeth, the patient should be reclined nearly flat. For mandibular teeth, a slight chin-down tilt often provides better direct vision. Spending a few extra seconds positioning the patient before starting saves your neck and back over the course of the procedure.
Handpiece Selection and Grip Technique
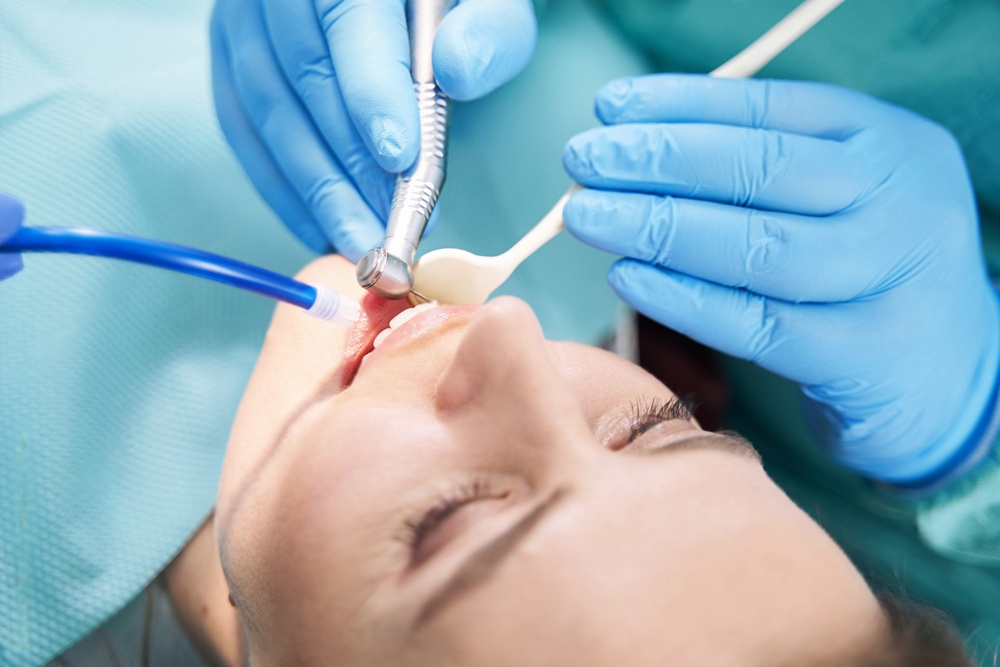
The handpiece itself plays a significant role in hand and wrist fatigue. Modern endodontic handpieces vary widely in weight, balance, diameter, and vibration characteristics.
Weight and Balance
A lighter handpiece reduces the static load on your fingers and forearm muscles. However, balance matters as much as total weight. A well-balanced handpiece feels lighter in use because you do not have to fight a forward-heavy or rear-heavy moment. When evaluating handpieces, hold them in your working grip for at least 30 seconds and note where fatigue develops.
Grip Diameter
Handpieces with a larger diameter distribute grip force across more surface area of the fingers, reducing point pressure. Some clinicians add silicone grip sleeves to narrow handpieces for the same effect. If you notice fingertip blanching or numbness during procedures, your grip is too tight or the diameter is too small.
Reducing Grip Force
Excess grip force is one of the most common and damaging ergonomic errors. You need only enough grip to control the instrument, not to squeeze it. Practice holding the handpiece with the minimum force that still allows precise control. Finger rests on the patient's adjacent teeth or chin provide stability that lets you relax your grip without losing accuracy.
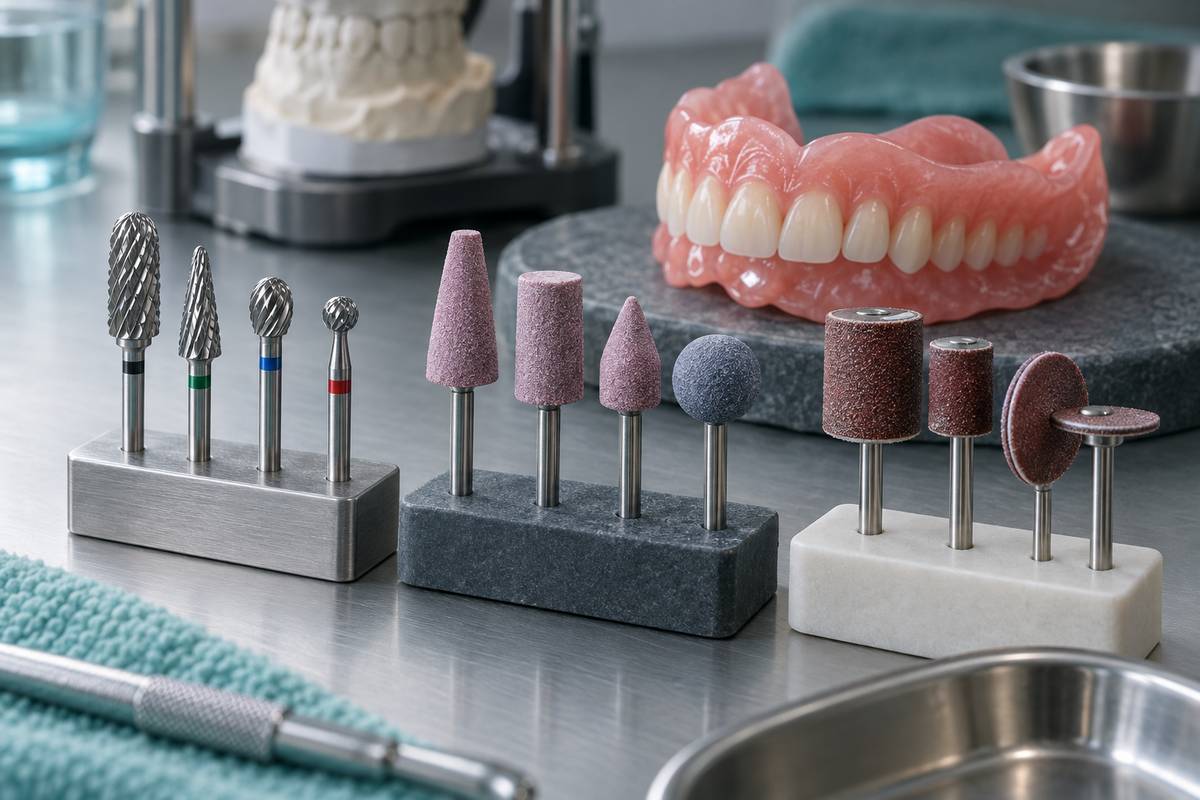
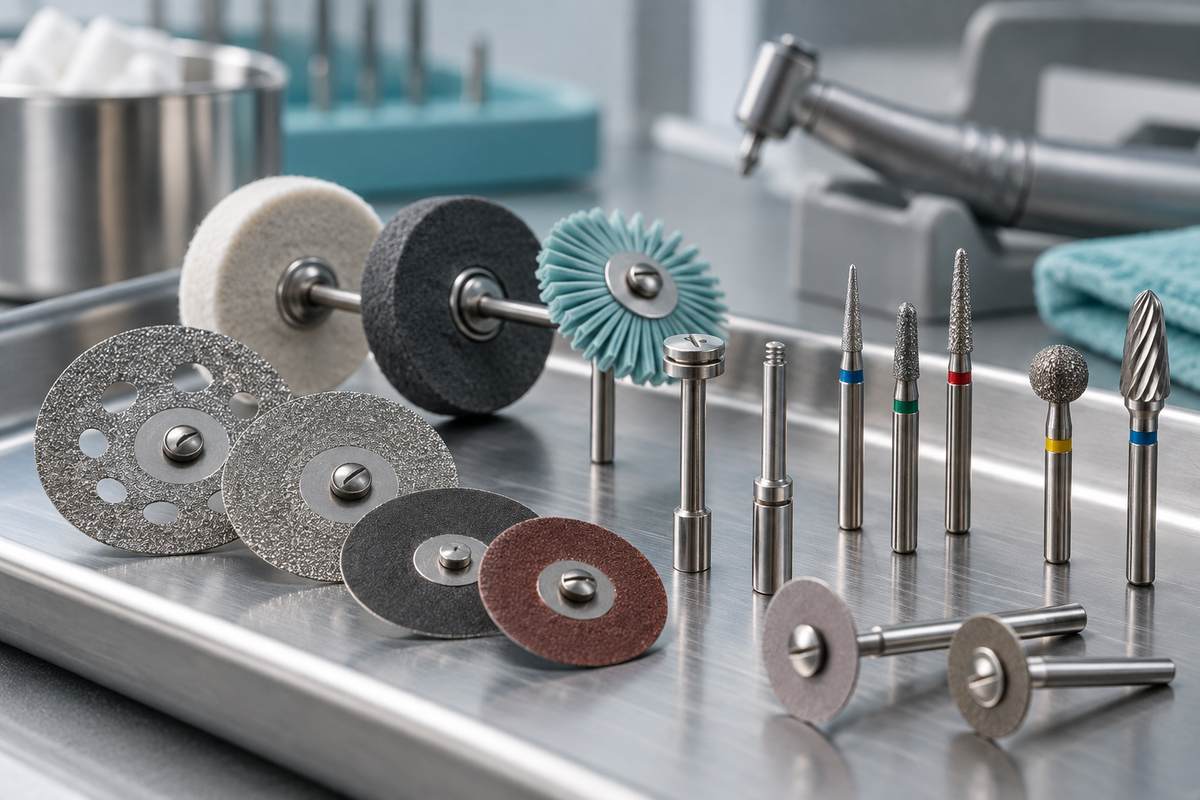
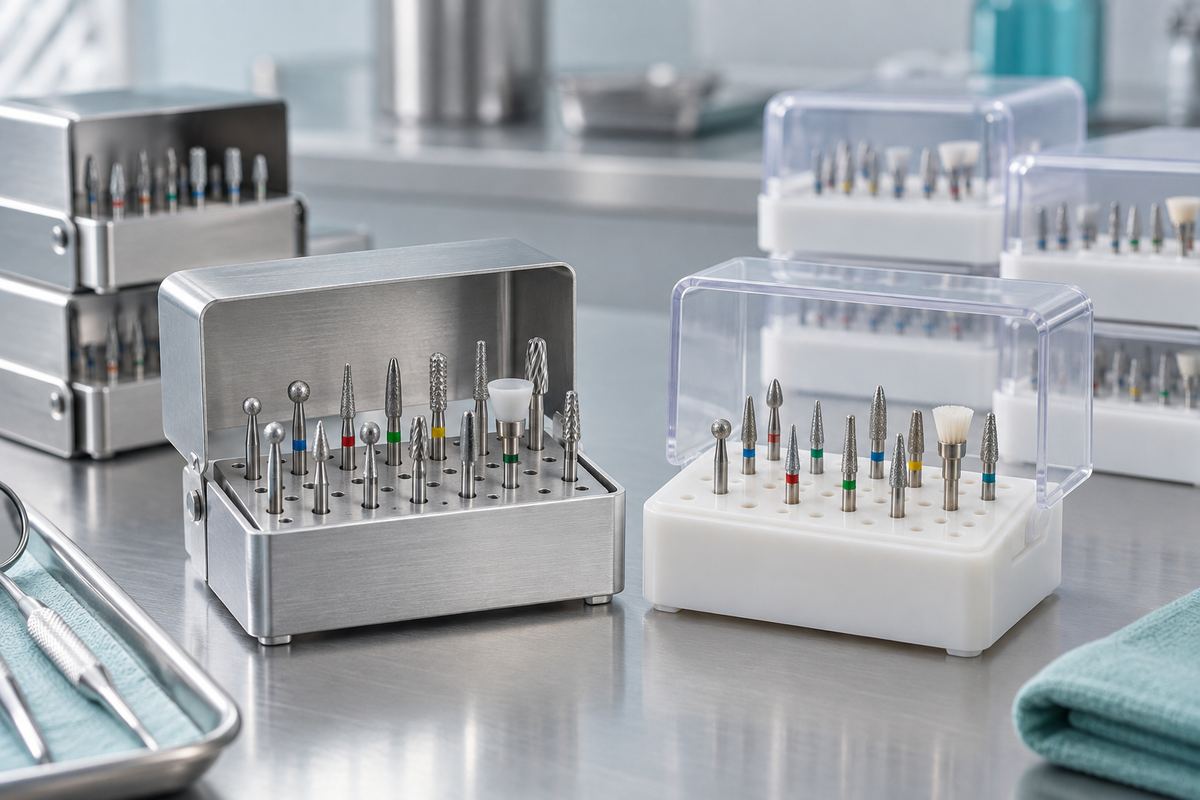
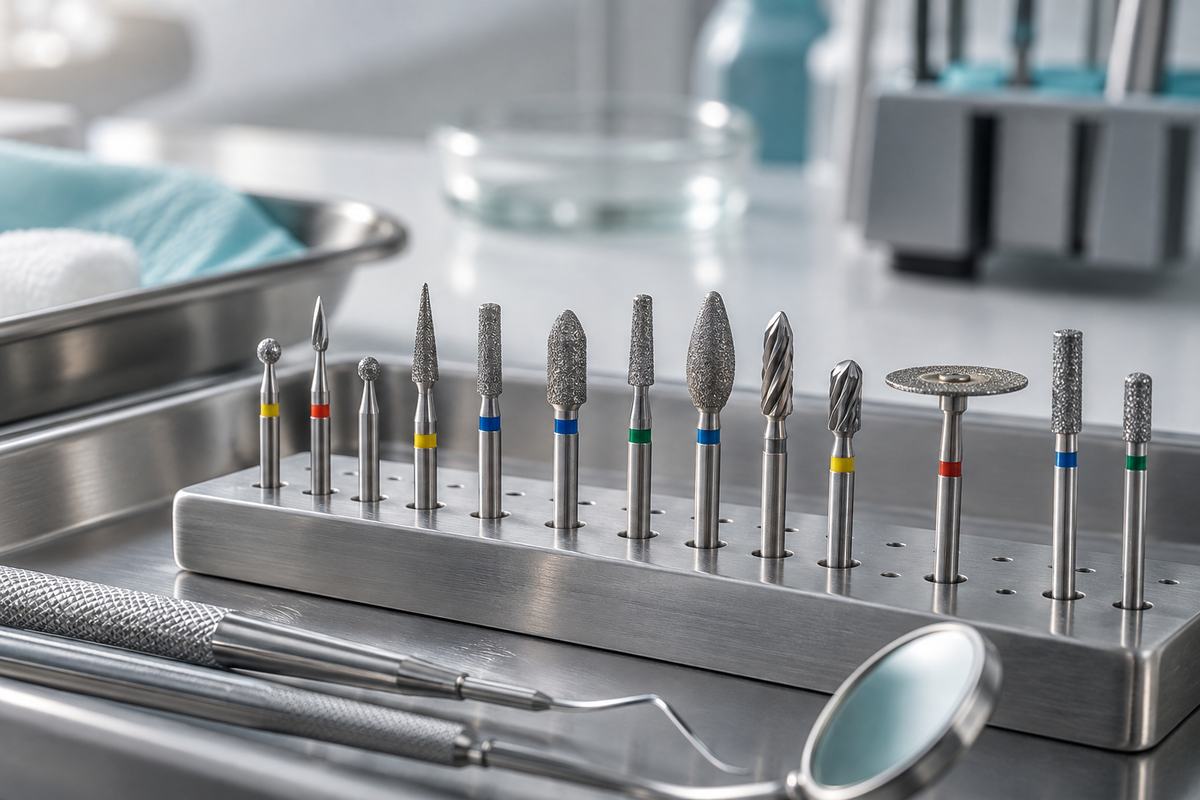
Pair your handpiece with high-quality tungsten carbide burs that cut efficiently. A sharp, well-manufactured bur requires less pressure to cut, which translates directly to less grip force and reduced hand fatigue.
Stretching and Micro-Break Protocols
Static postures cause muscles to fatigue and shorten over time. Regular stretching and brief movement breaks counteract this process.
Pre-Procedure Warm-Up
Before your first patient, spend two to three minutes on these movements:
- Shoulder rolls — ten forward, ten backward, performed slowly with full range of motion.
- Neck lateral flexion — gently tilt your ear toward each shoulder, holding for ten seconds per side.
- Wrist circles — ten rotations in each direction with fingers relaxed.
- Chest opener — clasp your hands behind your back and gently lift while squeezing the shoulder blades together. Hold for fifteen seconds.
Between-Patient Micro-Breaks
During the transition between patients, use 60 to 90 seconds for targeted relief:
- Stand and walk a few steps to reset spinal loading
- Perform a doorway chest stretch — place forearms on the door frame and lean forward gently
- Shake out your hands vigorously for ten seconds to restore circulation
- Roll your shoulders back and take three slow deep breaths to release tension
During Long Procedures
For procedures lasting more than 30 minutes, find natural pause points — such as during irrigation or between canals — to briefly drop your arms to your sides, relax your grip, and roll your neck. These pauses add only seconds to total procedure time but have a measurable impact on end-of-day fatigue.
Magnification and Lighting
Poor visibility is a hidden ergonomic hazard. When you cannot see clearly, you instinctively lean forward, flex your neck, and round your shoulders — all of which increase spinal load.
Loupes
Dental loupes with appropriate magnification (typically 3.5x to 5.0x for endodontics) allow you to maintain an upright head position while still seeing fine canal anatomy. The declination angle of the loupes should allow you to look downward with your eyes rather than your neck. Custom-fitted loupes are worth the investment because poorly fitted ones can actually worsen neck posture.
Microscopes
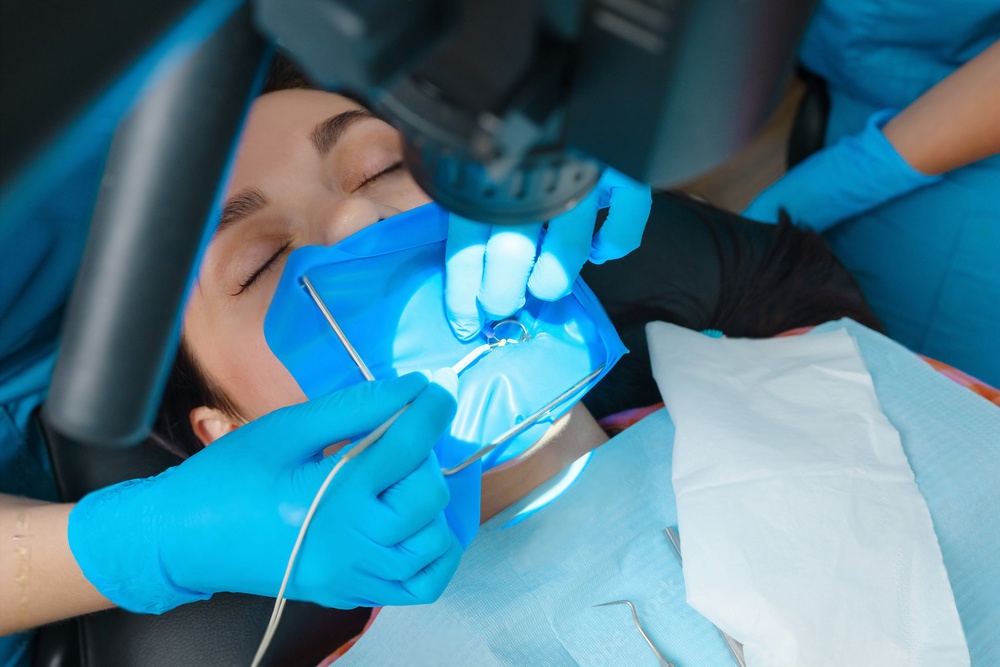
A dental operating microscope provides the highest magnification and best illumination for endodontic work. The ergonomic advantage is significant: the binoculars can be positioned so you sit fully upright with a neutral spine. However, microscope use introduces its own challenges. The narrow field of view requires more frequent repositioning, and the fixed eyepiece position can cause you to twist your torso if the microscope is not properly aligned with your seated position.
Overhead and Headlamp Lighting
Supplement your magnification with strong, shadow-free lighting directed into the access cavity. When ambient light is adequate, you stop unconsciously leaning in to compensate for dim working conditions.
Workspace and Equipment Layout
The arrangement of instruments, materials, and auxiliary equipment around you affects how much you reach, twist, and stretch during procedures.
- Place frequently used items within forearm reach. Files, irrigating syringes, and obturating materials should be accessible without extending your arm fully or turning your trunk.
- Position the assistant at the correct height. If your assistant is too low, you end up passing instruments at awkward angles. Matched chair heights improve transfer efficiency.
- Use a mobile cart instead of a fixed cabinet for items needed during treatment. Rolling the cart into position eliminates repeated twisting to reach a countertop behind you.
- Mount the monitor at eye level. If you reference digital radiographs during treatment, a monitor placed too low forces neck flexion every time you glance at it.
Strengthening Exercises for Long-Term Protection
Stretching addresses tightness, but strengthening builds the muscular endurance that supports good posture throughout a full clinical day.
Focus on these areas two to three times per week:
| Target Area | Exercise | Benefit |
|---|---|---|
| Upper back | Resistance band rows | Strengthens rhomboids and mid-trapezius to counter rounded shoulders |
| Core | Planks and dead bugs | Stabilizes the lumbar spine during prolonged sitting |
| Forearms | Wrist curls and extensions | Builds endurance for sustained grip during long procedures |
| Neck | Chin tucks against resistance | Strengthens deep cervical flexors to support neutral head position |
| Shoulders | External rotation with band | Balances the internal rotation pattern from clinical work |
You do not need a gym membership. A set of resistance bands and a yoga mat provide enough equipment for an effective routine that takes fifteen to twenty minutes per session.
Recognizing Early Warning Signs
Musculoskeletal injuries in dentistry rarely appear suddenly. They build gradually, and early intervention is far more effective than treatment after chronic damage has set in.
Watch for these signals:
- Tingling or numbness in the fingers after procedures
- Neck stiffness that does not resolve overnight
- Shoulder pain that worsens through the week and improves on weekends
- Lower back ache that starts earlier each clinical day
- Reduced grip strength or difficulty with fine motor tasks outside the office
If any of these persist for more than two weeks, consult a physical therapist or occupational health specialist who has experience with dental professionals. Early assessment and a targeted exercise program can reverse most early-stage problems before they become chronic.
For more guidance on caring for your clinical tools to reduce unnecessary strain, see our article on common mistakes to avoid when using dental burs. Proper bur and handpiece maintenance reduces the force needed during procedures, which directly supports your ergonomic goals. You may also find our article on sterilization and maintenance of dental handpieces useful for keeping your instruments in optimal working condition.
Building Sustainable Habits
Ergonomic knowledge alone does not prevent injury — consistent habits do. Start with one or two changes from this guide and build from there. Set a phone timer between patients as a reminder to stretch. Ask your assistant to watch for postural drift during procedures. Schedule a monthly self-assessment where you honestly evaluate your pain levels, posture habits, and equipment condition.
Your hands, back, and neck are your most valuable clinical instruments. Protecting them with deliberate ergonomic practice is not optional — it is a professional responsibility that determines how long and how well you can serve your patients.