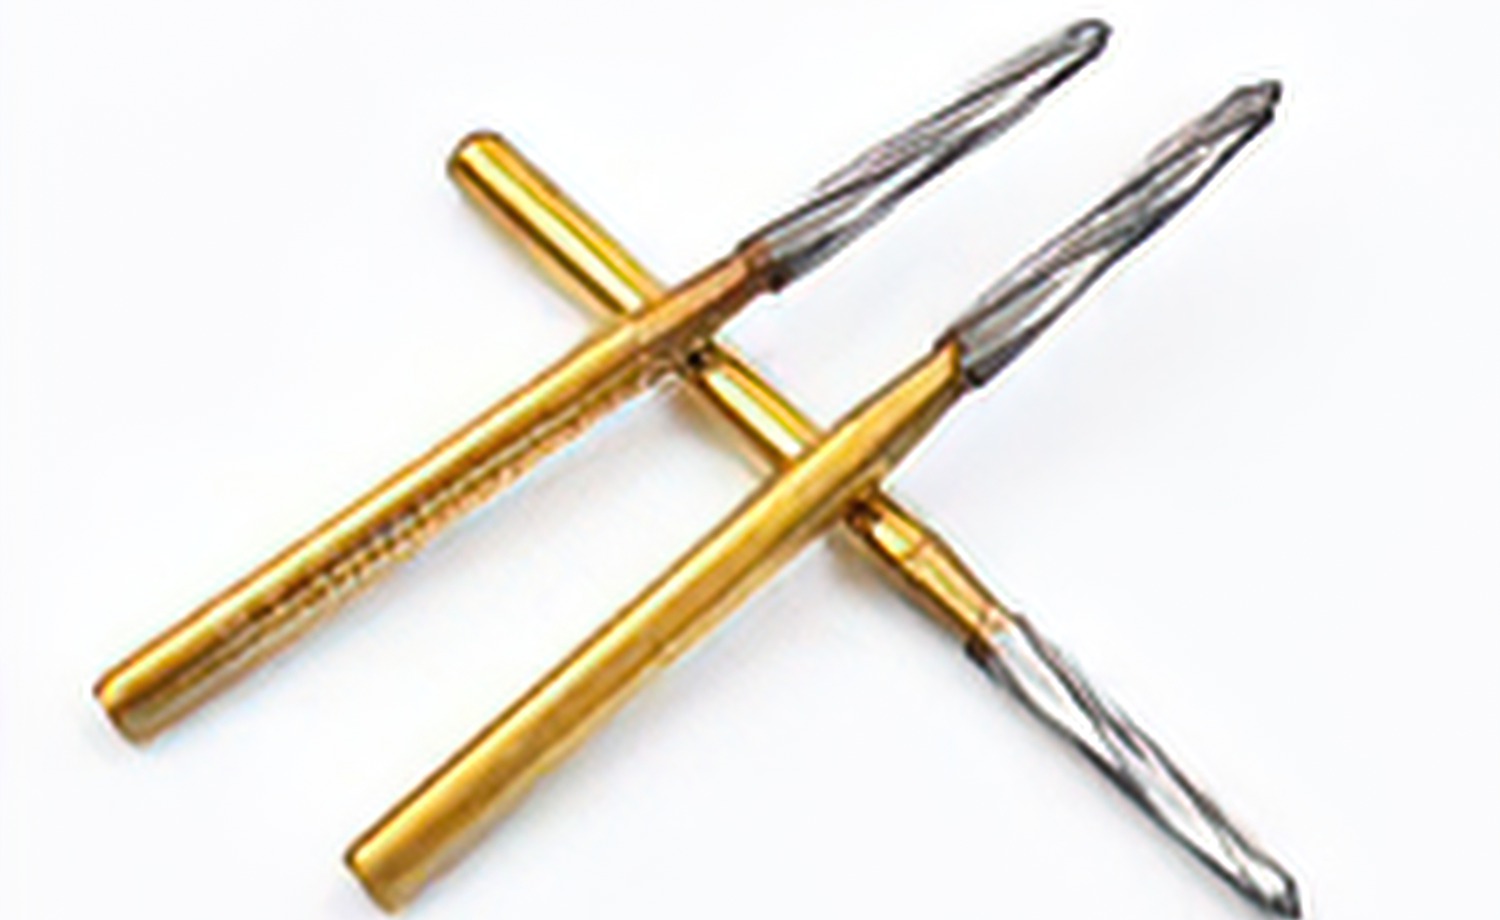
What is an Endo Z bur used for? Endo Z bur is mainly used for safe pulp chamber roof removal and wall refinement during endodontic access, with a non-cutting tip that helps reduce perforation risk.
Endodontic access cavity preparation demands precision. Cut too aggressively and you risk perforating the pulp chamber floor. The Endo Z bur was designed to solve this exact problem. Its non-cutting safe-ended tip lets you refine and flare access cavity walls while the floor remains protected.
This article covers the Endo Z bur's design, step-by-step clinical technique, case selection, and practical tips drawn from everyday endodontic practice.
What Is an Endo Z Bur?
The Endo Z bur is a tapered tungsten carbide bur engineered specifically for the second phase of endodontic access: refining the cavity after initial pulp chamber penetration. It belongs to the broader family of access cavity burs but is distinguished by one critical feature: a rounded, non-cutting tip.
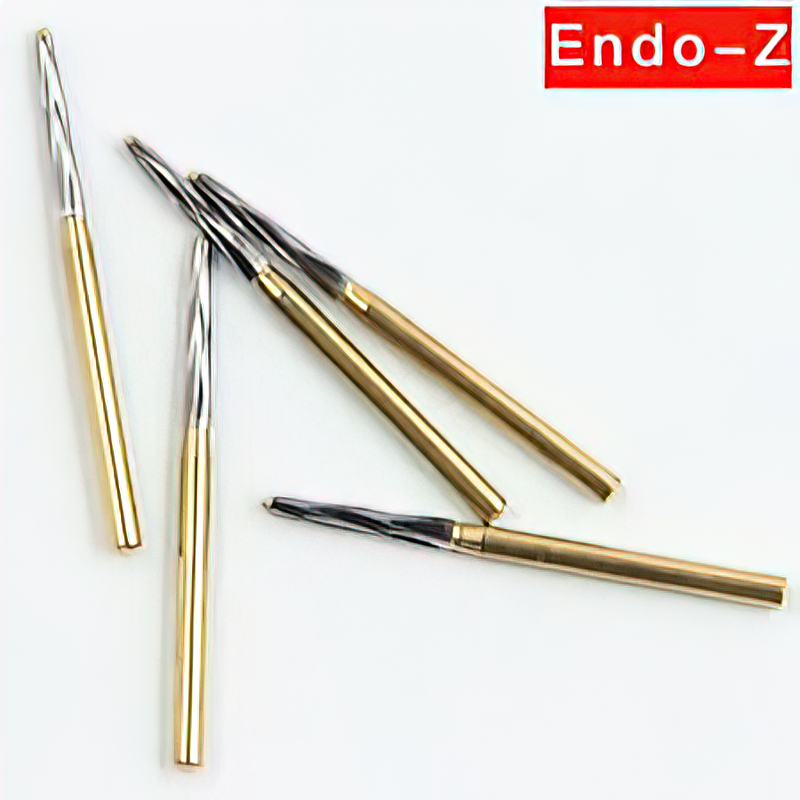
The lateral surfaces of the bur carry sharp cutting flutes that taper from the shank toward the tip. These flutes efficiently remove dentin from the axial walls. The tip, however, is smooth. When the tip contacts the pulp chamber floor, it glides across without cutting. This separation of cutting zones, active on the sides and passive at the tip, is what makes the Endo Z bur a standard instrument in endodontic kits worldwide.
Endo Z Bur Specifications
| Specification | Detail |
|---|---|
| Material | Tungsten carbide |
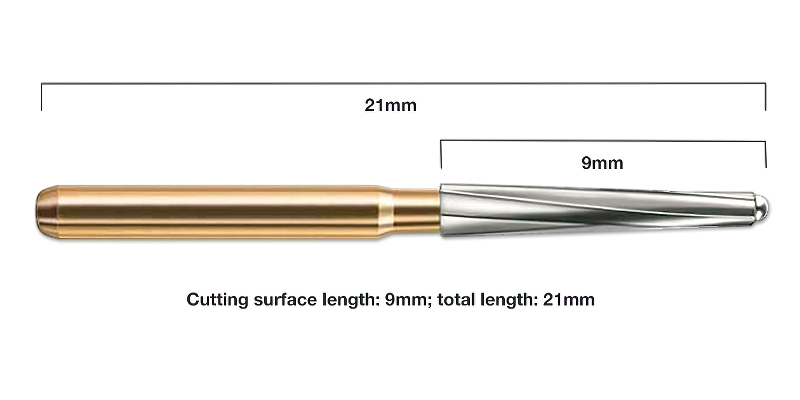
| Cutting length | 9 mm |
| Overall length | 21 mm |
| Tip design | Non-cutting, rounded safe end |
| Taper | Gradual taper from shank to tip |
| Compatible handpiece | High-speed friction grip (FG) |
The bur is available in several shank length options to accommodate different clinical situations:
- FG 152 – Standard length, suitable for most posterior teeth
- FGX 152 – Crosscut variant for faster dentin removal
- FGXL 152 – Extended length for deep access in molars with limited opening
How the Endo Z Bur Works: Step-by-Step Technique
The Endo Z bur enters the clinical workflow after the pulp chamber has already been opened. It is not an initial penetration bur. Here is the working sequence:
Step 1: Open the Pulp Chamber
Use a round bur (such as a #4 or #6 round carbide) or a high-speed diamond to penetrate the roof of the pulp chamber. Stop as soon as you feel the drop into the chamber. For a deeper look at bur selection for initial access, see our guide to dental bur types and techniques.
Step 2: Insert the Endo Z Bur
Switch to the Endo Z bur. Lower it into the access opening until the non-cutting tip rests against the pulp chamber floor. You should feel the tip contact the floor without engaging it. The bur should be aligned parallel to the long axis of the tooth.
Step 3: Refine the Axial Walls
With the bur running at high speed and light water spray, move it laterally against the internal walls of the cavity. The cutting flutes will shave dentin from the walls, creating a smooth, tapered funnel shape. Work around the entire circumference of the access.
Step 4: Check Straight-Line Access
Remove the bur and insert an endodontic explorer or file into each canal orifice. You should be able to reach each orifice without deflection. If a wall ledge or shelf blocks the path, re-insert the Endo Z bur and selectively remove the obstruction.
Step 5: Final Inspection
Rinse the cavity, dry with air, and visually inspect the floor. All canal orifices should be clearly visible. The walls should taper smoothly from the occlusal surface down to the floor. No gouges or ledges should remain on the floor itself.
Why the Non-Cutting Tip Matters
The pulp chamber floor in multi-rooted teeth sits directly above the furcation area. Perforating this floor creates a communication between the pulp chamber and the periodontal ligament space, a complication that significantly worsens prognosis. The non-cutting tip of the Endo Z bur provides a mechanical safeguard against this outcome.
Even with the safe-ended design, awareness of floor depth is important. The tip will not cut, but excessive force can still cause micro-fractures in thin floors. Use a light touch and let the lateral cutting edges do the work.
The passive tip is created during manufacturing by grinding the terminal end of the bur smooth after the cutting flutes have been milled into the carbide blank. This secondary grinding step removes all blade geometry from the tip surface, leaving a polished dome that slides over dentin without engaging the tooth structure. The result is a clear boundary between the active cutting zone on the lateral walls and the inert contact surface at the tip, giving the clinician confidence to work aggressively close to the floor without fear of cutting into it.
Case Selection: When to Use the Endo Z Bur
The Endo Z bur is most valuable in specific clinical scenarios:
| Scenario | Why the Endo Z Bur Helps |
|---|---|
| Multi-rooted molars | Floor protection is critical; multiple orifices require wide, straight-line access |
| Retreatment cases | Existing restorations may obscure chamber anatomy; controlled wall removal reveals orifices |
| Calcified chambers | Gradual lateral flaring helps locate canal orifices hidden under secondary dentin |
| Post space preparation | Removing coronal tooth structure without endangering the floor |
Single-rooted teeth: The Endo Z bur can be used in premolars and anterior teeth, but exercise caution. There is no true "floor" to protect in a single canal tooth. Avoid apical pressure entirely; use only lateral brush strokes against the walls.
Clinical Tips for Better Results
- Maintain axial alignment. Keep the bur parallel to the long axis of the tooth. Tilting the bur off-axis produces an over-tapered cavity, removes excess dentin, and weakens the coronal tooth structure.
- Conservative access is possible. If you want a narrower access, angle the Endo Z bur slightly toward the center of the cavity or switch to a parallel-sided diamond. The tapered design naturally flares outward, so conscious control of angulation helps conserve tooth structure.
- Use magnification. Loupes or a dental microscope make it easier to see the floor anatomy, identify all canal orifices, and confirm that the tip is resting where it should be.
- Pair with ultrasonics for calcified canals. In heavily calcified cases, use the Endo Z bur for gross wall shaping, then switch to ultrasonic tips for precise orifice location near the floor.
- Check bur condition regularly. Dull carbide flutes force you to apply more pressure, which increases the risk of floor damage despite the safe tip. Replace the bur when cutting efficiency drops. For bur maintenance guidance, see our article on sterilizing and handling dental burs.
Endo Z Bur vs. Other Access Burs
Several burs can be used during endodontic access. Here is how the Endo Z bur compares to common alternatives. For a broader comparison of bur materials, see diamond burs vs. carbide burs.
| Bur Type | Primary Use | Floor Protection | Wall Cutting |
|---|---|---|---|
| Round carbide (#4, #6) | Initial pulp chamber penetration | None | Minimal |
| Endo Z (tapered safe-end) | Wall refinement and flaring | Non-cutting tip | Excellent |
| Tapered diamond | Enamel removal, gross shaping | None | Good (abrasive) |
| Surgical length carbide | Deep access in posterior teeth | None | Good |
The round bur opens the chamber. The Endo Z bur refines it. This two-bur sequence, round then Endo Z, is the standard approach taught in most endodontic programs and remains the most reliable method for safe, predictable access cavity preparation.
Common Mistakes to Avoid
- Using the Endo Z bur for initial penetration. The bur is designed for refinement, not for breaking through the roof of the pulp chamber. Starting with an Endo Z bur leads to poor control and wasted time.
- Applying apical pressure. The safe tip is non-cutting, but pressing down hard transmits force to the floor. Keep pressure lateral and let the side flutes work.
- Ignoring bur wear. A worn Endo Z bur cuts slowly and forces you to push harder, which defeats the purpose of the safe-ended design. Inspect the flutes before each use.
- Skipping irrigation. Without adequate water spray, heat builds up and can cause thermal injury to the pulp remnants and periodontal tissues. Always run the bur with coolant.
Frequently Asked Questions
What is the Endo Z bur used for?
The Endo Z bur is used to refine and flare the walls of an endodontic access cavity after the pulp chamber has been opened with a round bur. Its non-cutting tip allows the clinician to shape the cavity walls while protecting the pulp chamber floor from perforation.
Why does the Endo Z bur have a non-cutting tip?
The non-cutting tip prevents perforation of the pulp chamber floor, which sits directly above the furcation in multi-rooted teeth. A perforation at this location creates a pathway for bacterial contamination into the periodontal ligament space and significantly reduces the tooth's long-term prognosis.
What size is an Endo Z bur?
The standard Endo Z bur (FG 152) has a 9 mm cutting length and a 21 mm overall length. It is available in standard (FG), crosscut (FGX), and extended-length (FGXL) variants to accommodate different tooth anatomies and access depths.
Can I use the Endo Z bur for initial access opening?
No. The Endo Z bur is designed for the second phase of access, after the pulp chamber roof has already been penetrated with a round bur. Its tapered shape and non-cutting tip make it ineffective and difficult to control for initial penetration through enamel and the dentin roof.
How many times can you autoclave an Endo Z bur?
Tungsten carbide burs can withstand repeated autoclave cycles without significant degradation. Most manufacturers rate them for at least 50 sterilization cycles. However, the cutting flutes dull with clinical use regardless of sterilization, so replace the bur when you notice reduced cutting efficiency rather than tracking autoclave counts alone.
Summary
The Endo Z bur fills a specific role in endodontic access: it refines cavity walls without cutting the pulp chamber floor. Its tapered tungsten carbide body delivers efficient lateral cutting, while the rounded safe-ended tip provides a built-in margin of safety. Whether you are treating a straightforward molar or navigating a calcified retreatment case, the Endo Z bur keeps floor perforation risk to a minimum when used with proper technique and axial alignment.
Browse our full selection of tungsten carbide burs and surgical carbide burs to find the right instruments for your endodontic and restorative procedures.
Endo Z Bur Sizes and ISO Notes
Choose size and shank based on handpiece type, access cavity anatomy, and visibility requirements. Confirm model and ISO coding before procedure setup.
Endo Z vs Other Endodontic Burs
Compared with more aggressive cutting burs, Endo Z emphasizes chamber refinement and safety near the pulpal floor due to the non-cutting tip design.
Step-by-Step Endo Z Technique
Step 1: Establish initial access with the appropriate starter bur.
Step 2: Switch to Endo Z for chamber roof and wall refinement.
Step 3: Maintain clear visibility and light brushing pressure.
Step 4: Confirm straight-line access before instrumentation.
FAQ: Endo Z Bur
What size is Endo Z bur? Sizes vary by manufacturer; verify catalog specifications and ISO coding before use.
Can Endo Z bur be used for initial penetration? It is generally better used after initial entry to refine the chamber safely.