Diamond Files and Sandpapers: The Jewelry Maker's Finishing Tools
Every piece of fine jewelry passes through a finishing stage where rough surfaces are smoothed, edges are refined, and the metal takes on its final luster. The tools responsible for this transformation are files and sandpapers, and among the many options available, diamond-coated versions stand out for their durability, precision, and ability to work with a wide range of metals and alloys.
This guide covers everything a jeweler needs to know about diamond files and diamond sandpapers: how they differ from conventional abrasives, how to select the right grit for each metal type, and how to use them effectively to achieve professional-grade results on every piece.
What Makes Diamond Abrasives Different
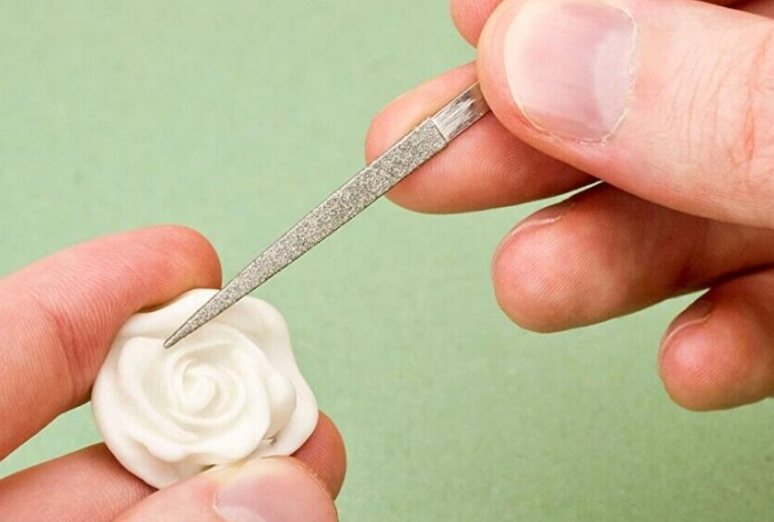
Conventional jewelry files use hardened steel teeth to remove material. They work well on softer metals but lose their edge quickly when used on harder alloys. Diamond files, by contrast, feature an industrial diamond coating bonded to a steel or nickel substrate. Because diamond is the hardest known material, these files maintain their cutting ability far longer, even when shaping titanium, stainless steel, tungsten, or hardened tool steel.
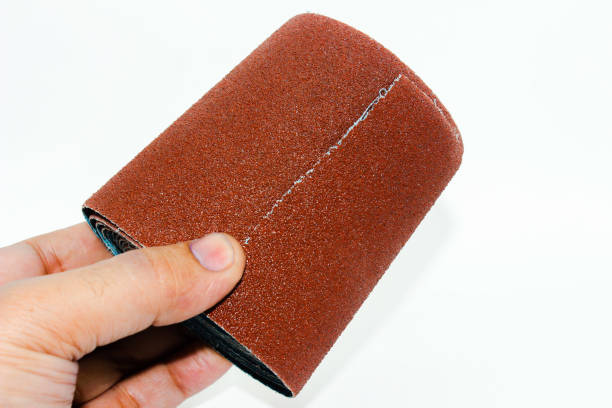
Diamond sandpapers follow the same principle. Instead of aluminum oxide or silicon carbide particles on a paper backing, diamond sandpapers use micron-graded diamond particles bonded to a flexible substrate. The result is a sheet that cuts more aggressively at each grit level and lasts significantly longer than its conventional counterpart. For jewelers who work with mixed metals or frequently switch between soft and hard materials, diamond abrasives reduce the number of tools needed and deliver more consistent results.
Types of Diamond Files for Jewelry Work
Diamond files come in a variety of profiles, each suited to different tasks:
- Flat files: The most versatile shape, used for smoothing broad surfaces, squaring edges, and refining flat bezels.
- Half-round files: One flat face and one curved face, ideal for working on both flat and concave surfaces in a single tool.
- Round (rat-tail) files: Used for enlarging holes, smoothing the insides of rings, and refining curved channels.
- Square files: Useful for opening and refining square or rectangular slots, such as those in box clasps.
- Triangle files: Designed for tight corners and angular details, including prong work and V-shaped grooves.
- Knife files: A thin, wedge-shaped profile for accessing narrow gaps and refining tight angles.
For jewelers who also use rotary tools, diamond-coated needle files provide even finer control in small-scale work. These are often used alongside rotary accessories like mandrels and mounted points for a complete finishing workflow.
Understanding Diamond Grit Sizes
Grit size determines how aggressively the file or sandpaper cuts and what quality of surface finish it leaves behind. Diamond abrasives use a micron-based grading system, though some manufacturers also reference mesh numbers. Here is a practical guide to common grit ranges:
| Grit Category | Micron Range | Typical Use |
|---|---|---|
| Extra coarse (60-100) | 250-150 microns | Rapid material removal, reshaping, removing deep scratches |
| Coarse (150-200) | 100-75 microns | Initial smoothing after shaping, removing tool marks |
| Medium (300-400) | 50-40 microns | Refining surfaces, preparing for final polish |
| Fine (600-800) | 25-20 microns | Pre-polishing, removing light scratches |
| Extra fine (1200+) | 15 microns and below | Final finishing, achieving near-mirror surface |
The general rule is to start with the coarsest grit that addresses the current surface condition and work progressively through finer grits. Jumping from a coarse grit directly to a fine grit leaves subsurface scratches that become visible under polishing, so patience in the grit progression pays off in the final result.
Grit Selection by Metal Type
Different metals respond differently to abrasive contact. Selecting the right starting grit and progression helps avoid common problems like gouging soft metals or burning out abrasives on hard ones:
Soft Metals: Gold, Silver, Copper, Brass
These metals are malleable and easy to scratch. Start with a medium grit (300-400) unless significant material removal is needed. Soft metals also tend to load the abrasive surface with metal particles, so clean your files and sandpapers frequently during use. A soft brush or compressed air works well for clearing loaded diamond surfaces.
Medium-Hard Metals: Platinum, Palladium, Nickel Alloys
These metals require more cutting force. Start with a coarse grit (150-200) and apply steady, even pressure. Diamond abrasives perform well here because conventional files tend to dull rapidly on platinum-group metals.
Hard Metals: Titanium, Stainless Steel, Tungsten
Only diamond abrasives work effectively on these materials. Start with an extra coarse or coarse grit and expect slower progress. Use light, consistent pressure and allow the diamond particles to do the cutting. Excessive force generates heat that can damage both the workpiece and the abrasive coating.
Techniques for Effective Filing and Sanding
Having the right tools matters, but technique determines the quality of the finished surface. Follow these guidelines for the best results:
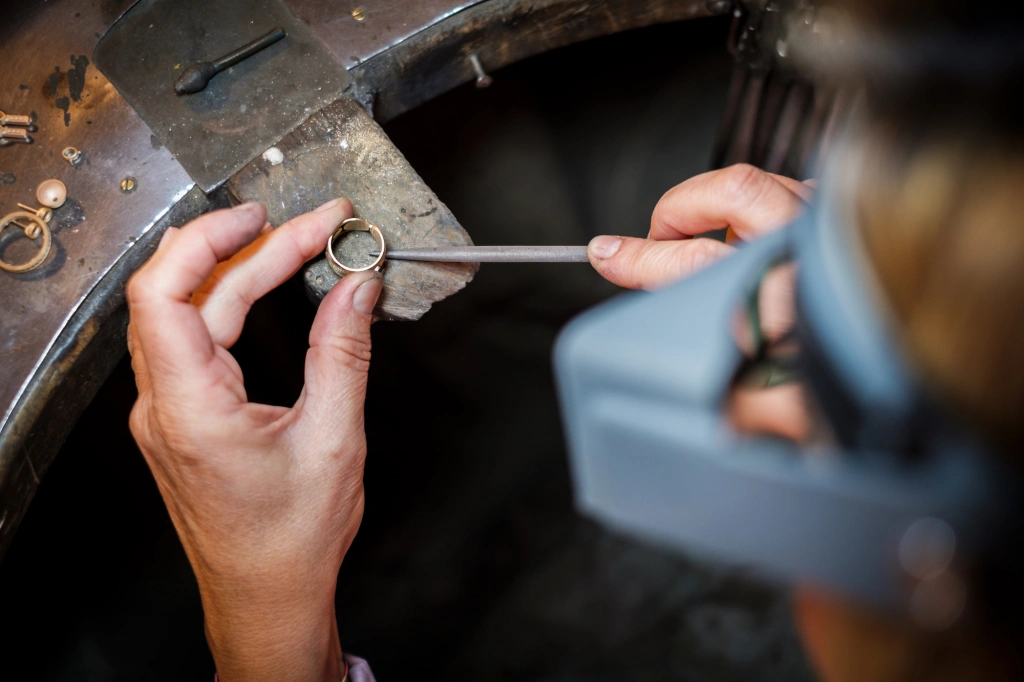
- Let the tool do the work. Apply light, even pressure and use the full length of the file stroke. Pressing too hard forces metal particles into the diamond coating, reducing cutting efficiency and shortening tool life.
- File in one direction. Unlike conventional files where back-and-forth motion is common, diamond files cut most efficiently on the forward stroke. Lift slightly on the return stroke to clear debris and maintain a clean cutting action.
- Keep the surface lubricated. A light application of water, oil, or a proprietary cutting lubricant reduces friction, prevents heat buildup, and helps flush away metal particles. This is especially important when working with hard metals or fine grits.
- Secure the workpiece. Use a bench vise, ring clamp, or jeweler's pin vise to hold the piece steady. Filing against an unsecured piece wastes effort and produces inconsistent results.
- Inspect frequently. Use a loupe or magnifying lamp to check your progress between grit changes. Move to the next finer grit only when all scratches from the current grit run in a uniform direction.
Creating Textures and Decorative Finishes
Beyond producing a smooth, mirror-like surface, diamond files and sandpapers can create intentional textures that add character to jewelry pieces:
- Brushed or satin finish: Use a fine-grit diamond sandpaper in long, parallel strokes across the surface. The result is a soft, directional sheen that diffuses light rather than reflecting it sharply.
- Cross-hatch texture: Apply two passes of filing at 45-degree angles to each other with a medium-grit file. The intersecting scratch pattern creates a subtle geometric texture.
- Stippled surface: Lightly tap a pointed diamond file against the surface in a random pattern to create a hammered or stippled effect.
These techniques work well on rings, cuff bracelets, and pendant surfaces where texture adds visual interest. For related finishing methods using rotary tools, see our article on using diamond burs to engrave stainless steel, which covers engraving techniques applicable to jewelry work as well.
Care and Storage of Diamond Abrasives
Diamond files and sandpapers are durable, but proper care extends their useful life significantly:
- Clean files after every use with a soft brush and warm soapy water. Avoid ultrasonic cleaners for files with bonded handles, as the vibration can loosen adhesives.
- Store diamond files in a dedicated roll or rack where they do not contact each other. Diamond-on-diamond contact causes unnecessary wear.
- Keep diamond sandpaper sheets flat in a dry drawer or folder. Rolling or folding them can crack the abrasive layer.
- Replace any file or sheet where the diamond coating shows visible wear or bald spots. Using a worn abrasive forces the jeweler to apply more pressure, which increases the risk of damaging the workpiece.
Browse our full selection of laboratory diamond burs for rotary tools that complement your hand filing workflow with powered precision.
Final Thoughts
Diamond files and diamond sandpapers are among the most reliable finishing tools available to jewelers today. Their hardness, longevity, and versatility across metal types make them suitable for everything from rough shaping to final pre-polish preparation. By selecting the appropriate grit for each metal, following sound technique, and caring for your tools between uses, you can produce consistently polished results on every piece that leaves your bench.