Selecting the right dental bur for each clinical situation directly affects treatment quality, efficiency, and patient comfort. With hundreds of bur shapes, sizes, and materials available, knowing which bur to reach for can save time and produce better preparations. This guide matches specific bur types to the most common clinical procedures, from crown removal to final finishing.
Burs for Removing a Dental Crown
Crown removal requires cutting through two distinct layers: the outer porcelain or ceramic shell and the underlying metal substructure. Each layer responds best to a different bur type.
Cutting Through Porcelain
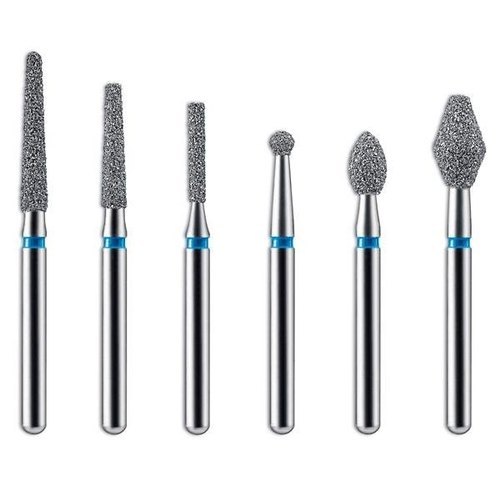
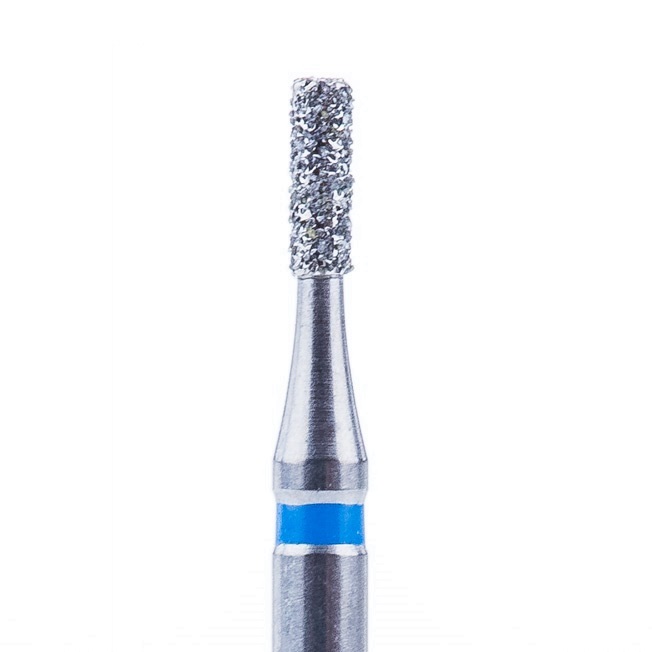
A diamond fissure bur is the most efficient choice for sectioning porcelain. Diamond abrasives cut through hard ceramic materials faster than carbide flutes, and the fissure shape provides a controlled, narrow cutting path along the buccal or lingual surface of the crown. Use a coarse-grit diamond for initial penetration and switch to a medium grit as you approach the metal layer.
Removing the Metal Substructure
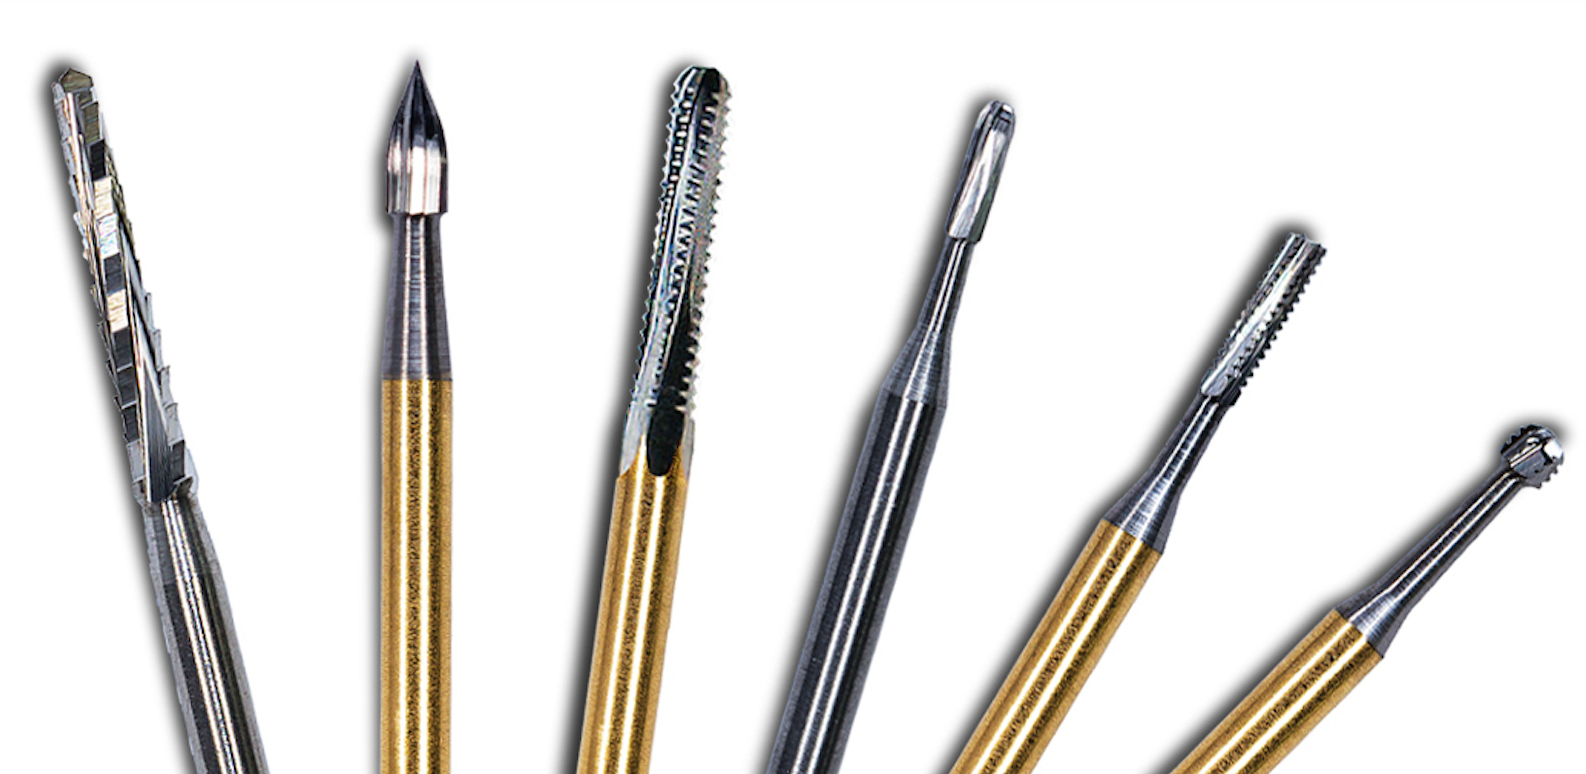
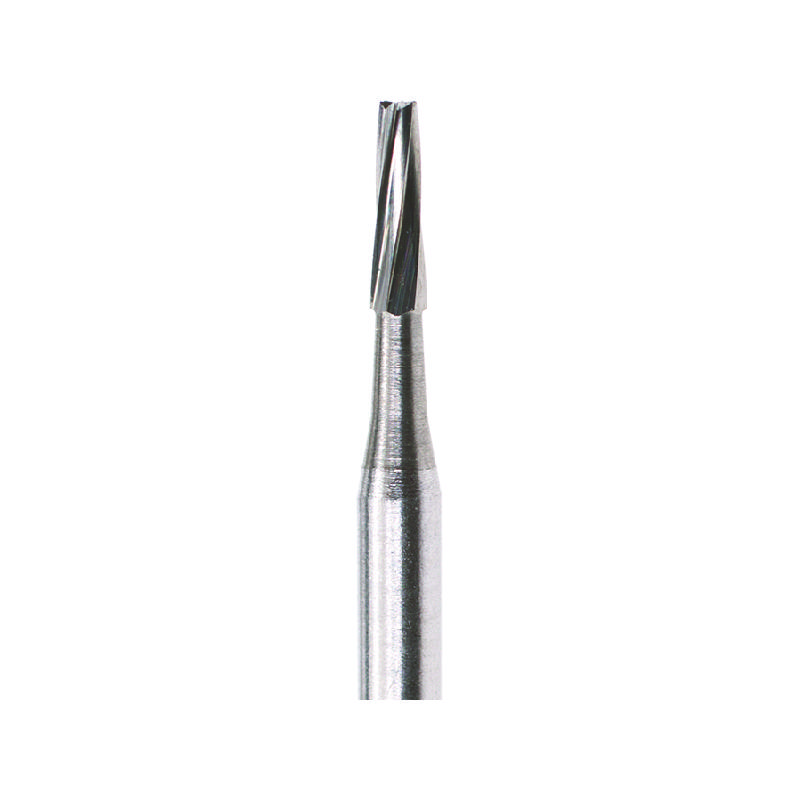
Once the porcelain is sectioned, a tungsten carbide cross-cut fissure bur handles the metal substructure efficiently. Carbide burs cut metal alloys more effectively than diamond burs, which tend to clog when used on ductile metals. After removing the crown, prepare the remaining tooth structure with a tapered-fissure bur to establish proper taper and margin definition.
For a full overview of available shapes, see our guide on dental bur types.
Burs for Removing Amalgam Restorations
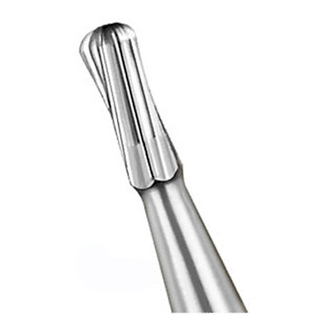
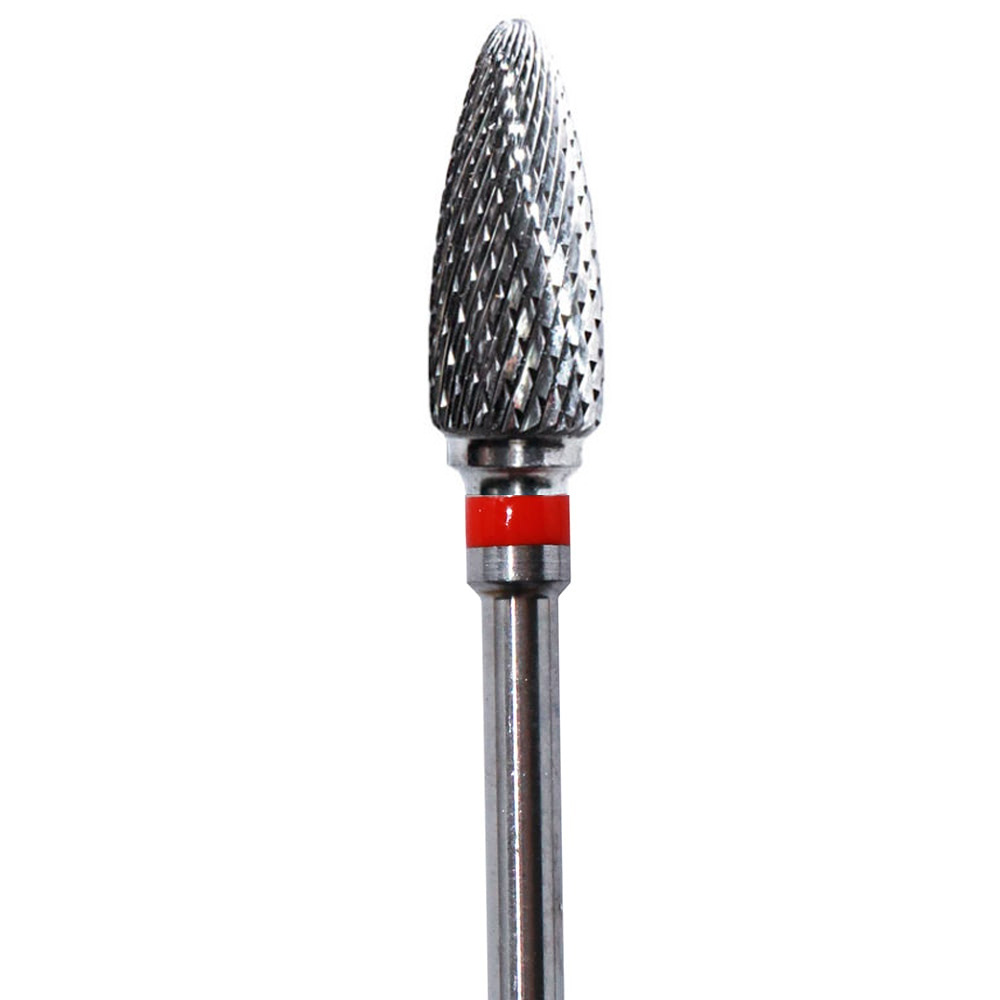
Old amalgam restorations are best removed with a tungsten carbide bur. Carbide is the preferred material because it cuts amalgam alloy cleanly without generating excessive heat. Two bur shapes work particularly well:
- Pear-shaped burs — their rounded profile follows the contour of the cavity floor and walls, reducing the risk of cutting into healthy tooth structure
- Fine cross-cut fissure burs — produce controlled, linear cuts for sectioning large amalgam restorations into smaller pieces before removal
Work at moderate speed and use water spray to keep the temperature down. Amalgam removal generates fine particulate matter, so proper high-volume evacuation is important during this procedure.
Browse our full range of tungsten carbide burs for clinical and laboratory applications.
Burs for Removing Dental Caries
Caries excavation demands a careful approach that removes decayed tissue while preserving as much healthy tooth structure as possible. The bur choice and operating speed both play a role in achieving this balance.
Round Carbide Burs at Slow Speed
A round tungsten carbide bur operated in a slow-speed handpiece is the standard instrument for caries removal. Sizes #2, #4, #6, and #8 cover most clinical scenarios. At slow speed, the round bur selectively removes the softer decayed dentin while leaving harder, healthy dentin intact. This selective cutting action is especially valuable in deep cavities where the pulp is close and the risk of exposure is higher.
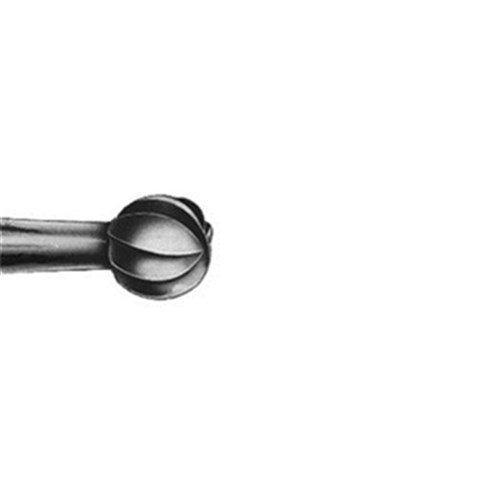
Ceramic Round Burs
Some clinicians prefer polymer or ceramic round burs for the final stages of caries excavation. These burs are designed to cut only tissue that is softer than healthy dentin, providing an additional safety margin near the pulp. They are not a replacement for tungsten carbide burs during initial excavation but serve as a useful secondary check before placing the restoration.
Completing the Preparation
After all signs of caries are removed, switch to a finer diamond or carbide bur to smooth the cavity walls and refine the preparation margins. A smooth, well-defined cavity provides better adaptation for the restorative material and reduces the likelihood of microleakage at the margins.
Burs for All-Ceramic Restoration Preparation
All-ceramic restorations such as lithium disilicate and zirconia crowns require specific margin geometry: a flat exit angle at approximately 90 degrees with a rounded internal line angle. Getting this geometry right affects both the fit of the restoration and the long-term integrity of the margin.
Modified-Shoulder Diamond Burs
A modified-shoulder diamond bur is designed specifically for this purpose. Its flat end produces the 90-degree exit angle, while the rounded shoulder creates the necessary internal radius. This bur shape eliminates the sharp internal angles that concentrate stress and can lead to ceramic fracture.
Avoiding Reverse Margins
A common preparation error occurs when the depth of cut exceeds the diameter of the bur tip. This creates a reverse or undercut margin that is invisible in the mouth but becomes apparent once a model is poured. Two strategies prevent this problem:
- Select a bur diameter that matches the required preparation depth — if the preparation calls for 1.5 mm of reduction, use a bur with a tip diameter of at least 1.5 mm
- Use an end-cutting bur — these burs cut only on their flat end, not on the sides, which prevents inadvertent deepening of the preparation beyond the intended margin
For more information on how ISO numbering identifies bur dimensions, read our article on ISO numbers for dental burs.
Burs for Finishing Preparations
Finishing is the final step before impression-taking or direct restoration placement. The quality of the finished preparation directly affects the fit, marginal integrity, and longevity of the restoration.
Tungsten Carbide Finishing Burs
Finishing burs differ from standard operative burs in two ways: their flutes are more numerous and shallower. This design removes less material per revolution, producing a smoother surface. Tungsten carbide finishing burs are available in the same shapes as operative burs — tapered fissure, flame, egg, and round — so you can match the finishing bur to the preparation geometry.
Diamond Finishing Burs
Fine-grit and extra-fine-grit diamond burs are also used for finishing, particularly on enamel margins. The fine diamond particles smooth the enamel surface and create a clean, well-defined margin line. Use light pressure and high speed with adequate water spray to avoid heat damage to the pulp.
Why Finishing Matters
A properly finished preparation surface is smooth enough to discourage biofilm accumulation on the restoration. Rough surfaces trap bacteria at the margin, increasing the risk of secondary caries and periodontal inflammation around the restoration. Taking an extra minute to finish the preparation properly is time well spent.
Maintaining Reusable Burs
After completing treatment, inspect every bur before returning it to inventory. Discard any bur that shows visible wear, chipped flutes, or a bent shank. A worn bur cuts inefficiently, generates excess heat, and can damage the handpiece bearings as the motor compensates for reduced cutting performance.
Burs cleared for reuse should follow this maintenance sequence:
- Pre-soak — place burs in an enzymatic cleaning solution to loosen biological debris
- Scrub — use a brass wire brush or specialized bur cleaning block to remove remaining material from flutes and diamond surfaces
- Rinse and dry — remove all cleaning solution residue
- Sterilize — process in an autoclave according to the manufacturer's instructions
- Inspect again — check under magnification after sterilization to confirm the bur is still in serviceable condition
Diamond burs benefit from enzymatic cleaning rather than ultrasonic cleaning, which can weaken the bond between the diamond coating and the metal shank over time. For detailed cleaning instructions, see our article on cleaning diamond burs.
Quick Reference: Bur Selection by Procedure
| Procedure | Recommended Bur | Speed |
|---|---|---|
| Crown removal (porcelain) | Diamond fissure bur, coarse grit | High |
| Crown removal (metal) | Tungsten carbide cross-cut fissure | High |
| Amalgam removal | Carbide pear or cross-cut fissure | Moderate |
| Caries excavation | Round carbide #2, #4, #6, #8 | Slow |
| All-ceramic prep margins | Modified-shoulder diamond | High |
| Finishing and smoothing | Fine carbide or fine diamond | High, light pressure |
Choosing the correct bur for each clinical step removes guesswork from the preparation process. Match the bur material to the substrate you are cutting, select a shape that fits the anatomy of the preparation, and always inspect your burs before and after use. These straightforward habits lead to cleaner preparations, better-fitting restorations, and more predictable clinical outcomes.