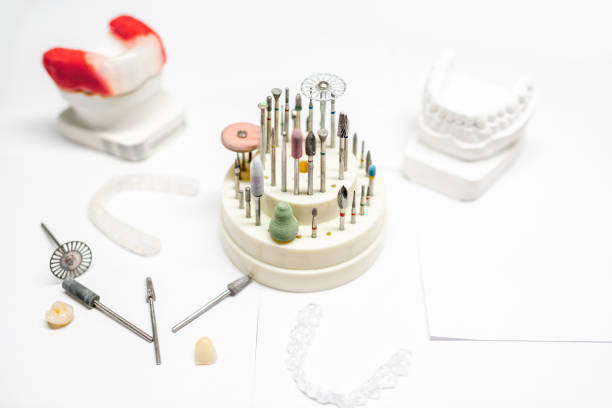
How to Choose the Right Dental Abrasive Tool for Every Procedure
Abrasive rotary instruments are among the most frequently used tools in both clinical dentistry and dental laboratories. From cavity preparation and crown contouring to final polishing of composite and ceramic restorations, the abrasive tool you select directly affects treatment quality, surface finish, working time, and patient comfort. Yet with hundreds of bur types, grit options, and head shapes available from multiple manufacturers, choosing the right instrument for a specific task is not always straightforward, even for experienced practitioners.
This guide provides a systematic, four-step approach to selecting dental abrasive tools based on material compatibility, procedure requirements, grit selection, and instrument geometry. Following this framework will help you build an efficient bur inventory and achieve consistent results across all your clinical and laboratory procedures.
Step 1: Match the Abrasive Tool to the Material
The hardness and composition of the material you are working on is the most important factor in abrasive tool selection. Using the wrong abrasive type on a given substrate leads to poor cutting efficiency, unintended surface damage, excessive heat generation, or premature tool wear that drives up costs.
Diamond Burs for Hard Substrates
Diamond is the hardest abrasive material available for dental instruments, and it is the first choice for cutting, contouring, and finishing hard dental materials. Diamond burs perform best on the following substrates:
- Tooth enamel and dentin during cavity preparation, crown reduction, and veneer preparation
- Porcelain and ceramic restorations including feldspathic porcelain, lithium disilicate (e.max), and monolithic zirconia
- Composite resin adjustments and finishing when paired with fine or ultrafine diamond grit sizes
- Glass ionomer and resin-modified glass ionomer cements during margin finishing
Diamond particles are bonded to the bur head through one of two manufacturing processes. Electroplated burs feature a single layer of diamond crystals bonded to a metal blank with a nickel matrix. They offer aggressive initial cutting performance but gradually lose sharpness as the exposed diamond layer wears down. Sintered burs contain diamond particles distributed throughout the entire matrix material so that new cutting surfaces are continuously exposed as the tool wears. Sintered burs maintain their cutting ability significantly longer, making them more cost-effective for high-volume dental laboratory work where instruments are used for extended periods.
Tungsten Carbide Burs for Controlled Finishing
Carbide burs operate differently from diamond instruments. Instead of abrasive particles, they use precision-machined fluted cutting edges that shave material in a controlled manner. Carbide burs generally produce smoother surface finishes than diamond burs at equivalent material removal rates because the cutting action is more uniform. They are best suited for these applications:
- Removing old amalgam restorations and composite fillings without excessive vibration
- Trimming and finishing acrylic denture bases, temporary crowns, and provisional restorations
- Contouring, smoothing, and finishing metal castings, frameworks, and alloy surfaces in the laboratory
- Final finishing of direct composite restorations using multi-fluted designs with 12 to 30 blades for a polished surface
The number of flutes on a carbide bur directly determines the surface finish quality it produces. Burs with fewer flutes, typically six to eight, cut more aggressively and remove material quickly. They are used for bulk reduction and gross contouring. Burs with higher flute counts, ranging from 12 to 30, produce progressively smoother and more refined surfaces suitable for finishing work. A common clinical workflow uses a six-flute bur for initial shaping followed by a 12- or 16-flute bur for final finishing.
Mounted Stones and Rubber Polishers for Intermediate and Final Steps
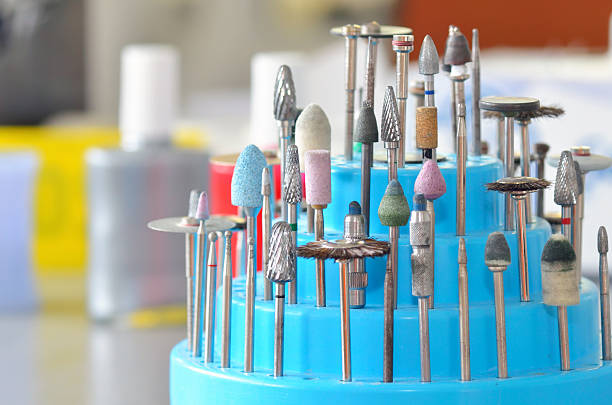
Aluminum oxide stones (available in white and pink varieties) and silicon carbide stones (green) serve as intermediate instruments between aggressive diamond or carbide cutting and final polishing. Silicone rubber polishers impregnated with abrasive particles provide the last step in the finishing sequence, producing the high-gloss surface that patients expect on visible restorations. Each type has a specific role in the workflow:
| Instrument Type | Material Compatibility | Primary Application |
|---|---|---|
| Green stones (silicon carbide) | Porcelain, ceramics, precious metal alloys | Grinding, contouring, and initial smoothing of hard materials |
| White stones (aluminum oxide) | Porcelain, composite resin, acrylic | Smoothing and pre-polishing after diamond or carbide contouring |
| Pink stones (aluminum oxide, fine grade) | Porcelain, acrylic, denture teeth | Fine smoothing before final rubber polishing stage |
| Silicone rubber polishers | All restorative materials including composites, ceramics, and metals | Final high-gloss polishing that produces a smooth, plaque-resistant surface |
Step 2: Define the Procedure Requirements
Different clinical and laboratory procedures demand different abrasive characteristics. Matching the instrument to the specific procedure stage prevents unnecessary material removal, reduces heat generation, and minimizes the number of instrument changes needed during a single appointment.
Common Dental Procedures and Recommended Instruments
| Procedure | Recommended Instrument | Why This Choice Works |
|---|---|---|
| Crown preparation | Coarse diamond bur (100-150 micron grit) | Provides efficient enamel and dentin reduction with visible depth-cutting grooves for controlled reduction |
| Caries excavation | Round carbide bur (sizes 1/4 to 8) | Offers controlled removal with excellent tactile feedback when transitioning from carious to sound dentin |
| Composite finishing | Fine diamond bur followed by 12-30 flute carbide finishing bur | Diamond removes gross excess; multi-flute carbide creates a smooth surface ready for polishing |
| Intraoral porcelain adjustment | Fine diamond bur with continuous water spray | Reduces porcelain thickness precisely without generating microcracks from frictional overheating |
| Acrylic denture trimming | Cross-cut carbide bur | The cross-cut flute design prevents acrylic debris from packing into the flutes and clogging the cutting surfaces |
| Final restoration polishing | Silicone rubber polisher (fine or ultrafine) | Produces a high-gloss, plaque-resistant surface finish without leaving visible scratch patterns |
A key principle in dental finishing is to always work through a logical grit sequence from coarse to fine. Start with an aggressive instrument for bulk material removal, move to a medium-grit instrument for contouring and initial smoothing, and finish with a fine or ultrafine instrument for final surface refinement. Skipping steps in this sequence often creates additional work, because coarse scratches left behind by an aggressive instrument are difficult and time-consuming to remove with a fine instrument alone. The extra few seconds spent on intermediate steps typically saves more time than it costs.
Step 3: Select the Correct Grit Size
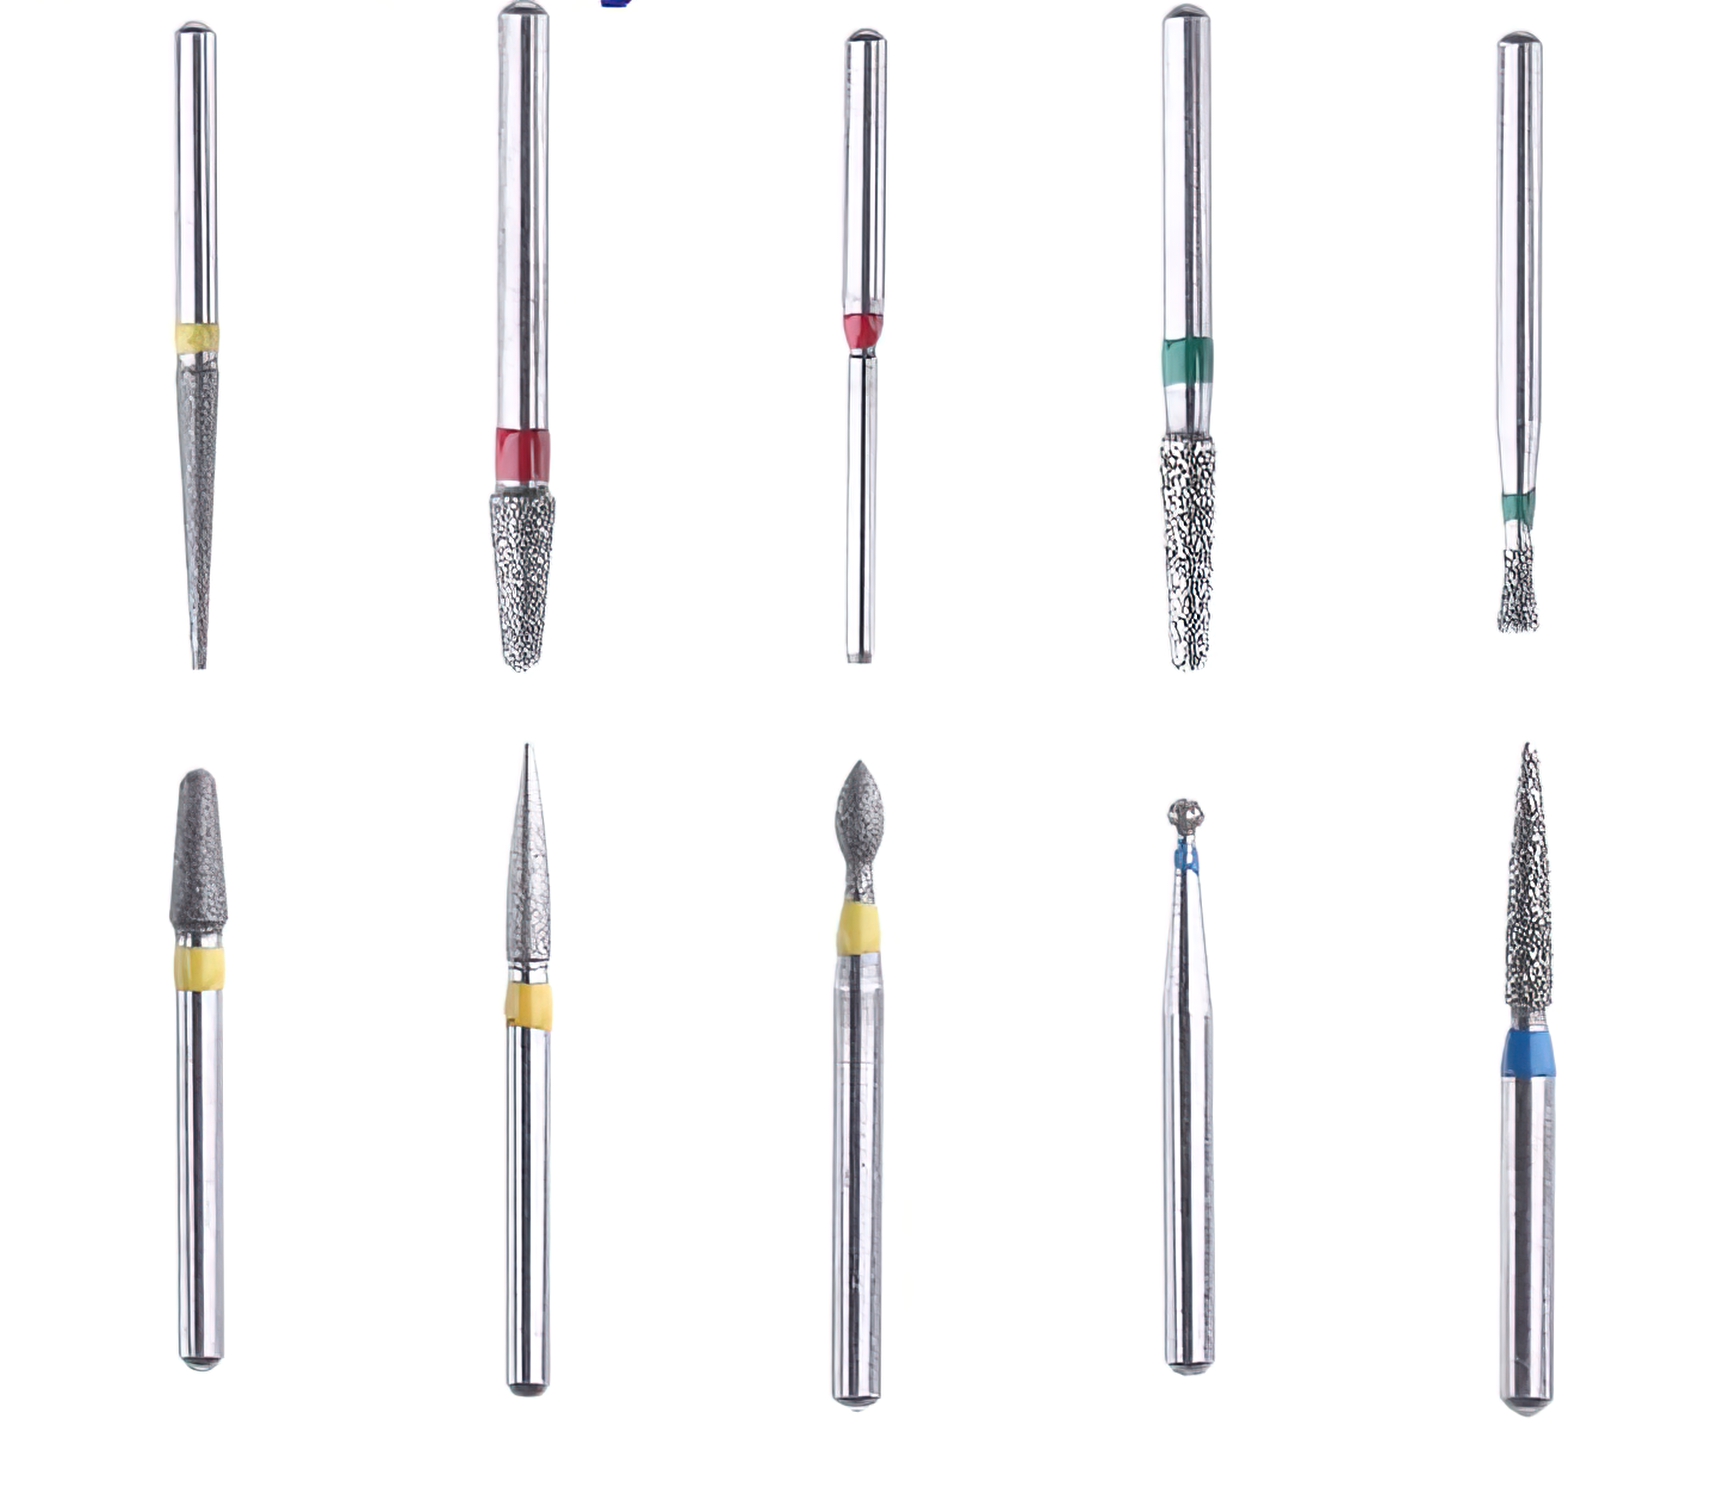
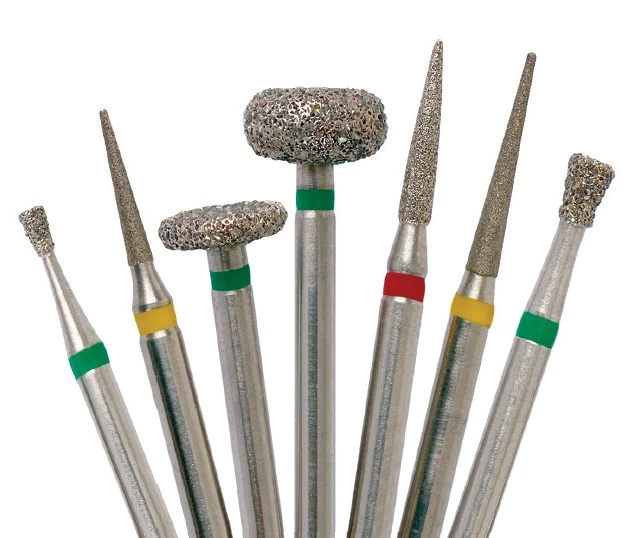
Grit size refers to the average diameter of the abrasive particles bonded to the instrument surface. In dental diamond burs, grit is standardized through an international color-coding system applied to the bur shank, which allows clinicians and assistants to quickly identify the correct instrument during procedures.
Standard Diamond Bur Color Coding System
| Band Color | Grit Classification | Particle Size (microns) | Typical Application |
|---|---|---|---|
| Black | Super coarse | 150 and above | Rapid bulk reduction of enamel, old restorations, and bone |
| Green | Coarse | 125-150 | Crown and bridge preparation, aggressive tooth reduction |
| No band or blue | Medium (standard) | 100-120 | General preparation, contouring, and routine clinical procedures |
| Red | Fine | 40-50 | Finishing preparation margins, smoothing surfaces before polishing |
| Yellow | Ultrafine | 15-25 | Final margin finishing and surface pre-polishing before rubber polishers |
| White | Microfine | 8-15 | Mirror-finish polishing of accessible surfaces |
For the majority of clinical procedures, a two-step or three-step grit sequence is sufficient to achieve a well-finished result. A typical approach uses a medium-grit bur for the initial preparation, transitions to a fine-grit bur for finishing and margin refinement, and concludes with a silicone rubber polisher or ultrafine diamond bur for the final surface treatment. Laboratories may use four or five steps when working on high-value ceramic or zirconia restorations where surface quality directly affects aesthetics and longevity.
Step 4: Choose the Right Head Shape and Size
Dental burs are manufactured in dozens of distinct head shapes, each engineered for specific access requirements, surface geometries, and cutting tasks. Selecting the correct shape for each procedure step reduces treatment time, improves surface quality, and gives the clinician better control over material removal.
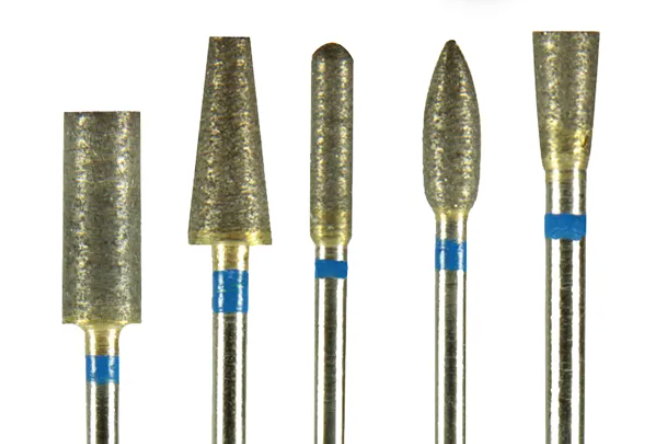
Most Common Bur Shapes and Their Clinical Uses
- Round: Caries excavation, endodontic access cavity preparation, and creating mechanical retention points in cavity floors
- Pear: Cavity outline preparation with controlled lateral cutting action and built-in depth limiting from the tapered profile
- Flame: Subgingival margin finishing, interproximal surface contouring, and porcelain veneer preparation in anterior regions
- Tapered flat-end: Crown preparation requiring flat shoulder finish lines and parallel axial wall reduction for complete coverage restorations
- Tapered round-end: Crown preparation with chamfer finish lines and smooth margin transitions preferred for all-ceramic restorations
- Football (egg-shaped): Occlusal surface anatomy contouring, concavity finishing, and lingual surface adjustments on anterior crowns
- Cylinder (flat-end): Creating flat surfaces, parallel wall preparations, and reducing large surface areas with uniform depth control
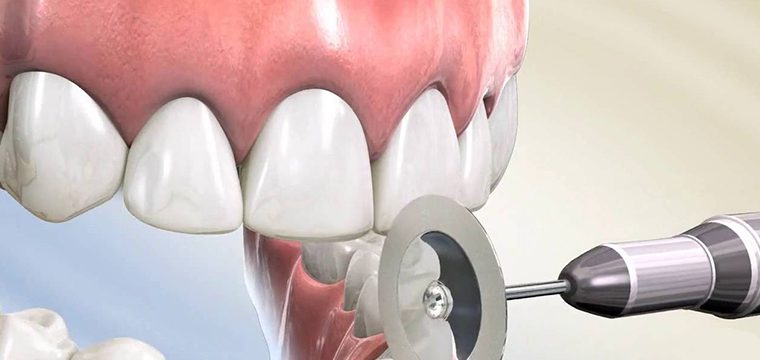
- Wheel (disc-shaped): Thin interproximal slice cuts, orthodontic enamel reduction, and creating sharp line angles in preparations
The diameter of the bur head is another important consideration. Larger diameter heads cover more surface area per pass, which speeds up bulk reduction procedures. However, they offer less precision in confined spaces and tight interproximal areas. For posterior teeth with restricted access, smaller diameter burs mounted on longer shanks provide better visibility and easier reach around adjacent teeth and soft tissue.
Practical Tips for Building Your Bur Inventory
Keep these guidelines in mind when stocking or restocking your operatory and laboratory bur supply:
- Maintain a minimum of three grit levels (coarse, fine, ultrafine) for each bur shape that you use frequently in your daily workflow
- Replace electroplated diamond burs after approximately five to seven uses on enamel, as cutting efficiency drops measurably after this point and forces the clinician to apply more pressure
- Always use water cooling with diamond burs operating above 100,000 RPM to prevent pulpal thermal damage in vital teeth and microcrack formation in ceramic materials
- Store burs in organized autoclavable blocks or cassettes that protect cutting surfaces from contact damage during sterilization and transport
- Match the bur shank type to your handpiece connection: FG (friction grip) for high-speed air-driven and electric handpieces, RA (right angle) for slow-speed contra-angle attachments, and HP (handpiece) for straight-nose laboratory handpieces
- Track bur usage by marking or rotating bur block positions so that worn instruments are identified and replaced before they compromise clinical results
Taking a systematic approach to abrasive tool selection based on material, task, grit, and shape ensures consistent clinical and laboratory results while reducing chair time and instrument waste. When you match the right abrasive type, particle size, and geometry to the specific material and procedure at hand, each treatment step flows efficiently into the next without backtracking or rework.
Browse our full range of diamond dental burs and silicone rubber polishers to find the instruments that fit your clinical and laboratory workflow.
For more detail on specific abrasive tool types and how they compare, read our guide on carbide burs vs. diamond burs or learn about the benefits and limitations of different dental abrasive tools.