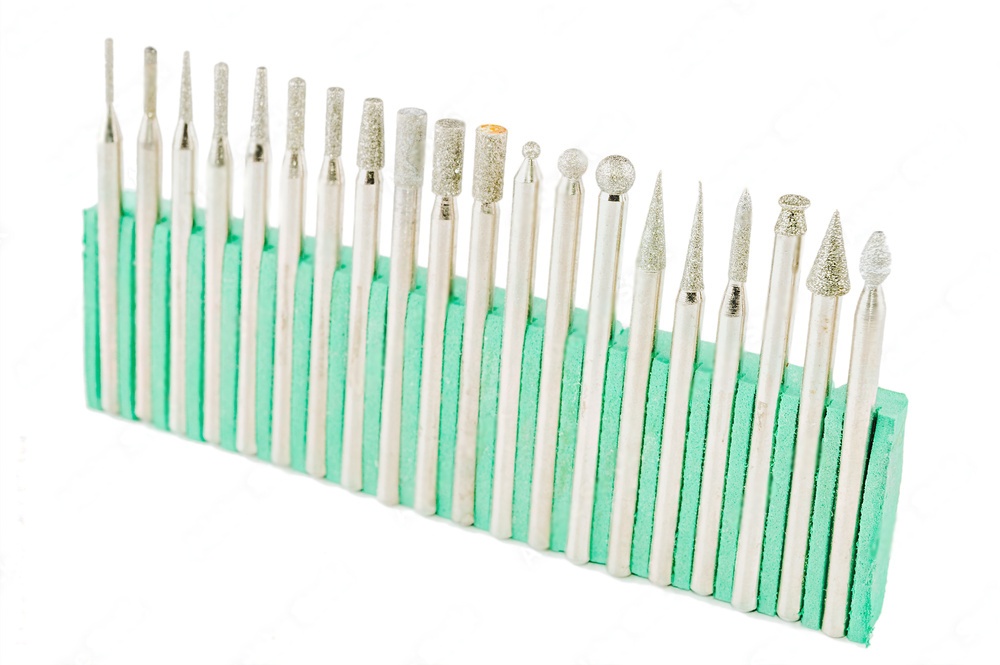
Nail Drill Bits: How to Pick the Right Type and Grit
Walking into a nail supply store and seeing dozens of drill bits can feel overwhelming. Between different shapes, grit levels, and materials, it is hard to know where to start. This guide breaks down everything you need to know about selecting nail drill bits that match your working style and the results you want to achieve.
Whether you are a salon professional or a home nail enthusiast, the right bit makes the difference between a smooth, efficient manicure and a frustrating experience. Let us walk through each factor that matters when choosing your drill bits.
Understanding Nail Drill Bit Shapes
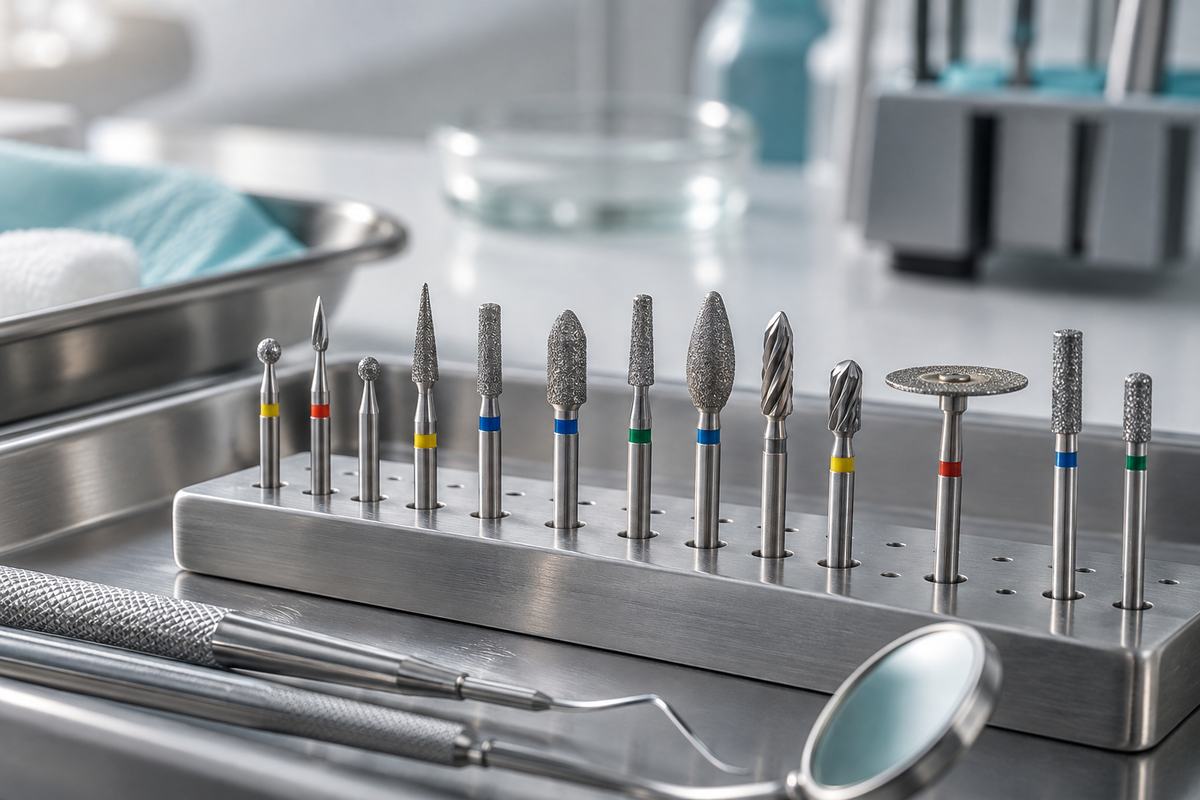
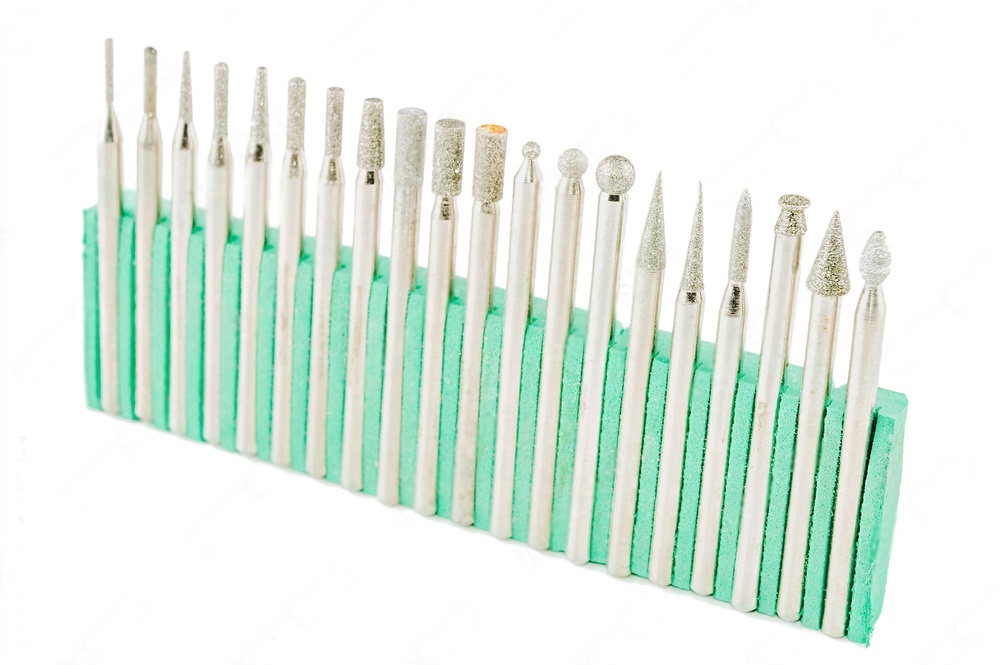
The shape of a nail drill bit determines what tasks it handles best. Each shape is designed for specific nail work, and most technicians keep several shapes on hand to cover their full range of services.
Round and Ball-Shaped Bits
Round bits are the most versatile option in any nail technician's kit. They work well for cleaning around the cuticle area, smoothing the nail surface, and refining rounded nail shapes. If you primarily create classic round or oval nails, a good ball bit should be one of your first purchases.
Barrel and Cylinder Bits
Barrel bits have a flat top and straight sides, making them ideal for shortening nail length and shaping square or squoval nails. Their broad surface area covers more nail in fewer passes, which speeds up the filing process. Cylinder bits work similarly but are typically narrower, offering more precision for detailed shaping work.
Flame and Bullet Bits
Flame-shaped bits taper to a point, which makes them excellent for getting into tight spaces around the cuticle and sidewalls. Bullet bits share a similar tapered profile but with a rounder tip, making them a safer option for beginners. Both shapes excel at cleaning up the cuticle area and preparing the nail for product application.
Cone and Needle Bits
Cone bits are useful for under-nail cleaning and detailed work on nail art. Needle bits, being the thinnest option available, are primarily used for intricate design work and cleaning very tight areas. These specialty shapes are not everyday tools, but they are invaluable when the job calls for fine detail.
Choosing the Right Grit Level
Grit refers to the coarseness of the bit's surface. Just like sandpaper, lower numbers mean coarser surfaces that remove material quickly, while higher numbers produce finer, smoother results. Selecting the correct grit prevents damage to the natural nail and ensures an efficient workflow.
Coarse Grit (80-150)
Coarse bits are designed for heavy-duty removal work. They are best suited for taking down thick acrylic or gel overlays, shortening long extensions, and removing old product during fill appointments. Never use coarse grits directly on the natural nail plate, as they can cause thinning and damage.
Medium Grit (180-240)
Medium grit bits are the workhorses of most nail services. They handle shaping, smoothing ridges, and refining nail contours. This grit range is safe for use near the natural nail when handled with proper technique and light pressure. Most technicians reach for a medium grit bit more than any other.
Fine Grit (280-400)
Fine grit bits are finishing tools. They smooth out any remaining texture from coarser bits, prep the nail surface for polish application, and buff the nail to a natural sheen. Use fine grits as your final step before moving on to polishing or product application.
Extra Fine and Buffing (600+)
Extra fine bits and buffing attachments bring the nail to a high shine without any polish. They are also useful for the final smoothing of acrylic or gel surfaces before top coat application. These bits remove almost no material and are purely for surface refinement.
Carbide vs Ceramic: Comparing Bit Materials
The two primary materials used in nail drill bits are tungsten carbide and ceramic. Each has distinct properties that affect performance, durability, and the quality of the finished result.
Tungsten Carbide Bits
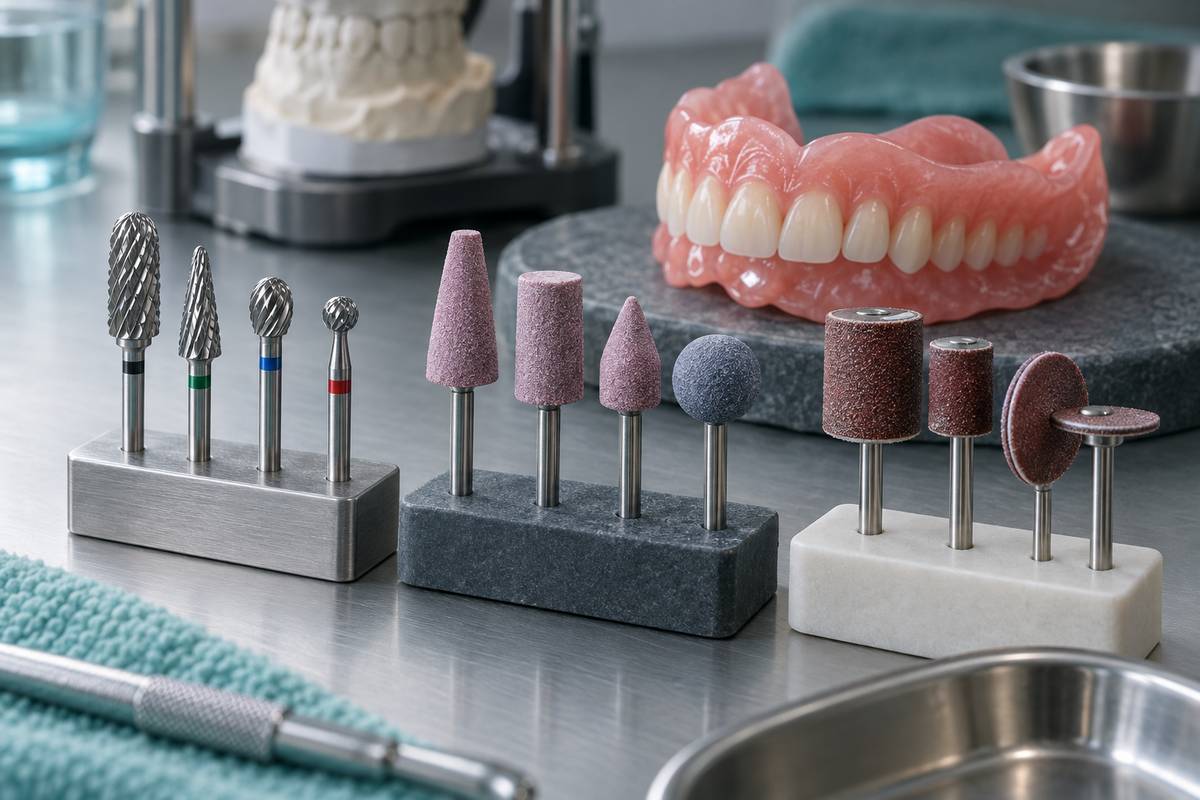
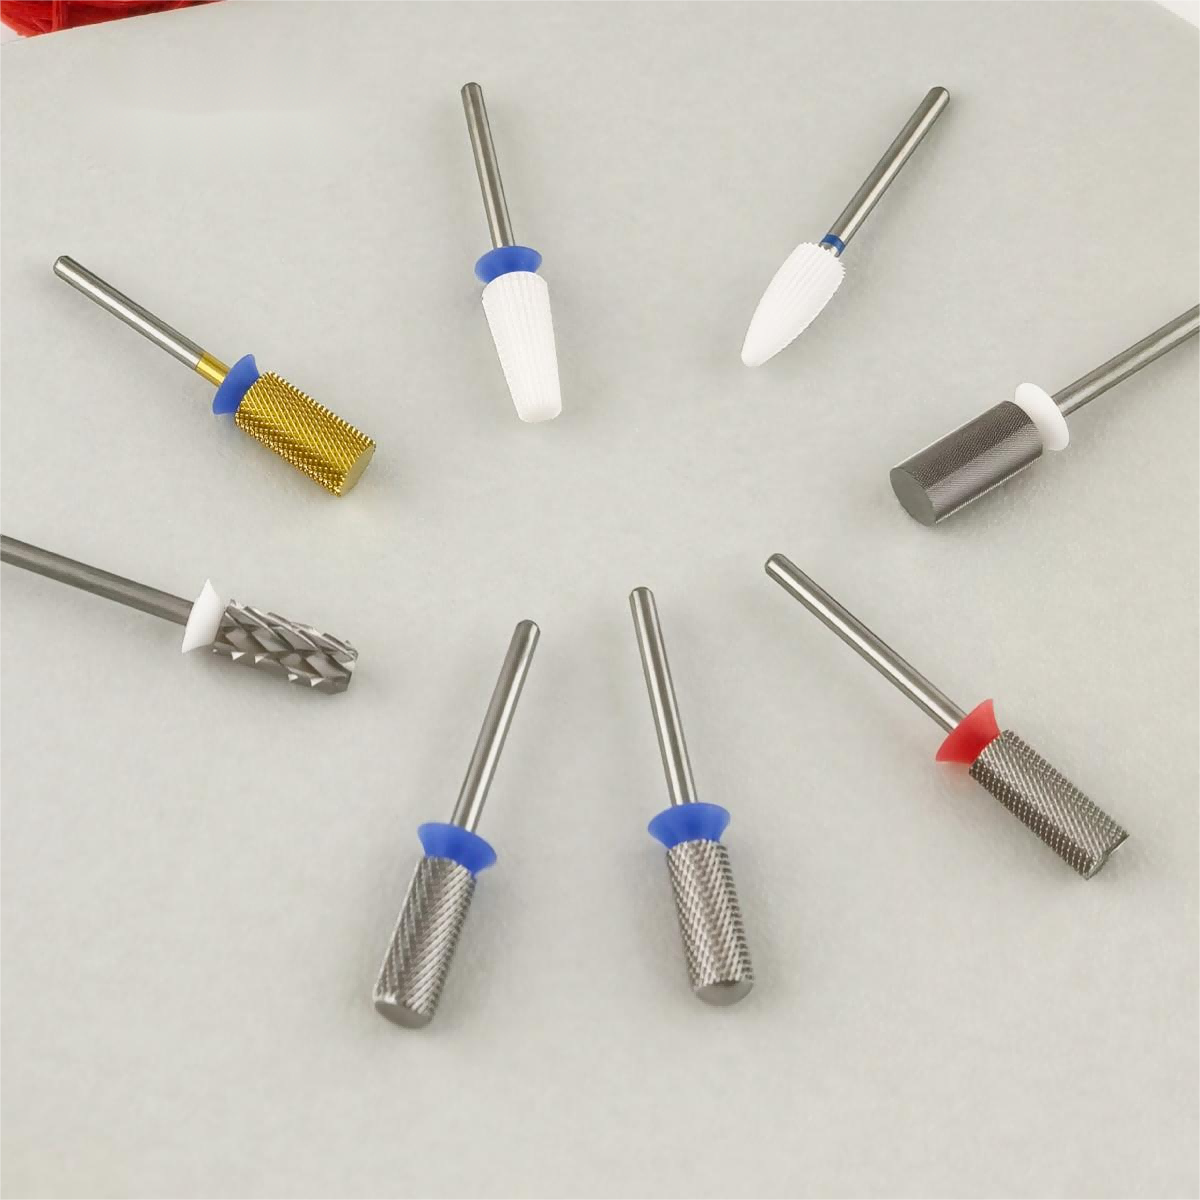
Carbide bits are made from the same hard metal alloy used in professional tungsten carbide dental burs. They feature machined flutes that cut through product rather than grinding it. This cutting action produces less heat and less dust compared to abrasive-style bits.
Carbide bits last significantly longer than ceramic alternatives. They can be sterilized and reused many times without losing their cutting efficiency. The tradeoff is that carbide bits feel more aggressive, especially at higher speeds, so they require a practiced hand and controlled pressure.
Ceramic Bits
Ceramic bits use an abrasive surface similar to diamond dental burs rather than cutting flutes. They grind material away gradually, which gives the technician more control and produces a smoother finish in fewer steps. Ceramic bits also generate less heat during extended use.
The downside of ceramic is durability. These bits wear down faster than carbide options and cannot be resharpened. However, many technicians prefer ceramic for cuticle work and natural nail preparation because the gentler action reduces the risk of over-filing.
Matching Bits to Common Nail Services
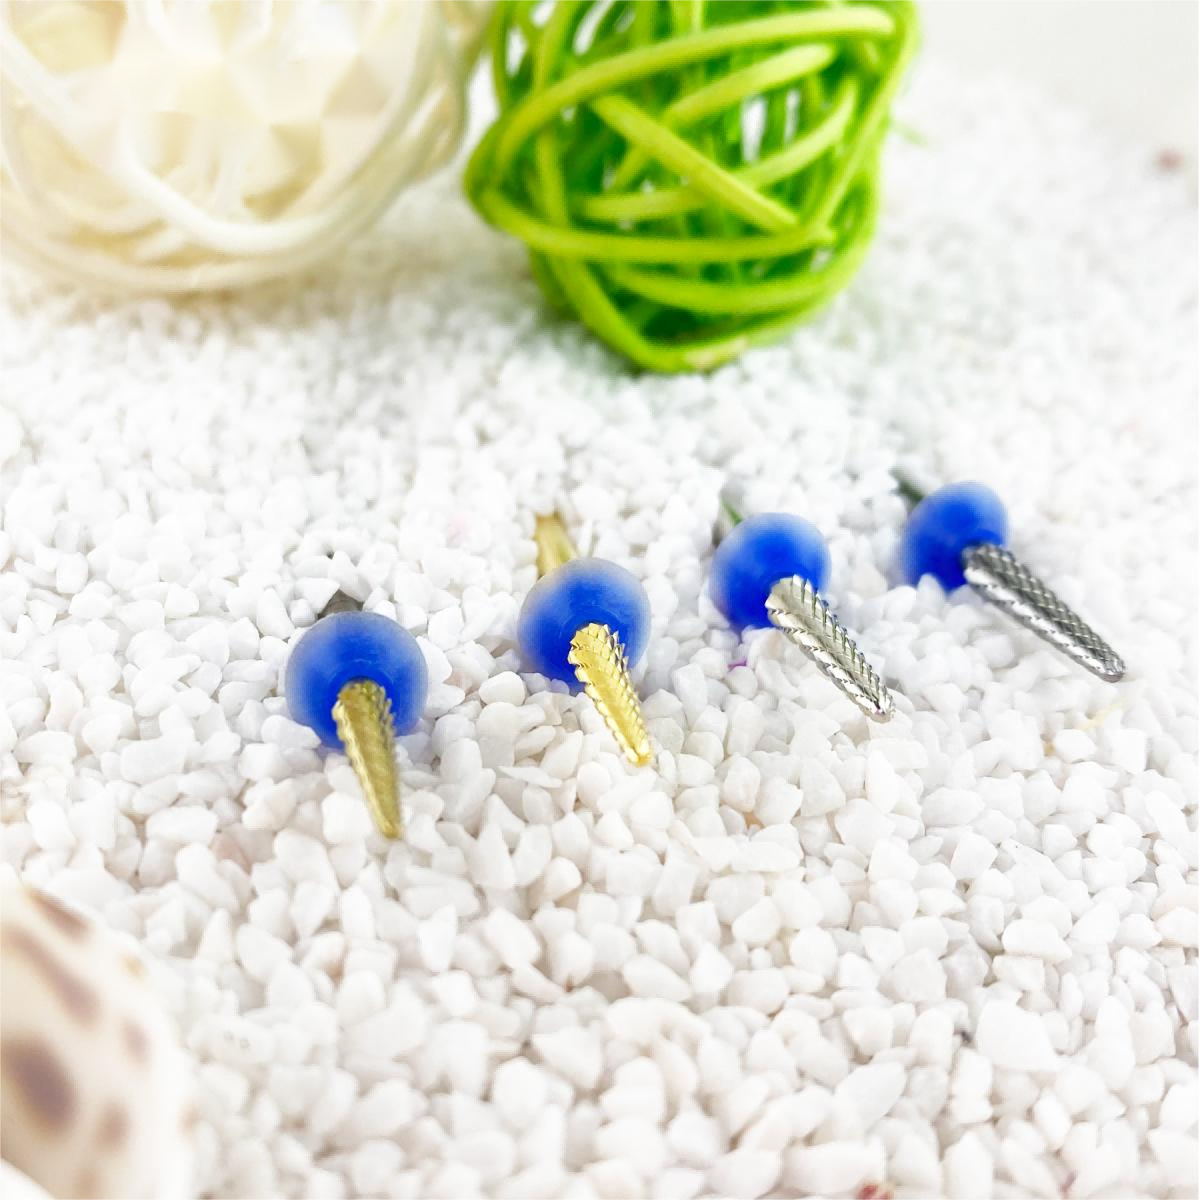
Different services call for different bit combinations. Here is a practical breakdown of which bits to reach for during the most common nail procedures.
| Service | Recommended Shape | Recommended Grit | Recommended Material |
|---|---|---|---|
| Cuticle cleanup | Flame or bullet | Fine (280-400) | Ceramic |
| Acrylic removal | Barrel or cylinder | Coarse (80-150) | Carbide |
| Gel removal | Barrel | Medium (180-240) | Carbide |
| Shaping natural nails | Round or barrel | Medium (180-240) | Ceramic |
| Surface smoothing | Round or barrel | Fine (280-400) | Ceramic |
| Nail art detail | Needle or cone | Fine (280-400) | Carbide |
Drill Speed and Pressure Tips
Even the best bit will perform poorly with incorrect speed settings or excessive pressure. As a general rule, start at a low RPM and increase gradually until you find the speed that removes material efficiently without generating uncomfortable heat.
For natural nail work, keep your speed between 5,000 and 10,000 RPM. Acrylic and gel product removal can handle higher speeds of 15,000 to 25,000 RPM. Always let the bit do the work rather than pressing harder. Heavy pressure causes heat buildup, reduces bit life, and increases the chance of nail damage.
Maintaining Your Nail Drill Bits
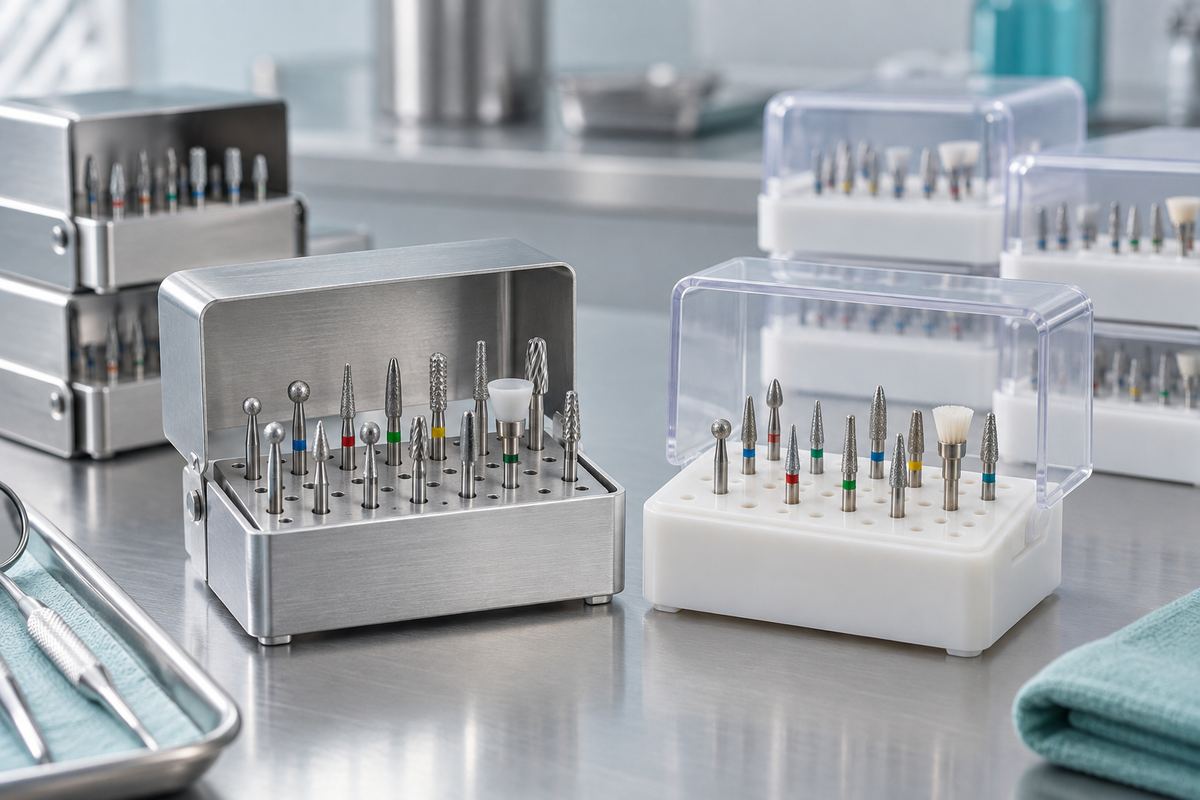
Proper care extends the useful life of your bits and keeps your work hygienic. After each client, remove debris from the bit using a brass wire cleaning brush. Carbide bits can be autoclaved or soaked in disinfectant solution. Ceramic bits should follow the manufacturer's specific cleaning instructions, as some formulations are sensitive to certain chemicals.
For more detailed guidance on maintaining rotary tools and accessories, see our guide on using nail drill bits for manicure. If you are also interested in how similar tools are maintained in dental settings, our article on keeping burs and discs in top condition covers sterilization and storage best practices that apply to nail bits as well.
Replace bits when you notice reduced cutting performance, visible wear on the flutes or abrasive surface, or wobbling during rotation. A dull or damaged bit forces you to apply more pressure, which leads to poor results and potential nail injury.
Building Your Starter Bit Collection
If you are just getting started, you do not need every bit available. A practical starter set includes a medium-grit carbide barrel for product removal, a fine-grit ceramic flame for cuticle work, a medium-grit round bit for general shaping, and a fine-grit buffing bit for finishing. These four bits will handle the majority of standard nail services.
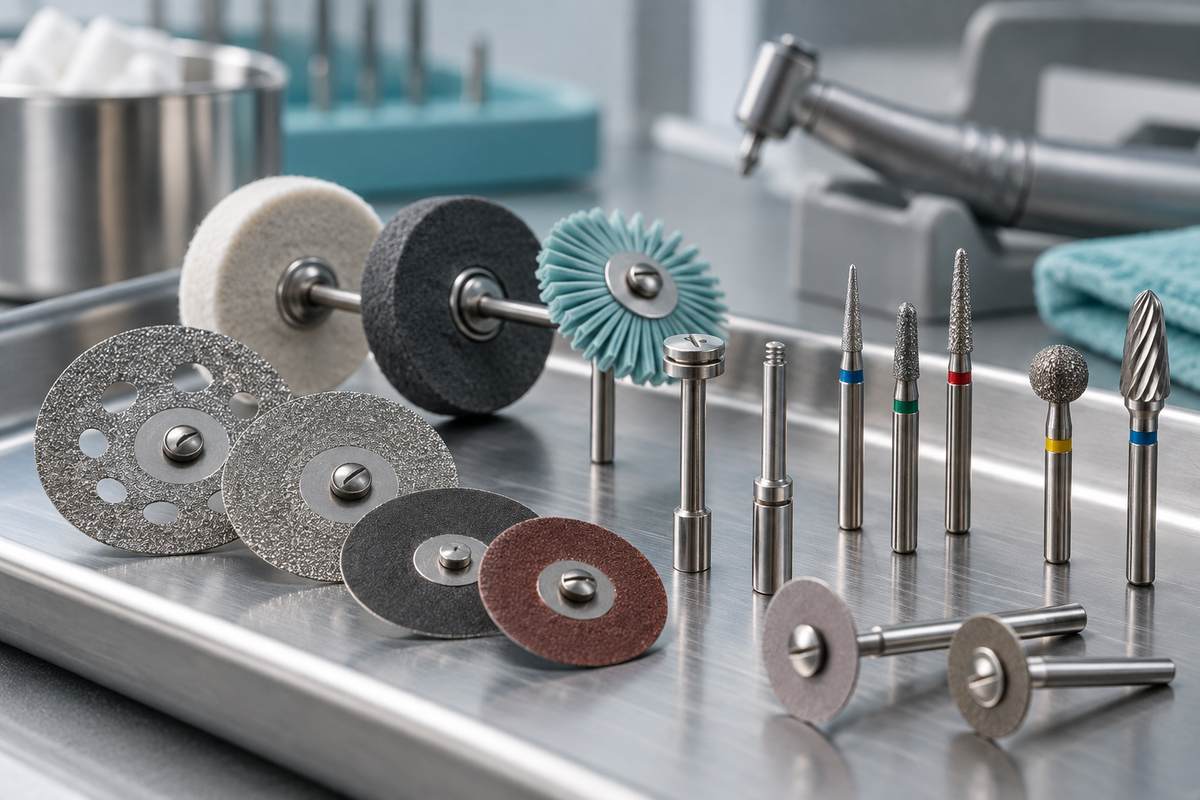
As your skills and service menu grow, you can add specialty bits like needle shapes for nail art, extra-coarse barrels for heavy acrylic removal, and mandrel-mounted sanding bands for specific smoothing tasks. Build your collection based on the services you actually perform rather than buying large kits filled with bits you may never use.
Selecting the right nail drill bit comes down to matching the shape to your task, the grit to your material, and the bit material to your working preference. With a clear understanding of these three factors, you can work faster, achieve better results, and keep your clients comfortable throughout every service.