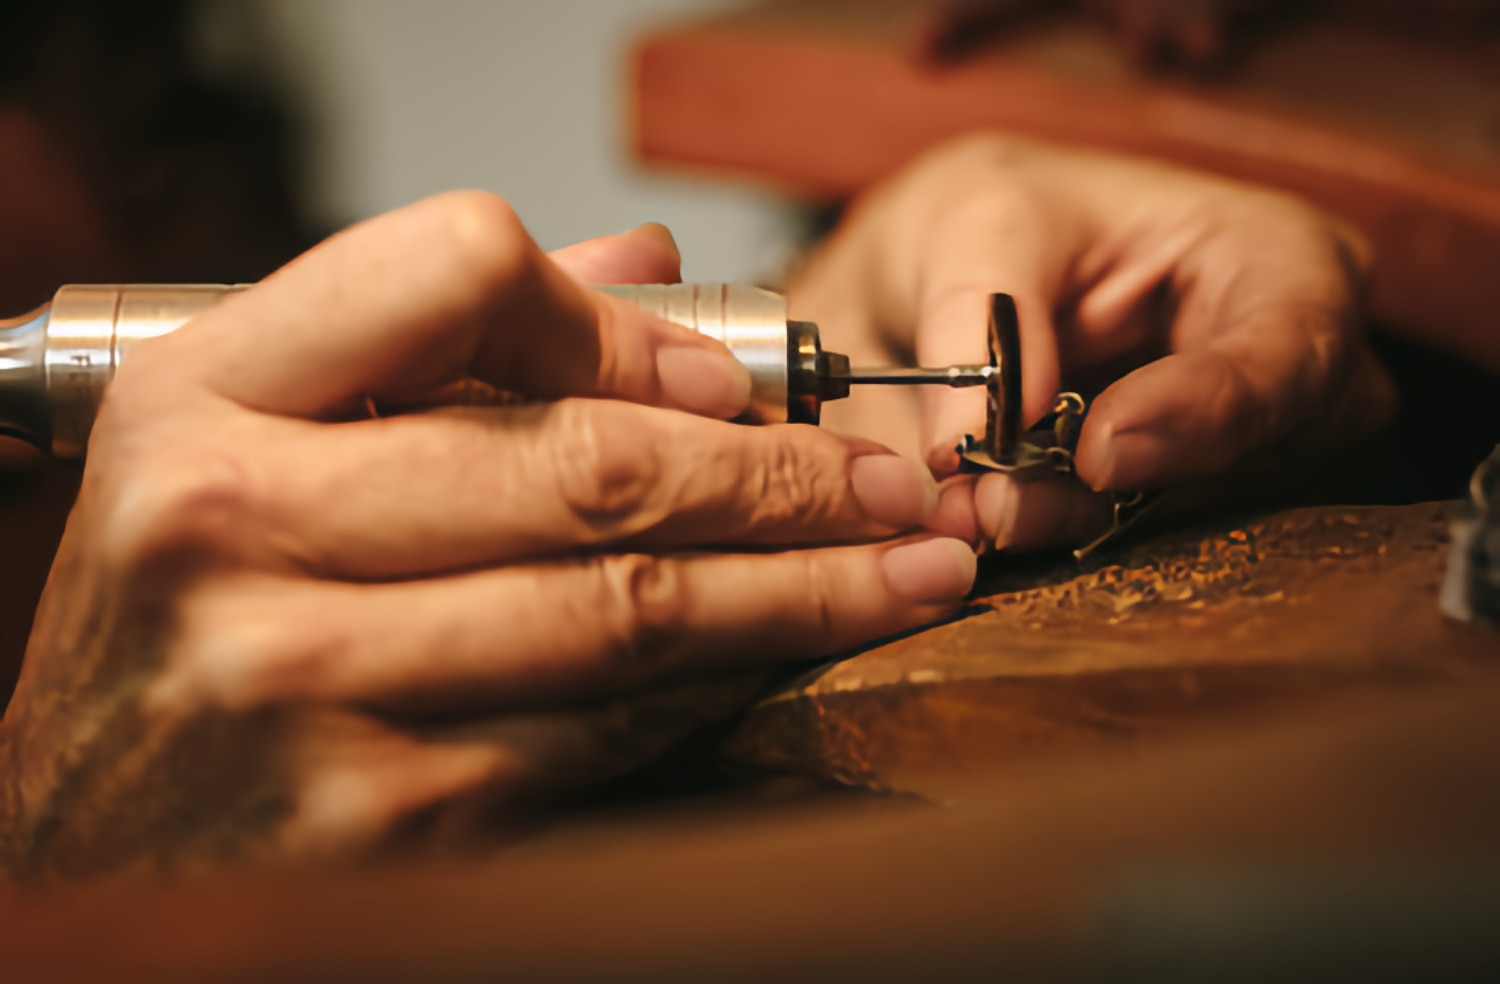
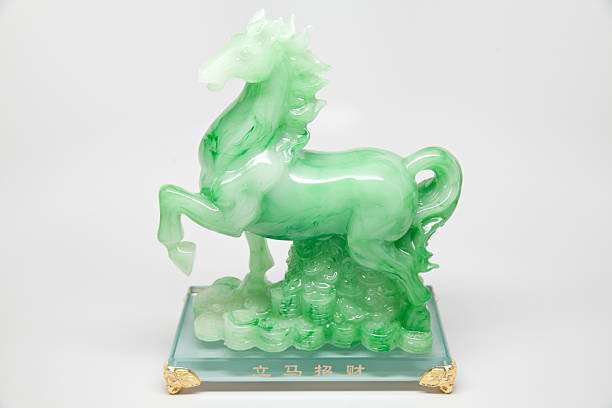
Jade polishing transforms a rough or carved piece into a stone with deep luster and smooth, reflective surfaces. Whether you are finishing a cabochon, a carved figurine, or a simple pendant, the process follows the same core principle: work through progressively finer abrasives until the surface reflects light evenly. This guide covers both hand polishing and machine polishing methods in detail.
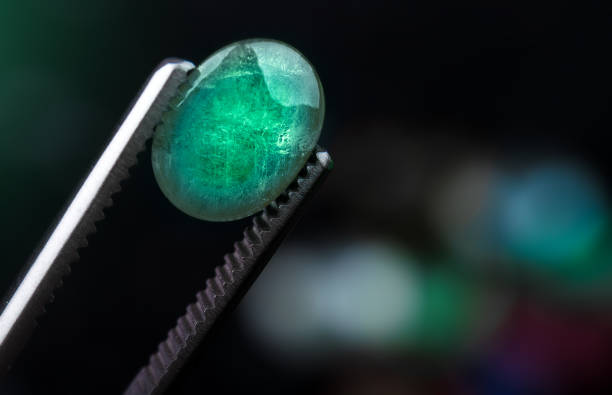
Understanding Jade Hardness and Why It Matters
Jade refers to two distinct minerals: nephrite and jadeite. Both are tough stones, but their hardness differs, which affects your choice of abrasives and polishing compounds.
| Property | Nephrite | Jadeite |
|---|---|---|
| Mohs Hardness | 6.0 - 6.5 | 6.5 - 7.0 |
| Toughness | Extremely tough | Very tough |
| Common Colors | Green, white, grey, brown | Green, lavender, white, orange |
| Polishing Difficulty | Moderate | Moderate to high |
Because jade is both hard and exceptionally tough (resistant to breaking), it requires diamond abrasives or silicon carbide for efficient grinding. Softer abrasives will simply slide over the surface without cutting.
Tools and Materials for Jade Polishing
Essential Tools
- Rotary tool (Dremel, flex shaft, or bench grinder with polishing attachments)
- Diamond burs for initial shaping and detail work
- Diamond sanding discs or silicon carbide sandpaper (various grits)
- Felt bobs or cloth polishing wheels
- Silicone polishers (medium and fine grades)
- Bristle brushes for compound application
Polishing Compounds
- Chrome oxide (green compound) - traditional jade polish
- Cerium oxide (orange-red compound) - alternative for lighter-colored jade
- Diamond paste or diamond powder (2800-3000 mesh / 6-8 micron) - highest quality finish
Other Supplies
- Water supply for wet grinding (spray bottle or drip system)
- Ultrasonic cleaner (optional, for final cleaning)
- Isopropyl alcohol for wiping residue
- Paraffin wax or carnauba wax for final protection
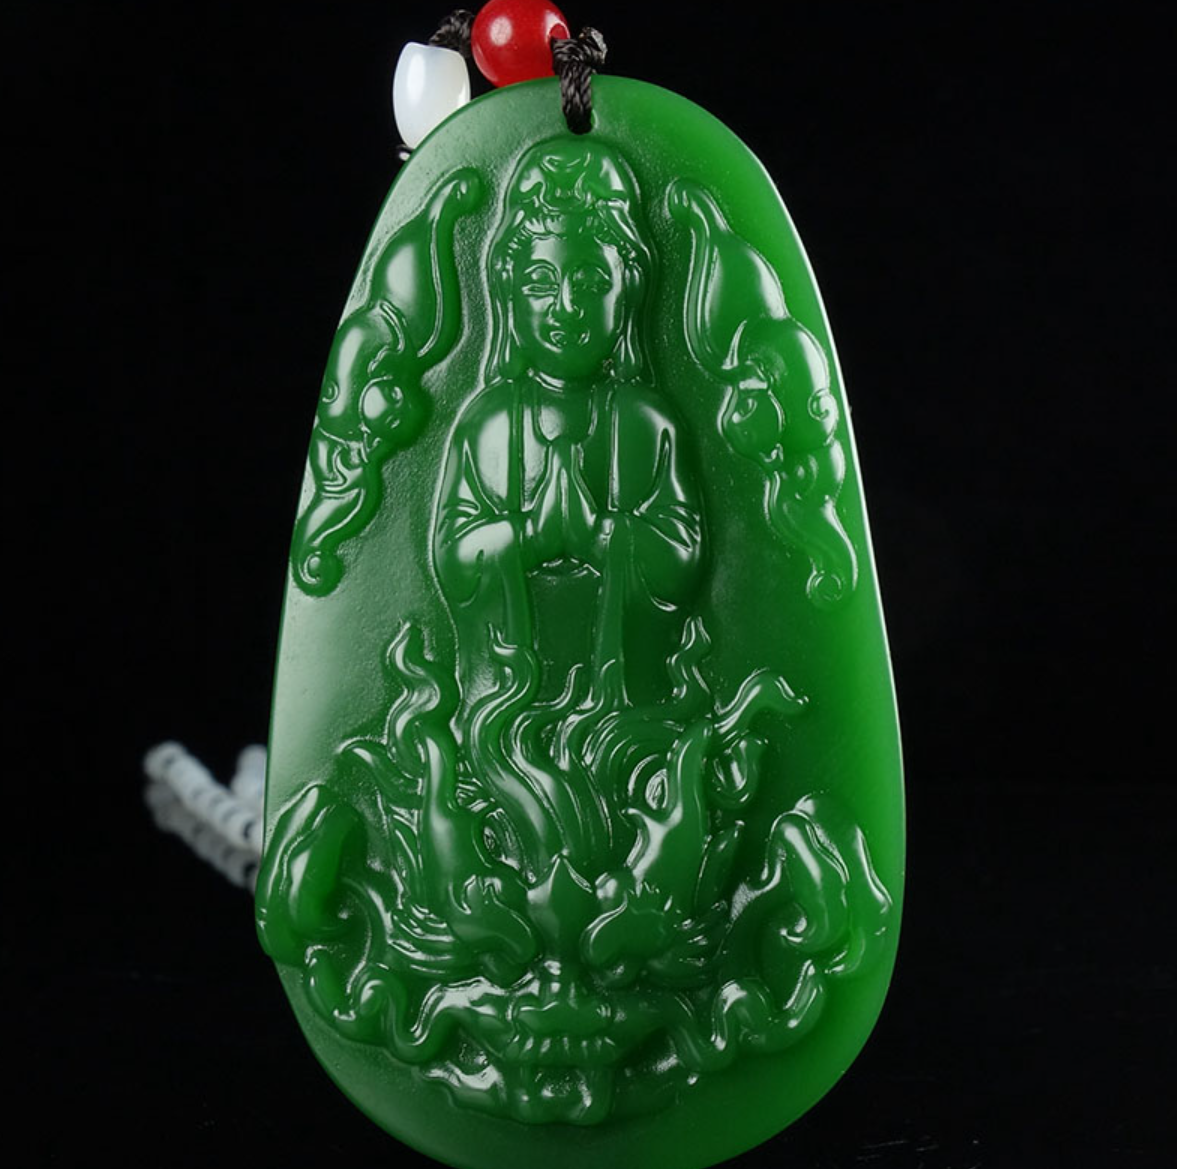
Method 1: Hand Polishing (Best for Simple Shapes)
Hand polishing works well for items with broad, accessible surfaces like bangles, cabochons, ring faces, and flat pendants. It gives you the most control over pressure and coverage.
Step 1. Coarse Grinding (180-400 Grit)
Start with 180 or 220 grit silicon carbide sandpaper. Wet the sandpaper and the jade surface, then grind in circular motions with even pressure. The goal at this stage is to remove visible tool marks, pits, and uneven spots from carving or cutting.
Keep the surface wet throughout. Dry grinding generates heat that can cause micro-fractures in the stone and wears out your abrasive much faster.
Move to 400 grit once the surface feels uniformly smooth under your fingertip with no catches or rough patches.
Step 2. Medium Grinding (600-1000 Grit)
Continue with 600 grit, then 800, then 1000 grit sandpaper. At each stage, grind until all scratches from the previous grit are replaced by the finer scratch pattern of the current grit. Under good light, you should see the surface becoming progressively more reflective.
This stage typically takes longer than coarse grinding because you are removing very little material with each pass. Patience here directly affects the quality of your final polish.
Step 3. Fine Grinding (1200-1800 Grit)
At 1200 grit and above, the jade surface starts to develop a soft sheen. Continue through 1500 and 1800 grit. By the end of this stage, the stone should reflect light clearly, though not yet with a mirror finish.
Step 4. Polishing with Compound
Apply chrome oxide or cerium oxide paste to a piece of semi-raw cowhide or thick felt. Rub the jade firmly in overlapping strokes, turning the piece frequently to ensure even coverage. Continue until the surface has a consistent, high gloss.
For the best results, apply diamond powder (2800-3000 mesh) to a leather pad for the final polishing pass. This produces the deepest luster that jade is known for.
Step 5. Waxing
Apply a thin coat of paraffin or carnauba wax to the finished surface. This fills any microscopic surface pores, adds a protective barrier against moisture and oils from skin contact, and enhances the visual depth of the polish. Buff lightly with a soft cloth after the wax sets.
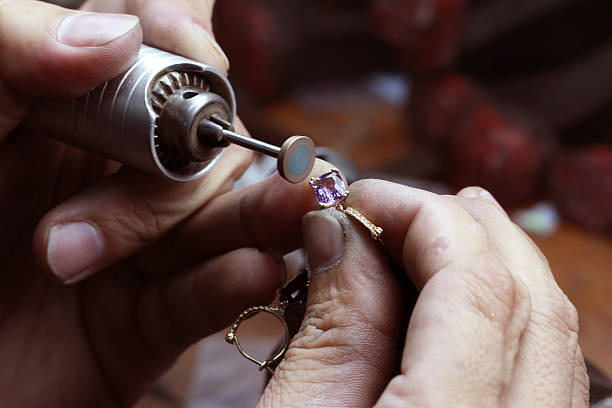
Method 2: Machine Polishing (Best for Carved Pieces)
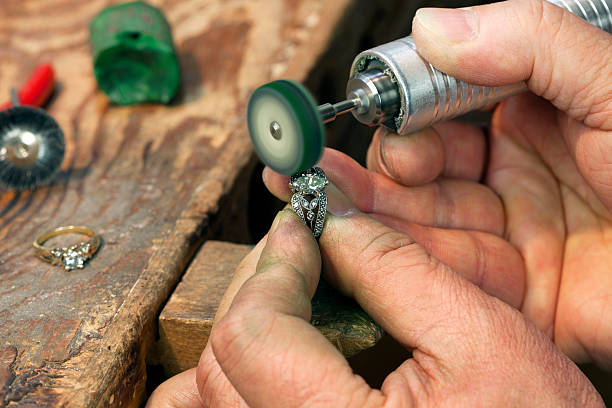
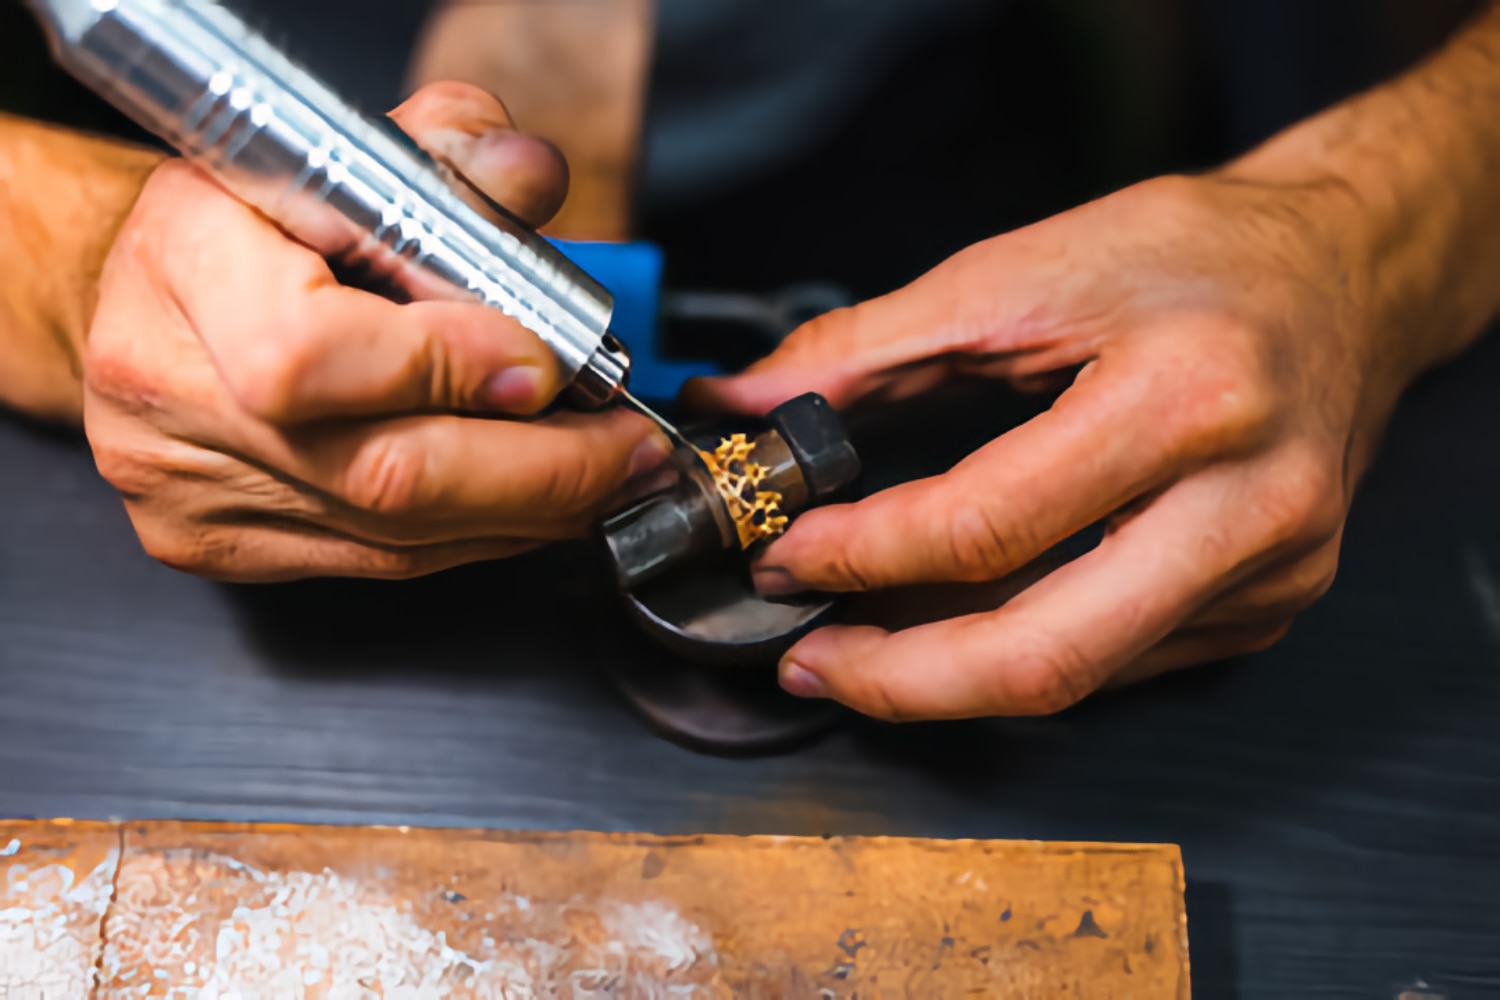
Carved jade with recesses, undercuts, and fine detail is difficult to polish by hand. A rotary tool with the right attachments reaches into tight areas and handles large batches more efficiently. Machine polishing a detailed piece typically takes several days of careful work.
Step 1. Refine the Carving
Use diamond burs to clean up carving marks and refine details. Follow with diamond-coated files for areas that need precise shaping. Work at moderate speed with a light touch to avoid removing too much material.
Step 2. Grind with Mounted Abrasives
Attach silicon carbide or diamond sanding discs to your rotary tool. Work through grits from coarse (180) to fine (1200), covering all surfaces including recesses. For hard-to-reach areas, use small-diameter mounted points.
The grit progression for machine polishing follows the same logic as hand polishing:
| Stage | Grit Range | Purpose |
|---|---|---|
| Coarse | 180 - 400 | Remove tool marks, level surfaces |
| Medium | 600 - 1000 | Smooth and begin developing sheen |
| Fine | 1200 - 1800 | Pre-polish, develop soft luster |
| Polish | 2000+ / compound | High gloss, mirror finish |
Step 3. Polish Broad Surfaces
Mount a cloth wheel or felt bob on your rotary tool. Apply polishing compound (chrome oxide or cerium oxide) to the wheel and run it across the jade at moderate speed. Cover all accessible flat and convex surfaces.
Step 4. Polish Details and Recesses
Switch to small felt bobs, pointed silicone polishers, or bristle brushes for carved details. Apply polishing compound to these smaller tools and work into every recess, groove, and undercut. This step takes the most time but is what separates amateur work from professional results.
Step 5. Clean and Inspect
Clean the piece thoroughly to remove all polishing compound residue. An ultrasonic cleaner is ideal for this. If you do not have one, soak the piece in warm soapy water, scrub with a soft brush, then wipe with isopropyl alcohol.
Inspect under strong directional light. Any areas that appear dull or scratched need further work. Go back to the appropriate grit level for those spots.
Step 6. Final Wax Coating
Apply wax as described in the hand-polishing method. For carved pieces, use a soft bristle brush to work wax into recesses, then buff the raised surfaces with a cloth.
Common Jade Polishing Mistakes
- Skipping grit levels: Each grit removes the scratch pattern of the previous one. Skip a level and you will have visible scratches that no amount of polishing compound can fix.
- Dry grinding: Always use water. Dry grinding overheats the stone, dulls your abrasives faster, and creates harmful silica dust.
- Too much pressure: Let the abrasive do the cutting. Excessive pressure generates heat and can create uneven surfaces.
- Using the wrong compound: Chrome oxide and cerium oxide work for jade. Compounds designed for softer stones will not cut effectively on jade's hard surface.
- Rushing the final stages: The difference between a good polish and a great one happens in the last 10% of effort. Spend extra time on the fine grinding and polishing stages.
Caring for Polished Jade
Polished jade is durable but benefits from basic care. Avoid exposure to harsh chemicals, perfumes, and prolonged direct sunlight. Clean with warm water and mild soap. Re-wax occasionally to maintain the protective coating and luster.
Recommended Jade Polishing Kit
Having the right tools assembled before you start saves time and produces cleaner results. The sequence matters — rough shaping first, then progressive smoothing, then final polish. Here is what belongs in a dedicated jade polishing kit.
| Tool | What It Does |
|---|---|
| Diamond polishers | Final-stage polishing on jade's hard surface. Cuts cleanly without scratching at high speed. |
| Silicone rubber polishers | Intermediate smoothing and pre-polish. Flexible enough to follow curved surfaces without flat spots. |
| Felt bobs | Carry polishing compound into grooves and recesses where rigid tools cannot reach. |
| Diamond burs (HP shank) | Initial shaping and fine detail work. Use these before moving to polishers. |
Dental and lapidary-grade tools are built to tighter manufacturing tolerances than what you find at a hobby shop. The grit distribution is consistent across the working surface, which means predictable stock removal and fewer deep scratches to chase out at later stages. They also last significantly longer under continuous use — the bonding compounds handle high rotational speeds and repeated cleaning cycles, which transfers directly to durability in stone work.
Related Guides
For another hands-on craft project, see our guide on how to make a wooden ring using rotary tools. If you want to learn more about selecting the right accessories, read our article on using felt bobs with a Dremel rotary tool, which covers polishing applications in detail.