Dental Polishing Brushes: Selection and Usage Guide
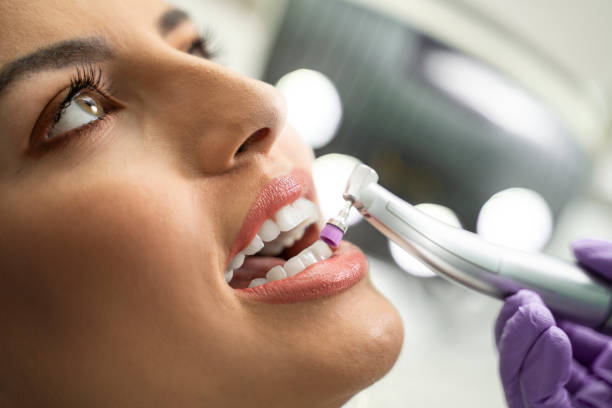
Polishing brushes are essential rotary instruments used in dental prophylaxis and restorative finishing. Attached to a slow-speed handpiece, these brushes remove extrinsic stains, residual plaque, and minor surface irregularities that standard brushing and flossing leave behind. The result is a smooth, glossy tooth surface that resists new plaque accumulation and gives patients the bright, clean feel they expect after a professional visit.
Selecting the right polishing brush and using it with proper technique makes the difference between a thorough polish and one that falls short -- or worse, damages enamel or soft tissue. This guide covers everything dental professionals need to know about polishing brush selection, clinical technique, and instrument care.
How Dental Polishing Brushes Work
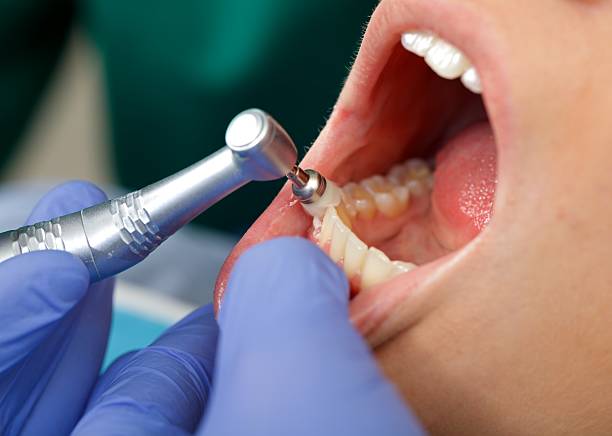
A polishing brush consists of a shank that fits into a slow-speed contra-angle or prophy handpiece and a head made of bristle filaments or synthetic fibers arranged in a specific pattern. When the handpiece rotates the brush at low to moderate RPM, the bristle tips sweep across the tooth surface, mechanically dislodging stain and plaque while distributing a polishing paste that provides mild abrasive action.
The combination of bristle stiffness, rotation speed, applied pressure, and paste abrasiveness determines the aggressiveness of the polish. Softer bristles with fine paste produce a gentle finish suitable for sensitive teeth, while firmer bristles with coarser paste tackle heavy tobacco or coffee staining more effectively.
Types of Polishing Brush Bristles
Understanding bristle types is the first step toward choosing the right brush for each patient and procedure.
Natural Bristle Brushes
Traditional polishing brushes use natural animal hair, typically goat or horse hair. These bristles are soft, flexible, and produce a gentle polishing action. Natural bristle brushes are well suited for final high-shine polishing on enamel and porcelain restorations. However, they absorb moisture, which can reduce stiffness during extended use and complicate sterilization.
Synthetic Bristle Brushes
Nylon and composite-fiber brushes have become the standard in most practices. Synthetic bristles maintain consistent stiffness regardless of moisture exposure, tolerate autoclave sterilization, and are available in a wide range of firmness levels. They are the most versatile option for general prophylaxis and stain removal.
Silicone and Rubber Cup Alternatives
While not technically brushes, rubber prophy cups and silicone polishers serve a similar function. Cups excel at adapting to convex tooth surfaces and interproximal areas. Many clinicians alternate between a brush for occlusal surfaces and a cup for buccal and lingual surfaces to achieve comprehensive coverage.
Choosing the Right Polishing Brush
Several factors determine which brush is best for a given situation:
- Bristle stiffness -- soft bristles for sensitive teeth, standard stiffness for routine prophylaxis, and firm bristles for heavy stain removal. When in doubt, start with a softer brush and increase stiffness only if needed.
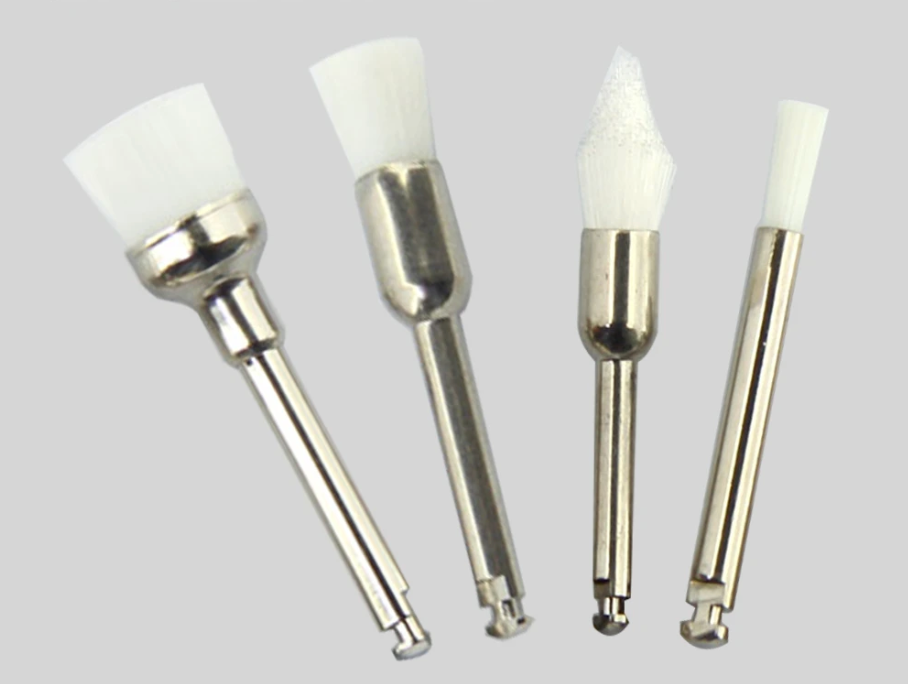
- Head shape -- flat brushes cover broad occlusal surfaces efficiently, while pointed or tapered heads reach into fissures and along gingival margins. Cup-shaped heads conform to curved labial surfaces.
- Head diameter -- a smaller head provides better access in posterior regions and around crowded teeth. Larger heads cover more surface area per pass, speeding up anterior polishing.
- Shank type -- confirm that the brush shank matches your handpiece. Most prophy brushes use a screw-in or snap-on latch-type shank for slow-speed contra-angle handpieces.
- Single-use versus reusable -- disposable brushes eliminate cross-contamination risk but increase consumable costs. Reusable brushes are more economical when proper sterilization protocols are followed.
For a broader look at polishing instruments, including rubber polishers and diamond-impregnated points, see our comprehensive article on dental polishers.
Step-by-Step Polishing Technique
Consistent technique ensures thorough stain removal without damaging tooth structure or irritating soft tissue. Follow these steps for predictable results:
- Start with clean teeth -- complete scaling and debridement before polishing. Polishing over calculus deposits is ineffective and can push bacteria into the sulcus.
- Select the appropriate paste -- choose a prophy paste grit that matches the level of staining. Fine paste suits light staining and maintenance appointments; medium or coarse paste is reserved for heavy discoloration. Do not use regular toothpaste, as it lacks the calibrated abrasive particles found in professional polishing paste.
- Load a small amount of paste -- apply a pea-sized amount to the brush head. Excess paste splatters and provides no benefit.
- Set handpiece speed -- operate the slow-speed handpiece between 2,000 and 5,000 RPM. Higher speeds generate heat and increase the risk of enamel abrasion.
- Use light, intermittent pressure -- let the bristles do the work. Press just firmly enough to splay the bristle tips slightly against the tooth surface. Excessive pressure causes gingival trauma and accelerates enamel wear.
- Polish one to two teeth at a time -- move systematically from one quadrant to the next, spending two to three seconds per surface. Use sweeping or circular strokes to cover the entire clinical crown.
- Replenish paste as needed -- add small amounts of paste when the brush begins to run dry. A dry brush generates friction heat without effective polishing action.
- Rinse thoroughly -- after completing each quadrant, rinse with the air-water syringe to remove paste residue and evaluate the result. Repeat polishing on any surfaces that still show stain.
Common Mistakes to Avoid
Even experienced clinicians can fall into habits that reduce polishing quality or harm the patient:
- Excessive speed -- running the handpiece above 5,000 RPM overheats enamel and can cause irreversible pulp damage on teeth with thin remaining dentin.
- Too much pressure -- heavy pressure flattens bristles, reducing their sweeping action and increasing frictional heat. It also causes gingival blanching and post-operative sensitivity.
- Skipping scaling -- polishing over calculus burnishes the deposit into the tooth surface, making subsequent removal more difficult and masking pathology.
- Using coarse paste universally -- coarse prophy paste removes more enamel per pass. Reserve it for teeth with heavy extrinsic staining and switch to fine paste for routine maintenance.
- Neglecting interproximal areas -- brush heads often miss contact points. Supplement with interproximal polishing strips or a pointed brush tip to ensure complete coverage.
Maintaining and Cleaning Polishing Brushes
Proper maintenance extends brush life and ensures patient safety between uses:
- Rinse the brush thoroughly under running water immediately after each use to flush paste and debris from between bristles.
- For reusable brushes, place them in an ultrasonic cleaner for the manufacturer-recommended cycle to remove embedded material.
- Autoclave reusable brushes according to your sterilization protocol. Most synthetic brushes tolerate standard 134 degrees C gravity or pre-vacuum cycles.
- Inspect bristles before each use. Discard any brush with splayed, bent, or missing bristles, as compromised geometry reduces polishing effectiveness and increases the risk of soft-tissue injury.
- Store sterilized brushes in a clean, dry location away from direct sunlight to prevent material degradation.

When to Use Polishing Brushes vs. Other Polishers
Polishing brushes are one component of a complete finishing and polishing armamentarium. Knowing when to reach for a brush versus an alternative instrument improves clinical outcomes:
- Brushes -- best for occlusal surfaces, fissures, and areas with moderate staining. Their bristle design adapts well to irregular anatomy.
- Rubber cups -- ideal for smooth buccal, lingual, and labial surfaces where the cup can conform to the tooth contour.
- Rubber polishing points and wheels -- designed for contouring and finishing composite restorations. Browse our silicone rubber polishers for a full selection.
- Diamond-impregnated polishers -- provide single-step polishing on ceramic and composite surfaces without separate paste.
Combining the right instruments for each surface and material ensures every patient leaves with a uniformly smooth, stain-free result that supports long-term oral health.
