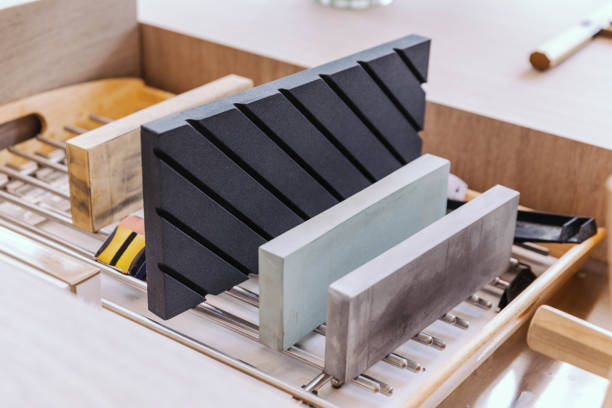
Dental curettes and elevators require regular cleaning and sterilization, but instrument sharpness is just as important. Over time, repeated use dulls the cutting edges of curettes and elevators. Dull instruments force practitioners to apply excess pressure, increasing the risk of patient injury and contributing to hand, wrist, neck, and shoulder fatigue. Routine sharpening restores precise cutting edges and keeps clinical workflows efficient.
This guide explains what sharpening stones are, how to use them on curettes and elevators, and how to maintain your stones for long-term performance.
What Are Dental Sharpening Stones?
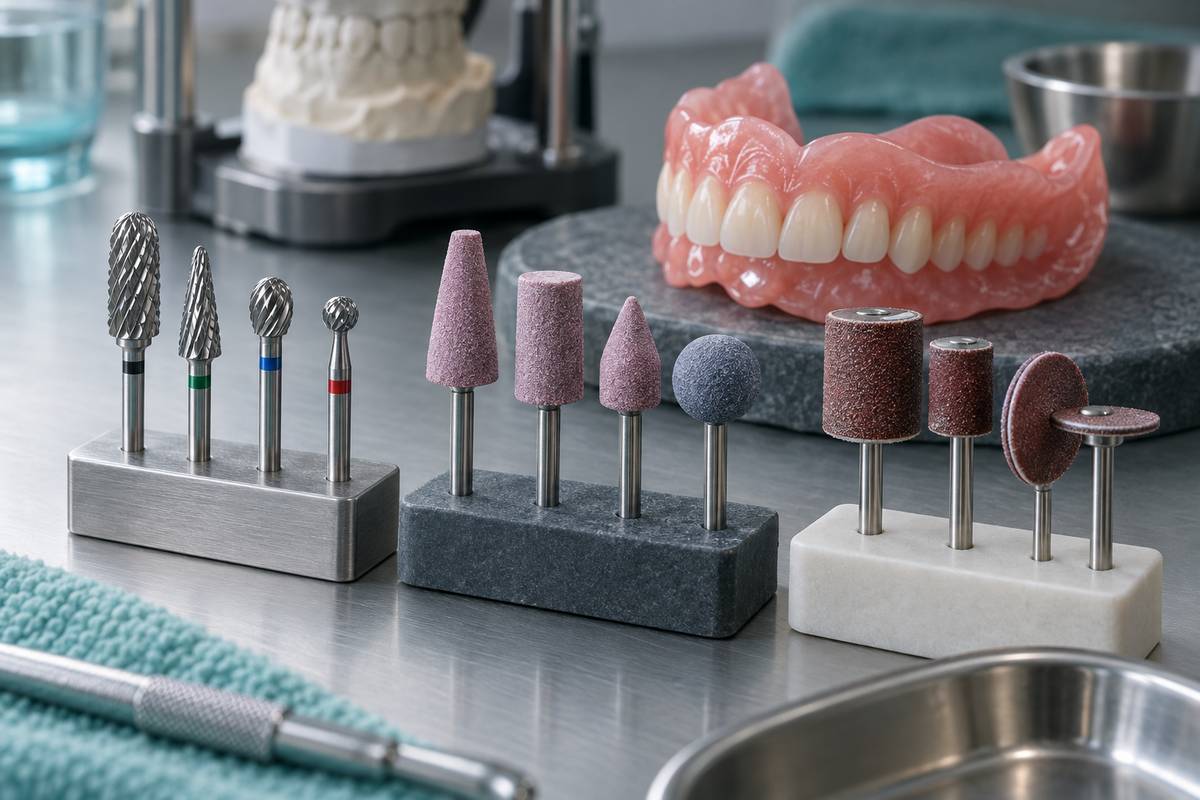
Sharpening stones are abrasive tools used for grinding and honing the edges of steel instruments. They are available in natural quarried materials and synthetic compositions, and they come in various shapes, sizes, and grit levels.
Grit density determines the finish quality. A higher grit number means smaller, more densely packed grains, which produces a finer edge but removes material more slowly. Lower grit stones cut faster and are suited for reshaping badly worn edges. For most dental instrument maintenance, a medium-to-fine grit stone (between 600 and 1200 grit) provides the best balance of material removal and edge refinement.
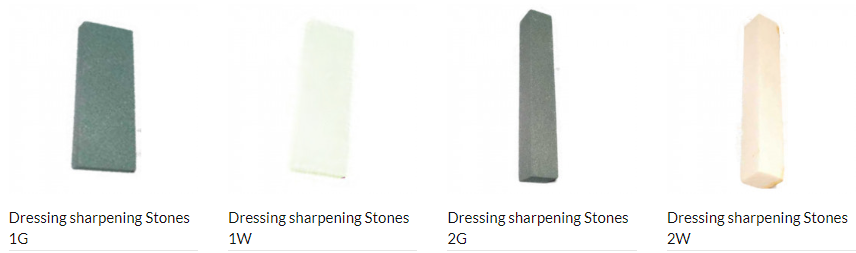
Common Sharpening Stone Materials
| Stone Type | Material | Best For |
|---|---|---|
| Arkansas Stone | Natural novaculite | Fine finishing and honing |
| India Stone | Aluminum oxide | Medium sharpening |
| Ceramic Stone | Synthetic ceramic | Precision edges, long lifespan |
| Diamond Stone | Diamond-coated steel | Fast material removal |
Flat stones work well for curettes, while conical or cylindrical stones are useful for reaching concave instrument surfaces. Many practitioners keep a set of two or three stone types for different stages of the sharpening process.
Why Sharp Instruments Matter in Clinical Practice
A sharp curette or elevator performs better in every measurable way. Sharp instruments allow controlled, light strokes that reduce tissue trauma during scaling and extraction procedures. The benefits include:
- Better tactile sensitivity — the practitioner can feel calculus deposits and root surfaces with greater precision
- Less operator fatigue — reduced lateral pressure means less strain on fingers, wrists, and shoulders
- Improved patient comfort — fewer repetitive strokes are needed to complete each procedure
- Faster procedures — efficient cutting edges translate to shorter appointment times
Experts recommend testing sharpness before each use. A simple test is to draw the working edge lightly across a plastic test stick. A sharp instrument will catch and shave the surface; a dull one will slide without gripping.
How to Sharpen Curettes with a Sharpening Stone
Curette sharpening requires a consistent angle between the stone and the blade face. Follow these steps for reliable results:
- Set the sharpening template to 20 degrees to match the curette design. Fold the template over the edge of your counter.
- Position the curette against the counter edge with the distal shank vertical and the working tip facing you, perpendicular to the table surface. Place the tip at the point where the template angles meet.
- Place the stone on the blade at the angle indicated by the template. Use short, controlled up-and-down strokes while maintaining that exact angle throughout.
- Remove the wire edge by drawing the conical surface of the sharpening stone lightly across the face of the blade in a single, quick motion.
- Test the edge with a plastic test stick or by visual inspection under magnification.
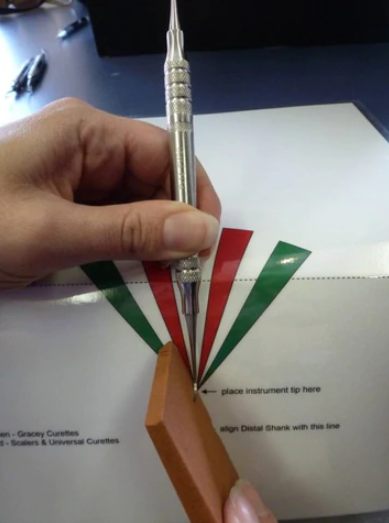
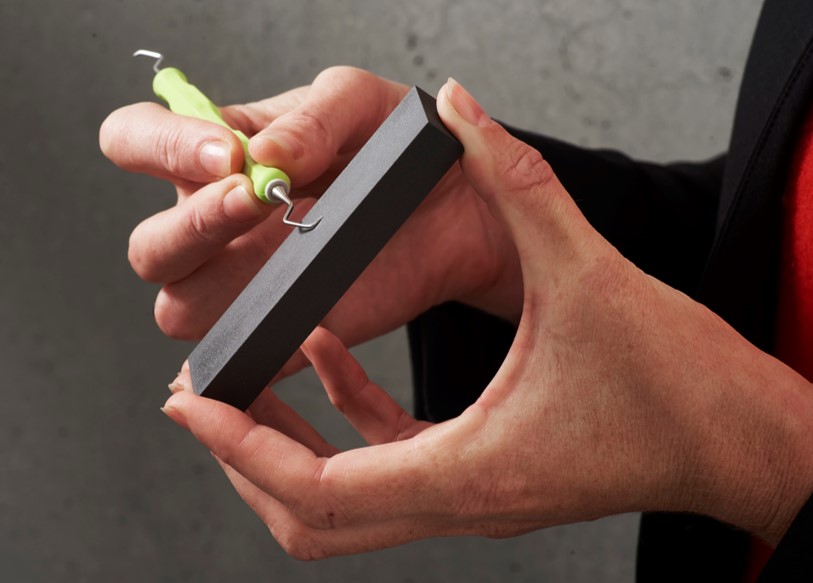
Maintaining the correct 20-degree angle is the most important factor. Even a small deviation changes the blade geometry and can weaken the cutting edge or alter the instrument profile.
How to Sharpen Elevators with a Sharpening Stone
Elevator sharpening uses a different technique based on a rocking wrist motion:
- Grip the elevator as you would during a tooth extraction, with your index finger controlling the working end.
- Hold the instrument at 45 degrees to the sharpening stone surface.
- Perform a ventral wrist rock — a smooth rolling motion — while drawing the blade across the stone.
- Rotate the instrument until the concave side faces the opposite wall, then repeat the motion in the other direction. The path should trace a smile-shaped arc across the stone.
- Inspect the edge for uniform sharpness along the entire working surface.
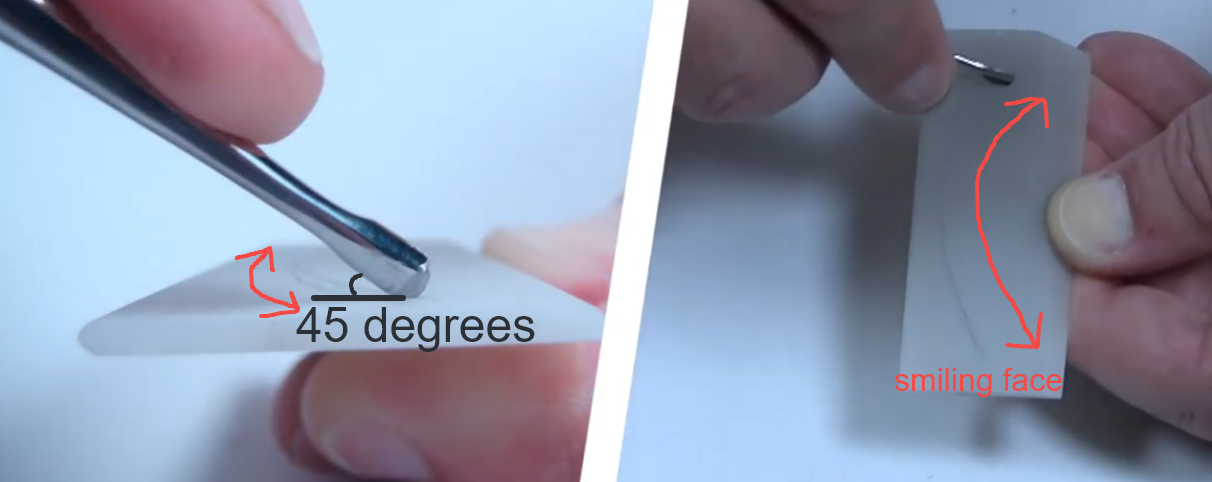
The smile-shaped motion ensures even contact across the curved edge of the elevator. Avoid pressing too hard; let the abrasive surface of the stone do the work.
Choosing the Right Stone for Each Instrument
Not every sharpening stone works equally well for all dental instruments. The shape of the instrument and the type of edge it requires should guide your stone selection.
For curettes, a flat Arkansas or India stone is the most practical choice. The flat surface maintains full contact with the lateral sides of the blade, producing an even edge along the entire working surface. A cylindrical or conical stone is needed only for the final step of removing the wire edge from the face of the curette.
For elevators, a flat medium-grit stone handles most sharpening tasks. Because the elevator blade has a broader, more gradual curve than a curette, a flat stone provides enough surface contact for the rocking motion described above. If your elevator has a narrow or sharply curved tip, a tapered stone gives better control in tight areas.
Ceramic stones are a good all-purpose option for both instrument types. They wear slowly, maintain a flat surface longer than natural stones, and produce a fine edge without excessive metal removal. Diamond-coated stones should be reserved for instruments with significant edge damage that requires aggressive reshaping before finish honing.
How to Clean and Maintain Your Sharpening Stone
A clogged sharpening stone loses its cutting ability. Metal particles fill the pores of the stone over time, reducing its abrasive effectiveness. Regular cleaning keeps the stone working at full performance.
Cleaning Steps
- Apply a small amount of honing oil to the stone surface.
- Work the oil into the stone using your finger or a soft toothbrush in small circular motions.
- Watch for metal flecks rising from the pores — this indicates embedded particles are being loosened.
- Wipe the stone thoroughly with a clean rag or paper towel to remove all metal filings and oil residue.
- Rinse the stone under running water and dry it completely with a clean towel.
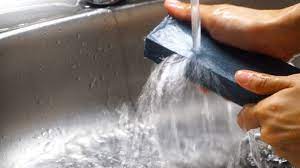
Important: Do not use soap or chemical cleaners on the stone. Water and honing oil are the only cleaning agents you need. Soap can leave residue in the pores that interferes with sharpening performance.
The Role of Honing Oil
Honing oil serves three purposes during sharpening:
- It lubricates the contact surface, allowing the instrument to glide smoothly
- It reduces friction heat, which can affect the temper of steel instruments
- It floats metal particles to the surface, preventing them from embedding in the stone pores
Use honing oil every time you sharpen. A few drops are sufficient for a single session.
Sharpening Frequency and Best Practices
How often should you sharpen? The answer depends on usage volume, but these guidelines apply to most practices:
- Light touch-ups — before each use or at the start of each clinical day
- Full sharpening sessions — weekly for high-volume practices, biweekly for moderate use
- Stone replacement — when the stone develops grooves or uneven surfaces that affect angle consistency
Always sharpen instruments before sterilization, not after. Sharpening removes a small amount of metal and creates particles that should be cleaned away before the instrument enters the autoclave.
For practitioners who also work with rotary instruments, keeping your dental accessories in good condition follows the same principle — well-maintained tools deliver better clinical outcomes and last longer.
Summary
Sharpening curettes and elevators is a straightforward skill that directly improves clinical performance. Use the correct stone type, maintain precise angles, and clean your stones regularly with honing oil. A few minutes of maintenance before each session keeps instruments performing at their best and protects both the practitioner and patient from the consequences of dull cutting edges.