Electric Nail Drill: How to Use and Maintain It
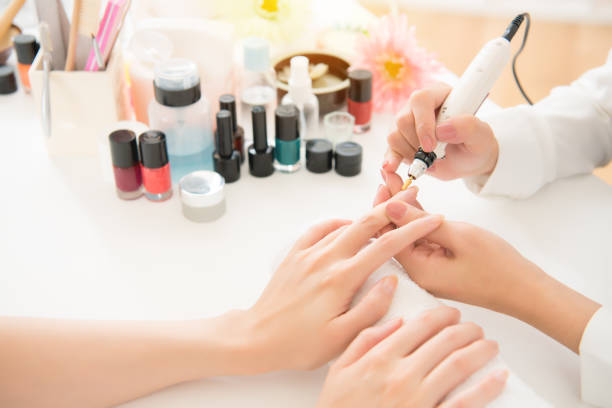
An electric nail drill is a valuable tool for both salon professionals and at-home manicure enthusiasts. When used properly, it speeds up nail shaping, cuticle work, and product removal. But improper use or poor maintenance can damage nails, shorten the tool's lifespan, and produce inconsistent results. This guide walks you through correct electric nail drill techniques and practical maintenance steps that keep your equipment performing at its best.
What Is an Electric Nail Drill?
An electric nail drill (also called an electric nail file or e-file) is a motorized handheld device that holds interchangeable nail drill bits. It rotates at adjustable speeds measured in RPM (revolutions per minute), allowing nail technicians to shape natural and artificial nails, remove gel or acrylic, push back cuticles, and smooth rough edges much faster than manual filing.
Most modern electric nail drills offer variable speed control ranging from 0 to 30,000 RPM, forward and reverse rotation, and accept standard 3/32-inch shank bits. Understanding how to match speed settings to specific tasks is the single most important factor in safe nail drill use.
How to Use an Electric Nail Drill Correctly
Step 1: Prepare the Nail
Before starting any drill work, push the cuticle back gently with a cuticle pusher. This gives you a clear view of the nail bed and prevents the drill bit from catching on loose skin. Wash and dry the client's hands thoroughly. Apply cuticle oil only after the drill work is complete, not before, because oil makes the nail surface slippery and reduces your control.
Step 2: Choose the Right Bit
Different tasks require different nail drill bits. Here is a quick reference:
| Task | Recommended Bit | Speed Range |
|---|---|---|
| Cuticle cleanup | Small cone or flame bit (fine grit) | 5,000 - 8,000 RPM |
| Gel or acrylic removal | Ceramic or carbide barrel bit (medium grit) | 10,000 - 15,000 RPM |
| Nail surface shaping | Carbide barrel bit (medium or coarse) | 10,000 - 15,000 RPM |
| Smoothing and finishing | Silicone polisher or mandrel with sanding band | 8,000 - 12,000 RPM |
| Backfill filing | Fine carbide or diamond bit | 8,000 - 12,000 RPM |
Step 3: Set the Correct Speed
Speed selection is where most beginners make mistakes. Follow these guidelines:
- Low speed (3,000 - 8,000 RPM): Use for cuticle work and any task near the skin. Cuticles are thin and sensitive. Filing too fast causes pain, heat, and potential injury to the nail bed.
- Medium speed (8,000 - 15,000 RPM): Use for backfill filing, surface shaping, and product removal on artificial nails. This range gives you good cutting power with enough control.
- High speed (15,000 - 25,000 RPM): Use for shaping the nail surface on thick acrylic or hard gel only. Never use high speed near the cuticle area or on natural nails.
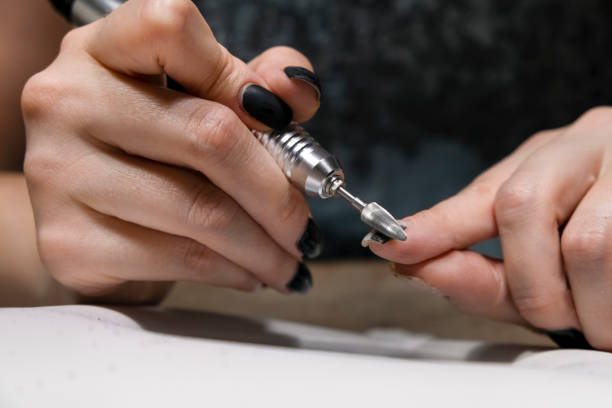
Step 4: Hold and Move the Drill Properly
Hold the nail drill like a pencil, resting your hand on the client's finger for stability. Use your forefinger to guide the direction of the bit. Move the drill from one side of the nail to the other using slow, sweeping motions. Never press the bit into the nail surface. Let the rotation do the work. Pressing hard generates heat, thins the nail, and wears out bits faster.
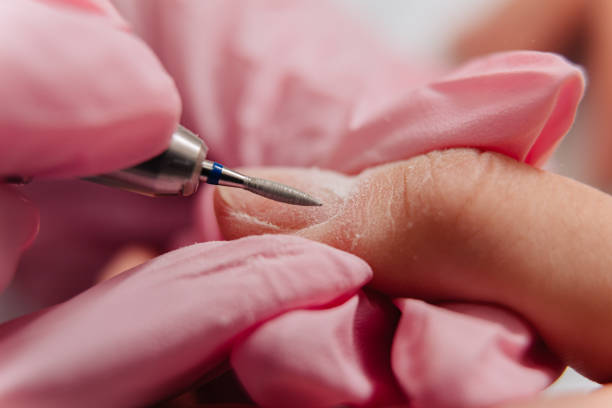
Keep the bit moving at all times. Holding it in one spot for more than a second concentrates heat and can burn through the nail. If the client reports a warm or hot sensation, stop immediately, lower the speed, and adjust your technique.
Common Mistakes to Avoid
Even experienced technicians make these errors from time to time. Being aware of them helps you build better habits.
- Using too much pressure: The bit should glide across the nail. Pressure causes rings, grooves, and heat damage.
- Wrong bit for the task: A coarse carbide bit on natural nails will thin them dangerously. Always match grit and material to the job.
- Skipping cleaning between clients: Cross-contamination is a real risk. Clean and disinfect bits after every client without exception.
- Running the drill at full speed immediately: Start low and increase gradually. This prevents startling the client and gives you better control.
- Ignoring unusual vibration or noise: These signs indicate a worn bearing, bent bit, or loose chuck. Stop and inspect the drill.
How to Maintain Your Electric Nail Drill
1. Clean and Disinfect Drill Bits After Every Use
Remove the bit from the handpiece after each client. Use a fine brass brush or old toothbrush to remove dust and debris from the flutes and cutting surfaces. For bits with nail polish residue, soak them in acetone for 3 to 5 minutes, then scrub clean. After cleaning, disinfect the bits by soaking them in a hospital-grade disinfectant solution according to the manufacturer's instructions. Rinse with water and allow them to air dry completely before storing.
2. Store Bits Properly
Keep all drill bits in a dedicated bit holder or storage case. This prevents bits from banging against each other (which dulls cutting edges), keeps them organized by type and grit, and reduces the risk of contamination from other tools or debris in your workstation.
3. Do Not Lubricate the Handpiece
Most modern electric nail drills use self-lubricating bearings. Adding oil or lubricant to the handpiece can trap dust inside, generate excess heat, and cause premature bearing failure. Unless your manufacturer's manual specifically calls for lubrication, leave it alone.
4. Keep the Handpiece and Cable Safe
Hold the drill with care and avoid bending the handpiece cable at sharp angles. Over time, cable stress causes internal wire breakage, leading to intermittent power loss or complete failure. When storing, coil the cable loosely rather than wrapping it tightly around the unit.
5. Unplug Before Cleaning the Unit
Always disconnect the nail drill from power before wiping down the control box or handpiece exterior. Use a damp cloth (not wet) with a mild disinfectant. Never submerge the control unit in liquid.
6. Replace Worn Bits Promptly
Drill bits lose their cutting ability over time. Carbide bits may last several months with proper care, but diamond-coated bits wear down faster, especially with heavy use. Signs a bit needs replacement include:
- Increased vibration during use
- The bit generates more heat than usual
- You need to apply more pressure to achieve the same result
- Visible wear, chips, or smooth patches on the cutting surface
Restrict Access to Your Equipment
Keep your electric nail drill away from untrained individuals, including family members, children, and non-technical salon staff. Curious handling by someone unfamiliar with the tool can cause mechanical damage, misaligned chucks, or dropped handpieces. If you work in a shared salon environment, store your drill in a locked drawer or carrying case when not in use.
When to Replace Your Electric Nail Drill
With proper maintenance, a quality electric nail drill should last 2 to 5 years of professional daily use. Consider replacing the unit when:
- The motor runs unevenly or stalls under light load
- Speed control becomes erratic or unresponsive
- The handpiece overheats after brief use despite clean bearings
- Replacement parts are no longer available for your model
Investing in a reliable drill and maintaining it well costs less over time than replacing cheap units every few months.
Quick Maintenance Checklist
| Task | Frequency |
|---|---|
| Clean and disinfect bits | After every client |
| Inspect bits for wear | Weekly |
| Wipe down handpiece and control unit | Daily |
| Check cable for damage | Weekly |
| Replace worn bits | As needed |
| Full equipment inspection | Monthly |
Final Thoughts
An electric nail drill is only as good as the person operating it and the care it receives between uses. Matching the right bit and speed to each task protects your client's nails and delivers professional results. Regular cleaning, proper storage, and timely bit replacement keep the drill running smoothly for years. Whether you are a salon professional or a home user, these habits will help you get the most from your equipment while maintaining the highest standards of hygiene and safety.
