Felt Bobs for Dremel: Polishing Guide and Tips
Polishing accessories come in many shapes and sizes, each designed for specific tasks across metalworking, jewelry making, woodworking, and dental lab work. Buffing wheels and polishing pads handle large flat surfaces well, but when you need to reach tight corners, small recesses, or detailed contours, felt bobs are the right tool for the job.
This guide covers everything you need to know about felt bobs: what they are, why they outperform other polishing materials, how to mount and use them on a Dremel rotary tool, and how to store them properly after each session.
What Are Felt Bobs?
Felt bobs are small, dense polishing attachments made from compressed wool fibers. They come mounted on a shank or designed to attach to a mandrel, and they are available in several shapes, including cylindrical, conical, bullet, and wheel profiles. Each shape serves a different purpose depending on the geometry of the workpiece.
When charged with a polishing compound, felt bobs produce a mirror-like finish on metals such as gold, silver, steel, aluminum, and brass. They also work on plastics, porcelain, and glass surfaces where a high-gloss result is needed.
![]()
![]()
Why Choose Felt Bobs Over Other Polishing Materials?
Several properties make felt bobs a preferred choice among jewelers, dental technicians, and hobbyists who use rotary tools for jewelry work and precision finishing.
Superior Compound Absorption
Felt absorbs and holds polishing compounds better than cotton, muslin, or synthetic fiber wheels. The dense wool structure distributes the compound evenly across the working surface, which translates to consistent results with less compound waste.
Self-Renewing Surface
Unlike cloth wheels that can glaze over with use, felt maintains its working texture. As the outer layer wears away during polishing, a fresh surface appears underneath. This fresh layer absorbs compound just as effectively as the original surface, so performance stays consistent throughout the life of the bob.
Natural Durability
Sheep wool is one of the most resilient natural fibers available. The fibers hold their shape and edge under the heat and friction generated during rotary polishing. A quality felt bob lasts significantly longer than fabric-based polishing attachments under the same working conditions.
Precision in Tight Spaces
The small profiles of felt bobs allow access to areas that larger buffing wheels cannot reach. Conical and bullet shapes are especially useful for polishing inside ring bands, around prong settings, and within carved or engraved details.
Felt Bob Shapes and Their Uses
| Shape | Best For |
|---|---|
| Cylinder | Flat surfaces, broad contours, inside channels |
| Cone / Taper | V-grooves, angled surfaces, hard-to-reach recesses |
| Bullet | Concave surfaces, bowl shapes, rounded channels |
| Wheel / Disc | Flat and slightly curved surfaces, edge polishing |
| Ball / Sphere | Interior surfaces of rings, rounded cavities |
Choosing the right shape is just as important as choosing the right compound. Match the felt bob profile to the geometry of the area you need to polish for the best contact and most efficient material removal.
How to Use Felt Bobs on a Dremel Rotary Tool
Follow these steps to set up and use a felt polishing wheel with your Dremel or compatible rotary tool.
Step 1: Gather Your Materials
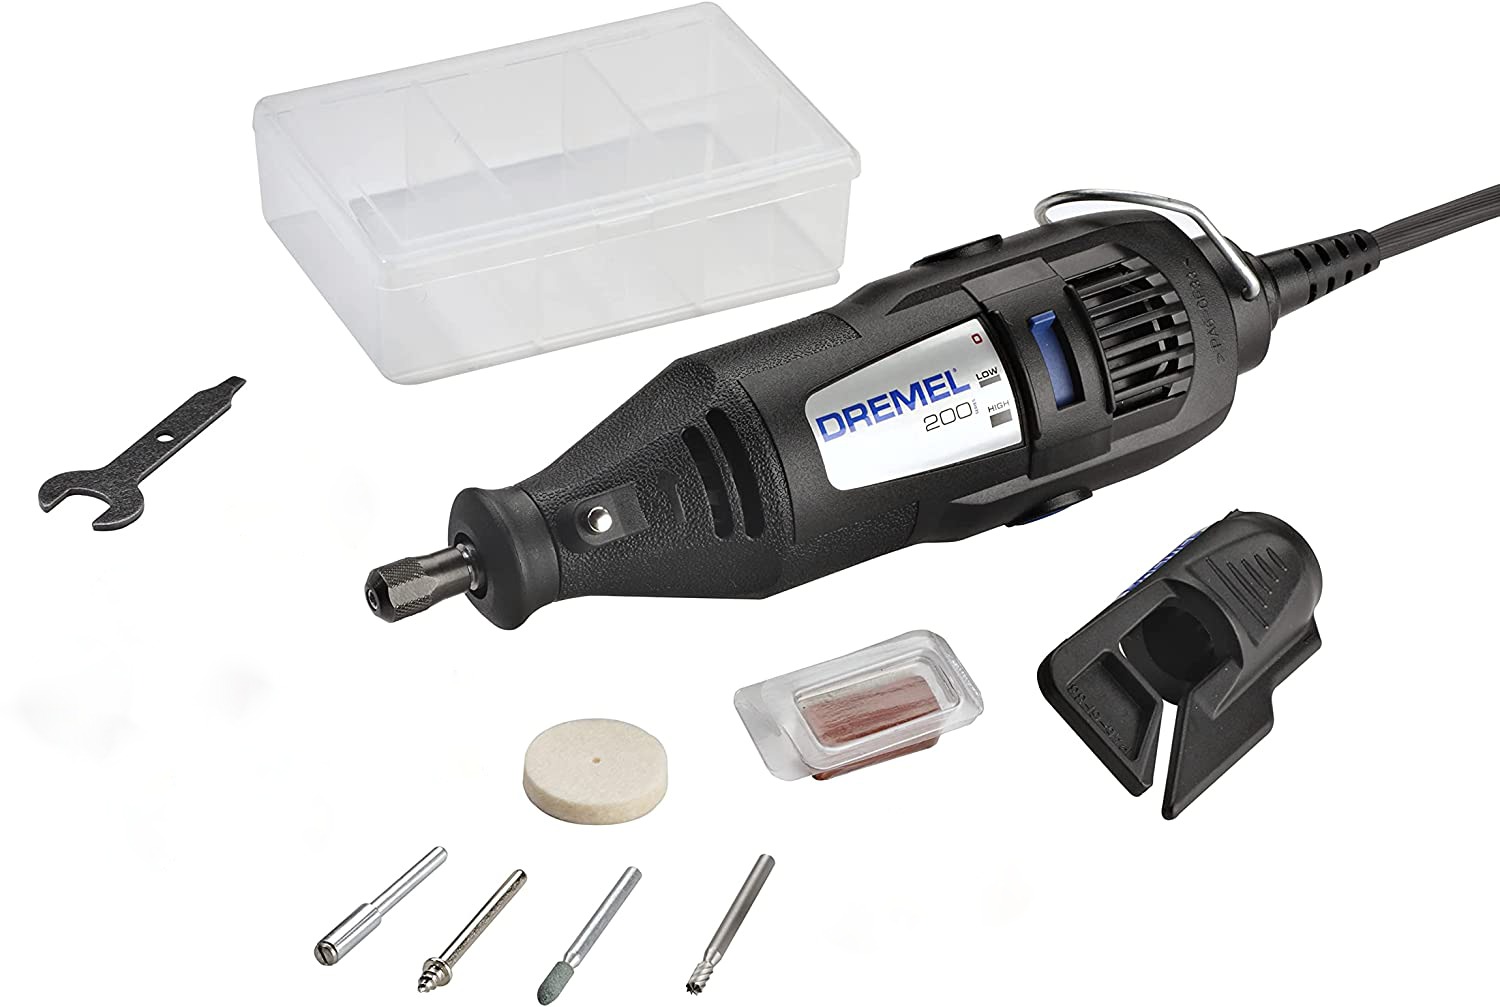
You will need a mandrel, a felt polishing wheel or bob, polishing compound appropriate for your workpiece material, and your Dremel rotary tool with a compatible collet.
Step 2: Mount the Felt Bob on the Mandrel
Most felt wheels have a pre-drilled or pre-poked center hole on one side. Thread the mandrel screw into this hole by twisting it clockwise. Make sure the mandrel tip does not protrude through the top of the felt bob, as an exposed mandrel tip can scratch your workpiece during polishing.
![]()
Step 3: Install the Assembly in the Dremel
Open the collet of your Dremel and insert the mandrel shank fully. Tighten by hand first, then use the wrench tool while holding the lock button to secure it firmly. Give the mandrel a gentle tug to confirm it is seated properly before powering on.
![]()
Step 4: Apply Polishing Compound
Rub a thin layer of polishing compound directly onto the felt bob surface. You can also apply compound to the workpiece itself. Use the compound recommended for your material: rouge for gold, white diamond for stainless steel, or general-purpose compound for mixed metals.
Step 5: Begin Polishing
Power on the Dremel at a low speed setting. Hold the felt bob lightly against the workpiece and let the rotation do the work. Avoid pressing hard, as excessive pressure generates heat and can damage the surface or cause the compound to burn off too quickly.
Step 6: Adjust Speed and Technique
Gradually increase the RPM to the recommended range for your material. Move the felt bob steadily across the surface using overlapping passes. For best results, work in one direction rather than back and forth, and keep the tool moving to prevent heat buildup in any single spot.
Step 7: Inspect and Repeat
After the first pass, wipe the surface clean and inspect it under good lighting. Apply additional compound and repeat the polishing process until you reach the desired finish. Finer compounds can be used in successive passes to increase the gloss level progressively.
Recommended RPM Settings
- Soft metals (gold, silver, copper): 5,000 to 10,000 RPM
- Steel and stainless steel: 10,000 to 15,000 RPM
- Plastics and resins: 3,000 to 7,000 RPM — use lower speeds to avoid melting
- Glass and porcelain: 8,000 to 12,000 RPM with light pressure
Always start at the lower end of the range and increase speed only as needed. Higher RPM does not always mean better results — control and consistency matter more than raw speed.
Polishing Compound Selection
The compound you choose affects the final finish quality. Here are common options:
- Tripoli: A medium-cut compound for initial polishing and removing fine scratches
- Red rouge: A fine finishing compound ideal for gold and soft precious metals
- White diamond: An all-purpose compound suitable for stainless steel, chrome, and aluminum
- Green chrome oxide: A very fine compound for achieving the highest mirror finish
Use separate felt bobs for different compounds. Mixing compounds on the same bob produces inconsistent results and can leave marks on the surface.
How to Store Felt Bobs After Use
Proper storage extends the life of your felt bobs and prevents contamination between polishing sessions.
- After finishing your work, let the felt bob spin freely on the Dremel for 30 to 60 seconds. This throws off excess compound residue from the fibers.
- Remove the felt bob from the mandrel and let it air dry completely. Storing damp felt promotes mold growth that ruins the material.
- Keep each felt bob in a labeled bag or compartment, separated by compound type. This prevents cross-contamination between different polishing grits.
- Store in a cool, dry location away from direct sunlight and humidity.
Common Mistakes to Avoid
- Using too much pressure: Let the compound and rotation handle the polishing. Pressing hard reduces effectiveness and generates unnecessary heat.
- Skipping grits: Move from coarser to finer compounds in sequence. Jumping directly to a fine compound over deep scratches wastes time and compound.
- Mixing compounds on one bob: Dedicate each felt bob to a single compound type for clean, predictable results.
- Running too fast on soft materials: Plastics and soft metals are prone to heat damage. Keep RPM moderate and take breaks as needed.
Felt bobs are a simple yet effective tool that belongs in every polisher's toolkit. Whether you are a jeweler working on intricate settings, a dental technician finishing prosthetics, or a hobbyist restoring hardware, the right felt bob paired with the right compound will deliver a professional-grade finish. For other bur shapes used in jewelry work and rotary finishing, explore our full range of polishing and shaping accessories.
