How to Use Mounted Stones for Sharpening Tools and Blades
A dull cutting instrument is more than an inconvenience. In dental practice, a blunt scaler or curette forces you to apply extra pressure, reduces tactile sensitivity, and increases the risk of tissue damage. In workshop settings, dull blades slow production and produce rough, inaccurate cuts. Mounted sharpening stones solve these problems efficiently when used with the right technique.
This guide covers everything you need to know about selecting, using, and maintaining mounted stones for consistent sharpening results across dental instruments, craft tools, and general-purpose blades.
What Are Mounted Stones?
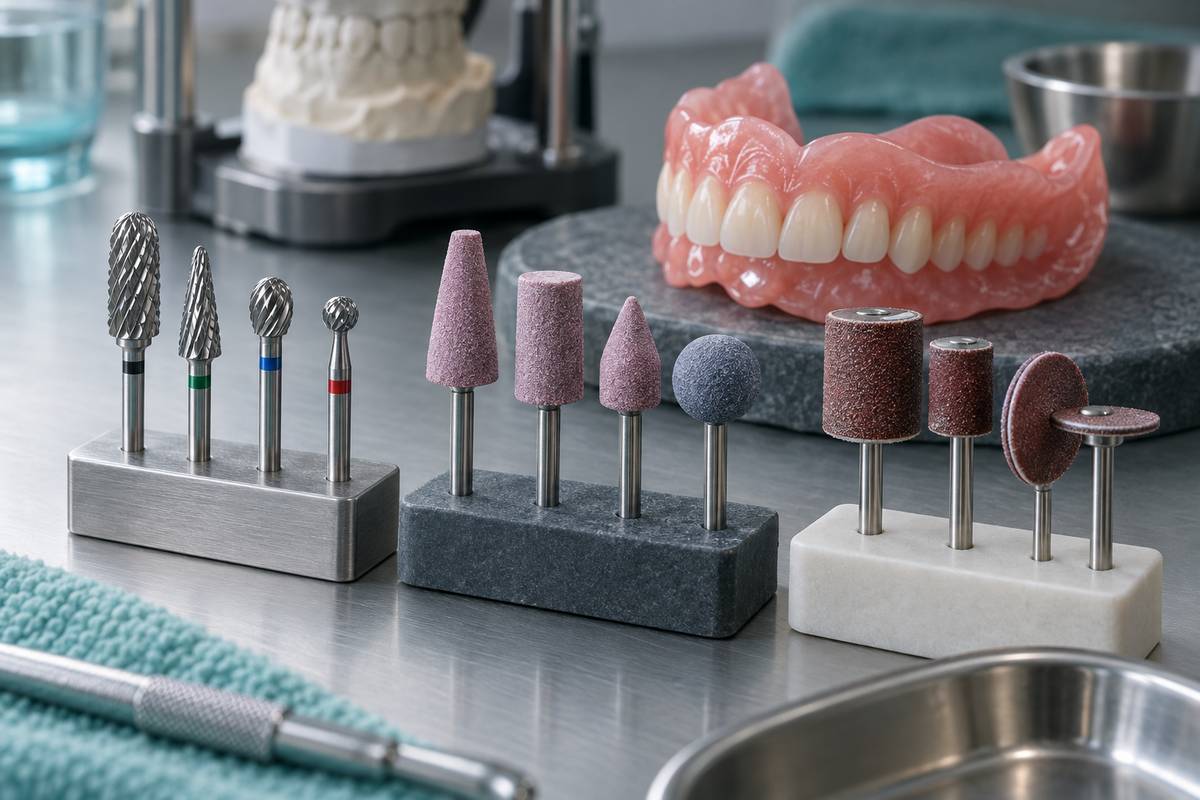
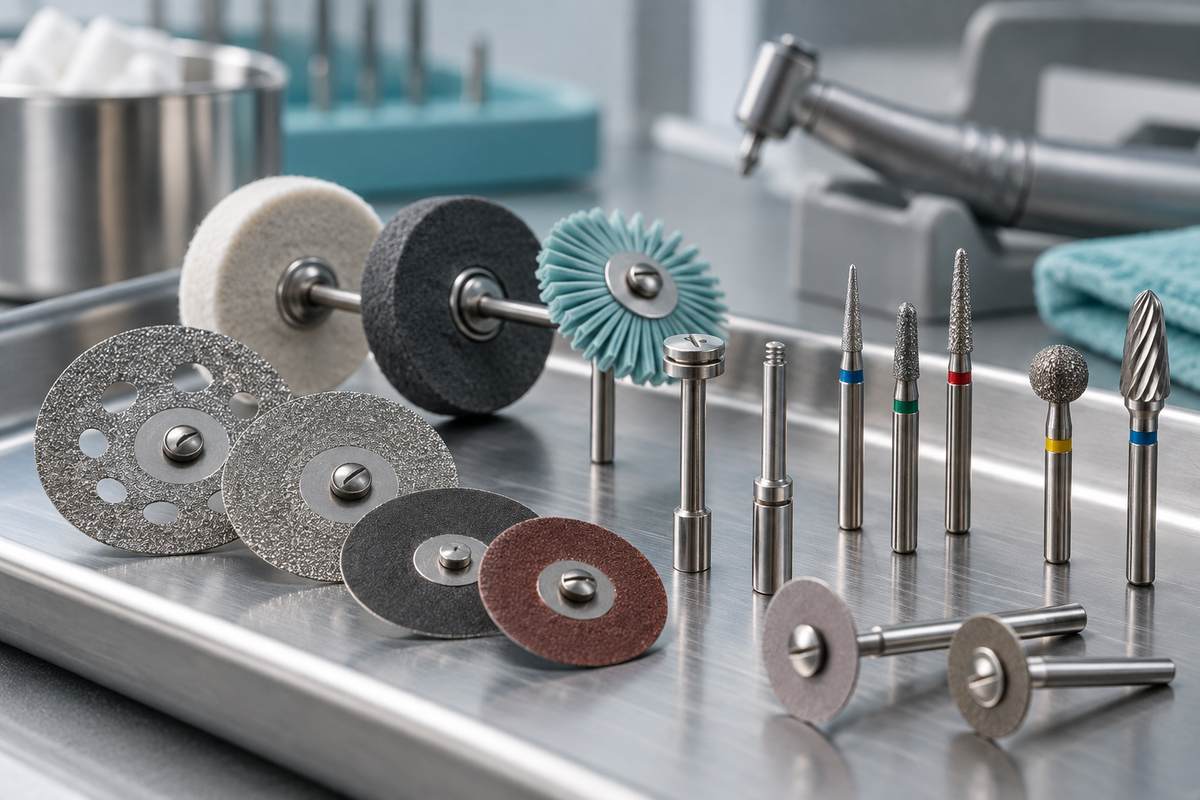
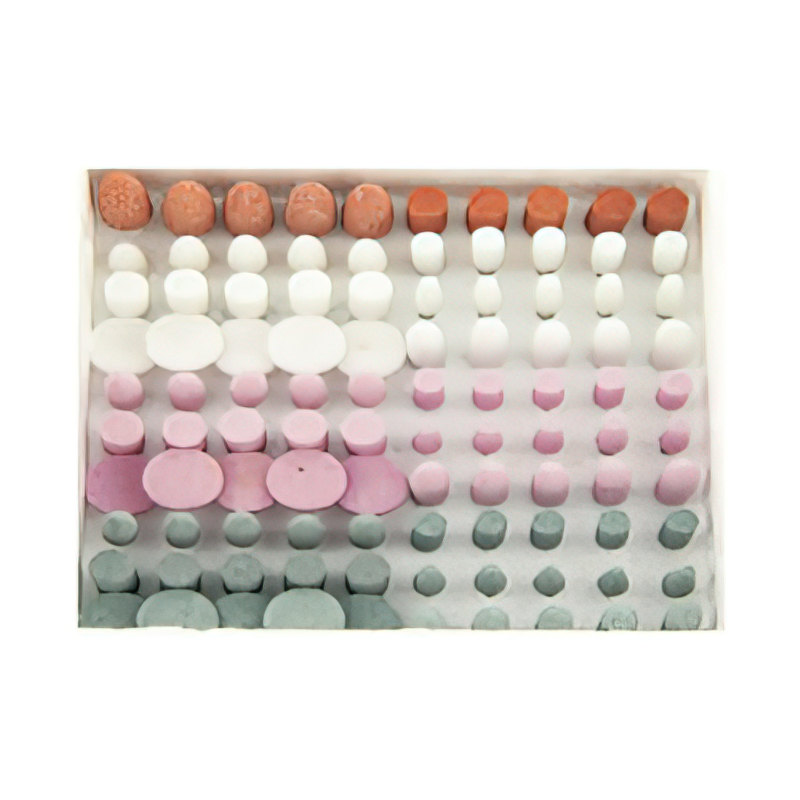
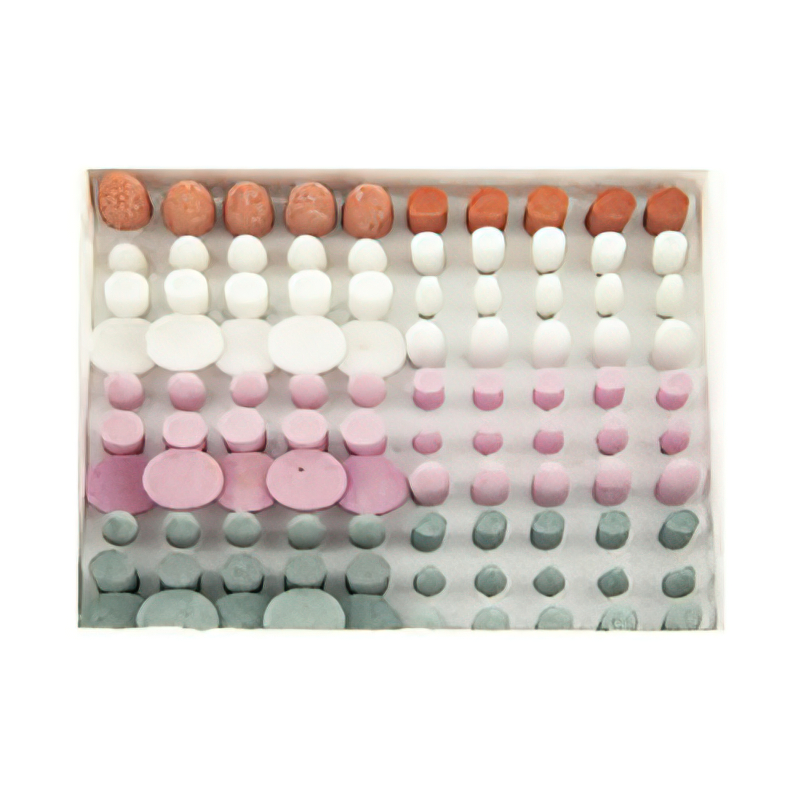
Mounted stones are small abrasive points fixed to a metal mandrel, designed to fit into a rotary handpiece or a bench motor. They come in a range of shapes -- cylindrical, conical, flame, and wheel -- and are made from materials including aluminum oxide, silicon carbide, and Arkansas stone.
Unlike bench sharpening stones that require manual back-and-forth motion, mounted stones spin at controlled speeds, allowing you to bring the cutting edge to the stone rather than the other way around. This makes them particularly useful for sharpening instruments with complex geometries, such as dental scalers, periodontal curettes, and small carving tools.
Choosing the Right Grit for Your Application
Grit selection is the single most important decision in the sharpening process. Using a stone that is too coarse will remove excess material and shorten the life of your instrument. A stone that is too fine will not remove enough metal to restore a proper cutting edge.
Coarse Grit (60-120)
Coarse mounted stones are designed for heavy reshaping work. Use them when an instrument has visible nicks, chips, or severe rounding of the cutting edge. Coarse stones remove material quickly, so limit their use to situations that genuinely require aggressive stock removal. In dental applications, this grit range is rarely needed unless an instrument has been badly neglected.
Medium Grit (180-320)
Medium grit is the workhorse range for most sharpening tasks. These stones remove enough material to reshape a moderately dull edge while leaving a surface that can be refined with a finishing stone. For dental scalers and curettes that receive regular maintenance, a medium grit stone is usually sufficient to restore full sharpness in a single session.
Fine Grit (400-800)
Fine grit stones are used for finishing and polishing the cutting edge after initial sharpening. They produce a smooth, refined edge that cuts cleanly through tissue or material without tearing. Always finish with a fine grit pass to remove the burr left by coarser stones and to produce the sharpest possible result.
Quick Reference: Grit Selection by Task
| Task | Recommended Grit | Stone Material |
|---|---|---|
| Repairing chipped edges | 60-120 (coarse) | Silicon carbide |
| Routine resharpening | 180-320 (medium) | Aluminum oxide |
| Final edge refinement | 400-800 (fine) | Arkansas stone or ceramic |
| Polishing after sharpening | 1000+ (ultra-fine) | Ceramic or rubber point |
Setting Up Your Sharpening Station
Before you begin, gather the following equipment:
- Mounted stone in the appropriate grit and shape
- Rotary handpiece or bench motor with adjustable speed
- Magnification (loupes or bench magnifier) for inspecting the edge
- Light source positioned to illuminate the cutting edge directly
- Water or honing oil for lubrication, depending on stone type
Secure your handpiece in a stable holder if possible. Sharpening requires both hands -- one to hold the instrument and one to guide the contact angle against the spinning stone. A stable setup reduces the chance of slipping and damaging the edge you are trying to restore.
Step-by-Step Sharpening Technique
Step 1: Inspect the Edge
Hold the instrument under bright light and examine the cutting edge at magnification. A sharp edge will not reflect light. If you see a bright line along the edge, that is a flat spot indicating dullness. Note the location and extent of dull areas so you can focus your sharpening where it is needed most.
Step 2: Set the Correct Speed
Mount the stone in your handpiece and set the speed to a low-to-moderate RPM. For most sharpening tasks, 5,000 to 15,000 RPM provides good control. Higher speeds generate more heat and remove material faster, making it easy to over-sharpen or alter the instrument geometry. Start slow and increase only if the stone is not cutting effectively.
Step 3: Maintain the Correct Angle
This is where technique matters most. Each instrument type has a specific bevel angle that must be maintained during sharpening. For dental curettes, the internal angle between the face and the lateral surface is typically 70 to 80 degrees. For straight blades and chisels, the bevel angle is usually 20 to 30 degrees.
Rest the instrument against the spinning stone at the correct angle and apply light, consistent pressure. Let the abrasive do the work. Pressing too hard generates heat, accelerates stone wear, and can create an uneven edge.
Step 4: Use Short, Controlled Passes
Move the instrument across the stone in short, overlapping strokes. Work in sections rather than trying to sharpen the entire edge in one continuous motion. This approach gives you better control over material removal and helps maintain a uniform bevel angle along the full length of the edge.
After every few passes, stop and inspect the edge under magnification. You should see the bright reflection line getting narrower. Continue until the reflection disappears entirely, indicating a sharp edge has been restored.
Step 5: Remove the Wire Edge
Sharpening produces a thin metal burr, called a wire edge, on the opposite side of the sharpened surface. This burr must be removed for the edge to cut cleanly. Lightly draw the instrument across a fine grit stone or a hard Arkansas test stick to break off the wire edge. Inspect again to confirm a clean, sharp edge with no remaining burr.
Common Sharpening Mistakes to Avoid
Even experienced practitioners make errors that reduce sharpening quality. Here are the most frequent problems and how to prevent them:
- Changing the bevel angle: Inconsistent hand position alters the original instrument geometry. Use a sharpening guide or reference mark if you have difficulty maintaining a steady angle.
- Applying too much pressure: Heavy pressure overheats the edge and removes material unevenly. If you need to press hard, the stone grit is probably too fine for the task.
- Skipping grit progression: Jumping from coarse directly to the instrument's intended use leaves a rough edge. Always step through medium and fine grits for the best result.
- Neglecting lubrication: Dry sharpening generates heat and clogs the stone surface with metal particles. Use water or honing oil appropriate for your stone type.
- Over-sharpening one section: Focusing too long on one area creates a concavity in the blade. Move systematically along the entire edge.
Post-Sharpening Care and Maintenance
After sharpening, clean the instrument thoroughly to remove any metal filings or stone debris. For dental instruments, follow your standard sterilization protocol before returning them to clinical use.
Maintain your mounted stones as well. Clean them after each use with a dressing stone or a wire brush to remove embedded metal particles. A clogged stone cuts poorly and generates excessive heat. Store stones in a dry location to prevent moisture damage, particularly if you use natural Arkansas stones.
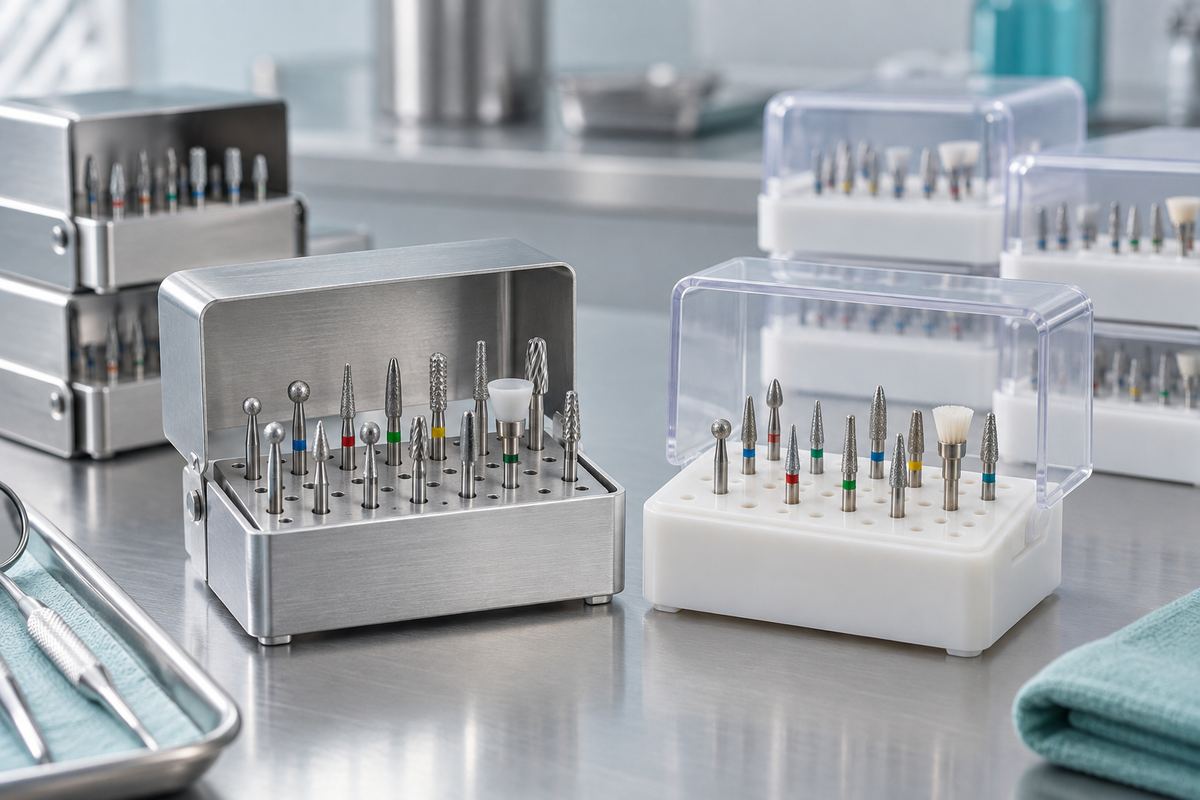
Apply a thin coat of food-safe mineral oil to sharpened carbon steel instruments if they will be stored for any length of time. This prevents surface oxidation and keeps the edge in ready condition. For a thorough overview of instrument and bur maintenance, read our guide on keeping your burs and discs in top condition.
When to Replace Rather Than Resharpen
Sharpening extends instrument life significantly, but every tool has a finite service span. Replace an instrument when the working end has been reduced to less than half its original size, when the shank shows signs of metal fatigue or bending, or when repeated sharpening fails to produce a lasting edge. Continuing to use a worn-out instrument compromises both your results and patient safety.
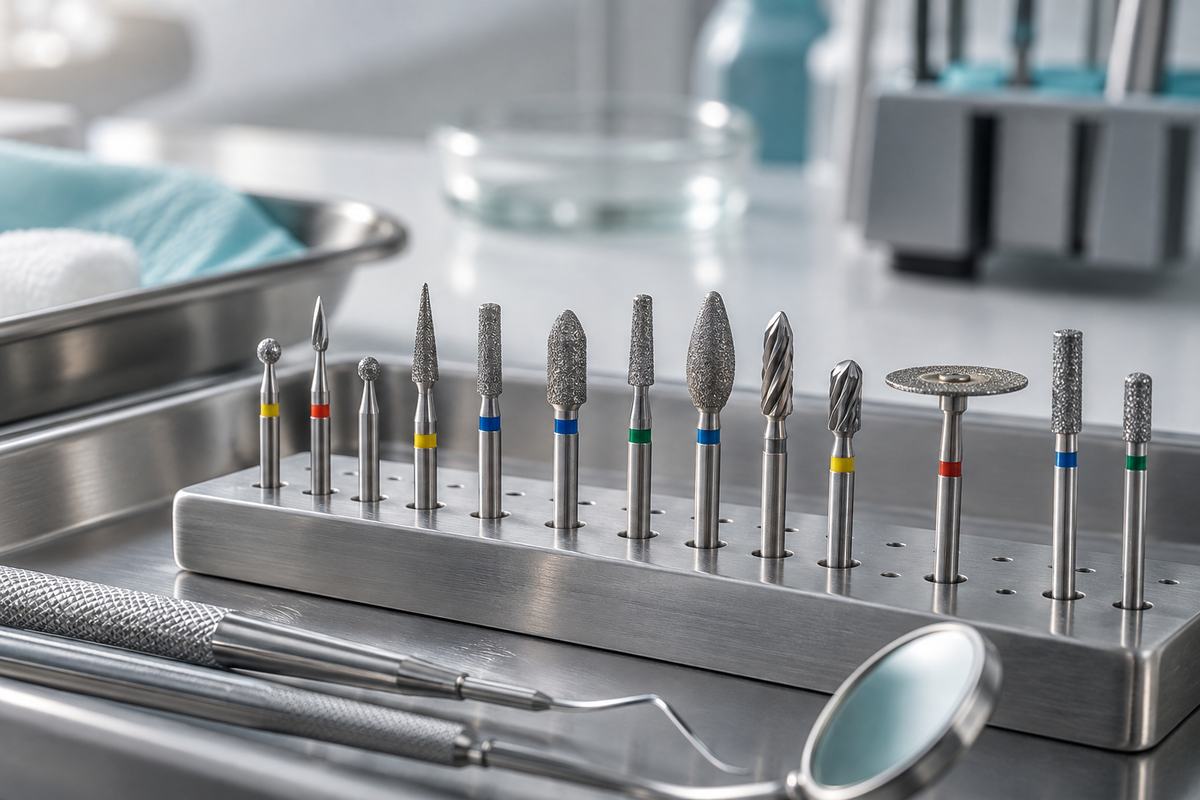
If you are looking for high-quality abrasive instruments for your practice or workshop, explore our range of diamond dental burs and rotary accessories. For polishing work after sharpening and adjustment, our guide to polishing brushes covers the tools and techniques for achieving a smooth final surface.