How do you use nail drill bits safely? Match the grit and shape to the job, keep the bit moving, and use lighter pressure as you get closer to the natural nail so you remove product without creating heat damage.
An electric nail drill can turn a rough at-home manicure into a salon-quality result, but only if you know how to use the bits correctly. Choosing the wrong bit, applying too much pressure, or running at the wrong speed can damage your nails and leave them worse than when you started. This guide walks you through everything you need to know about selecting, using, and caring for nail drill bits so you get clean, professional results every time.
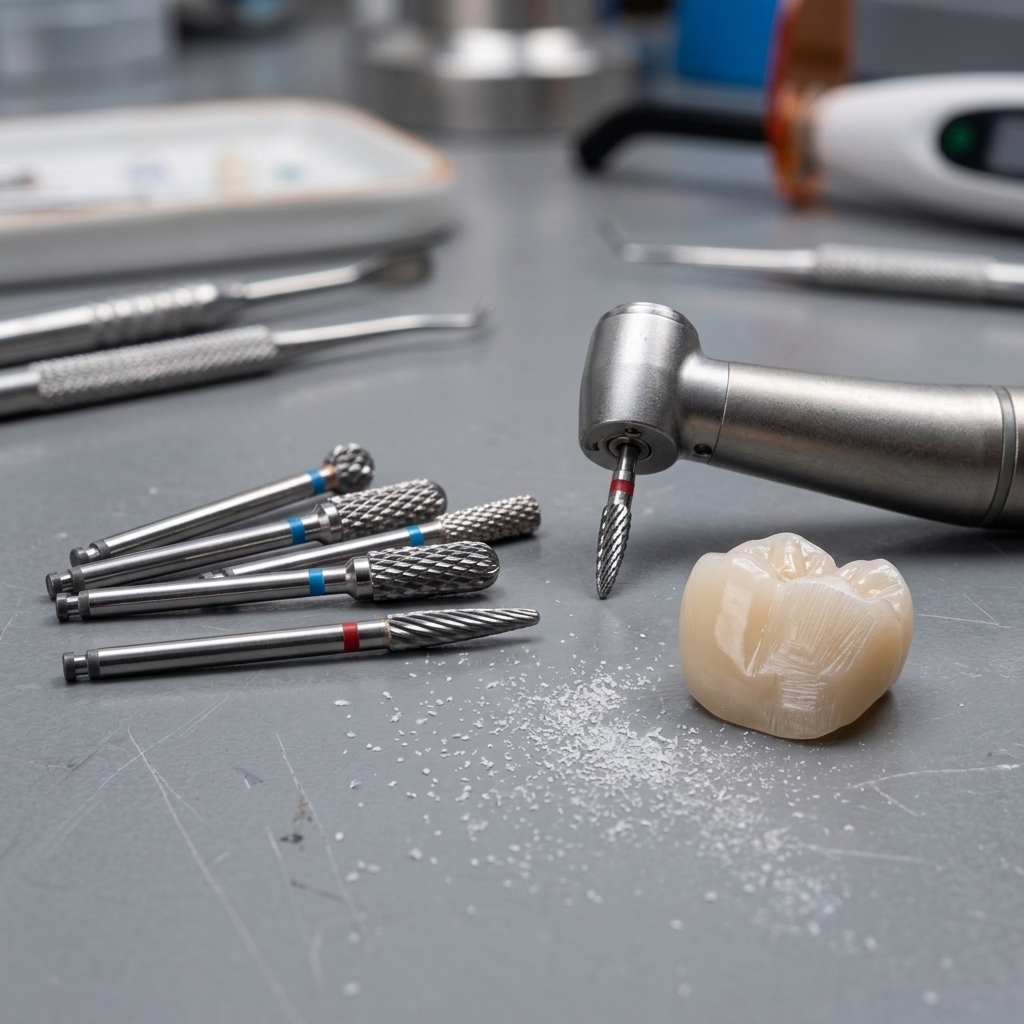
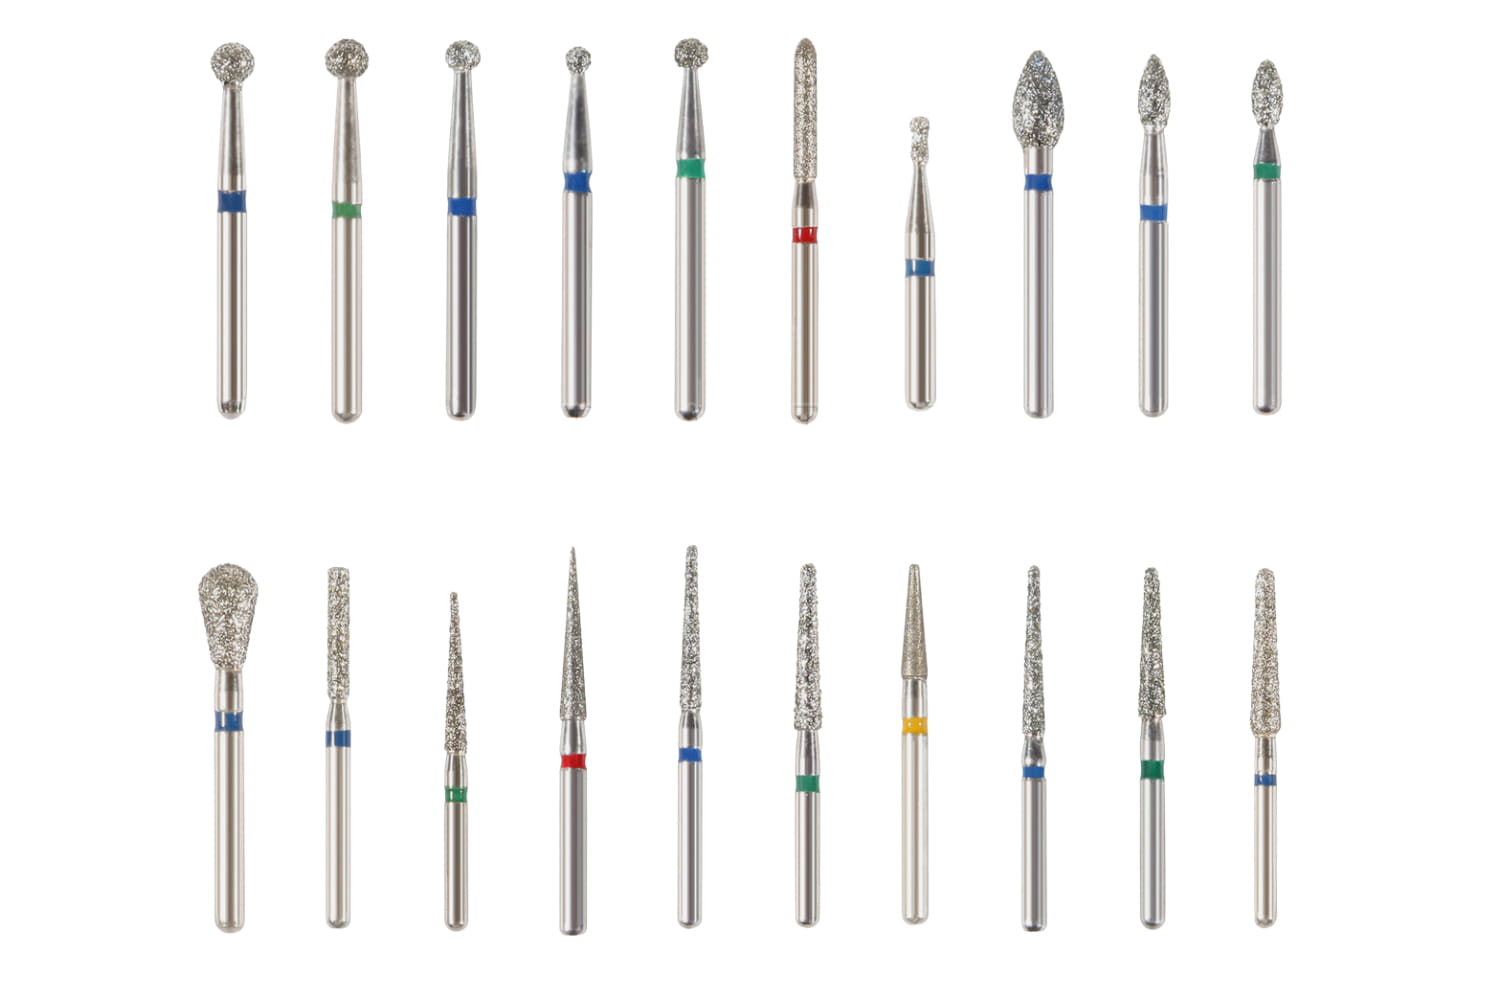
Understanding Nail Drill Bit Types
Nail drill bits are not interchangeable. Each type is designed for a specific task, and using the right one makes a noticeable difference in both safety and finish quality.
Ceramic Bits
Ceramic bits generate less heat than metal bits, making them a popular choice for beginners. They work well for removing gel polish and soft acrylic without excessive friction on the natural nail. Ceramic bits are also easier to clean because product residue does not stick to them as readily.
Carbide Bits
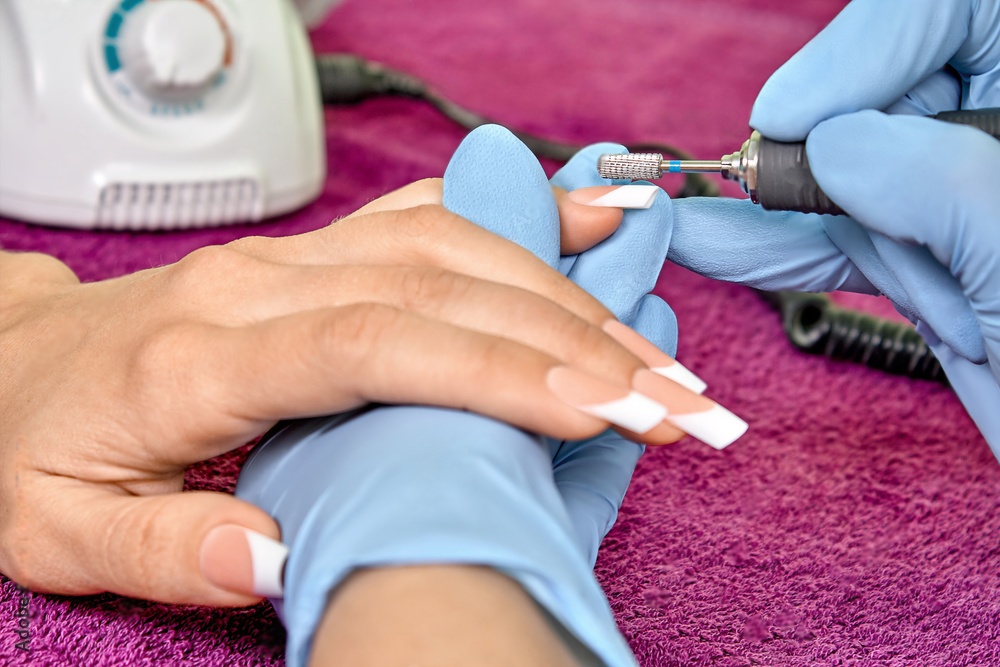
Carbide bits are harder and more aggressive. They cut through acrylic, hard gel, and dip powder efficiently. Carbide bits come with different flute patterns: a coarser cut (fewer flutes) removes material faster, while a finer cut (more flutes) leaves a smoother surface. If you work with acrylic nails regularly, a set of carbide bits in multiple grits is worth the investment.
Diamond Bits
Diamond-coated bits are excellent for cuticle work and sidewall cleaning. The fine grit allows precise material removal close to the skin without tearing or cutting. They are also useful for surface prep before applying new product. Diamond bits are available in a range of grits and shapes, from fine-pointed flame tips for tight cuticle areas to broader barrel shapes for surface work.
Sanding Bands and Mandrels
Sanding bands slide onto a rubber mandrel and are used for shaping and shortening nails. They are disposable and should be replaced after each client or session to maintain hygiene. Sanding bands come in multiple grits, from coarse (80 grit) for heavy shaping to fine (240 grit) for smoothing.
Silicone Polisher Bits
Silicone polisher bits are used in the final stages of a manicure to buff the nail surface to a smooth, even finish. They do not remove material aggressively but instead create a polished sheen. These bits are especially useful after gel application or when preparing the natural nail for a high-gloss topcoat.

Choosing the Right Speed Setting
Speed control is one of the most overlooked aspects of nail drilling. Most electric nail drills operate between 0 and 30,000 RPM, but you rarely need the top end of that range for natural nails.
| Task | Recommended RPM | Bit Type |
|---|---|---|
| Cuticle cleaning | 5,000 - 10,000 | Diamond or ceramic |
| Gel polish removal | 10,000 - 15,000 | Ceramic |
| Acrylic removal | 15,000 - 20,000 | Carbide (coarse) |
| Shaping and shortening | 10,000 - 15,000 | Sanding band |
| Surface smoothing | 8,000 - 12,000 | Fine sanding band or buffer bit |
| Final buffing | 5,000 - 8,000 | Silicone polisher or felt |
Start at a lower speed than you think you need. You can always increase RPM, but you cannot undo damage from going too fast too soon.
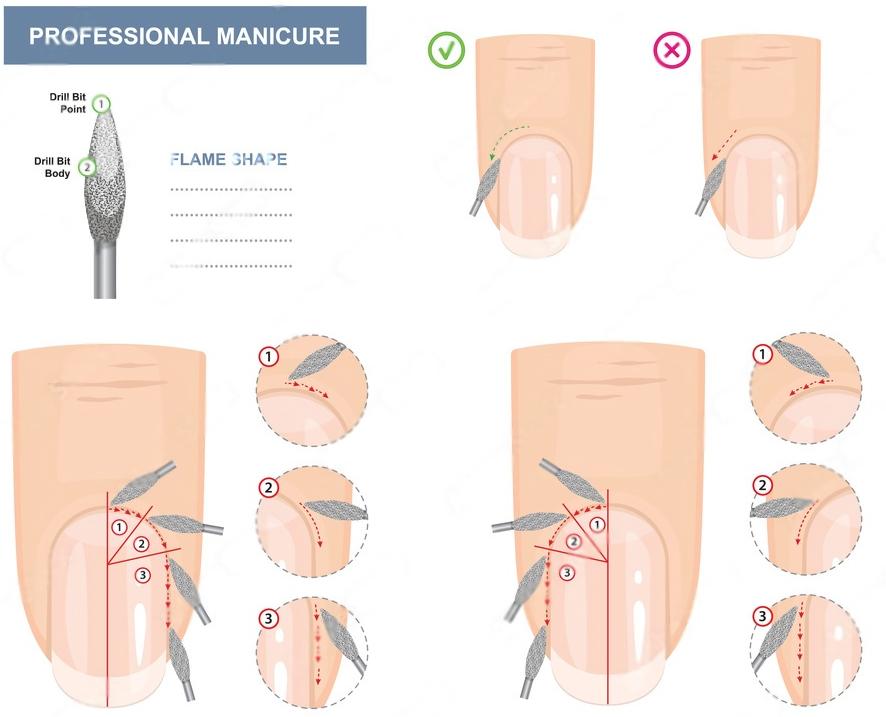
Step-by-Step Technique for Safe Drilling
Step 1: Prepare the Nail
Push back the cuticle gently with a wooden stick or cuticle pusher. Remove any loose skin. Wipe the nail surface with a lint-free pad and nail cleanser to remove oils. A clean, dry surface ensures the drill bit grips the material evenly and reduces the chance of the bit skipping across the nail.
Step 2: Choose Your Bit and Set the Speed
Select the appropriate bit for your task (see the table above). Insert it firmly into the handpiece chuck. Set the drill to a low RPM and test it briefly on your thumbnail to confirm the speed feels comfortable. If you are unsure which bit to use, start with a fine-grit option and move to a coarser one only if the material removal feels too slow.
Step 3: Use Light, Sweeping Motions
Hold the handpiece like a pen, at roughly a 45-degree angle to the nail surface. Move the bit across the nail in smooth, sweeping strokes. Never hold the bit in one spot, as this concentrates heat and can burn the nail bed. Let the bit do the work. If you find yourself pressing hard, switch to a coarser grit instead of increasing pressure.
Step 4: Work the Cuticle Area Carefully
Switch to a fine diamond or ceramic bit for cuticle work. Run the bit along the cuticle line at low speed, using a light touch. The goal is to remove dead skin and smooth the area, not to cut into living tissue. Keep the bit moving at all times. If you notice any discomfort or redness, stop immediately and let the area rest before continuing.
Step 5: Take Breaks to Manage Heat
After 15 to 30 seconds of continuous contact, lift the bit away and let it spin freely. This dissipates heat from both the bit and the nail. Touch the nail surface with your finger to check the temperature. If it feels warm, pause longer before continuing. Heat management is especially important when removing thick layers of acrylic or hard gel, as these materials insulate the nail bed and can mask the temperature buildup until it becomes uncomfortable.
Step 6: Smooth and Buff
Switch to a fine sanding band or silicone buffer bit. Run it lightly across the nail surface to remove any scratches left by the coarser bits. This step creates the smooth base needed for polish to adhere properly. Work in one direction rather than back and forth to avoid creating a wavy texture on the nail plate.
Common Mistakes to Avoid
- Using one bit for everything. Each bit has a specific purpose. A coarse carbide bit will shred a natural nail, and a fine diamond bit will take forever on thick acrylic.
- Skipping grit progression. Always move from coarser to finer grits. Jumping straight to a buffer bit without removing bulk material first wastes time and overheats the bit.
- Pressing too hard. Excessive pressure causes heat buildup, nail damage, and faster bit wear. A properly chosen bit at the right speed needs almost no pressure.
- Ignoring the drill direction. Most drills have a forward and reverse setting. When working on the right side of the nail, spin the bit in one direction; switch for the left side. This prevents the bit from catching the skin.
- Reusing disposable sanding bands. Worn sanding bands lose their grit unevenly, creating an inconsistent surface. They are inexpensive and should be treated as single-use items.
- Working on damaged nails. If a nail is cracked, peeling, or infected, do not use a nail drill on it. The vibration and friction can worsen the damage. Treat the issue first and let the nail heal before drilling.
Cleaning and Maintaining Your Bits
Proper bit maintenance extends tool life and keeps your work hygienic:
- After each use, remove product buildup with a brass wire brush. For stubborn residue, soak bits in acetone for 10 minutes before brushing.
- Disinfect reusable bits by soaking them in an approved disinfectant solution according to the manufacturer's instructions.
- Store bits in a covered holder or bur block to protect the cutting surfaces and keep them organized.
- Replace any bit that shows visible wear, wobbles in the chuck, or vibrates during use. A worn bit works harder and generates more heat.
- Keep the handpiece itself clean by wiping it down after each session and checking that the chuck mechanism grips bits securely without play.
Building Confidence with Practice
If you are new to nail drills, start by practicing on artificial nail tips before working on your own nails. This lets you get a feel for speed, pressure, and bit selection without any risk. Once you are comfortable, work on your non-dominant hand first, as it is more forgiving of minor technique errors.
Keep a few different bit types on hand so you can experiment with grit levels and materials. Over time, you will develop a feel for how each bit behaves on different nail products, and you will be able to switch between bits instinctively based on what the job requires.
With the right bits, proper speed settings, and a light touch, an electric nail drill becomes one of the most useful tools in your at-home nail care kit. Take your time learning each bit type, respect the fundamentals covered in this guide, and your manicures will look noticeably better from the very first session.
Related Acrylic Removal Guide
If your main goal is removing acrylic without soaking, read How to Remove Acrylic Nails Without Acetone for a safer drill sequence and aftercare steps.
FAQ: Nail Drill Bit Safety
Which bit is best for beginners? A fine or safety-style bit gives beginners more control because it removes less material with each pass.
Can nail drill bits damage natural nails? Yes, if the bit is too aggressive or pressure is too high. Use the least aggressive bit that can do the job.