Dental x-rays are a crucial diagnostic tool, but lousy image quality can leave you squinting and guessing. Like tricking out a car, it takes some tweaking under the hood of your digital sensor technology to give your x-ray game true bling status. Let’s explore techniques for enhancing image quality for a smoother digital x-ray ride.

Sensor Placement Precision
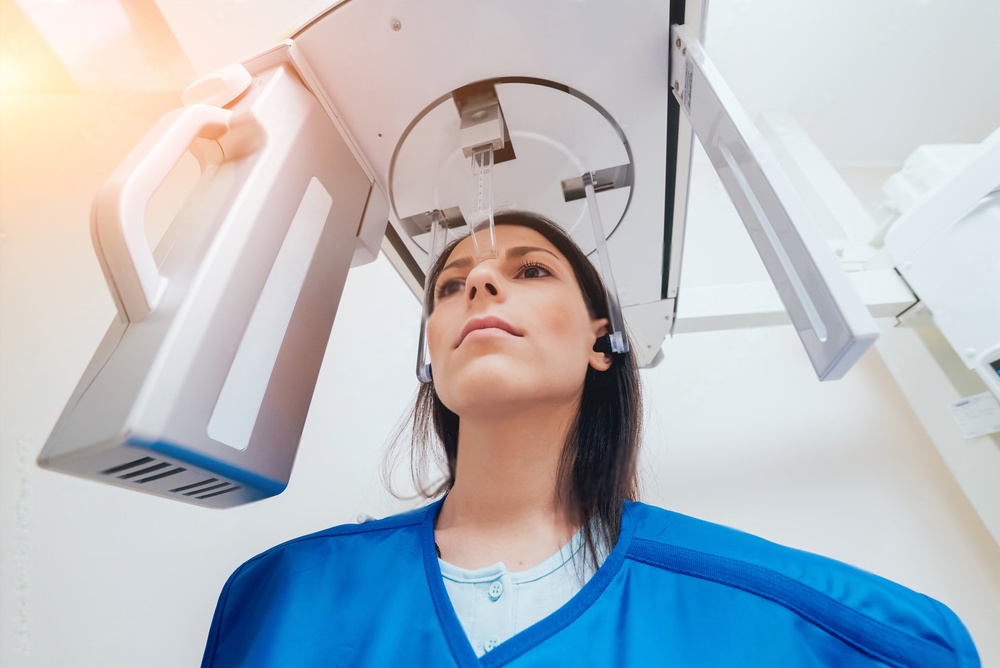
Proper positioning and angulation of the sensor is key for crisp image capture. Follow the principles of paralleling or bisecting the angle during exposure to maximize detail. Take practice runs on positioning with all sensor sizes.
Optimize Exposure Settings
Too little or too much exposure can degrade image quality. Adjust kVp, mA, and exposure time to balance penetration with ideal contrast. Customize protocols for adult vs child exposures.

Use Rectangular Collimation
Narrow the X-ray beam to the minimum area needed to reduce scatter radiation. Invest in position indication devices to standardize technique.
Clean Your Sensor
Dirt, debris, and stains on the external casing or imaging plate can cause artifacts or sensor damage. Follow manufacturer guidelines on cleaning techniques.
Update Your Software
Manufacturers periodically release enhanced software for image processing, filtering, and display. Keep the firmware on sensors, x-ray units, and imaging programs up to date.
Monitor Diagnostic Accuracy
Track diagnostic outcomes over time and adjust protocols to optimize detection rates. Image quality should facilitate diagnosis, not hinder it.

With some under-the-hood sensor tweaks and standardized techniques, your dental X-ray images will be issuing crisp diagnostic views in no time. Trick out your imaging program with these enhancements and you’ll be cruising your way to visualization bliss!
Would you like to learn more about Dental X-ray Sensors? Click here for more information. We hope you can find the products you need.


