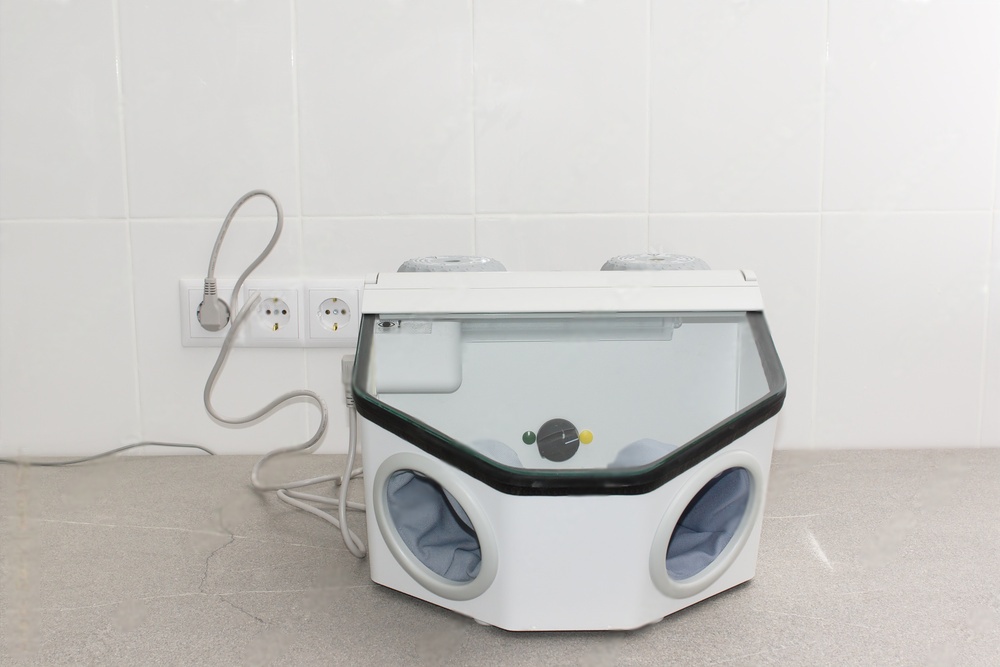
A dental sandblaster is a workhorse in any dental laboratory or clinical practice. It handles surface preparation for bonding, cleaning castings, removing oxides from metal frameworks, and creating micro-retentive surfaces on restorations before cementation. When it works properly, you barely think about it. When it does not, every workflow that depends on it slows down.
Regular maintenance keeps your sandblaster running at full performance, prevents costly breakdowns, and extends the useful life of the equipment. This guide covers the daily, weekly, and periodic maintenance tasks that every operator should follow.
Why Sandblaster Maintenance Matters
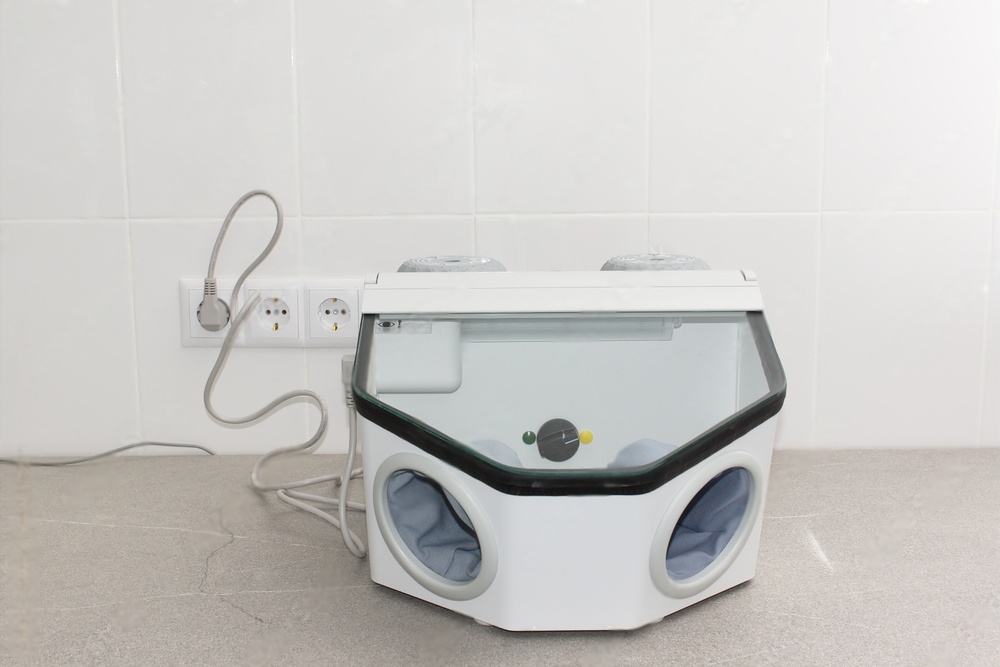
Sandblasters operate by propelling abrasive particles at high velocity through a small-diameter nozzle using compressed air. Every component in that delivery path, from the media reservoir to the nozzle tip, is subject to wear. Abrasive particles are, by definition, designed to erode material. That erosion does not stop at the workpiece; it also affects the internal surfaces of your equipment over time.
Neglected maintenance leads to a predictable chain of problems: reduced blast pressure, uneven surface treatment, increased media consumption, nozzle blockages, and eventually component failure that requires expensive professional repair. A consistent maintenance routine prevents all of these issues.
Daily Maintenance Tasks
Clean the Nozzle After Each Use
The nozzle is the most critical wear component in any sandblaster. After each day of use, remove the nozzle and inspect it under magnification. Clear any embedded particles using a nozzle cleaning wire or compressed air blown backward through the opening. If the orifice has become visibly enlarged or is no longer perfectly round, replace the nozzle immediately. A worn nozzle delivers an uneven blast pattern and wastes abrasive media.
Empty and Inspect the Blast Chamber
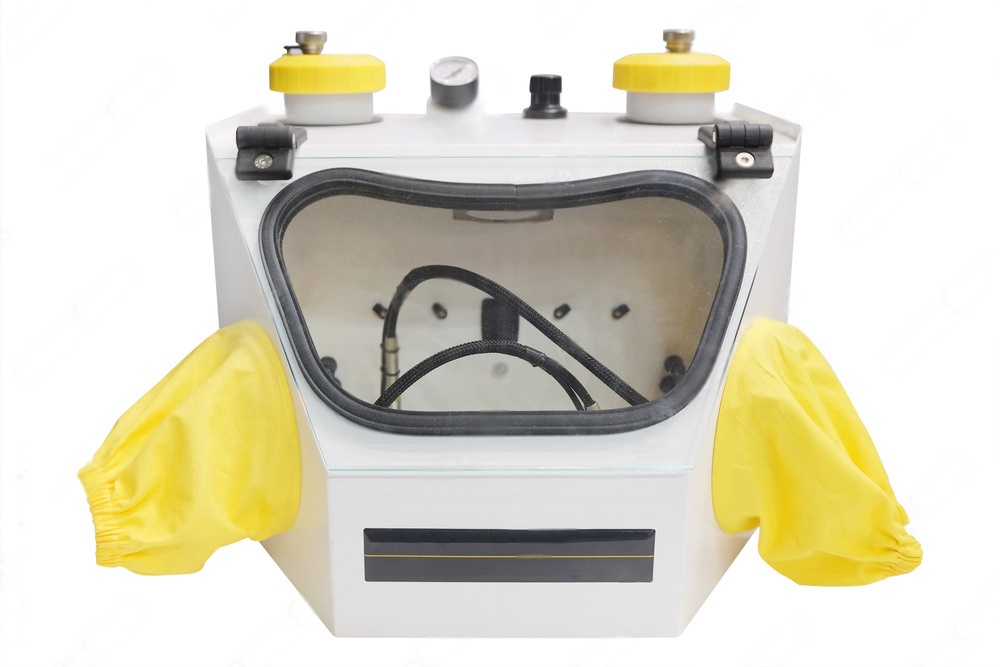
At the end of each working day, remove any remaining loose media and debris from the blast chamber. Wipe down the interior walls and window with a dry, lint-free cloth. Inspect the chamber window for pitting or cloudiness caused by stray abrasive impact. A scratched window makes it difficult to see the workpiece clearly and should be replaced when visibility is compromised.
Drain the Air Compressor Moisture Trap
Compressed air contains moisture, and that moisture is the enemy of dry abrasive media. Open the drain valve on your compressor's moisture trap at the end of each day to release accumulated water. If wet air reaches the media reservoir, it causes the abrasive particles to clump together, leading to inconsistent flow and nozzle blockages. In humid climates, consider adding a secondary in-line desiccant filter for additional moisture removal.
Weekly Maintenance Tasks
Inspect Hoses and Connections
The delivery hose that carries abrasive-laden air from the reservoir to the nozzle wears from the inside out. Externally, it may look fine while the interior wall is thinning. Flex each hose along its length and feel for soft spots, bulges, or stiffening. Check all fittings and clamps for tightness. A loose connection introduces air leaks that reduce blast pressure and waste compressor energy.
Check and Refill Abrasive Media
Abrasive media breaks down with repeated use. Aluminum oxide particles fracture into smaller fragments that lose their cutting effectiveness and are more likely to clog the nozzle. Inspect the media reservoir weekly. If the particles appear visibly finer or dustier than fresh media, it is time to replace the entire batch rather than simply topping it off. Mixing spent media with fresh media dilutes the effectiveness of the new material.
Store unused abrasive media in a sealed container in a dry location. Exposure to humidity causes clumping and can introduce contaminants that damage the sandblaster's internal components.
Clean or Replace the Dust Collector Filter
The dust collection system captures spent abrasive particles and debris generated during blasting. A clogged filter restricts airflow through the blast chamber, reducing suction and allowing dust to escape into the laboratory environment. Check the filter weekly and clean it according to the manufacturer's instructions. Most filters can be tapped or blown clean with compressed air several times before they need full replacement. Track filter replacement intervals and keep spares on hand so you are never caught working with a saturated filter.
Monthly and Periodic Maintenance
Perform a Full System Purge
Once a month, run a complete purge cycle to flush residual particles from the hose, nozzle, and mixing chamber. Many units have a dedicated purge function; if yours does not, run the blaster with an empty media reservoir to clear the lines with compressed air only. This removes particles that have settled in low-flow areas and prevents gradual buildup that can restrict the delivery path.
Inspect and Replace Wear Components
Beyond the nozzle, several other components wear over time and should be inspected on a regular schedule:
- Pickup tube: The tube that draws media from the reservoir can develop internal erosion, reducing suction efficiency.
- Mixing chamber: Where air and media combine before entering the hose. Internal erosion changes the air-to-media ratio.
- Foot pedal and valve assembly: Mechanical valves can develop leaks or become sluggish. Test the pedal response and check for air leaks at the valve.
- Chamber door gasket: A worn gasket allows dust to escape the blast chamber. Replace it when you notice dust leaking around the door seal.
Calibrate Blast Pressure
Use an external pressure gauge to verify that the delivered blast pressure matches the gauge reading on the unit. Over time, internal leaks or regulator drift can cause the actual pressure to fall below the displayed value. Most dental sandblasting applications operate between 40 and 80 PSI, depending on the media type and the substrate being treated. Recalibrate or service the regulator if the readings do not match within an acceptable tolerance.
Choosing the Right Abrasive Media
The abrasive media you select directly affects both the quality of your surface preparation and the wear rate on your equipment. Here is an overview of common options used in dental applications:
| Media Type | Particle Size | Common Applications |
|---|---|---|
| Aluminum oxide (white) | 50 or 110 microns | General surface preparation, bonding prep |
| Aluminum oxide (brown) | 50 to 250 microns | Cleaning castings, oxide removal |
| Glass beads | 50 to 100 microns | Gentle cleaning without surface roughening |
| Silicon carbide | 50 to 150 microns | Aggressive cutting on hard substrates |
Using a media that is too coarse for the application accelerates nozzle wear and can damage delicate restorations. Using media that is too fine may not achieve adequate surface roughness for reliable bonding. Match the media to the task, and your sandblaster will perform better and last longer. For more background on abrasive blasting in dental settings, see our article on common sandblasting myths.
Troubleshooting Common Sandblaster Problems
Even with regular maintenance, issues can arise. Here are the most frequent problems and their likely causes:
Weak or Inconsistent Blast Pressure
- Clogged nozzle or partially blocked hose
- Air compressor not reaching adequate pressure
- Moisture in the air lines causing media clumps
- Worn regulator not maintaining set pressure
Media Not Flowing
- Damp or clumped abrasive media in the reservoir
- Blocked pickup tube
- Empty reservoir (check the sight glass or window if equipped)
Excessive Dust in the Lab
- Saturated or damaged dust collector filter
- Worn door gasket allowing chamber leaks
- Dust collection motor not running at full speed
Addressing these issues promptly prevents minor inconveniences from becoming major equipment failures.
Extending Equipment Life
A well-maintained dental sandblaster can deliver reliable service for many years. The keys to longevity are consistent daily cleaning, prompt replacement of wear components, using quality abrasive media stored properly, and maintaining dry, clean compressed air supply. Treat your sandblaster as a precision instrument rather than a disposable tool, and it will repay that attention with dependable, consistent performance.
If your laboratory also uses rotary instruments for finishing and adjusting restorations, proper maintenance principles apply across all equipment. Browse our selection of laboratory diamond burs and laboratory carbide burs for instruments designed to complement your sandblasting workflow.