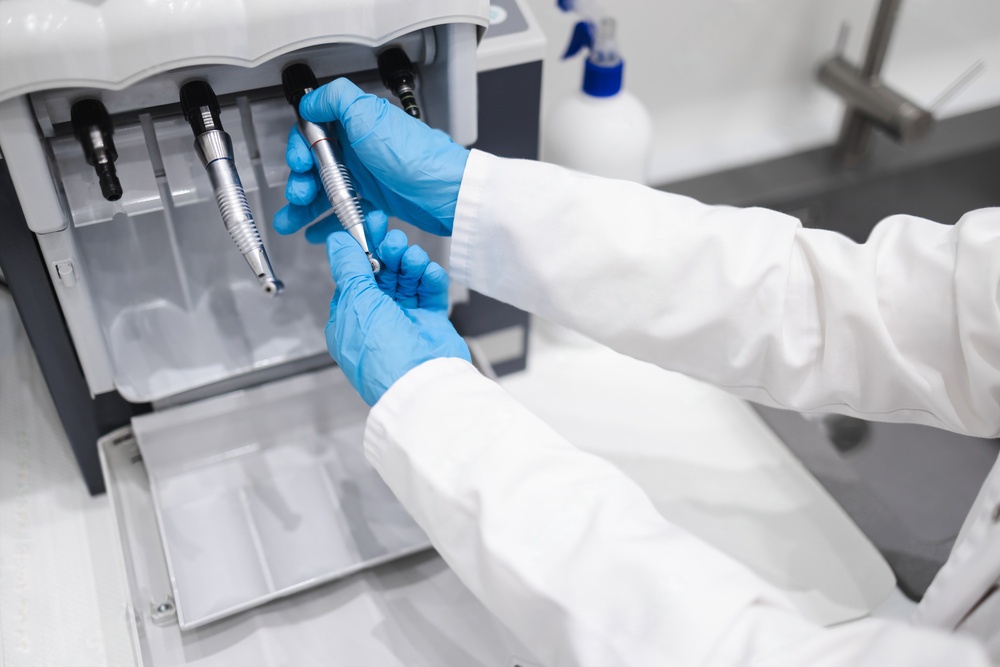
Dental handpieces are among the most frequently used and most expensive instruments in any practice. They are also among the most vulnerable to damage from improper care. A structured sterilization and maintenance routine protects your patients, extends instrument life, and keeps your practice compliant with infection control regulations.
This guide covers every stage of handpiece care, from chairside cleaning through autoclave sterilization and long-term storage, based on current best practices and manufacturer recommendations.
Why Handpiece Sterilization Matters
Dental handpieces contact saliva, blood, and aerosolized debris during virtually every procedure. Internal turbine components can aspirate oral fluids through suck-back, meaning contamination is not limited to external surfaces. The CDC and ADA both classify dental handpieces as semi-critical devices that require heat sterilization between patients, not just surface disinfection.
Failing to sterilize handpieces properly creates real risks:
- Cross-contamination between patients through retained bioburden
- Biofilm formation inside water lines and air channels
- Regulatory violations during infection control inspections
- Accelerated wear on bearings and internal components due to debris accumulation
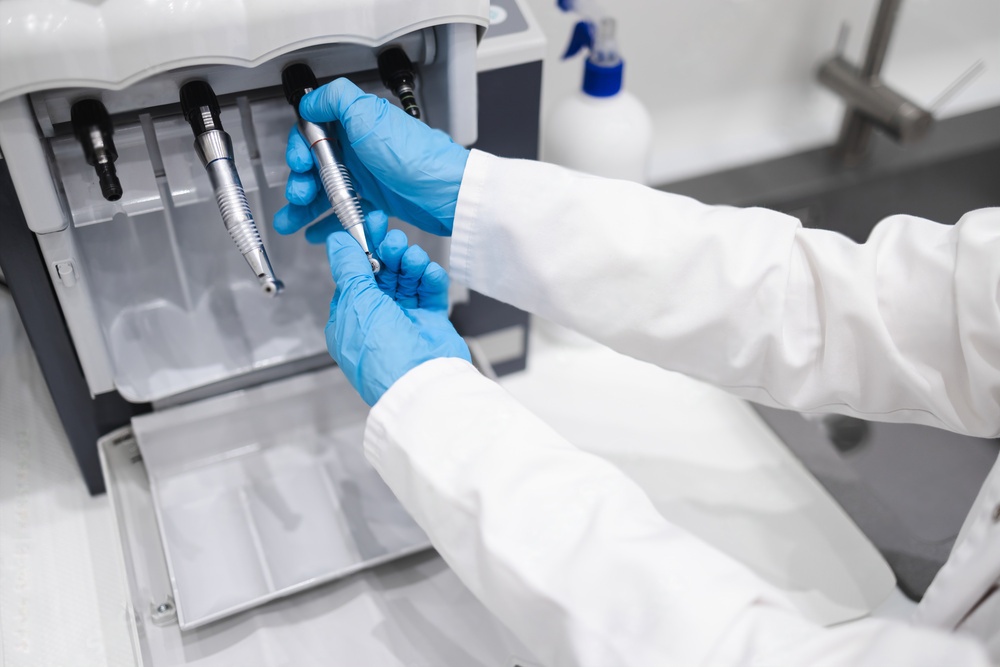
Step-by-Step Handpiece Care Protocol
The following protocol applies to high-speed handpieces, low-speed handpieces, and prophylaxis angles. While specific details may vary by manufacturer, the general sequence is consistent across brands.
Step 1: Remove the Bur and Flush
Immediately after the procedure, remove the dental bur from the handpiece. Run the handpiece for 20 to 30 seconds while connected to the unit to flush water and air through the internal channels. This step purges aspirated material from the turbine chamber and waterlines before it has a chance to dry and adhere.
Do not leave a bur in the handpiece during sterilization. Thermal expansion can damage the chuck mechanism, and the bur itself may corrode.
Step 2: External Cleaning
Wipe down the entire exterior surface with a soft, lint-free cloth. For stubborn debris, use a mild enzymatic cleaner or the cleaning solution recommended by the handpiece manufacturer. Pay particular attention to the head, neck, and connection fitting.
Important guidelines for this step:
- Do not submerge the handpiece in liquid or use an ultrasonic cleaner unless the manufacturer explicitly approves it
- Do not use abrasive pads, wire brushes, or harsh chemicals
- Do not spray water or cleaner directly into the handpiece head
Step 3: Lubrication
Lubrication reduces friction on bearings and O-rings, prevents corrosion, and extends the service life of internal components. This step must occur before sterilization, not after, because the autoclave cycle distributes the lubricant evenly throughout the mechanism.
Use only the lubricant specified by the handpiece manufacturer. Typically this is a medical-grade silicone spray or oil delivered through the drive air tube at the base of the handpiece. General-purpose lubricants such as WD-40 will damage seals and turbines.
Proper lubrication procedure:
- Hold the handpiece with the head pointed downward onto a paper towel or gauze
- Insert the spray nozzle into the drive air hole at the rear of the handpiece
- Apply a short burst (1 to 2 seconds) until clean lubricant exits from the head
- Run the handpiece briefly on the unit to expel excess lubricant
Step 4: Packaging for Sterilization
Place the cleaned and lubricated handpiece into a sterilization pouch or cassette. Proper packaging serves two purposes: it allows steam penetration during the cycle and maintains sterility after processing until the instrument is needed again.
Use pouches with built-in chemical indicators that change color to confirm exposure to sterilization conditions. Seal the pouch completely and label it with the sterilization date and cycle number for traceability.
Step 5: Autoclave Sterilization
Steam autoclaving is the standard sterilization method for dental handpieces. The most commonly recommended parameters are:
| Cycle Type | Temperature | Time | Pressure |
| Standard wrapped | 134 degrees C (273 degrees F) | 18 minutes | 30 psi |
| Unwrapped / flash | 134 degrees C (273 degrees F) | 3 minutes | 30 psi |
Always verify parameters against the handpiece manufacturer's specifications, as some models have lower temperature tolerances. Do not exceed 135 degrees C, and never use dry heat sterilizers or chemiclave units unless the manufacturer explicitly permits them.
After the cycle completes, allow the handpieces to dry fully before handling. Do not open the autoclave door early to accelerate cooling, as rapid temperature changes can damage turbine bearings.
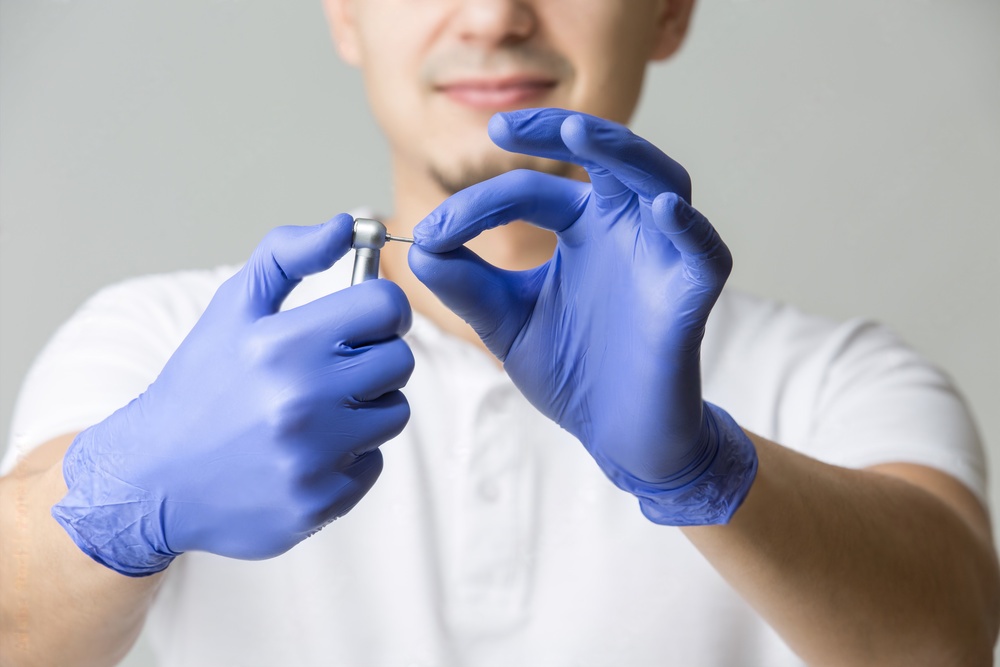
Routine Maintenance Beyond Sterilization
Sterilization alone is not sufficient to keep handpieces performing well. Incorporate these maintenance tasks into your practice schedule:
Daily Checks
- Verify that burs seat and release properly in the chuck
- Listen for unusual sounds (grinding, rattling, or whistling) that indicate bearing wear
- Check that the fiber optic light is bright and consistent
- Inspect the external housing for cracks or discoloration
Weekly Inspections
- Examine O-rings at the connection point for wear or damage
- Test water spray patterns for even distribution and adequate flow
- Check air pressure output against manufacturer specifications
- Inspect tubing and cords for kinks, cracks, or signs of fatigue
Annual Professional Service
Schedule a comprehensive inspection by a qualified dental handpiece technician at least once per year. This service typically includes turbine replacement, bearing assessment, seal inspection, and calibration. Keeping records of professional servicing also supports warranty claims and regulatory compliance.
Common Handpiece Problems and Prevention
Most handpiece failures trace back to lapses in care. The table below outlines frequent issues, their likely causes, and how to prevent them. For a more detailed look at diagnosing handpiece issues, see our article on common handpiece problems.
| Problem | Likely Cause | Prevention |
| Loss of cutting power | Worn bearings, insufficient lubrication | Lubricate before every sterilization cycle |
| Excessive vibration | Damaged turbine, bent bur | Inspect burs before use; replace turbines on schedule |
| Water spray issues | Clogged waterlines, failed O-rings | Flush after every patient; inspect O-rings weekly |
| Fiber optic dimming | Contaminated light rod, bulb failure | Clean the light rod during external cleaning |
| Bur sticking in chuck | Debris in collet, heat damage | Remove bur before autoclaving; clean chuck regularly |
Handpiece Care and Bur Selection
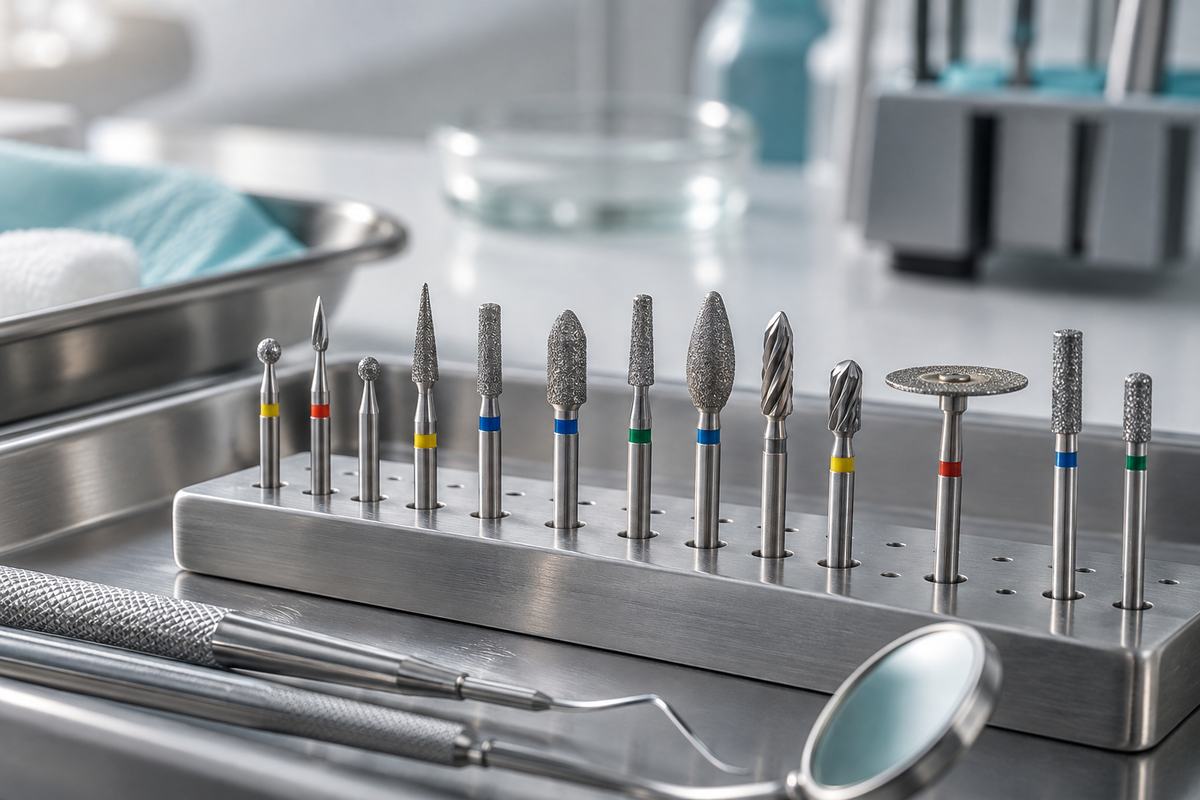
The burs you use directly affect handpiece wear. Low-quality burs with inconsistent shank dimensions cause excessive vibration and accelerate bearing deterioration. Always use burs that meet ISO dimensional standards and inspect each bur for concentricity before inserting it into the handpiece.
Worn or damaged burs should be discarded, not reused. A dull bur forces the operator to apply more pressure, which stresses both the handpiece bearings and the tooth being prepared.
Storage Best Practices
Sterilized handpieces should be stored in their sealed pouches in a clean, dry area away from dust and moisture. Do not store handpieces loosely in drawers where they can contact other instruments. Pouches should remain sealed until the handpiece is needed to maintain sterility.
For handpieces that will not be used for extended periods, apply a light coat of lubricant to the exterior metal surfaces to prevent surface corrosion, and store them in a protective case.
Documenting Your Sterilization Protocol
Maintaining written records of your sterilization processes is both a regulatory requirement and a practical safeguard. Keep a log that records each autoclave cycle number, the date, the load contents, and the results of biological and chemical indicators. These records demonstrate compliance during inspections and help identify equipment issues before they become patient safety concerns. Many practices use digital tracking systems that automatically record cycle parameters, reducing the administrative burden while improving accuracy.
Summary
Proper sterilization and maintenance is not optional. It is a core clinical responsibility that protects patients, preserves your investment in quality instruments, and keeps your practice in compliance with infection control standards. By following a consistent protocol of flushing, cleaning, lubricating, sterilizing, and inspecting your handpieces, you can maximize their performance and service life while maintaining the highest standard of patient care.