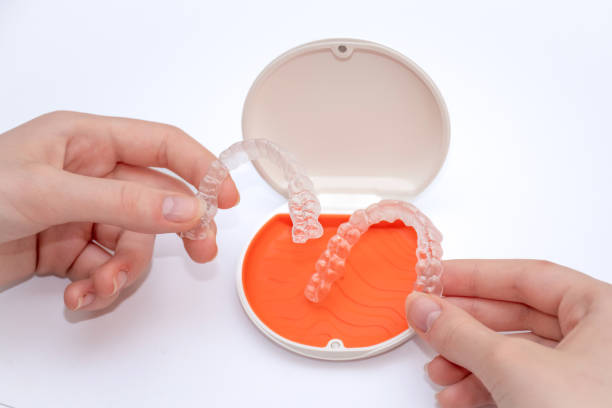
Invisible Braces: Professional Adjustment and Polishing Techniques
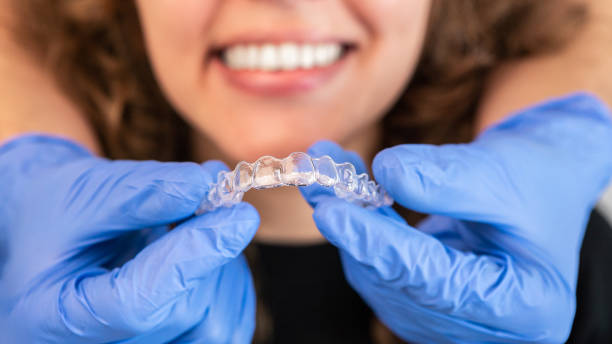
Clear aligners have transformed orthodontic treatment over the past two decades. Unlike traditional metal brackets and wires, invisible braces use a series of custom-molded thermoplastic trays to move teeth gradually into their desired positions. Their near-transparent appearance makes them a preferred choice for adults and teens who want straighter teeth without the visible hardware.
But clear aligners are not a set-and-forget solution. They demand precise fitting, periodic polishing, and consistent maintenance to deliver the best results. Whether you are a dental professional refining aligner edges or a patient learning to care for your trays at home, the techniques outlined below will help you get the most out of every aligner stage.
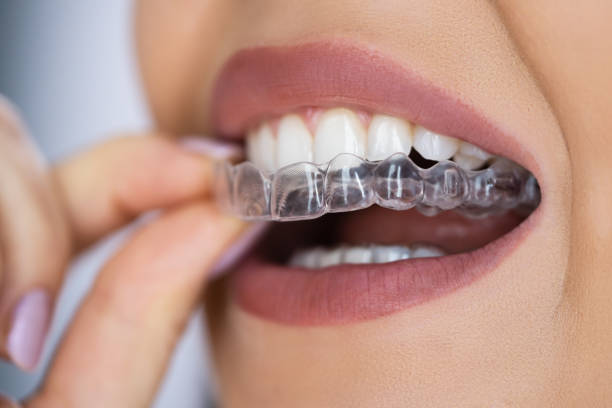
How Clear Aligners Work: A Quick Overview
Each set of aligners is designed using digital scans or impressions of the patient's teeth. A treatment plan maps out incremental tooth movements, and a new tray is issued every one to two weeks. The aligner applies controlled pressure to targeted teeth, gradually shifting them toward proper alignment. Treatment duration varies from a few months to over a year, depending on case complexity.
Because aligners are removable, patients can eat, brush, and floss without obstruction. However, they must be worn for 20 to 22 hours per day to stay on schedule. Any gap in wear time can slow progress and may require additional trays to correct course.
Techniques for Achieving a Better Aligner Fit
A well-fitting aligner sits flush against every tooth surface. Gaps between the tray and the teeth, known as aligner tracking issues, can compromise treatment outcomes. Here are proven techniques to improve fit:
- Chewies: These small cylindrical rolls made of styrene copolymer help seat the aligner firmly. Patients should bite down on a chewie for five to ten minutes after inserting each new tray, focusing on areas where the fit feels loose.
- Warm water soak: Briefly rinsing the aligner in warm (not hot) water before insertion softens the thermoplastic slightly, allowing it to conform more closely to tooth contours.
- Seating tools: A specialized aligner seating instrument can be used to press the tray edges gently around attachments and interproximal areas where finger pressure alone is not enough.
- Sequential wear: For patients who switch trays too quickly, returning to the previous set for an extra day or two can help teeth catch up before progressing.
Dental professionals should check tracking at each visit. If an aligner is not seating properly, re-evaluation of the treatment plan or mid-course correction scans may be necessary.
Polishing Invisible Braces for Clarity and Comfort
Rough or uneven aligner edges can irritate the gums and inner cheeks. Polishing also preserves the optical clarity of the tray, keeping it truly invisible during wear. Unpolished aligners tend to become cloudy, scratched, or discolored more quickly, which undermines one of the primary reasons patients choose clear aligners in the first place.
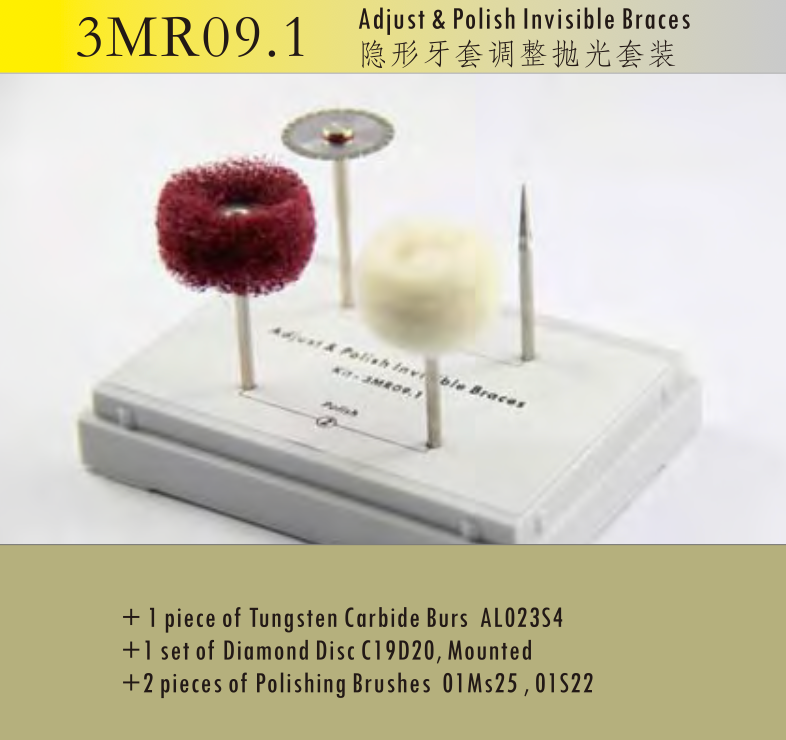
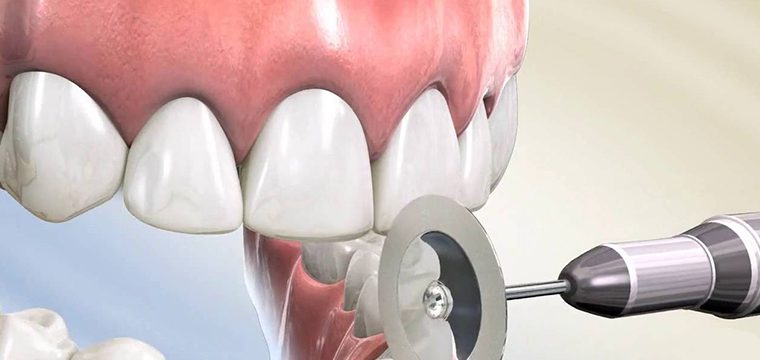
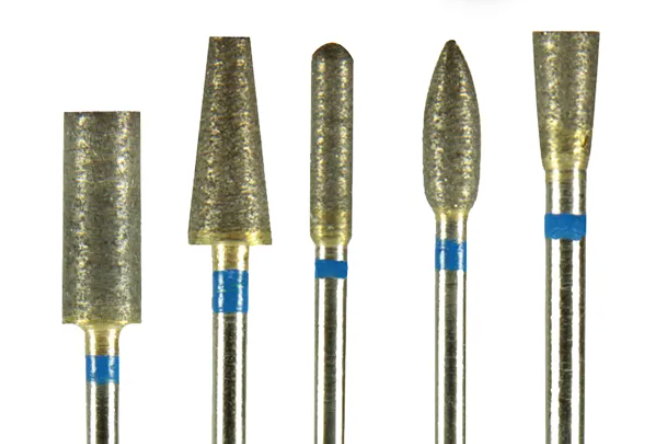
The Bur Dental kit for adjusting and polishing invisible braces, model 3MR09.1, is designed specifically for this purpose. It includes one tungsten carbide bur (AL023S4) for trimming excess material, one mounted diamond disc (C19D20) for edge refinement, and two polishing brushes (01Ms25 and 01S22) for final surface finishing. This combination allows clinicians to trim, smooth, and polish aligner edges in a single workflow. Browse our full range of clinic kits for more procedure-specific instrument sets.
Step-by-Step Polishing Workflow
- Identify rough edges or excess material by running a gloved finger along the aligner margins.
- Use the tungsten carbide bur at low speed to trim any protruding edges. Apply minimal pressure to avoid removing too much material.
- Switch to the diamond disc to refine the trimmed edge, creating a smooth, rounded profile.
- Finish with the polishing brushes to restore surface clarity and eliminate micro-scratches.
- Rinse the aligner thoroughly before returning it to the patient.
Common Fit and Comfort Issues
Even with proper technique, patients may experience discomfort during aligner therapy. Understanding the most frequent complaints helps clinicians and patients address them promptly:
| Issue | Cause | Solution |
|---|---|---|
| Pressure or soreness | Normal tooth movement forces | Switch to a new tray at bedtime; use OTC pain relief if needed |
| Sharp or rough edges | Manufacturing variation or trimming artifacts | Polish edges with a finishing kit; use orthodontic wax as a temporary measure |
| Loose fit or gaps | Insufficient wear time or skipped trays | Use chewies; consider reverting to the previous tray for additional days |
| Discoloration or odor | Inadequate cleaning or eating with aligners in | Clean trays twice daily; always remove before eating or drinking anything other than water |
The Importance of Regular Orthodontic Check-Ups
Scheduled appointments every four to eight weeks allow the orthodontist to verify that teeth are tracking correctly with each new aligner stage. During these visits, the clinician can:
- Assess tooth movement against the original treatment plan.
- Place, adjust, or remove composite attachments that help the aligner grip specific teeth.
- Perform interproximal reduction (IPR) if additional space is needed for tooth movement.
- Trim and polish aligner edges that are causing irritation.
- Order mid-course correction trays if tracking has deviated.
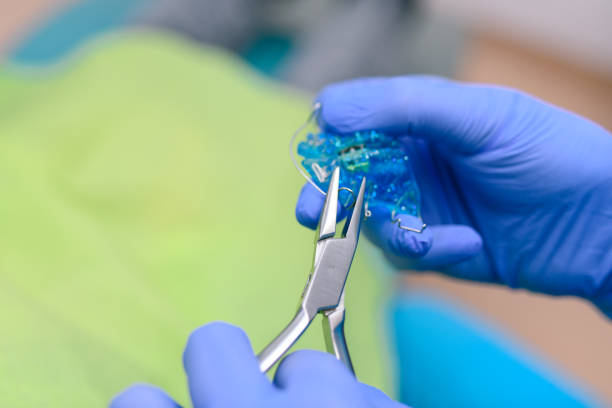
Skipping appointments can lead to compounding errors where each subsequent aligner fits worse than the last. Consistent follow-up is the single most important factor in achieving predictable results.
Daily Care and Maintenance Guidelines
Proper aligner hygiene prevents bacterial buildup, staining, and material degradation. Patients should follow these daily practices:
- Rinse immediately: Every time the aligner is removed, rinse it under cool running water to wash away saliva and plaque.
- Brush gently: Use a soft-bristle toothbrush and clear, unscented liquid soap to clean the trays. Avoid toothpaste, which can be abrasive enough to scratch the surface.
- Soak periodically: A weekly soak in a denture cleaner or specialized aligner cleaning solution helps remove deposits that brushing alone may miss.
- Store properly: Always place aligners in their protective case when not in use. Wrapping them in a napkin is the leading cause of accidental disposal.
- Avoid heat: Never leave aligners in a hot car, use hot water for cleaning, or place them near a heat source. Thermoplastic material warps at relatively low temperatures.

How Technology Supports Modern Aligner Treatment
Digital workflows have made aligner therapy faster and more accurate. Intraoral scanners capture detailed 3D models of the teeth, eliminating the need for messy impression materials. Treatment planning software lets the orthodontist visualize each stage of tooth movement before a single tray is manufactured.
On the finishing side, CAD/CAM technology enables precise trimming guides and edge profiles that reduce the amount of chairside adjustment required. For practices that use CAD/CAM milling burs for other restorative work, the same digital-first philosophy applies: better planning upstream means less rework downstream.
When to Consider Professional Polishing Services
While patients handle daily cleaning at home, certain situations call for professional intervention. If an aligner develops a crack, a rough spot that orthodontic wax cannot cover, or visible cloudiness that affects appearance, a quick chairside polish can restore it. Practices that invest in dedicated adjustment and polishing kits can address these concerns in minutes, improving patient satisfaction and reducing the need for replacement trays.
For orthodontic offices looking to streamline their aligner finishing process, having the right rotary instruments on hand is just as important as having the right trays. Our guide to using cleaning burs after debonding covers related finishing techniques that apply to aligner adjustment workflows as well.
Final Thoughts
Invisible braces deliver excellent orthodontic results when supported by proper adjustment, polishing, and maintenance routines. From achieving an optimal fit with chewies and warm water to preserving clarity with professional-grade polishing kits, every step matters. Patients who commit to consistent wear and daily cleaning, combined with regular professional check-ups, will see the best outcomes from their clear aligner treatment.