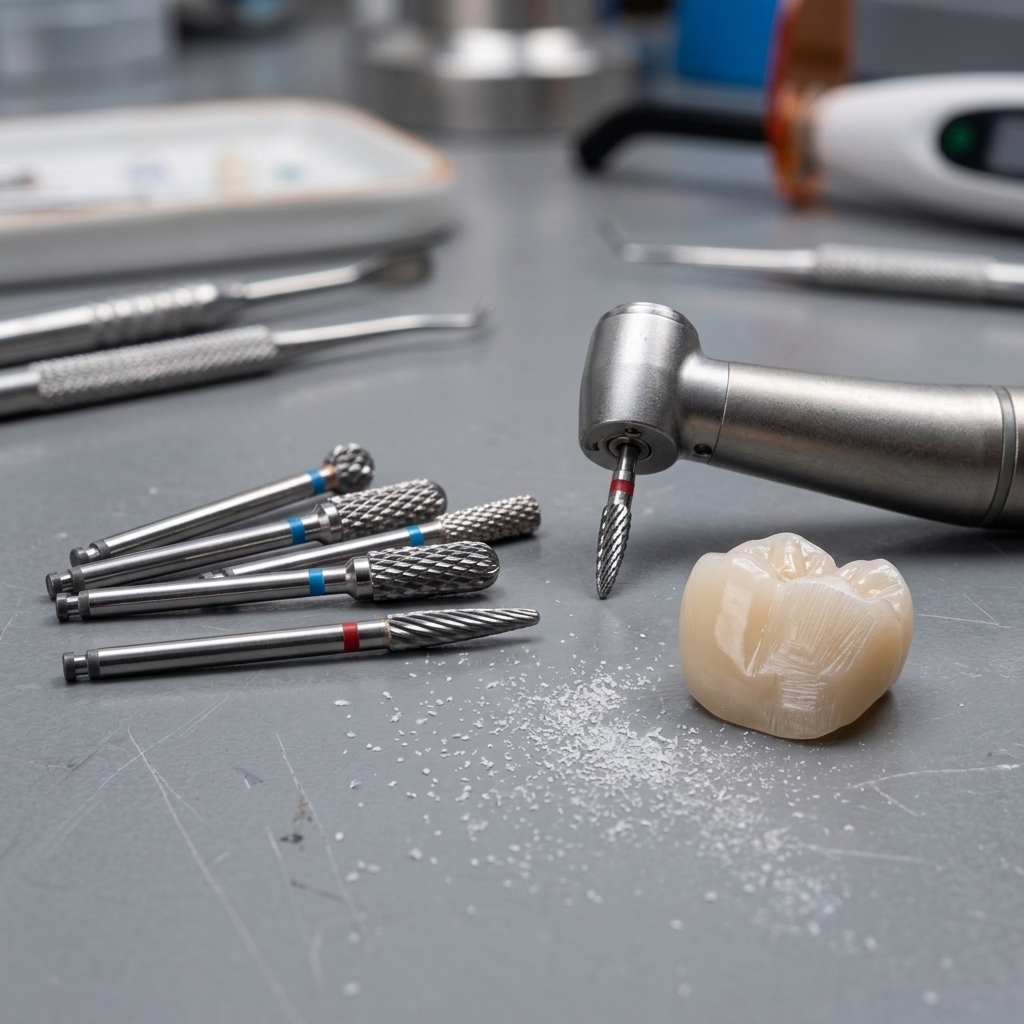
Every diamond bur is built from three functional sections—the shank, the neck, and the head—and each one determines how the bur fits your handpiece, how it reaches the preparation site, and how it cuts. Understanding diamond bur anatomy is not just academic; it is the fastest way to avoid ordering errors, reduce chair time, and get predictable results from every preparation. As a manufacturer of rotary instruments, we see firsthand how small differences in these three parts change clinical outcomes.
This guide breaks down each component, compares shank systems, maps head shapes to their best applications, and explains the grit and color-coding system used across the industry.
The 3 Main Parts of a Diamond Bur
Regardless of brand, every dental diamond bur shares the same three-part structure:
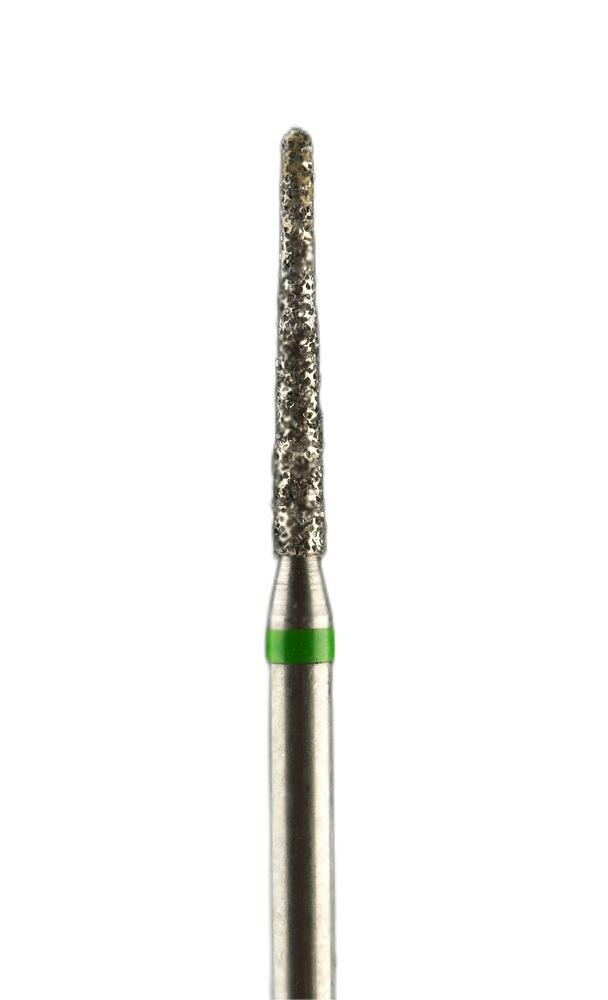
- Shank – The smooth cylindrical shaft that locks into the handpiece. Its diameter and length determine handpiece compatibility.
- Neck – The tapered transition between shank and head. Neck length and thickness affect access to posterior teeth and subgingival margins.
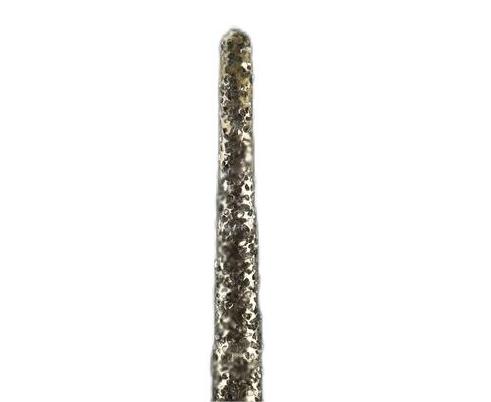
- Head (working end) – The diamond-coated tip that does the actual cutting. Its shape, diameter, and grit size define the type of preparation it can perform.
Choosing the right bur means matching all three sections to your handpiece, your access requirements, and the procedure at hand.
Shank Types: FG vs RA vs HP
The shank is the first thing to verify when selecting a diamond bur. Using the wrong shank in a handpiece can damage the chuck mechanism or cause dangerous runout. The three standard shank types in dentistry are FG (friction grip), RA (right angle), and HP (handpiece).
Shank Comparison Table
| Shank Type | Diameter | Handpiece Type | Common Use |
|---|---|---|---|
| FG (Friction Grip) | 1.6 mm | High-speed air turbine | Crown preps, cavity preps, inlay/onlay preparations, most chairside cutting |
| RA (Right Angle) | 2.35 mm (latch type) | Slow-speed contra-angle | Caries removal, prophylaxis, finishing in hard-to-reach areas |
| HP (Handpiece) | 2.35 mm (straight) | Straight nose-cone handpiece | Laboratory trimming, model work, adjusting prosthetics and appliances |
FG shanks are by far the most common in clinical practice. They are held in the handpiece by friction alone—no latch or screw—which allows rapid bur changes during a procedure. Browse our full range of FG diamond burs to see the shapes and grits available.
RA shanks feature a notch near the base that engages the latch mechanism in a contra-angle head. Their lower RPM range makes them suitable for controlled, tactile procedures like caries excavation.
HP shanks are designed for bench work. They fit straight handpieces used in the dental laboratory for trimming dies, adjusting provisional crowns, and finishing removable prosthetics. See our catalog of HP diamond burs for lab use.
The Neck: Why Length and Taper Matter

The neck is easy to overlook, but it directly affects clinical reach. A longer, thinner neck gives better access to deep subgingival margins and tight interproximal spaces—critical for posterior crown preparations. However, a longer neck also reduces the bur's rigidity and can increase vibration at high speeds.
Manufacturers offer standard-neck and long-neck variants of the most popular head shapes. As a general rule:
- Standard neck – Sufficient for most anterior and premolar preparations. Greater rigidity and less deflection.
- Long neck (surgical length) – Preferred for deep chamfer or shoulder finishes on second molars and for subgingival margin refinement.
When ordering, check whether the catalog number specifies "L" or "surgical length" if you need extended reach.
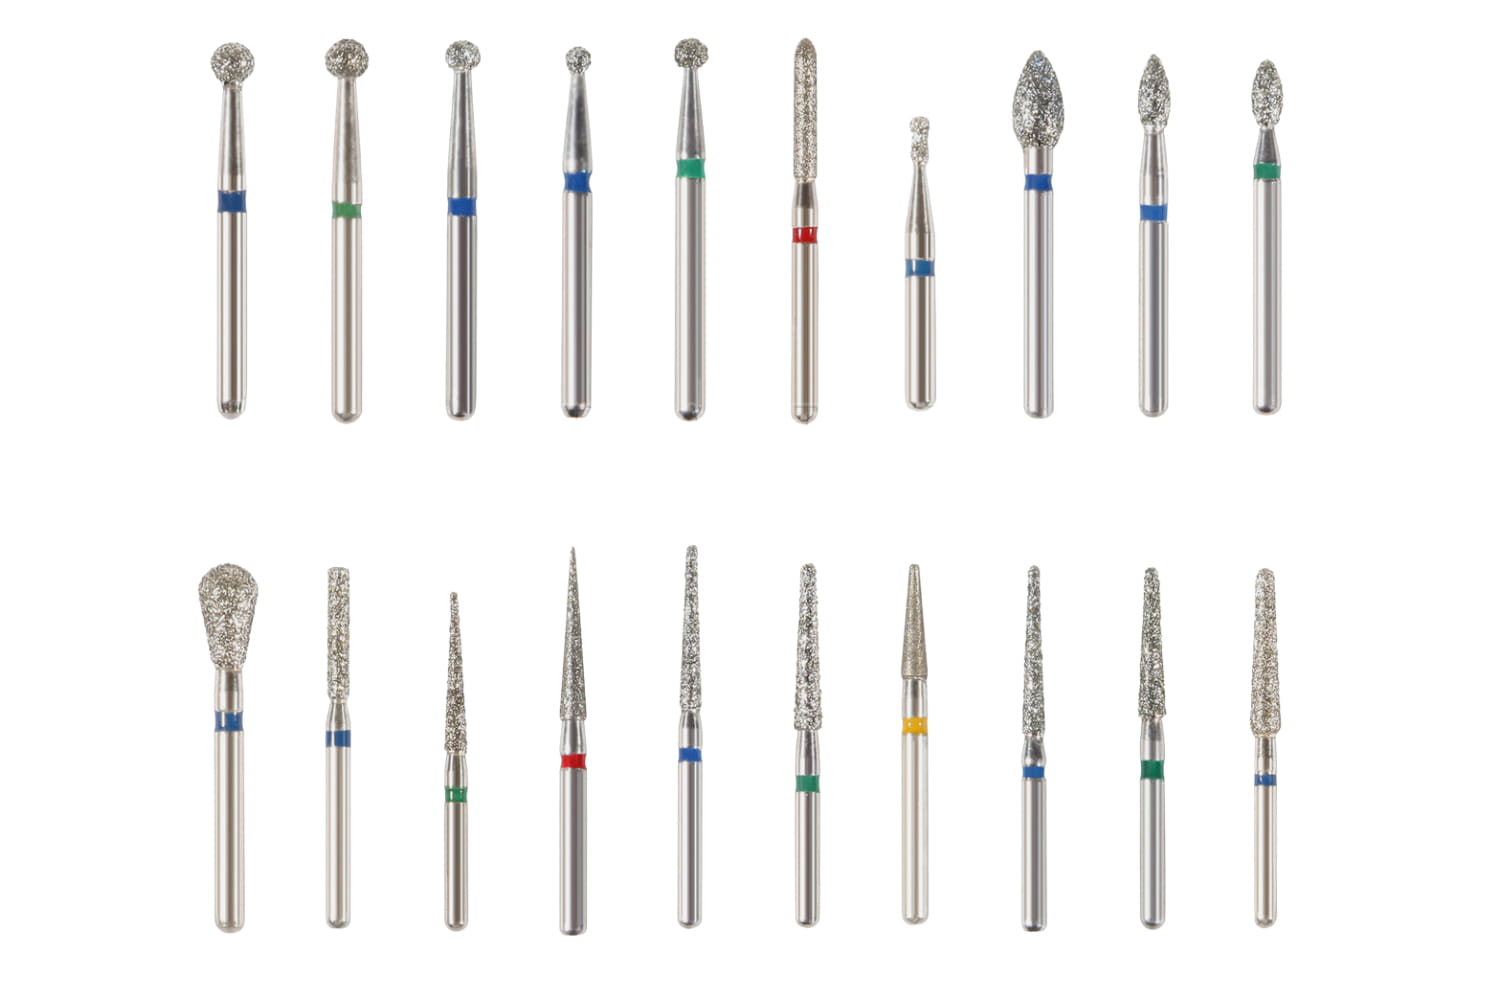
Head Shapes and Their Applications
The head is the working end of the diamond bur, and its geometry determines the type of cut it produces. Dental diamond burs are manufactured in dozens of head profiles, but most clinical work relies on six core shapes.
Head Shape Application Guide
| Head Shape | Best Application |
|---|---|
| Round (ball) | Initial cavity entry, depth-cut holes for crown preps, accessing pulp chamber |
| Flame | Subgingival margin finishing, interproximal reduction, thin feather-edge margins |
| Tapered (cone) | Taper and occlusal reduction for crown and bridge preps, inlay divergence walls |
| Flat-end taper (chamfer) | Chamfer margin creation, shoulder finish lines for PFM and zirconia crowns |
| Cylinder (flat-end) | Flat shoulder margins, bulk reduction of occlusal surfaces, veneer preps |
| Wheel (disc) | Occlusal groove refinement, creating seat areas, breaking contact points |
| Football (egg) | Concave occlusal anatomy, lingual fossa refinement |
| Needle | Fine detail work, accessing tight interproximal slots |
Tapered and flat-end tapered burs account for the majority of crown-prep kits because they produce controlled axial wall reduction and consistent finish lines in a single instrument. Round burs are the standard starting point for initial tooth entry before switching to a taper for wall development.
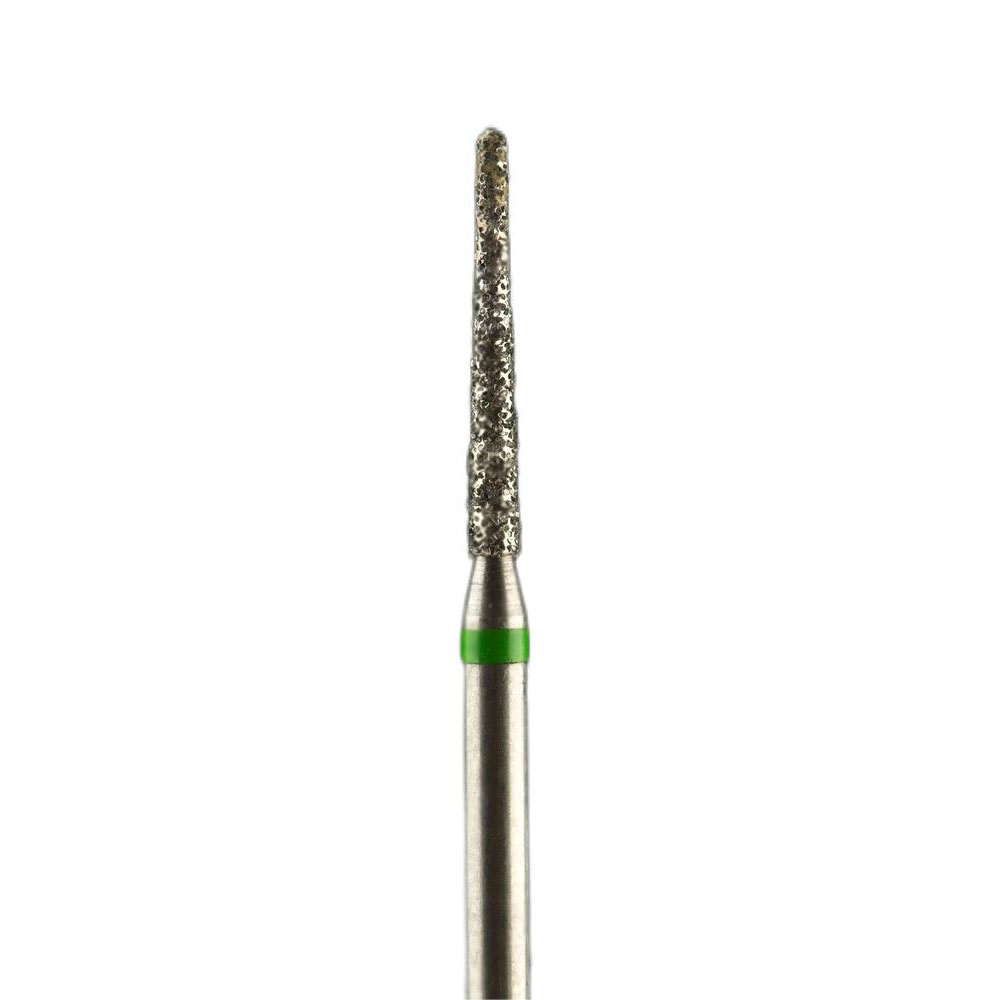
Diamond Grit Sizes and Color Coding
Diamond burs are classified by the particle size of the diamond grit bonded to the head. The grit determines cutting aggressiveness and the surface finish left behind. The industry uses a universal color-band system on the shank to indicate grit size at a glance.
Grit Size Reference
| Color Band | Grit Classification | Particle Size (μm) | Typical Application |
|---|---|---|---|
| Black | Super Coarse | 150–180 | Rapid bulk reduction, removing old crowns |
| Green | Coarse | 125–150 | Fast cutting for initial crown preparations |
| Blue | Medium (Standard) | 100–120 | General-purpose preparation, most common grit |
| Red | Fine | 50–75 | Margin finishing, smoothing preparation walls |
| Yellow | Super Fine | 25–50 | Final finishing, pre-polishing of composite and ceramic |
| White | Ultra Fine | 10–25 | Polishing, final surface refinement |
A typical clinical workflow moves from coarse to fine: use a blue-band (medium) bur for the initial preparation, then switch to a red-band (fine) bur of the same shape to refine margins and smooth walls. For ceramic or composite finishing, a yellow-band (super fine) bur or a dedicated diamond stone polisher completes the sequence.
Diamond Bonding Methods: Electroplated vs Sintered
The way diamond particles are attached to the metal head affects cutting performance, lifespan, and cost. Two methods dominate the market:
Electroplated (Single-Layer) Diamond Burs
- A single layer of diamond grit is bonded to the head using a nickel or chromium electroplating process.
- Produces aggressive initial cutting because diamond particles are highly exposed.
- Cutting efficiency decreases as the single layer of diamond wears.
- Lower manufacturing cost—these are the standard disposable or semi-disposable diamond burs used in most clinics.
- Ideal for single-use or limited-use protocols where consistent sharpness matters most.
Sintered (Multi-Layer) Diamond Burs
- Diamond particles are mixed throughout a metal matrix and fused under heat and pressure.
- As the surface layer wears, fresh diamond particles are exposed beneath.
- Longer working life than electroplated burs—suited for laboratory use and heavy-duty trimming.
- Cutting is slightly less aggressive initially but remains more consistent over time.
- Higher cost per unit, but lower cost per use in high-volume lab settings.
For chairside clinical work, electroplated FG diamond burs are the standard. For laboratory trimming and prosthetic adjustment, sintered HP burs offer better longevity.
How to Read a Diamond Bur Number
Most manufacturers follow the ISO numbering system (ISO 6360) for rotary instruments. A typical diamond bur code encodes four pieces of information in sequence:
- Shank type – A prefix or code indicating FG, RA, or HP.
- Head shape – A numeric code for the profile geometry (e.g., 801 = round, 850 = tapered round-end, 856 = tapered flat-end).
- Head diameter – Given in tenths of a millimeter (e.g., 012 = 1.2 mm diameter).
- Grit size – Indicated by the color band on the shank and sometimes a letter suffix in the catalog (C = coarse, M = medium, F = fine, SF = super fine).
For example, a bur labeled FG 856-012-M is a friction-grip, tapered flat-end (chamfer) shape, 1.2 mm head diameter, medium grit. Learning to decode these numbers eliminates guesswork when reordering.
Practical Tips for Selecting Diamond Burs
With the anatomy covered, here are selection principles we recommend based on decades of manufacturing rotary instruments:
- Match the shank to your handpiece first. This sounds obvious, but mixed-shank orders are one of the most common purchasing mistakes.
- Stock two grits of your most-used shapes. A medium for preparation and a fine for finishing covers most procedures without switching instruments excessively.
- Use the right head shape for the margin you need. Chamfer margins require a flat-end taper; knife-edge margins require a flame or needle. Do not force one shape to do everything.
- Replace electroplated burs before they go dull. A worn diamond bur generates more heat and pressure, increasing the risk of pulpal damage and micro-fractures in tooth structure.
- Consider sintered burs for lab work. The longer lifespan justifies the higher unit cost when trimming multiple units daily.
If you are weighing diamond against tungsten carbide for a specific procedure, our comparison of carbide burs vs diamond burs covers the strengths of each material in detail. And for post-preparation polishing workflows, see our guide to silicone rubber polishing burs.
Summary
The parts of a diamond bur—shank, neck, and head—each serve a distinct mechanical function. The shank determines handpiece compatibility. The neck controls access and rigidity. The head shape, grit size, and bonding method define cutting behavior. By understanding how these elements work together, you can order with confidence and reduce wasted inventory.
At B&D Technologies, we manufacture diamond burs across all shank types, head shapes, and grit classifications. Whether you need single-patient-use FG burs for your operatory or sintered HP burs for your lab bench, our catalog is built to cover the full range of clinical and laboratory applications.