Why Cleaning Dental Burs and Discs Matters
Dental burs, discs, and other rotary instruments are among the most frequently used tools in any practice. Over the course of a busy day, these instruments accumulate polishing paste, composite fragments, ceramic dust, and biological debris. If that residual material is not removed promptly and thoroughly, the consequences range from reduced cutting performance to cross-contamination risks between patients.
A consistent cleaning and maintenance protocol protects both the practitioner and the patient. It also saves money by extending instrument life, reducing the frequency of replacements, and ensuring that every procedure starts with tools performing at their best. This guide covers the most effective cleaning methods, common mistakes to avoid, and storage practices that keep your burs and discs in top working condition.
Types of Residual Material and Why They Build Up
Understanding what accumulates on your instruments helps you choose the right cleaning approach:
- Polishing paste residue: Aluminum oxide or diamond paste used during finishing procedures can dry and harden on bur flutes and disc surfaces. Once cured, this residue reduces the abrasive efficiency of the instrument.
- Composite and ceramic fragments: During preparation and adjustment procedures, small particles of restorative material embed in the cutting surfaces. These particles dull the instrument and can transfer to subsequent preparations.
- Biological debris: Blood, saliva, and soft tissue remnants present the most significant infection control concern. These must be removed before any sterilization step can be effective.
- Adhesive and cement residue: After bonding procedures, leftover cement on finishing instruments can harden into a stubborn coating that manual brushing alone may not remove.

Step-by-Step Cleaning Methods
The following workflow represents the standard of care for cleaning rotary dental instruments. Each step builds on the previous one, so skipping stages undermines the entire process.
1. Pre-Cleaning and Manual Debridement
Immediately after use, rinse the instrument under running water to remove loose debris. For burs with fluted or crosscut designs, use a nylon bristle brush to dislodge material from the cutting grooves. Brass wire brushes work well for tungsten carbide burs but should not be used on diamond-coated instruments, as they can strip the abrasive layer.
Hold the bur firmly and brush in the direction of the flutes, not against them. Brushing against the cutting direction can bend or break fine flute edges, permanently reducing cutting performance.
2. Ultrasonic Cleaning
An ultrasonic cleaner uses high-frequency sound waves to create microscopic cavitation bubbles in a cleaning solution. These bubbles implode on contact with the instrument surface, dislodging debris from areas that manual brushing cannot reach, including the spaces between diamond particles on coated burs.
Best practices for ultrasonic cleaning include:
- Use an enzymatic cleaning solution formulated for dental instruments. Household detergents may leave residues or damage instrument coatings.
- Run the cycle for 5 to 15 minutes, depending on the level of contamination.
- Place instruments in a dedicated basket or cassette rather than dropping them loosely into the tank, which can cause damage from instrument-to-instrument contact.
- Change the solution according to the manufacturer's schedule or whenever it becomes visibly cloudy.
3. Rinsing and Inspection
After ultrasonic cleaning, rinse each instrument under clean running water. Inspect under magnification if possible. Any remaining debris should be addressed with a second ultrasonic cycle or targeted manual cleaning before proceeding to sterilization.
4. Sterilization
Steam autoclaving at 134 degrees Celsius for 3 to 4 minutes (or 121 degrees for 15 to 20 minutes) is the standard sterilization method for most dental burs and discs. Chemical vapor sterilization is an alternative for instruments that are sensitive to moisture. Dry heat sterilization is acceptable but requires longer cycle times.
Key points to remember:
- Never sterilize instruments that have not been cleaned first. Autoclaving alone does not remove physical debris, and baked-on residue becomes even harder to remove after heat exposure.
- Use sterilization pouches or cassettes and verify each cycle with biological indicators on a regular schedule.
- Allow instruments to dry completely before packaging to prevent corrosion.

Cleaning Specific Instrument Types
Different rotary instruments require slightly different handling during the cleaning process:
| Instrument Type | Cleaning Notes |
|---|---|
| Tungsten carbide burs | Resistant to most cleaning methods. Brass wire brushes are safe. Avoid prolonged soaking in acidic solutions, which can corrode the carbide. |
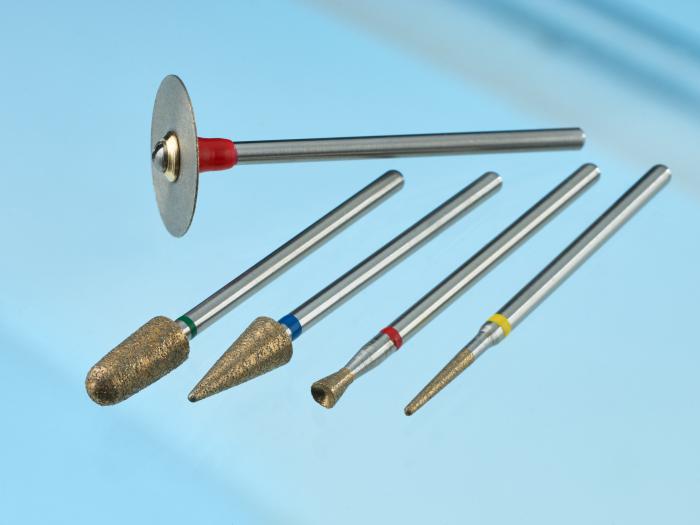
| Diamond burs (electroplated) | Use nylon brushes only. Aggressive scrubbing can strip the diamond coating. Ultrasonic cleaning is preferred for embedded debris. |
| Sintered diamond burs | More durable coating than electroplated versions. Can tolerate slightly more aggressive cleaning, but nylon brushes are still recommended. |
| Abrasive discs | Flexible discs should not be scrubbed aggressively. A brief ultrasonic cycle and gentle rinse are usually sufficient. Discs with visible wear or delamination should be discarded. |
| Polishing brushes and wheels | Rinse immediately after use. Ultrasonic cleaning helps remove embedded paste. Replace when bristles become matted or splayed. |
For more detail on the differences between sintered and electroplated diamond instruments, see our article on advantages of sintered diamond burs over electroplated burs.
Common Cleaning Mistakes to Avoid
Even experienced dental professionals sometimes fall into habits that shorten instrument life or compromise sterilization. Watch out for these pitfalls:
- Using abrasive cleaning agents: Scouring powders and stiff steel brushes may seem effective, but they scratch instrument surfaces and strip coatings. Stick to enzymatic solutions and recommended brush types.
- Soaking for too long: Leaving instruments submerged overnight in cleaning solution, especially chlorine-based disinfectants, accelerates corrosion on metal shanks and can weaken adhesive bonds on coated instruments.
- Skipping the pre-cleaning step: Going directly to the autoclave with debris-laden instruments results in baked-on contamination that is far harder to remove and may not be fully sterilized.
- Mixing instrument types in ultrasonic baths: Dissimilar metals in the same bath can cause galvanic corrosion. Separate stainless steel, tungsten carbide, and diamond instruments into different cassettes.
- Reusing single-use instruments: Some disposable burs and discs are designed for one patient only. Attempting to clean and reuse them introduces risk without meaningful cost savings.
Storage and Handling Best Practices
How you store instruments between uses is just as important as how you clean them. Proper storage prevents damage, contamination, and unnecessary wear:
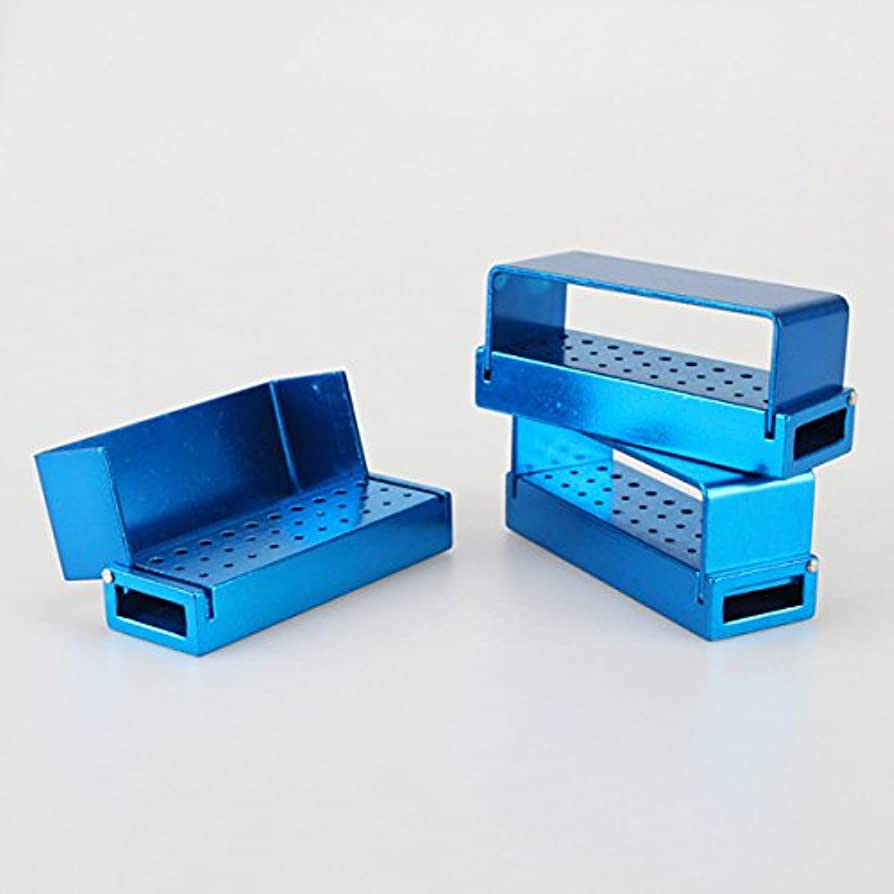
- Store burs in dedicated bur blocks or stands that keep shanks separated. Loose burs rattling in a drawer nick each other's cutting edges.
- Keep discs in their original packaging or a labeled organizer, sorted by grit and diameter for quick identification.
- Store sterilized instruments in sealed pouches until ready for use. Once a pouch is opened, the instrument should be used promptly or re-sterilized.
- Keep storage areas dry and away from chemical fumes that could cause corrosion.
Explore our selection of diamond dental burs to find instruments engineered for durability and consistent performance across multiple sterilization cycles.
Establishing a Maintenance Schedule
Rather than relying on individual memory, build instrument cleaning into your practice workflow with a documented schedule:
After Every Patient
Pre-clean, ultrasonically clean, rinse, inspect, and sterilize all used rotary instruments. This is non-negotiable from an infection control standpoint.
Weekly
Inspect bur blocks and storage areas for debris accumulation. Clean ultrasonic tanks and replace solutions. Check sterilization equipment logs and biological indicator results.
Monthly
Review instrument inventory for worn or damaged items. Discard any burs with visible dulling, chipped flutes, or coating loss. Replace discs that show delamination or reduced flexibility. Evaluate whether your cleaning protocols are being followed consistently across all team members.
Summary
Keeping dental burs and discs clean is not just good practice; it is a direct investment in patient safety, clinical outcomes, and instrument longevity. A disciplined cleaning workflow, from immediate pre-cleaning through proper sterilization and storage, ensures that every instrument performs as intended every time it is used. Build these habits into your daily routine, and your instruments will reward you with longer service life and more predictable results.