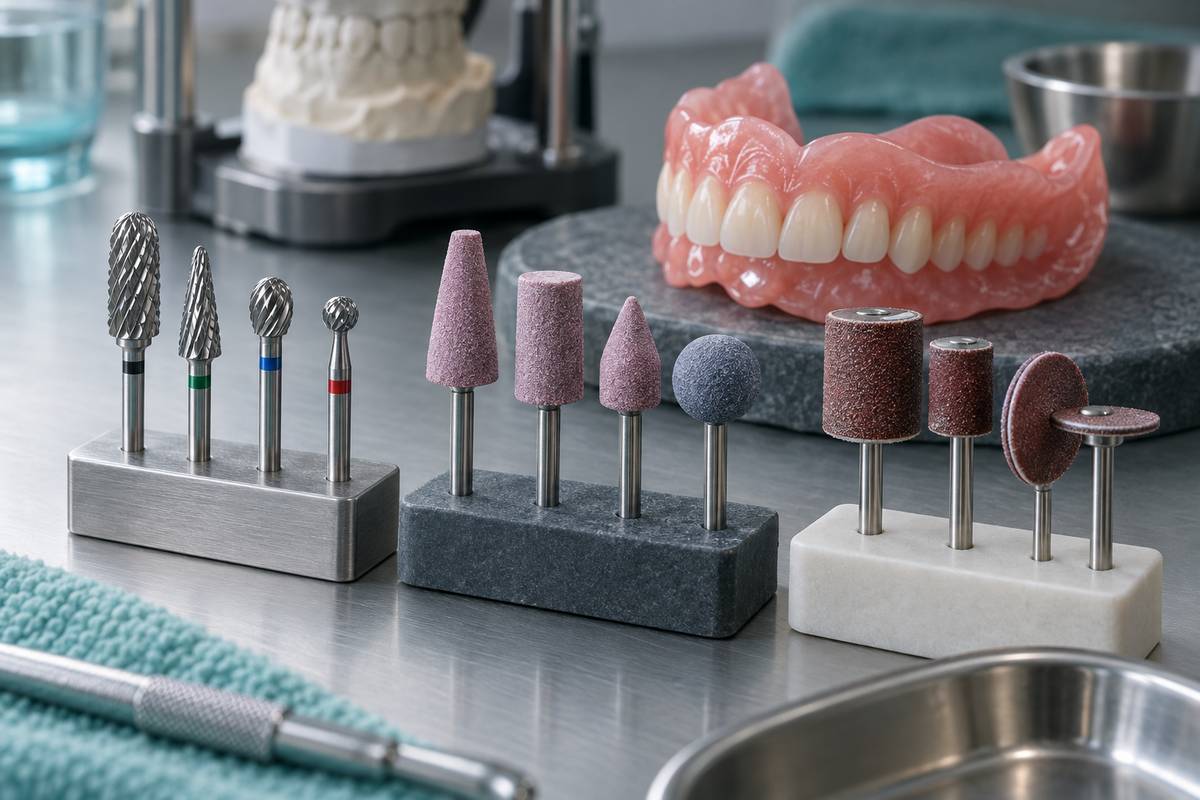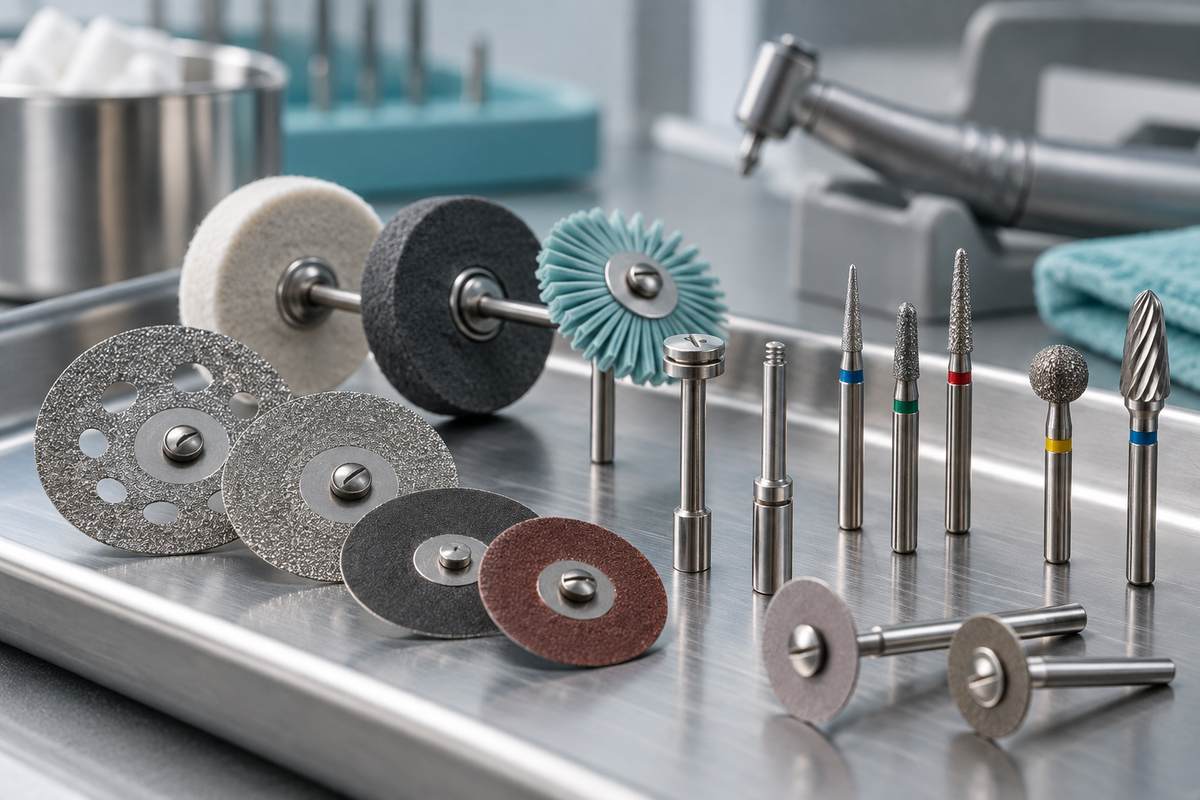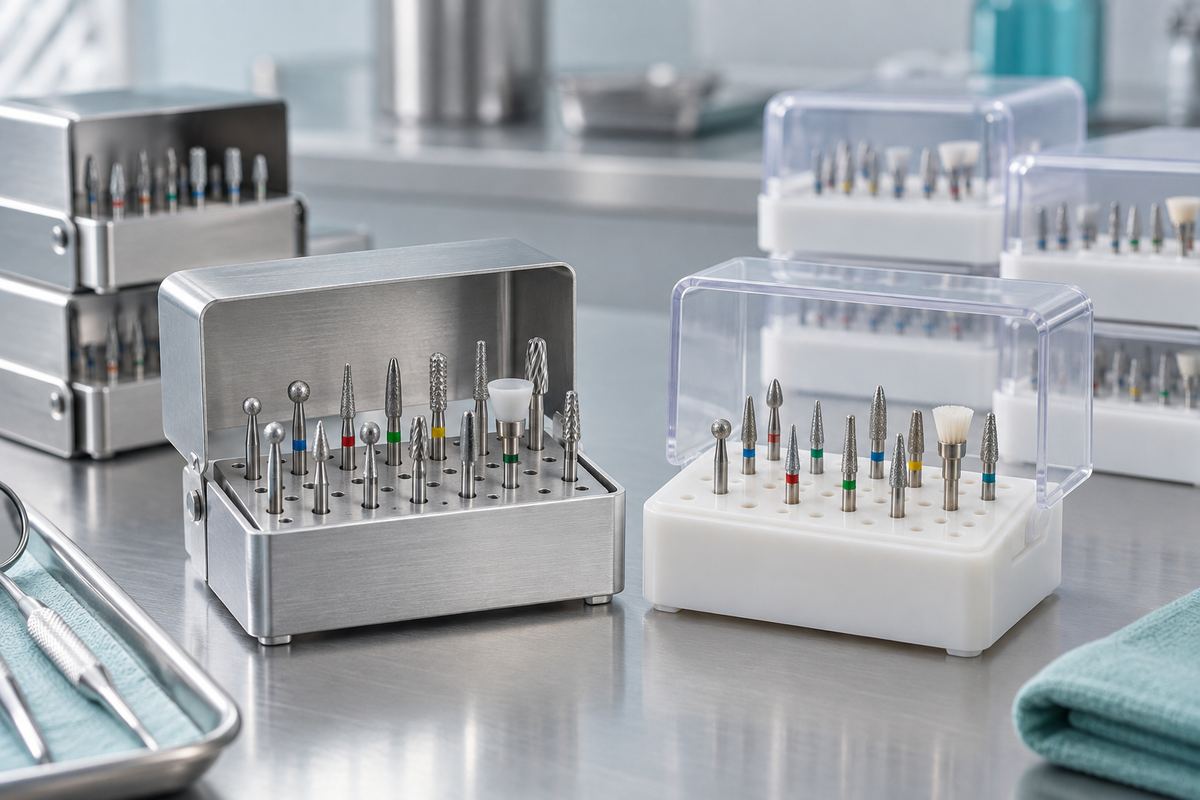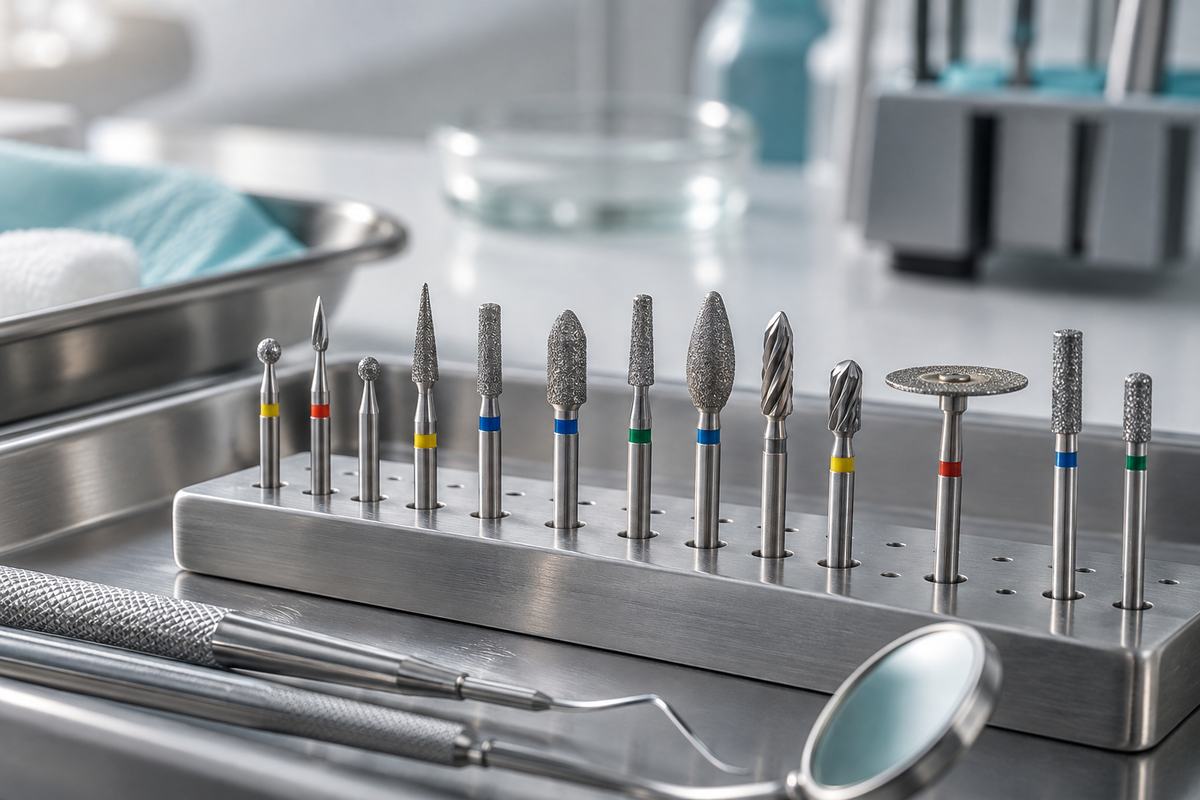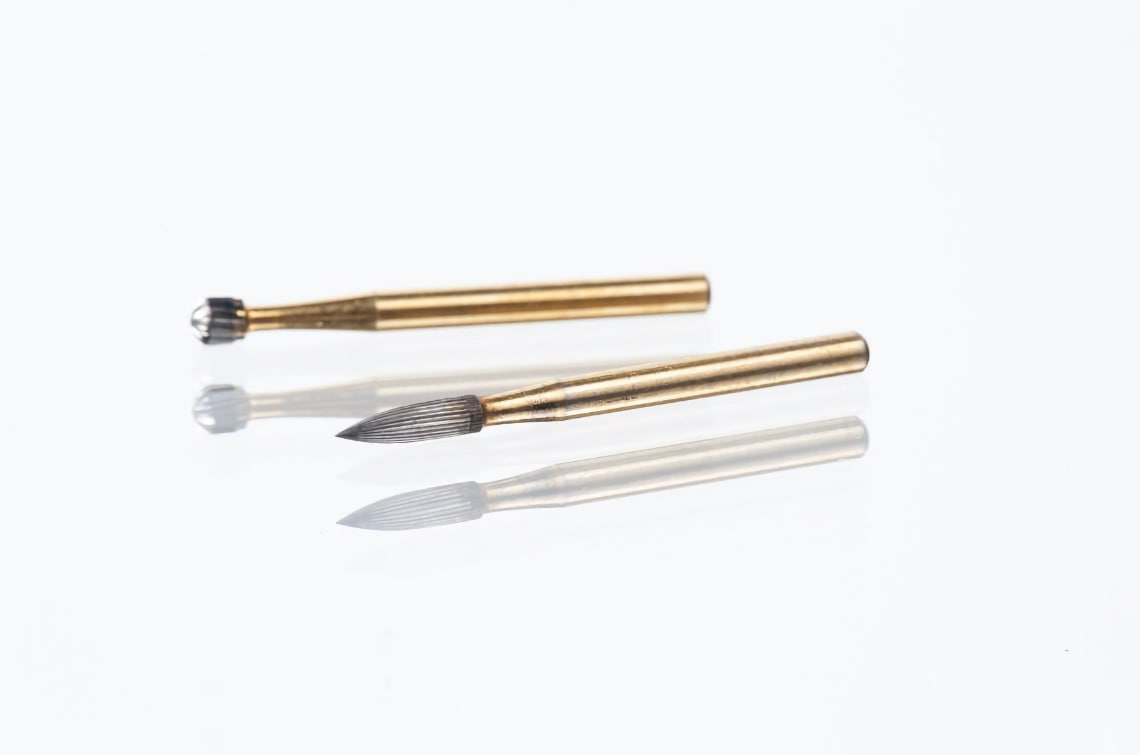
Finishing and trimming carbide burs are specialized rotary instruments designed to refine restorations, smooth margins, and contour tooth structure after the initial preparation is complete. While standard operative carbide burs handle bulk cutting and cavity preparation, finishing and trimming burs take over for the detail work that determines how well a restoration fits, feels, and lasts.
This guide explains how finishing and trimming burs differ from operative burs, reviews the most common types, and walks through techniques that produce reliable clinical results.
What Makes Finishing Burs Different from Operative Burs
The distinction comes down to blade geometry. Operative carbide burs typically have 6 to 8 flutes (blades) and are engineered for aggressive material removal. Finishing and trimming burs have 12 to 30 or more flutes packed into the same head size. The higher flute count means each blade takes a thinner cut, producing a smoother surface with less vibration and chatter.
This design difference has practical consequences:
- Smoother surface finish – More blades per rotation leave a finer texture on the restoration and tooth surface, often reducing or eliminating the need for subsequent polishing steps.
- Less material removal per pass – Finishing burs are self-limiting. They remove material slowly, which gives you better control when working near the final margin or adjusting occlusion.
- Reduced heat generation – Thinner cuts produce less friction, lowering the risk of thermal damage to the pulp during margin refinement.
- Minimized microcracking – Aggressive burs can introduce microcracks in composite and ceramic restorations. The lighter cutting action of finishing burs preserves the structural integrity of the restorative material.
Flute Count and Color Coding
Manufacturers use color bands and flute counts to help clinicians identify bur aggressiveness at a glance. While exact conventions vary between brands, the general pattern is consistent:
| Flute Count | Color Band | Classification | Typical Use |
|---|---|---|---|
| 6–8 | Green | Operative / Standard | Bulk cutting, cavity preparation |
| 12–16 | Red | Finishing | Gross margin trimming, initial contouring of restorations |
| 20–30 | Yellow | Extra-fine finishing | Final margin refinement, composite smoothing |
| 30+ | White | Ultra-fine finishing | Pre-polish smoothing, micro-contouring |
In practice, most finishing work in general dentistry is handled by 12-flute and 16-flute burs. The 20+ flute varieties are most useful when working with anterior composites where surface quality directly affects aesthetics.
Common Finishing and Trimming Bur Shapes
Finishing burs are available in the same shapes as operative burs, but certain shapes see heavier use in the finishing stage. Here are the ones you will reach for most often:
Egg / Football Shape
The egg-shaped finishing bur is a workhorse for occlusal surface contouring. Its rounded profile follows the natural anatomy of cusps and fossae, making it ideal for adjusting occlusion on posterior composite and amalgam restorations. It also works well for smoothing lingual surfaces of anterior crowns.
Needle / Flame Shape
Long and tapered, needle and flame finishing burs reach into tight interproximal areas and along gingival margins where wider burs cannot access. They are particularly useful for trimming excess composite at the cervical margin of Class II, III, and IV restorations.
Tapered Round-End
This versatile shape handles margin finishing on crown preparations and can also trim the flash from provisional restorations. The rounded tip prevents gouging at the terminal end of a preparation.
Straight Fissure (Flat-End Cylinder)
Flat-end cylinder finishing burs create smooth, flat walls and sharp line angles. They are the standard choice for trimming the axial walls of inlay and onlay preparations and for adjusting the fit of metal castings.
Round
Small round finishing burs excel at smoothing the internal walls of cavity preparations, particularly the pulpal floor. They help remove any roughness left by the operative bur that could compromise the bond between the tooth and the restorative material.
Clinical Applications
Composite Restoration Finishing
After placing and light-curing a composite restoration, use a 12- or 16-flute egg-shaped bur to establish the basic occlusal anatomy. Follow with a flame-shaped finishing bur to define marginal ridges and smooth the transition between the restoration and the tooth. For anterior composites, a 20+ flute bur produces a surface smooth enough that minimal polishing with silicone rubber polishers is needed to reach a final gloss.
Amalgam Carving and Trimming
Although amalgam use has declined, finishing carbide burs remain the preferred instruments for trimming set amalgam. A 12-flute bur at moderate speed removes excess material without pulling or fracturing the restoration. Work from the center of the restoration toward the margins to avoid chipping the edge.
Crown and Bridge Margin Refinement
After seating a crown, finishing burs trim excess cement and refine the margin where the crown meets the tooth. A tapered round-end finishing bur follows the contour of the margin line, and a needle shape cleans up interproximal cement. This step is important for gingival health, as rough or overhanging margins trap plaque and irritate soft tissue.
Provisional Restoration Adjustment
Trimming and adjusting provisional (temporary) crowns and bridges is one of the most common uses for finishing carbide burs. The burs shape acrylic and bis-acryl materials quickly and leave a surface that patients find comfortable. An egg-shaped bur adjusts occlusion, while a tapered bur refines the axial contours and margin.
Adjusting Removable Prosthetics
In the dental laboratory and at chairside, finishing burs trim acrylic on dentures, partial frameworks, and occlusal splints. Laboratory-grade carbide burs with cross-cut patterns handle the heavier trimming, while fine-flute finishing burs smooth the fitting surface to prevent soft tissue irritation.
Finishing Burs vs. Diamond Burs for Surface Refinement
Both finishing carbide burs and fine-grit diamond dental burs can smooth restorations, but they work differently. Carbide burs cut by shearing material with their blades, producing smooth chips and a relatively uniform surface. Diamond burs abrade the surface with embedded particles, leaving a microscopically rougher texture.
For composite restorations, most clinicians prefer carbide finishing burs because the shearing action produces a smoother result with fewer steps. For ceramic and porcelain surfaces, fine-grit diamond burs are often the better choice because carbide blades can chip brittle materials. Knowing which instrument to use for each substrate will save you time and produce better outcomes. For a broader comparison, see our article on diamond burs vs. carbide burs.
Speed and Pressure Guidelines
Finishing carbide burs perform best at specific speed ranges. Running them too fast or pressing too hard produces chatter marks and heat instead of a smooth surface:
- High-speed handpiece (with light touch) – Suitable for 12-flute finishing burs when trimming hard materials like set composite or amalgam. Keep RPM moderate and let the bur glide across the surface.
- Slow-speed handpiece – Preferred for extra-fine (20+ flute) finishing burs and for working on softer materials like acrylic and bis-acryl provisionals. Slow speed gives you maximum control.
- Minimal pressure – The bur should do the work. Pressing down increases heat, causes the bur to grab, and produces a worse surface finish. Use the weight of the handpiece as your guide.
Maintenance and Longevity
Carbide finishing burs are precision instruments with fine cutting edges that dull over time. Proper care extends their useful life:
- Clean after every use – Rinse under running water and use a brush to remove debris from between the flutes. Dried material packed between blades reduces cutting efficiency.
- Use ultrasonic cleaning – An ultrasonic bath removes material that manual brushing misses, especially from high-flute-count burs where the gaps between blades are very narrow.
- Inspect the cutting edges – Under magnification, look for chipped or rounded flute edges. A finishing bur with damaged blades will scratch rather than smooth the surface.
- Sterilize properly – Standard steam autoclaving is appropriate for tungsten carbide burs. Follow your autoclave manufacturer's cycle recommendations.
- Replace on schedule – Even with good care, finishing burs lose their edge. A bur that requires extra pressure to achieve the same result it once produced with a light touch is past its useful life.
For guidance on sterilization workflows, see our article on dental bur sterilization best practices.
Building Your Finishing Bur Kit
A practical finishing bur set for general practice does not need to be large. Start with these essentials:
- Egg / football shape, 12-flute – occlusal contouring
- Flame / needle shape, 12-flute – interproximal margin trimming
- Tapered round-end, 12-flute – crown margin finishing
- Flat-end cylinder, 12-flute – wall smoothing and inlay trimming
- Round, 12-flute – internal cavity refinement
Add extra-fine (20+ flute) versions of the egg and flame shapes if you do a high volume of anterior composite work. Browse our finishing and trimming carbide bur collection to find the specific shapes and sizes for your needs.
Key Takeaways
- Finishing and trimming carbide burs have higher flute counts than operative burs, producing smoother surfaces with less material removal per pass.
- Flute count and color coding help you select the right level of aggressiveness for each clinical task.
- Match the bur shape to the restoration surface you are refining – egg for occlusal, flame for interproximal, tapered for margins.
- Use light pressure and appropriate handpiece speed to avoid chatter marks and thermal damage.
- Clean, inspect, and replace finishing burs regularly to maintain consistent surface quality.
With the right finishing burs and proper technique, you can produce restorations with smooth margins and natural contours that serve patients well for years.