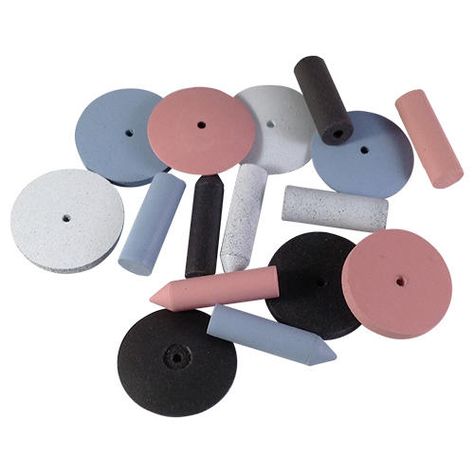
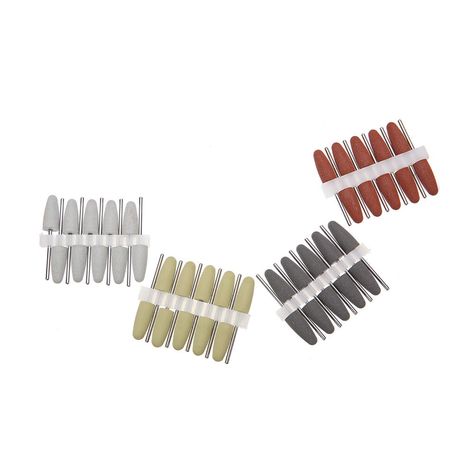
Silicone rubber polishing burs are among the most frequently used finishing tools in both dental practices and jewelry workshops. They remove scratches, smooth rough surfaces, and bring materials to a high gloss without altering the shape of the workpiece. However, not all silicone polishers are the same. The three main series, C, A, and R, are each formulated for different materials and produce different results. This guide explains what makes each series distinct and how to select the right one for your application.
What Makes Silicone Rubber Polishing Burs Different from Other Polishers
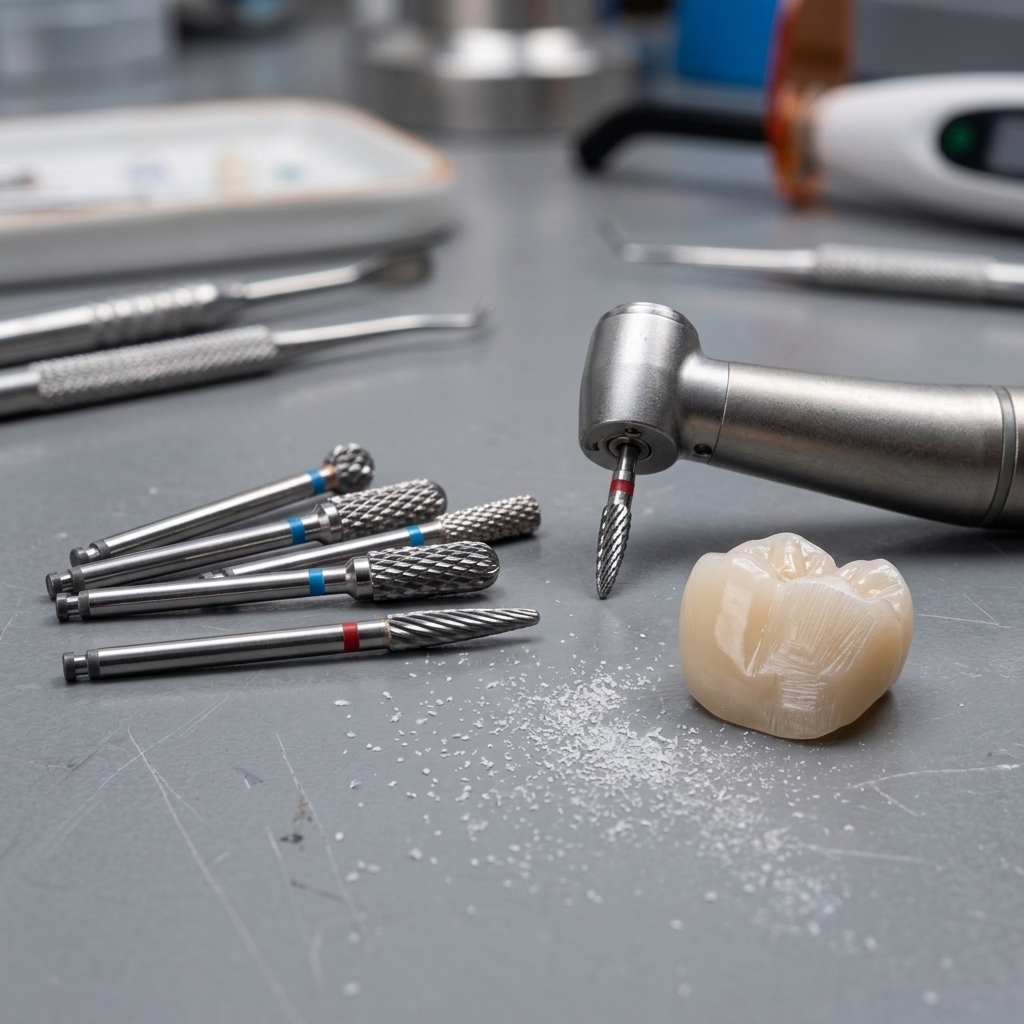
Unlike abrasive discs or felt bobs that rely on a separate polishing compound, silicone rubber burs have the abrasive particles mixed directly into the rubber matrix. This means the polishing agent is built into the tool itself. As the rubber wears during use, fresh abrasive is continuously exposed, delivering consistent results from start to finish.
Silicone rubber burs also generate less heat than rigid abrasive tools, which reduces the risk of damage to heat-sensitive materials like acrylic and porcelain. Their flexibility allows them to conform to curved and irregular surfaces, making them particularly useful for anatomical shapes in dental restorations and organic forms in jewelry.
Another advantage is simplicity. Because the abrasive is embedded in the rubber, there is no need to apply polishing paste or compound during use. This reduces mess, saves time, and makes the polishing process more predictable from one use to the next.
Series C: Designed for Ceramics and Porcelain
Series C silicone rubber polishing burs are specifically engineered for porcelain and ceramic restorations. The abrasive particles in the rubber matrix are selected to work with the hardness and surface characteristics of dental ceramics.
What Series C Does Best
- Removes minor surface irregularities from porcelain crowns and veneers after adjustment
- Produces a smooth, natural-looking finish that matches the surrounding dentition
- Reduces chairside polishing time compared to traditional paste-and-wheel methods
When to Use Series C
Series C burs are the right choice whenever you adjust a porcelain restoration in the mouth and need to restore the surface finish. After removing excess material with a diamond bur, switch to a Series C polisher in progressively finer grits to bring the ceramic back to its original luster. Series C burs are also effective for smoothing glazed surfaces that have been ground during occlusal adjustment.

Tips for Working with Series C
- Use light pressure. The flexibility of the silicone does the work; pressing hard flattens the bur and reduces its effectiveness.
- Keep the bur moving across the surface. Dwelling in one spot generates unnecessary heat and can create uneven polish.
- Work through the grit sequence. Start with the coarsest grade to remove scratches, then move to finer grades for final polish.
- Dry polishing often produces better results on ceramics than wet polishing. The heat generated during dry polishing actually helps the silicone abrasive interact more effectively with the ceramic surface.
Series A: Built for Metals and Alloys
Series A burs are formulated to polish metals including gold, amalgam, chrome-cobalt, and other dental alloys. The abrasive composition is harder and more aggressive than Series C, allowing it to cut through the tougher surface of metallic materials.
What Series A Does Best
- Polishes metal crowns, bridges, and partial denture frameworks to a mirror finish
- Smooths solder joints and casting imperfections
- Works effectively on both precious and non-precious metal alloys
When to Use Series A
Any time you need to finish or polish a metal surface in dentistry or jewelry making, Series A is the appropriate choice. In dental applications, use it after adjusting metal margins, finishing implant abutments, or smoothing metal frameworks. In jewelry work, Series A burs are useful for polishing ring shanks, prong settings, and other metal components where you need to remove tool marks without changing dimensions.
Tips for Working with Series A
- Metals can tolerate slightly more pressure than ceramics, but the same principle applies: let the abrasive do the cutting.
- For deep scratches in metal, consider pre-finishing with a tungsten carbide finishing bur before switching to the silicone polisher.
- Use higher RPM settings (10,000 to 15,000) for metals compared to ceramics. The increased speed improves the polishing action on harder surfaces.
- When polishing amalgam, keep the surface dry. Moisture can cause the amalgam to smear rather than polish cleanly.
Series R: Optimized for Acrylics and Resins
Series R is designed for non-metallic materials, primarily acrylic denture bases, temporary restorations, and resin components. The rubber compound in Series R is softer and more flexible than the other series, which prevents it from gouging or overheating acrylic surfaces.
What Series R Does Best
- Smooths acrylic denture bases after trimming and adjustment
- Finishes temporary crowns and bridges made from bis-acrylic or PMMA
- Polishes acrylic and resin components in orthodontic appliances
When to Use Series R
Whenever you trim or adjust an acrylic prosthesis, Series R burs restore the surface finish quickly and predictably. They are especially useful in denture relines, where the new acrylic must be blended seamlessly with the existing base. Series R burs are also the standard finishing tool for acrylic night guards, retainers, and other removable appliances. In the dental laboratory, they speed up the finishing workflow for provisional restorations that need to be delivered the same day.
Tips for Working with Series R
- Acrylic softens with heat, so use moderate RPM (8,000 to 12,000) and keep the bur moving constantly.
- If the acrylic starts to smear rather than polish, the bur is moving too slowly or the pressure is too high.
- For the final high-gloss step on acrylic, follow the Series R polisher with a cloth wheel and pumice, or use the finest grade Series R bur available.
- Avoid using Series R on metal or ceramic surfaces. The soft abrasive will wear out rapidly without producing meaningful polishing results on harder materials.
Series C vs A vs R: Quick Reference Comparison
| Feature | Series C | Series A | Series R |
|---|---|---|---|
| Target material | Porcelain, ceramics | Gold, amalgam, alloys | Acrylic, resin, PMMA |
| Abrasive hardness | Medium | Hard | Soft |
| Rubber flexibility | Moderate | Firm | Highly flexible |
| Recommended RPM | 8,000 - 12,000 | 10,000 - 15,000 | 8,000 - 12,000 |
| Pressure tolerance | Light | Light to moderate | Light |
| Primary dental use | Crown and veneer finishing | Metal framework polishing | Denture and appliance finishing |
| Jewelry application | Ceramic inlays | Ring and setting polishing | Resin and acrylic pieces |
Choosing the Right Grit Within Each Series
Each series is available in multiple grit levels, typically color-coded for easy identification. While color coding varies by manufacturer, the general progression is:
- Coarse (pre-polishing): Removes visible scratches and tool marks left by burs or discs. Use this as your first step after shaping.
- Medium (smoothing): Refines the surface and removes marks left by the coarse stage. This is where the surface starts to develop a visible sheen.
- Fine (high polish): Produces the final gloss. On ceramics and metals, a fine-grade silicone polisher can achieve near-mirror results without additional polishing compounds.
Skipping grits saves time in the short run but produces inferior results. Each stage builds on the previous one, and jumping from coarse to fine leaves sub-surface scratches that show up under direct light.
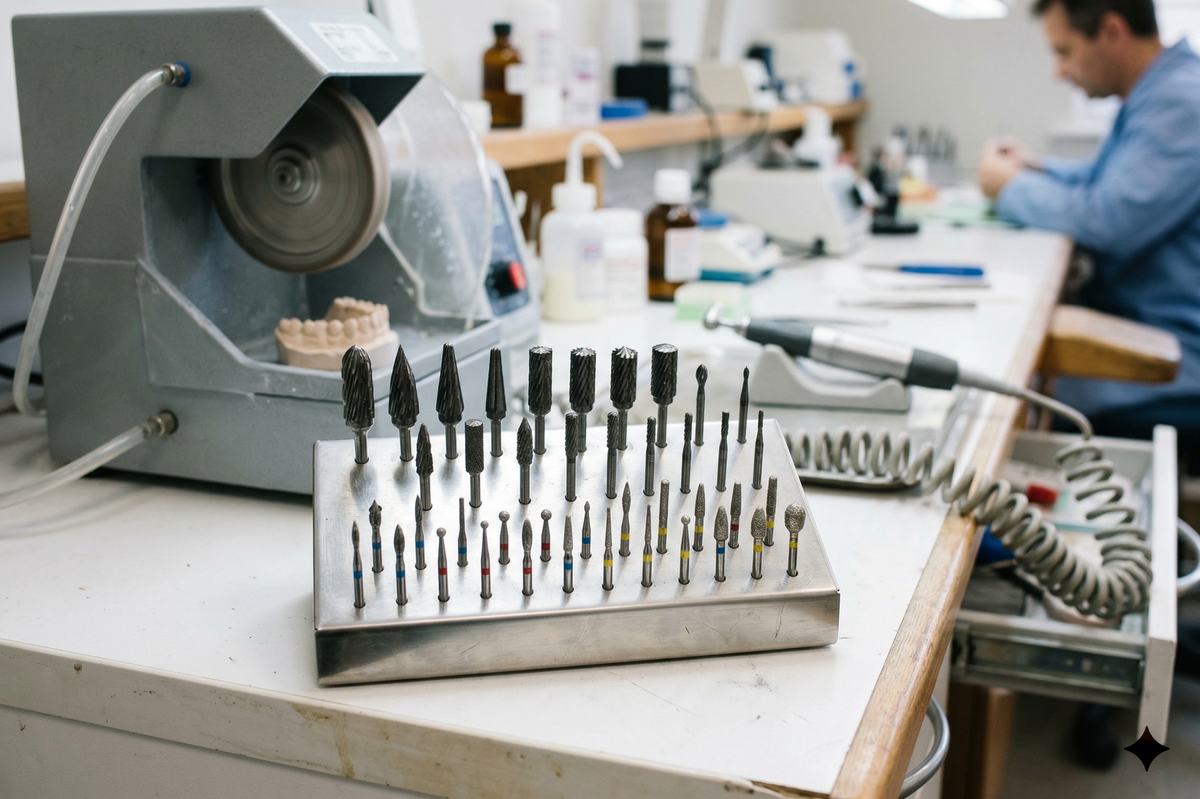
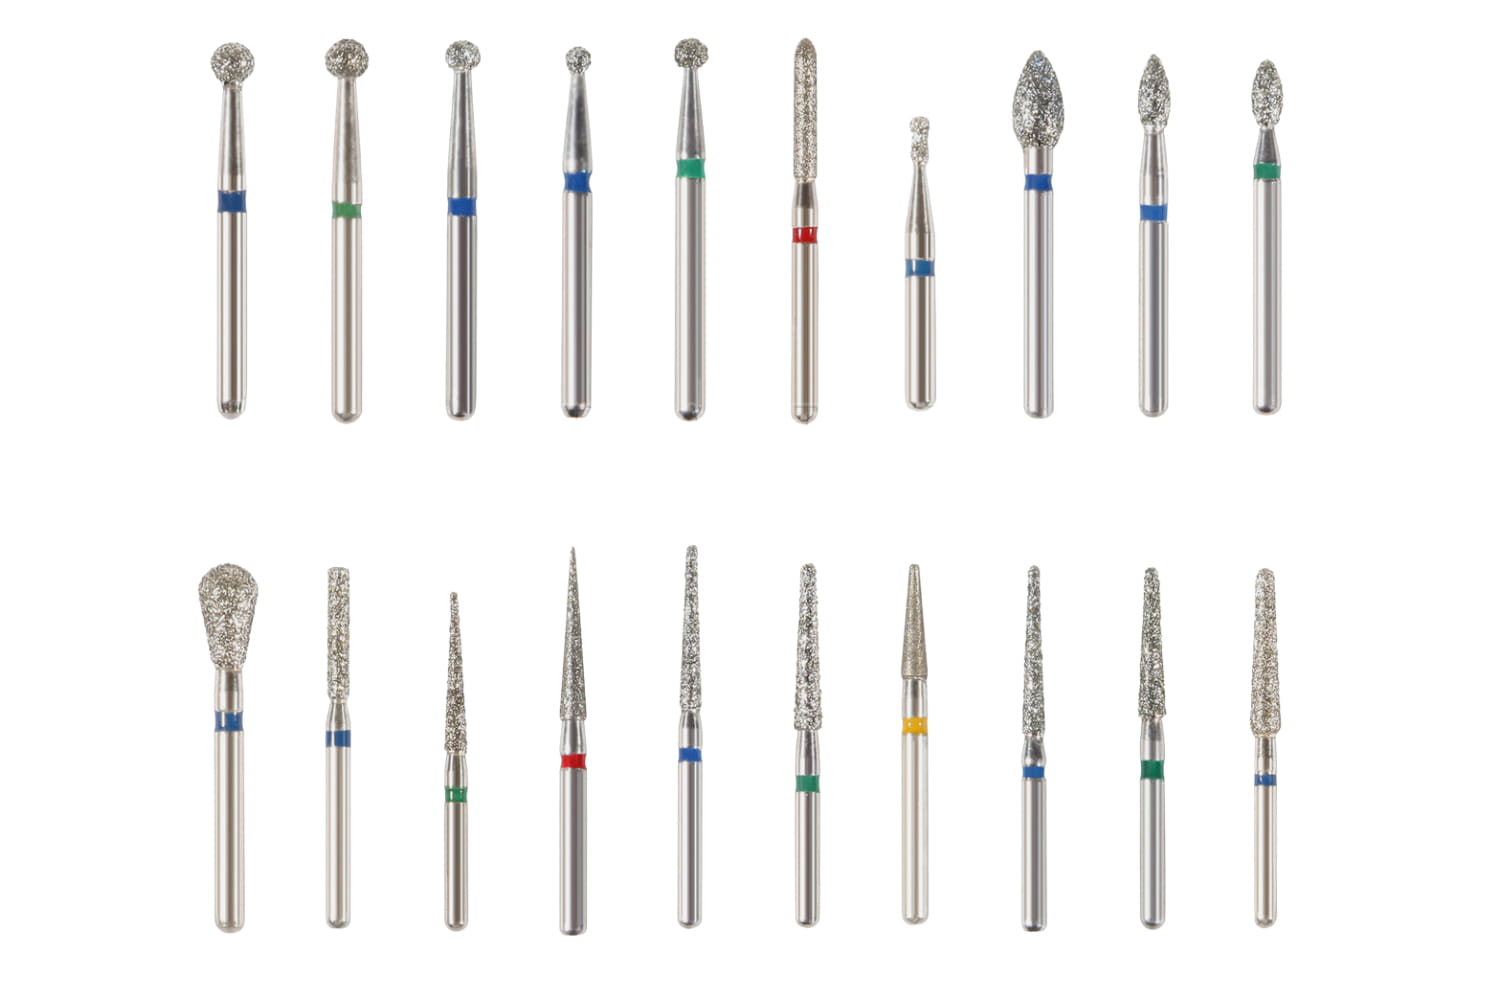
Shapes and When to Use Them
Silicone rubber polishing burs come in a variety of shapes, each suited to different surface geometries:
- Points and flames: Reach into narrow grooves, occlusal fissures, and tight interproximal areas.
- Cups: Conform to concave surfaces such as the lingual side of anterior crowns.
- Wheels and discs: Cover flat and gently curved surfaces efficiently, making them a good choice for facial surfaces and broad metal areas.
- Cylinders: Work well on flat margins and straight edges where consistent contact is needed.
Having a selection of shapes on hand allows you to match the polisher to the surface contour, which produces a more uniform finish and reduces the time spent on each restoration.
Care and Storage
Silicone rubber polishing burs are reusable but do wear down over time. To get the most from each bur:
- Clean burs after use by wiping with a damp cloth or rinsing under water. Avoid solvents that can break down the silicone rubber.
- Autoclave-compatible burs should be sterilized according to your infection control protocol. Check the manufacturer's specifications, as not all silicone polishers tolerate repeated autoclaving. For more on sterilization procedures, see our article on instrument sterilization.
- Replace burs when they become visibly worn, lose their shape, or no longer produce a satisfactory finish. A worn polisher requires more pressure and time, which increases heat and reduces quality.
- Store polishing burs separately from cutting burs to prevent accidental damage to the softer silicone material.
Choosing the correct silicone rubber polishing bur series for your material eliminates guesswork and produces consistent, high-quality finishes. Browse our full range of silicone rubber polishers to find the shapes, grits, and series you need for your practice or workshop.