Polishing is one of the most common finishing steps in jewelry work. Whether you are restoring a customer's worn gold ring or putting the final shine on a new piece, proper technique and the right tools make the difference between an average result and a mirror finish. This guide walks through a complete ring polishing workflow, from safety preparation to final buffing, so you can achieve professional results efficiently.
Safety First: Protect Yourself Before You Polish
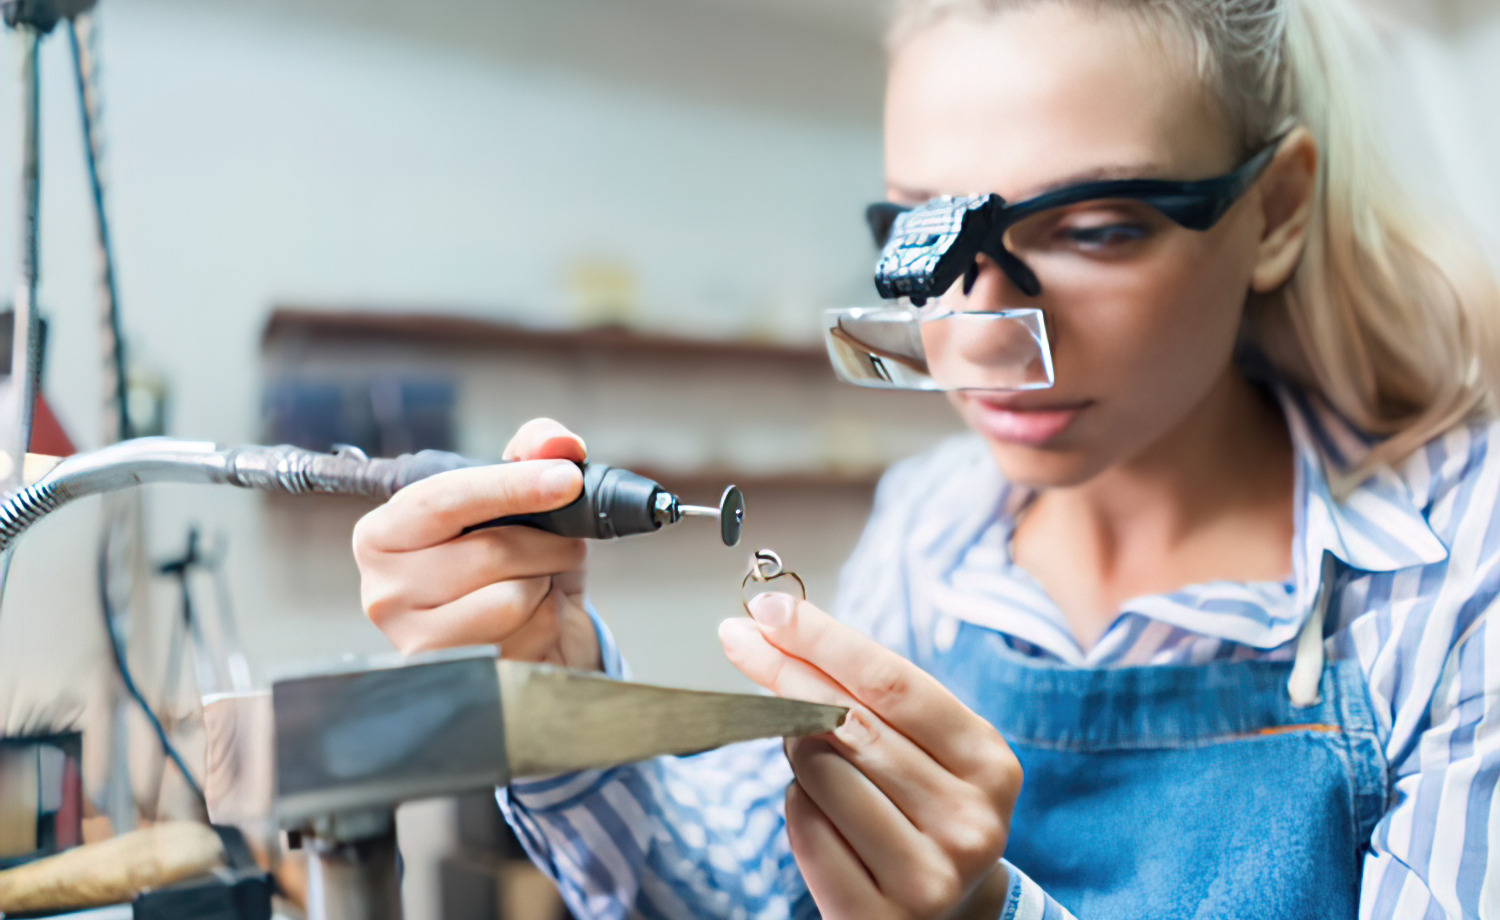
Before touching any rotary tool, take a moment to set up proper personal protection. Polishing generates fine metal dust and compound particles that are harmful if inhaled or caught in the eyes.
- Safety glasses — Wear impact-rated glasses to shield your eyes from flying debris and compound splatter.
- Dust mask or respirator — A particulate mask prevents inhalation of metal dust and dried polishing compound.
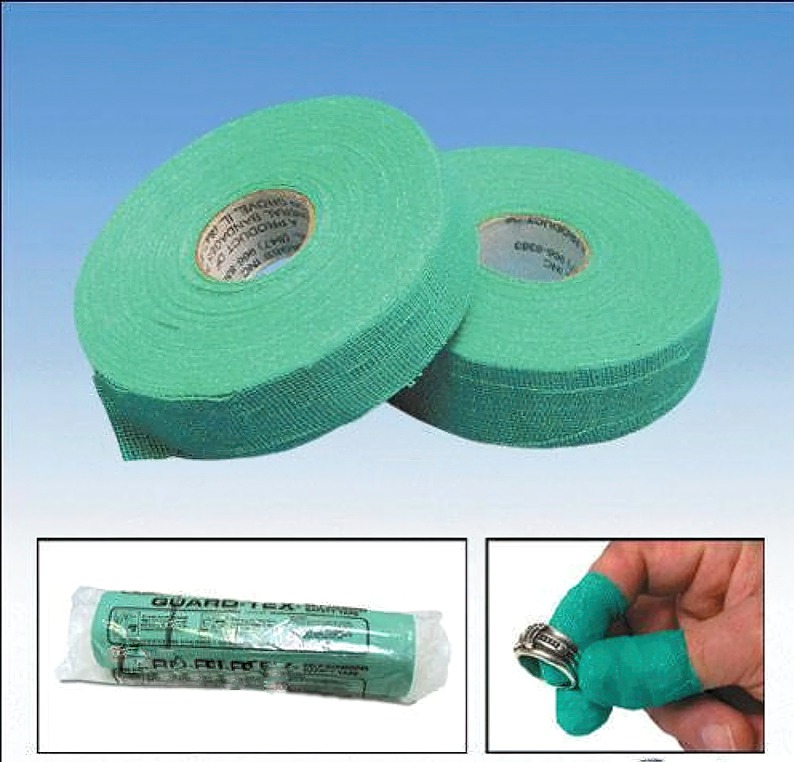
- Finger protection — Wrap your fingertips with adhesive finger tape. This gives you a secure grip on small pieces and protects skin from heat generated by friction.
- Hair and clothing — Tie back loose hair and avoid dangling sleeves that could catch in a spinning mandrel or buff.

Gather Your Tools and Materials
Having everything within arm's reach before you begin prevents interruptions and ensures consistent results. For a standard gold ring polishing session, prepare the following:
- Flex shaft with a quick-change handpiece for fast accessory swaps
- Bristle polishing brush on a mandrel mount
- Felt cylinder buff (also called a felt bob) on a mandrel mount
- Round string buff for high-polish finishing
- Grey star polishing compound (cutting compound)
- Green rouge (pre-polish compound)
- Red rouge (final high-shine compound)
- Ultrasonic cleaner with cleaning solution
- Lint-free cloth for drying
Assess the Ring Before Polishing
Inspect the ring carefully under magnification before applying any abrasive. Identify the following:
- Scratch depth — Shallow surface marks respond well to compound and brush. Deep gouges may require filing or sanding before polishing.
- Metal condition — Look for pitting, porosity, or thin spots that indicate metal loss from prior polishing or long-term wear.
- Stone settings — Note prong tightness and stone security. Aggressive buffing near loose prongs risks dislodging stones.
- Surface profile — Understand the intended finish. High-polish, satin, and brushed finishes each require different approaches.
Documenting the ring's condition before you begin protects both you and the customer if questions arise later.
Step 1: Rough Polishing with a Bristle Brush
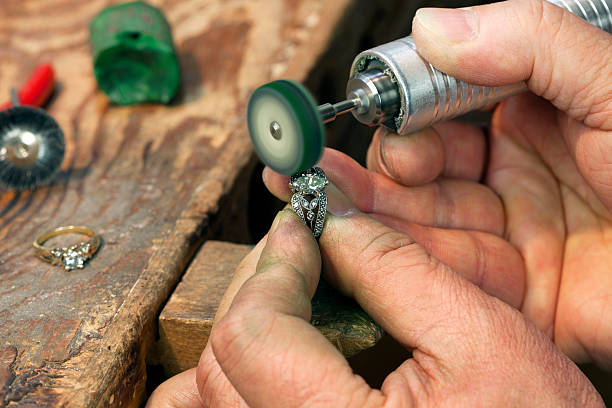
Load a mounted bristle brush into the quick-change handpiece. Apply a thin layer of grey star compound to the brush tips. This compound is formulated to cut through deep scratches and smooth rough metal surfaces without removing excessive material.
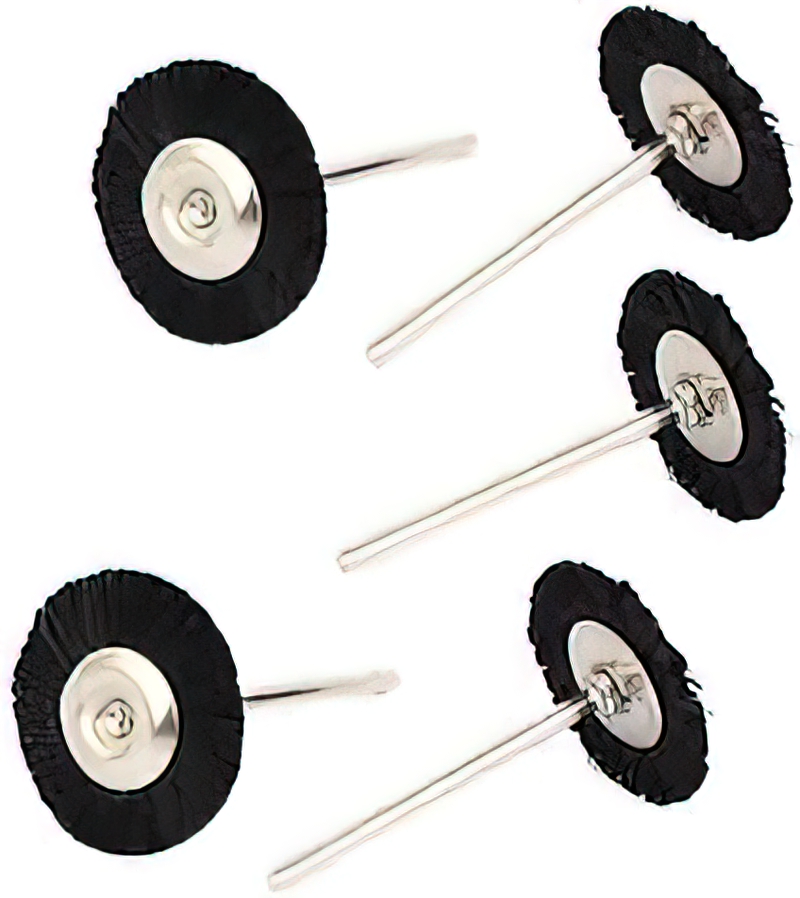
Key points for this stage:
- Use low to moderate pedal pressure on the flex shaft. High speed generates unnecessary heat and can warp thin shanks.
- Start at the ring's shoulders and work toward the head, following the natural contour.
- Pay extra attention to the bottom of the shank, which typically shows the most wear from daily contact with surfaces.
- Move the brush along the length of the shank, not perpendicular to it. Perpendicular motion rounds off flat surfaces and distorts the shank profile.
- Reapply compound as needed. A dry brush cuts less effectively and generates more friction heat.
Step 2: Interior Polishing with a Felt Bob
Swap the bristle brush for a mounted felt cylinder buff designed to reach the inside diameter of the ring. Apply more grey star compound to the felt surface.
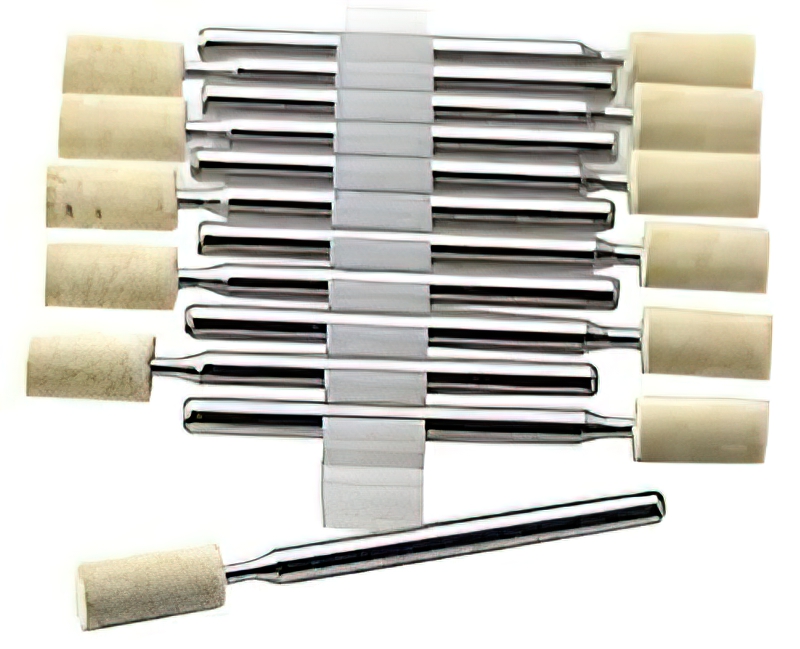
The interior of a ring accumulates scuffs and pitting from contact with the finger and from sizing adjustments. Run the felt bob through the interior at low speed, allowing the compound to work the surface evenly. Check your progress frequently by wiping the interior with a cloth and inspecting under light.
For rings with engravings on the interior, reduce pressure and avoid lingering on engraved areas, as compound buildup in lettering is difficult to remove and can obscure the inscription.
Mid-Process Cleaning: Ultrasonic Bath
Before moving to the finishing compounds, remove all residual grey star compound from the ring. Place the ring in an ultrasonic cleaner filled with an appropriate cleaning solution and run the cycle for one to two minutes.
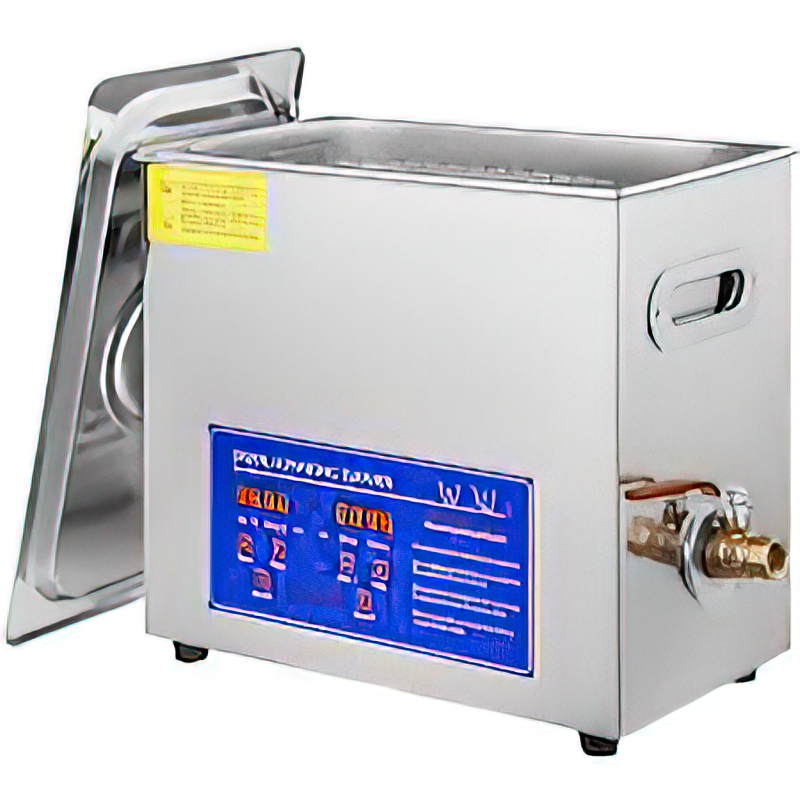
Remove the ring, rinse it under clean running water, and dry it thoroughly with a lint-free cloth. Residual cutting compound left on the surface will contaminate the finishing rouge and produce a cloudy finish instead of a bright one.
Step 3: High-Polish Finishing with Rouge Compounds
Switch to a round string buff and apply green rouge. Green rouge is a finer abrasive than grey star compound and begins building a reflective surface.
- Use light pedal pressure. Let the compound do the work rather than forcing the buff into the metal.
- Navigate carefully around side stones and prongs. Keep the buff moving to avoid concentrating heat in one spot.
- Work the entire exterior surface evenly to prevent uneven reflectivity.
After the green rouge pass, clean the ring in the ultrasonic again and inspect. If the surface shows a consistent semi-bright finish with no remaining scratches, proceed to red rouge.
Apply red rouge to a clean string buff, never the same buff used for green rouge. Red rouge is the finest compound in the sequence and produces the mirror-bright finish customers expect. Use the same light-pressure technique, covering the full surface area.
Final Cleaning and Inspection
Run the ring through one last ultrasonic cycle to remove all polishing residue. Rinse with water, dry with a clean lint-free cloth, and inspect the finished piece under strong directional light. Rotate the ring through all angles, looking for:
- Remaining scratches or haze
- Uneven polish areas or flat spots
- Compound residue trapped under prongs or in crevices
- Stone security (give each stone a gentle push to confirm seating)
If any area needs additional work, return to the appropriate compound stage rather than trying to fix it with a finer rouge alone.
Common Mistakes to Avoid
Even experienced jewelers fall into habits that compromise results. Keeping these pitfalls in mind will save time and protect the pieces you work on:
- Using one buff for multiple compounds — Cross-contamination between cutting compound and finishing rouge is the most common cause of a hazy finish. Dedicate separate buffs to each compound and label them clearly.
- Excessive speed — Higher RPM does not mean faster polishing. Excessive speed generates heat that can anneal thin metal sections, loosen heat-sensitive adhesives in stone settings, and cause compound to fling off the buff before it can do useful work.
- Skipping the assessment step — Jumping straight into polishing without inspecting the piece first can result in polishing over deep scratches that needed filing, or buffing near a loose stone that should have been tightened beforehand.
- Neglecting the interior — Customers notice when the inside of a ring feels rough against the skin. Always polish the interior even if the exterior is the primary focus of the job.
- Inconsistent compound application — Applying too much compound creates buildup that clogs details. Applying too little causes dry friction and heat marks. Aim for a thin, even coat refreshed at regular intervals throughout each pass.
Choosing the Right Polishing Accessories
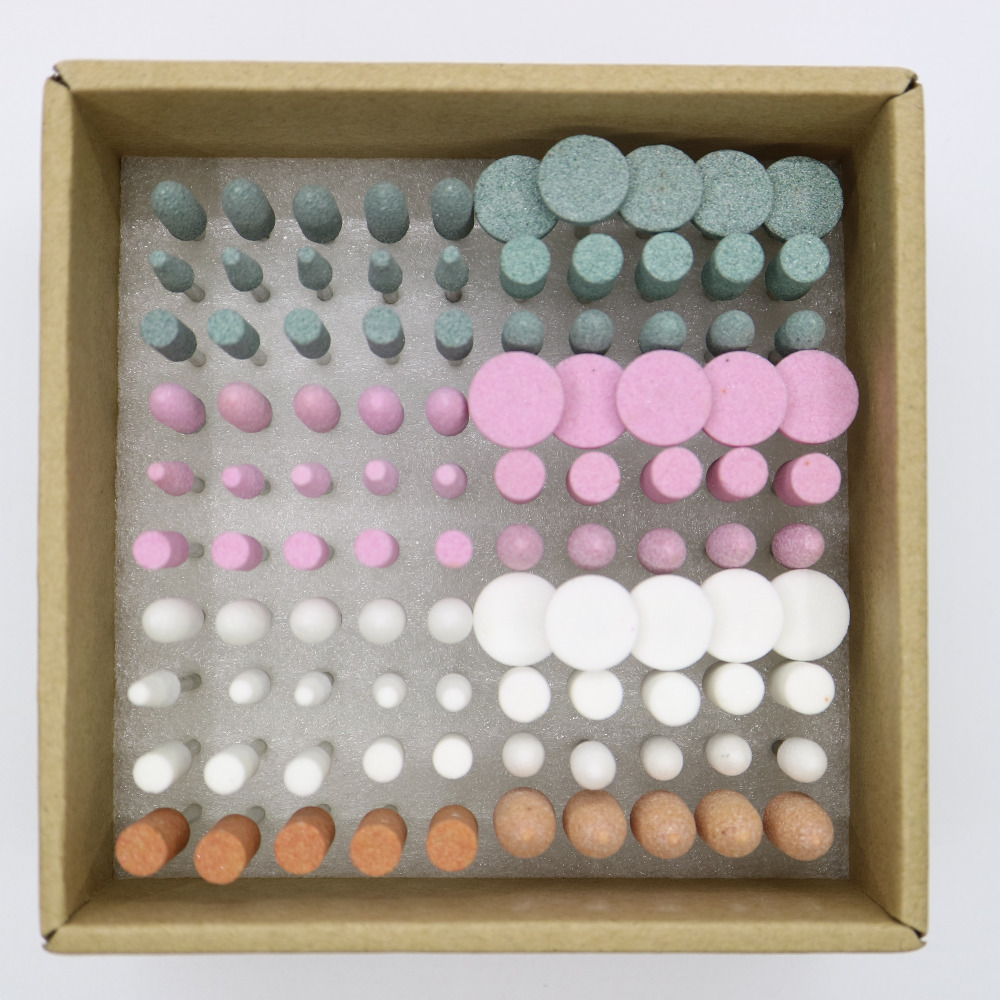
The quality of your brushes, buffs, and compounds directly affects your results and efficiency. Worn or contaminated accessories produce inconsistent finishes and waste time on rework. Burdental's range of polishing accessories includes mounted bristle brushes, felt bobs, and mandrels sized for common flex shaft and handpiece systems.
For more information on selecting brushes for different tasks, read our guide on polishing brushes. If you work with rotary tools regularly, our article on rotary tool safety covers additional best practices to keep your workspace safe.
Summary
Effective jewelry polishing follows a logical sequence: assess, cut, clean, finish, clean, inspect. Each stage builds on the previous one, and skipping steps leads to a compromised result. The three-compound progression from grey star to green rouge to red rouge, combined with the right brush, felt bob, and string buff at each stage, delivers a professional high-polish finish on gold rings consistently. Take your time, keep your tools in good condition, and always prioritize safety.