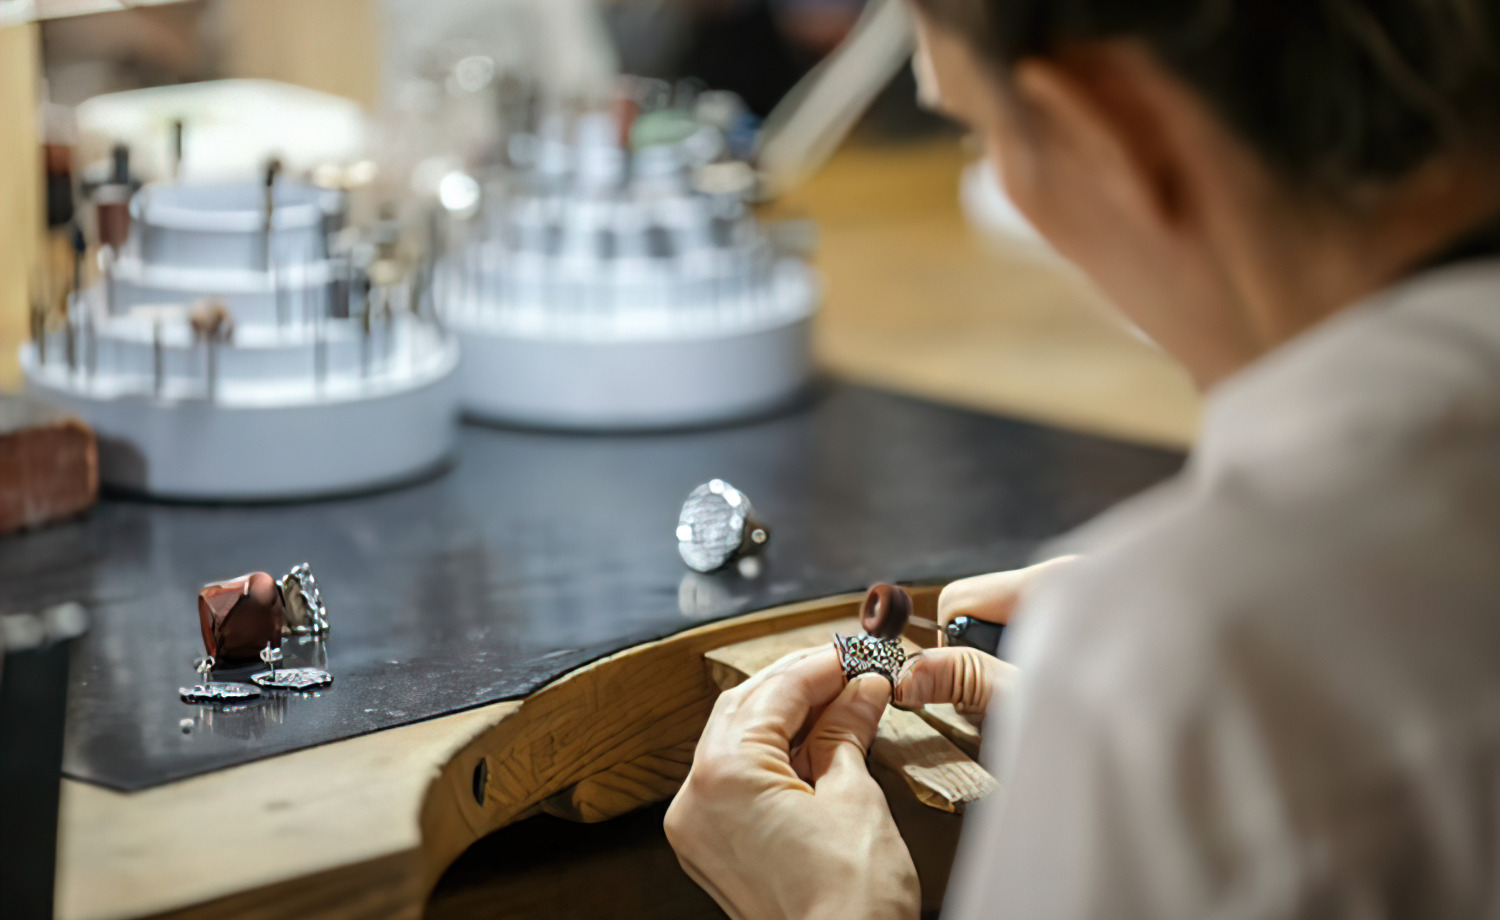
Polishing is the final step that transforms a rough piece of metalwork into a finished piece of jewelry. Whether you are working with gold, silver, platinum, or base metal alloys, the right polishing tools make the difference between a professional finish and a dull, scratched surface. This guide covers the most useful polishing and finishing tools for jewelry makers, explains what each one does, and helps you choose the right abrasive for every stage of the finishing process.
Understanding the Jewelry Finishing Process
Before selecting polishing tools, it helps to understand the finishing workflow. Jewelry finishing moves through a sequence of progressively finer abrasives, each one removing the scratches left by the previous step. The general stages are:
- Shaping and contouring: Remove excess material and establish the final form
- Pre-polishing: Smooth the surface and remove tool marks
- Polishing: Create a uniform matte or satin finish
- High-shine finishing: Produce a mirror-like reflective surface
Skipping stages or jumping from a coarse abrasive directly to a fine one typically produces an uneven finish with visible scratches that the fine abrasive cannot remove. Working through each stage in order is the most efficient path to a professional result.
Rubber and Silicone Polishers
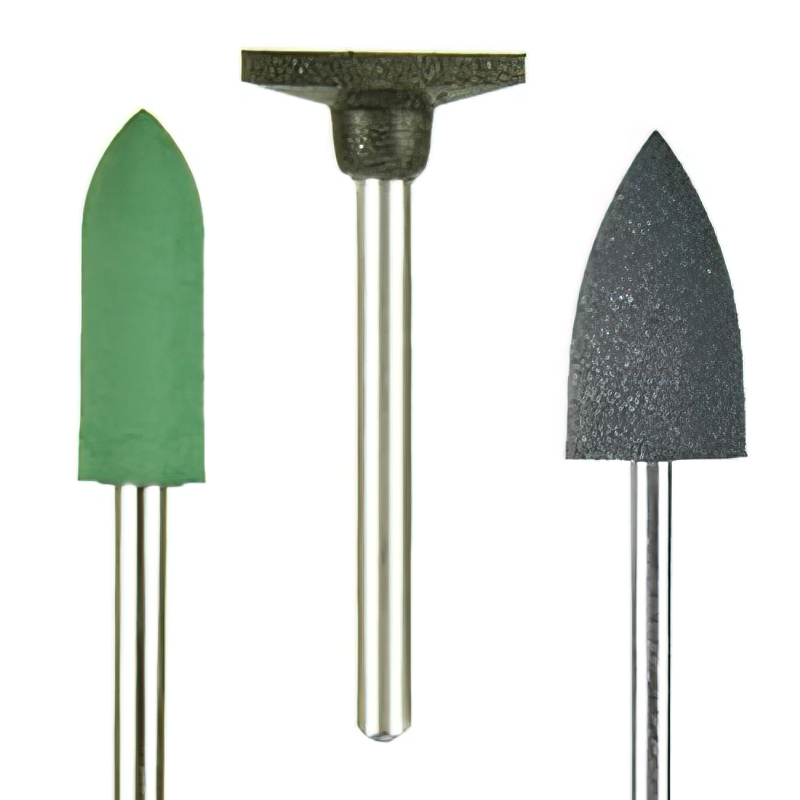
Silicone rubber polishers are among the most versatile tools in a jewelry maker's workshop. These small, shaped abrasives fit into rotary tools such as micro motors, pendant drills, flexible shafts, and Dremel-style tools. They are available in various shapes and grits, each designed for specific tasks.
Grit Grades and Their Uses
Rubber polishers are color-coded by grit level. Understanding the color system helps you pick the right polisher for each finishing stage:
| Color | Grit Level | Application | Best For |
|---|---|---|---|
| Blue | Extra coarse | Heavy material removal, contouring | Chrome-cobalt, stainless steel, non-precious alloys |
| Dark gray | Coarse | Shaping, oxide removal, scratch removal | Precious and non-precious metals |
| Brown | Medium | Pre-polishing, matte finishing, smoothing | Precious and non-precious metals |
| Green | Fine | Polishing to high gloss | All metals |
| Light green | Extra fine | Mirror finish, solder point polishing | Platinum, gold, silver, solder joints |
The extra-fine light green polishers deserve special mention. They produce an exceptionally high sheen without leaving concave depressions at solder points, making them ideal for finishing areas where precision matters most.
Shapes and When to Use Them
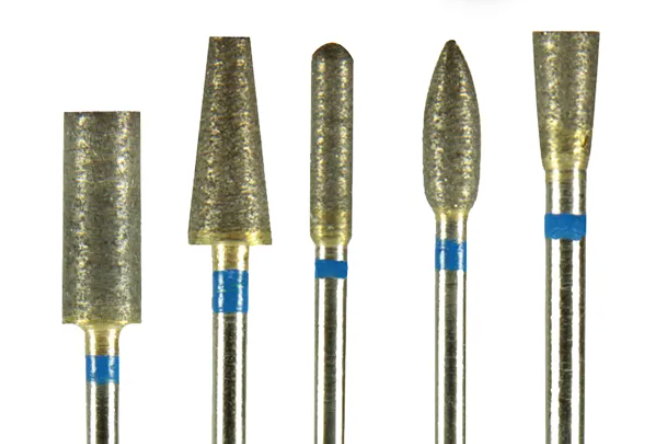
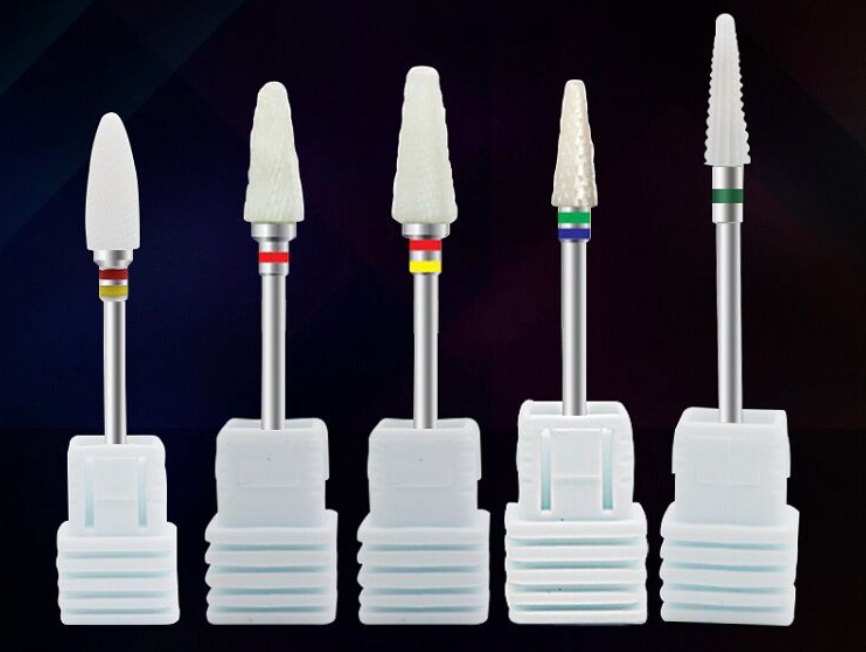
Rubber polishers come in cylinders, wheels, points, cups, and knife-edge profiles. Each shape reaches different areas of a jewelry piece:
- Cylinders: Flat surfaces and broad curves
- Wheels: Inside ring bands and channel settings
- Points: Tight corners, prong bases, and detailed areas
- Cups: Concave surfaces and bezels
- Knife-edge: Narrow grooves and engraved lines
For tips on choosing shapes for specific applications, our article on bur shapes for jewelry making provides additional guidance that applies to polishing tools as well.
Non-Woven Abrasive Wheels and Brushes
Non-woven web wheel polishing brushes offer a different approach to surface finishing. Made from compressed nylon fibers impregnated with abrasive particles, these wheels work well for cleaning, light deburring, and producing a uniform matte or satin finish on metal surfaces.
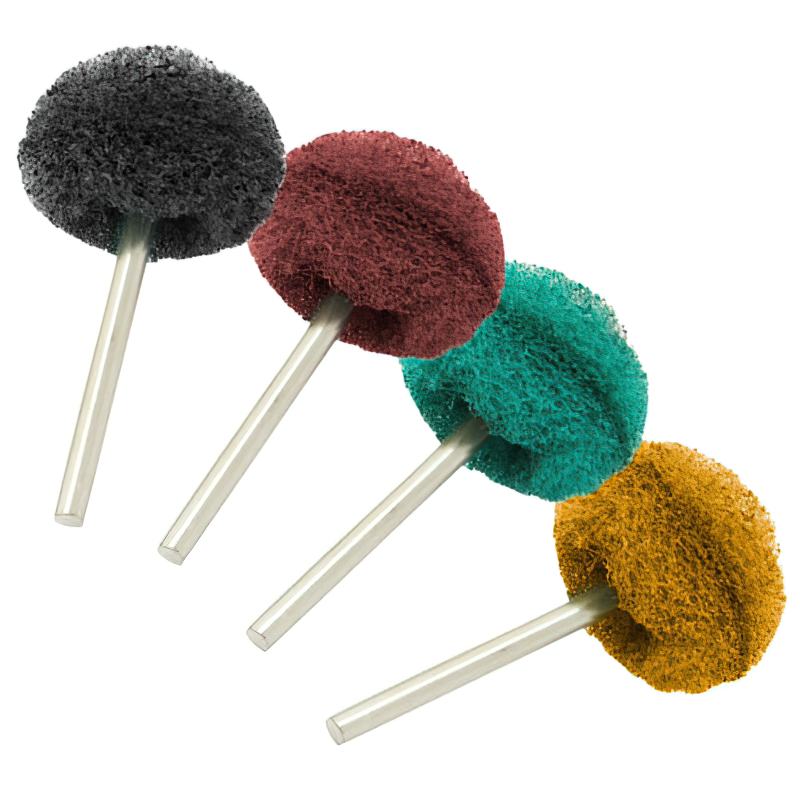
Non-woven wheels are available in several grit levels, typically indicated by color:
- Red: Coarse grit for heavy cleaning and surface preparation
- Brown: Medium grit for general-purpose finishing
- Purple: Fine grit for final finishing and light polishing
These wheels are particularly useful for removing tarnish, cleaning small metal parts, and preparing surfaces before plating or patina application. They conform slightly to the workpiece shape, which helps maintain consistent contact pressure across curved surfaces.
Mandrels and Sandpaper Discs
Mandrels are small shanked holders that accept various abrasive attachments. They are indispensable for sanding, cutting, and polishing operations in jewelry making. Common types include screw mandrels, snap-on mandrels, and split mandrels, each designed for different abrasive formats.
Understanding the different mandrel types will help you choose the right holder for your specific abrasive media.
Sandpaper Discs
Sandpaper discs attach to snap-on or screw mandrels and are available in a wide range of grits. They are used for sanding flat and gently curved surfaces on metal jewelry pieces. You can find both wet-dry and dry-only varieties:
- Coarse (80-120 grit): Removing heavy scratches, reshaping edges
- Medium (220-320 grit): General sanding and surface preparation
- Fine (400-600 grit): Pre-polishing and smoothing
- Very fine (800-1200 grit): Final sanding before polishing compounds
Wet sanding with fine-grit papers produces a smoother result because water carries away swarf and prevents the paper from clogging. It also generates less heat, which reduces the risk of warping thin metal pieces.
Split Mandrels and Emery Paper
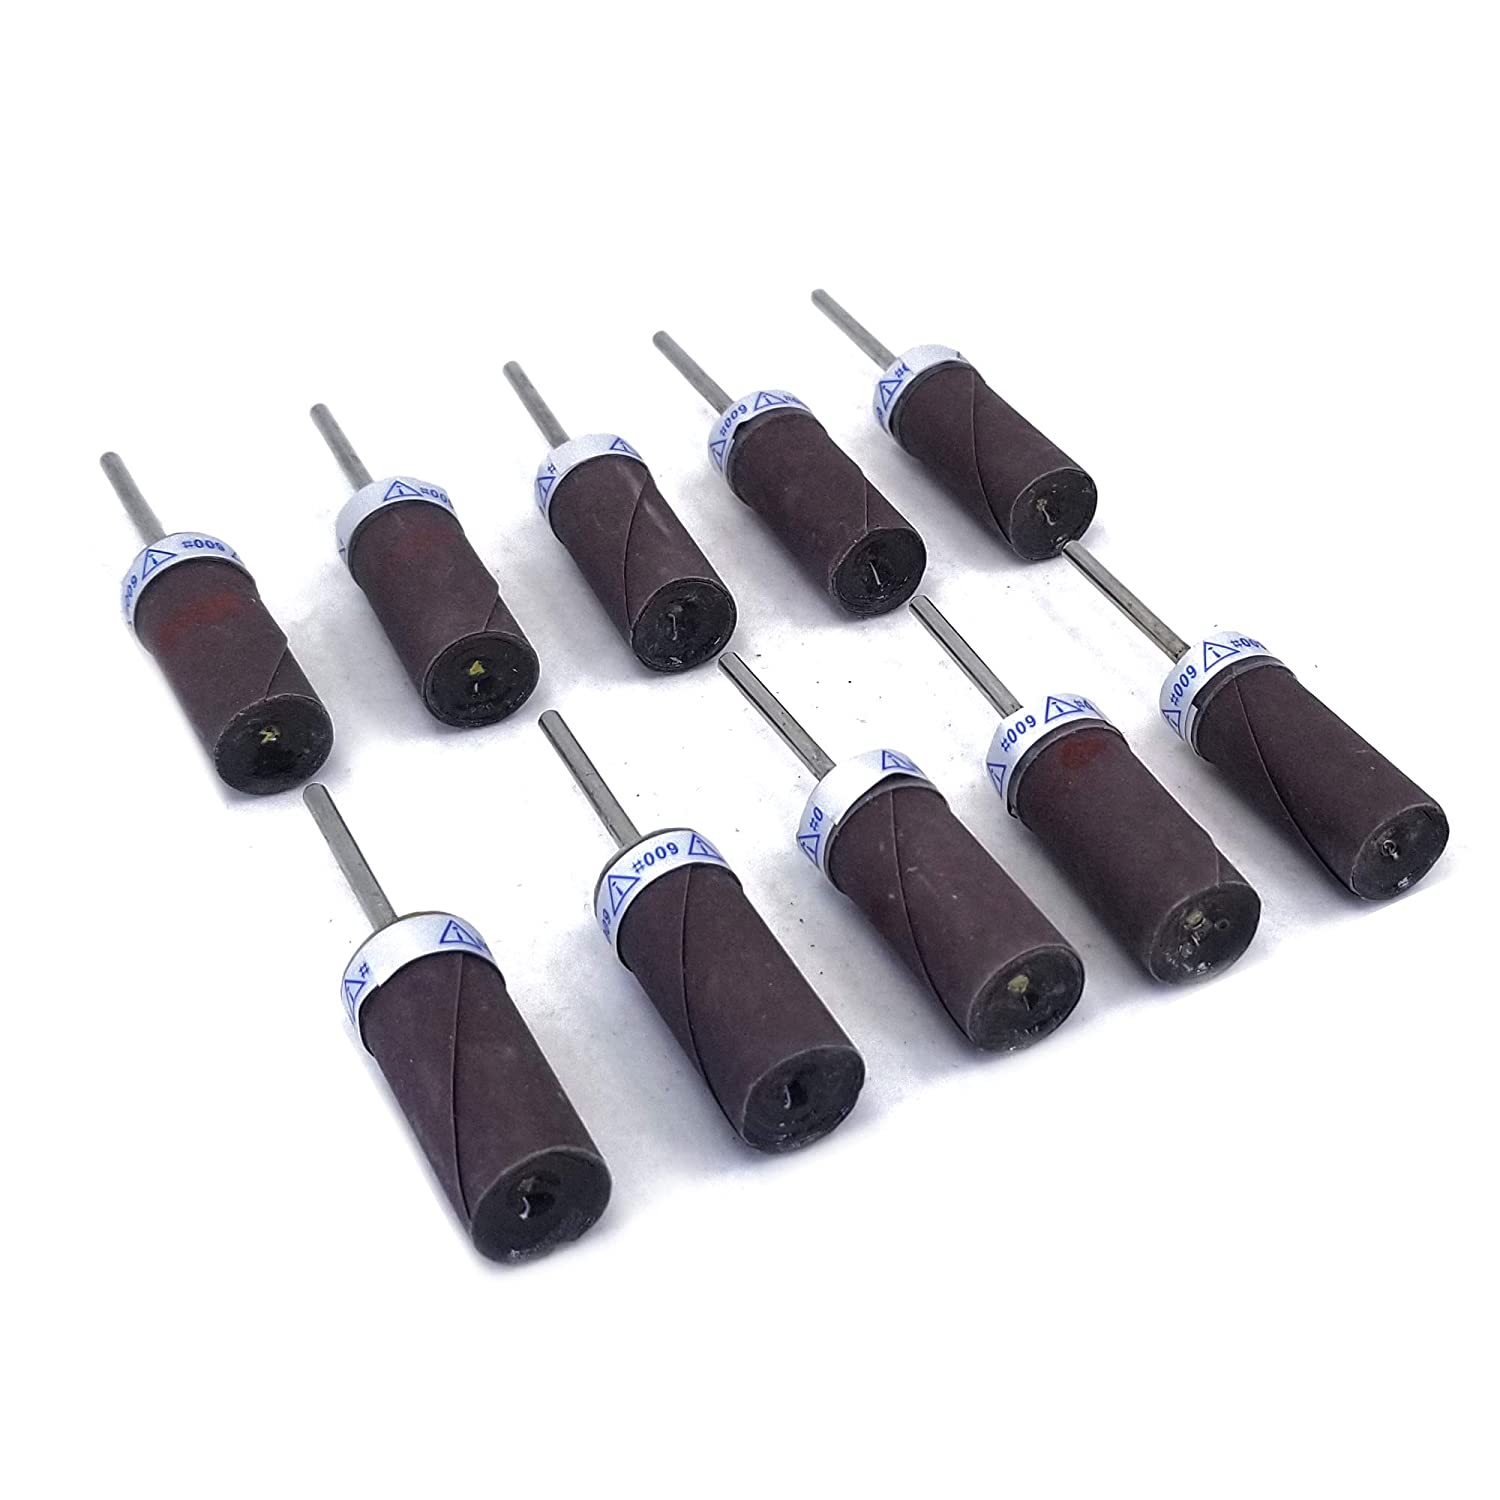
Split mandrels hold strips of emery paper or sandpaper that wrap around the mandrel shaft. This setup is excellent for sanding inside ring bands, around prongs, and in other areas where flat discs cannot reach. Wrap the paper around the mandrel, insert it into your rotary tool, and sand with light pressure to avoid tearing the paper.
Felt Bobs and Polishing Compounds
Felt bobs are dense, compressed felt shapes mounted on mandrel shanks. They are used in combination with polishing compounds (rouge, tripoli, white diamond, etc.) to produce the final high-shine finish on jewelry. The felt holds the polishing compound against the metal surface while the rotary tool provides consistent speed and pressure.
For more detail on felt polishing attachments, see our guide on felt bobs for polishing.
Common polishing compounds and their applications include:
| Compound | Color | Use |
|---|---|---|
| Tripoli | Brown | Initial polishing, cutting compound for removing fine scratches |
| Red rouge | Red | Final polish for gold and silver |
| White diamond | White | All-purpose polish for most metals |
| Green rouge | Green | Final polish for platinum and stainless steel |
| Blue rouge | Blue | Final polish for gold, produces mirror finish |
Apply a small amount of compound to the felt bob before polishing. Use light to moderate pressure and keep the tool moving to avoid generating excessive heat in one spot. Overheating can discolor the metal or soften solder joints.
Building Your Polishing Tool Kit
If you are just starting out in jewelry making, here is a practical order for building your polishing tool collection:
- Start with a set of rubber polishers in three or four grits. These handle most polishing tasks on their own and work with any rotary tool.
- Add a mandrel set with snap-on and screw types. This opens up the use of sandpaper discs, felt bobs, and other attachments.
- Pick up sandpaper discs in medium and fine grits for sanding work.
- Get felt bobs and a basic polishing compound (tripoli and rouge) for final finishing.
- Add non-woven wheels for cleaning and matte finishing as your projects require them.
Quality matters more than quantity. A small set of good polishing tools produces better results than a large collection of low-grade alternatives. Look for polishers with consistent grit distribution and mandrels with true-running shanks that do not wobble in your handpiece.
Tips for Better Polishing Results
Regardless of which tools you use, these practices will improve your finishing work:
- Work through the grits in order. Never skip more than one grit level between steps.
- Change direction between grits. This makes it easier to see when the scratches from the previous grit have been fully removed.
- Keep your tools clean. Contaminating a fine polisher with particles from a coarse stage ruins the finish.
- Use light pressure. Let the abrasive do the work. Heavy pressure generates heat and can gouge the metal.
- Inspect under good lighting. Angled light reveals scratches and surface defects that overhead lighting hides.
- Wear eye protection. Rotary tools can throw debris, bristles, or polishing compound at high speed.
For additional rotary tool safety information, check out our article on Dremel tool safety tips.
Matching Tools to Metals
Different metals respond differently to polishing tools and compounds. Here are some practical notes:
- Gold: Relatively soft, polishes easily. Use medium to fine rubber polishers and finish with red or blue rouge on a felt bob.
- Silver: Similar to gold but tarnishes quickly. Polish to a high shine and apply a protective coating or anti-tarnish treatment.
- Platinum: Very hard and dense. Requires more time and pressure during polishing. Light green extra-fine polishers work well for the final finish.
- Stainless steel: Hard and resistant to scratching. Use coarser grits initially and green rouge for the final polish.
- Copper and brass: Soft metals that polish quickly but oxidize fast. Work through grits rapidly and seal with lacquer or wax after polishing.
Final Thoughts
Polishing is both a skill and a process. The right tools make the work faster and more predictable, but technique matters just as much as equipment. Start with the basics, learn how each tool performs on different metals, and build your collection as your projects demand new capabilities. With practice and the proper tools, you can achieve professional-quality finishes on any jewelry piece.