How to Achieve a High Polish on Zirconia with Diamond Stones
Zirconia has become one of the most widely used materials in restorative dentistry. Its strength, biocompatibility, and tooth-like appearance make it a top choice for crowns, bridges, and implant-supported restorations. However, finishing and polishing zirconia requires a different approach than working with traditional porcelain or composite materials.
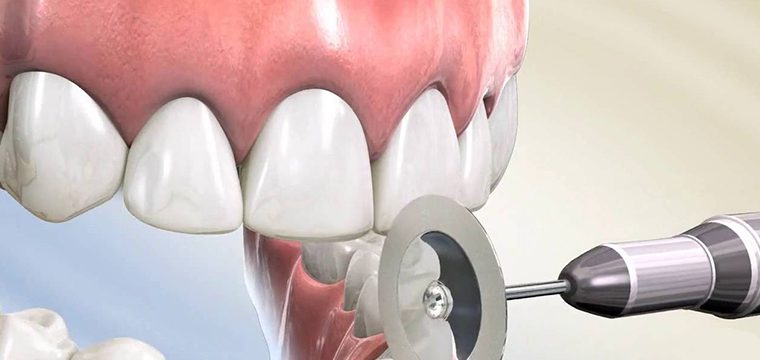
Diamond stones are the preferred instruments for shaping and polishing zirconia restorations. This guide explains how to select the right diamond stones, use them effectively, and maintain them for long-term performance.
Why Zirconia Needs Special Polishing Instruments
Zirconia (yttria-stabilized tetragonal zirconia polycrystal, or Y-TZP) has a Vickers hardness of approximately 1200-1300 HV, making it significantly harder than feldspathic porcelain or lithium disilicate. This hardness is what gives zirconia its excellent wear resistance, but it also means that conventional polishing instruments designed for softer ceramics will not work effectively on zirconia surfaces.
Using the wrong instruments can lead to several problems:
- Excessive heat generation that may trigger a phase transformation from tetragonal to monoclinic crystal structure
- Surface micro-cracks that reduce the long-term strength of the restoration
- Rough surface texture that increases opposing tooth wear
- Poor aesthetics with a matte or hazy appearance instead of a natural gloss
Diamond stones are ideal for zirconia because diamond is harder than zirconia itself, allowing controlled material removal without the excessive force or friction that causes damage.
Selecting the Right Diamond Stone
Choosing the correct diamond stone depends on three main factors: particle size, stone shape, and bond type. Each of these affects how the stone interacts with the zirconia surface.
Diamond Particle Size (Grit)
Diamond stones are available in a range of grit sizes, from coarse to ultra-fine. For zirconia polishing, a sequential approach works best:
| Stage | Grit Size | Purpose |
|---|---|---|
| Initial Shaping | 125-150 microns (coarse) | Bulk material removal and major contour adjustments |
| Smoothing | 40-75 microns (medium) | Remove scratches from coarse stage, refine anatomy |
| Pre-Polish | 15-30 microns (fine) | Create a smooth surface ready for final polish |
| Final Polish | 1-10 microns (ultra-fine) | Produce a high-gloss, mirror-like finish |
Skipping grit stages is a common mistake. Each stage removes the scratch pattern left by the previous one. Jumping from coarse directly to ultra-fine will leave deep scratches that the fine stone cannot remove, resulting in a surface that looks polished at first glance but performs poorly under magnification.
Stone Shape Selection
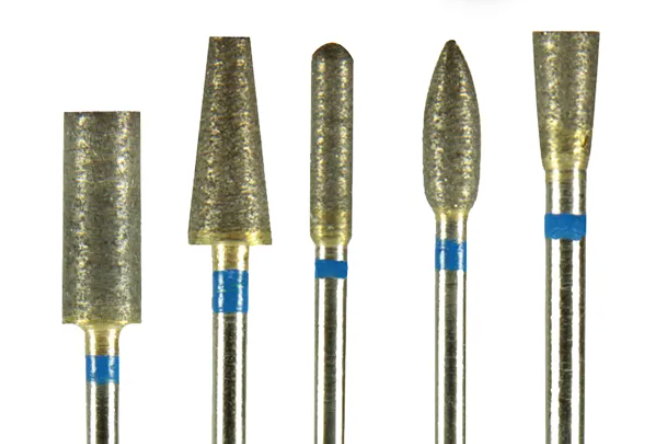
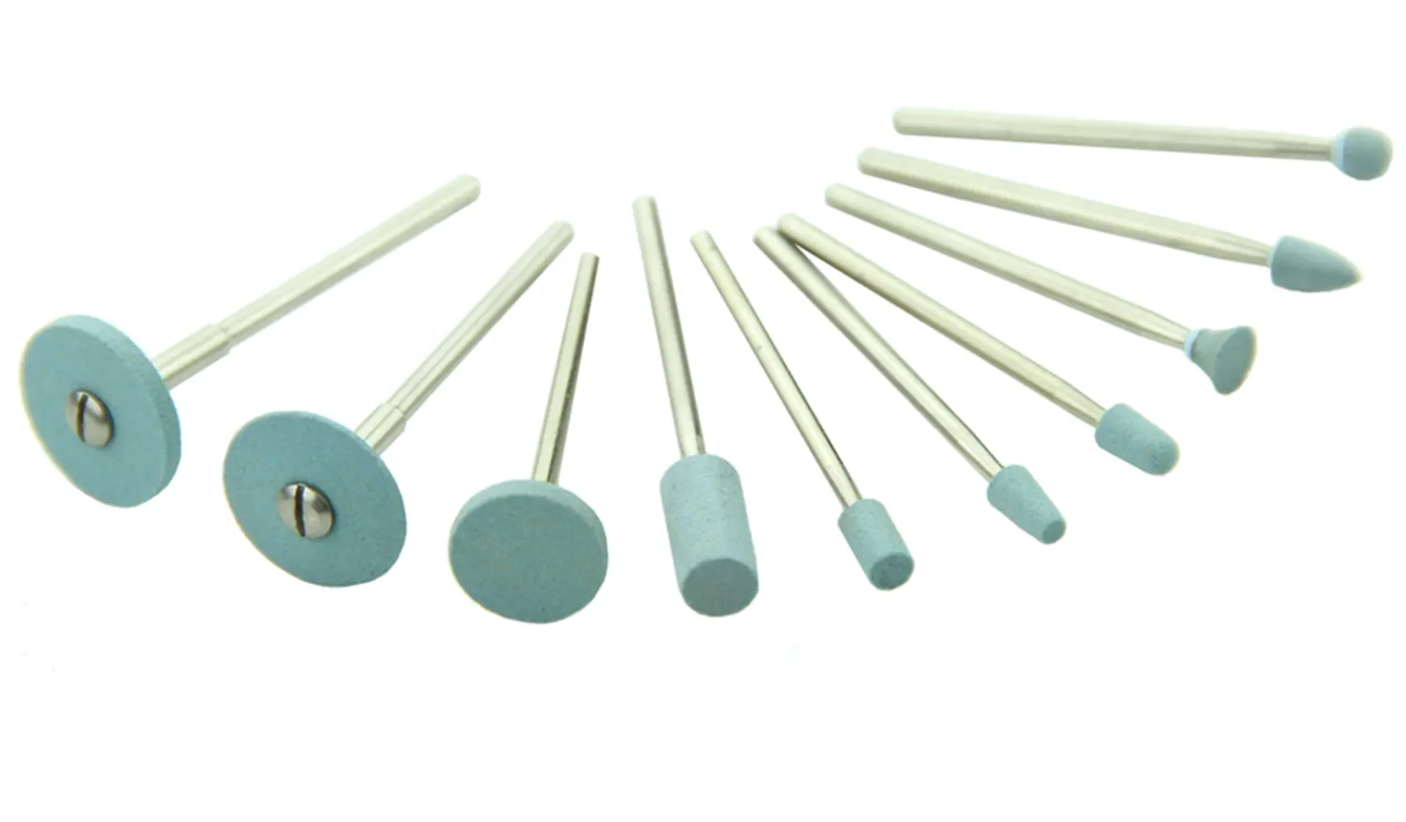
The shape of the diamond stone should match the area of the restoration you are working on. The most commonly used shapes for zirconia polishing include:
- Tapered or flame-shaped: Best for occlusal anatomy and interproximal areas. The pointed tip accesses grooves and fissures, while the wider body covers broader surfaces.
- Cylindrical: Ideal for flat or gently curved surfaces such as the buccal and lingual walls of a crown.
- Conical or bullet-shaped: Good for margin refinement and chamfer finishing.
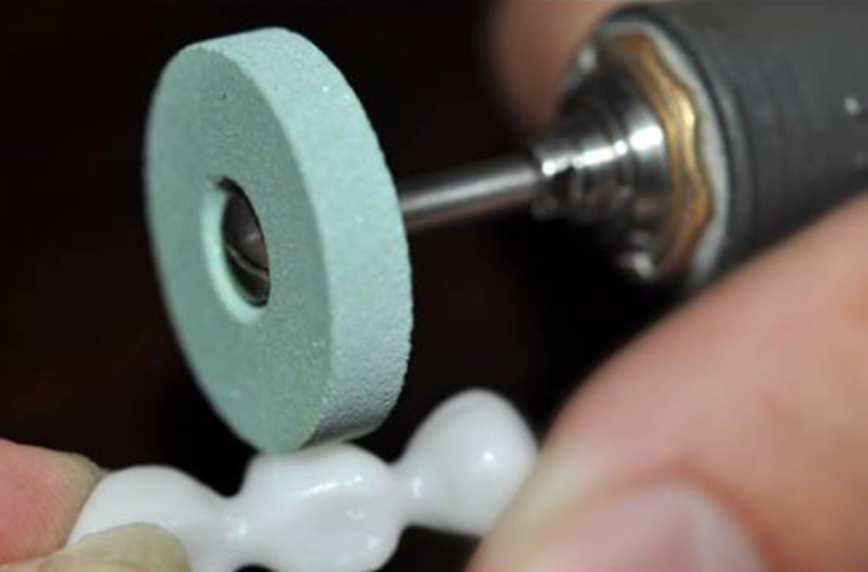
- Lens or disc-shaped: Useful for lingual surfaces and concavities that other shapes cannot reach easily.
Having a variety of shapes on hand ensures you can address every surface of the restoration without forcing an ill-fitting instrument into an awkward position.
Bond Type
The bond holding the diamond particles to the stone body affects both cutting performance and longevity:
- Sintered (metal-bonded): Diamond particles are embedded throughout the stone body. As the surface wears, fresh diamond is continuously exposed. Sintered stones last much longer than other types and provide consistent cutting throughout their life. They are the preferred choice for heavy adjustment work.
- Electroplated: A single layer of diamond is bonded to the surface with a nickel coating. These stones cut aggressively when new and produce a very smooth finish, but they lose effectiveness quickly as the diamond layer wears through.
- Resin-bonded: Diamond particles are held in a flexible resin matrix. These stones are gentler on the surface and are typically used for final polishing steps where a light touch is needed.
For most zirconia polishing workflows, a combination of sintered stones for shaping and resin-bonded stones for finishing delivers the best results.
Proper Technique for Polishing Zirconia
Even the best diamond stones will produce poor results if used incorrectly. Follow these guidelines for optimal outcomes.
Speed and Pressure
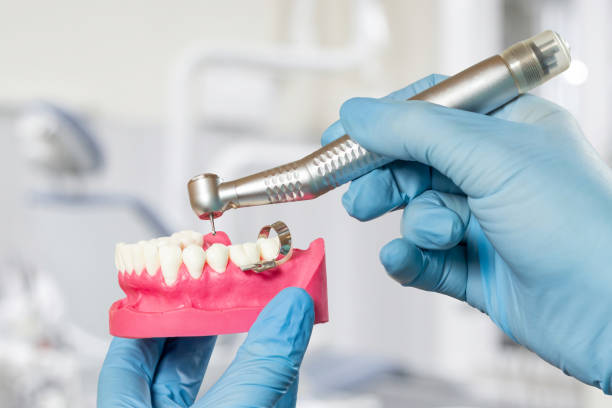
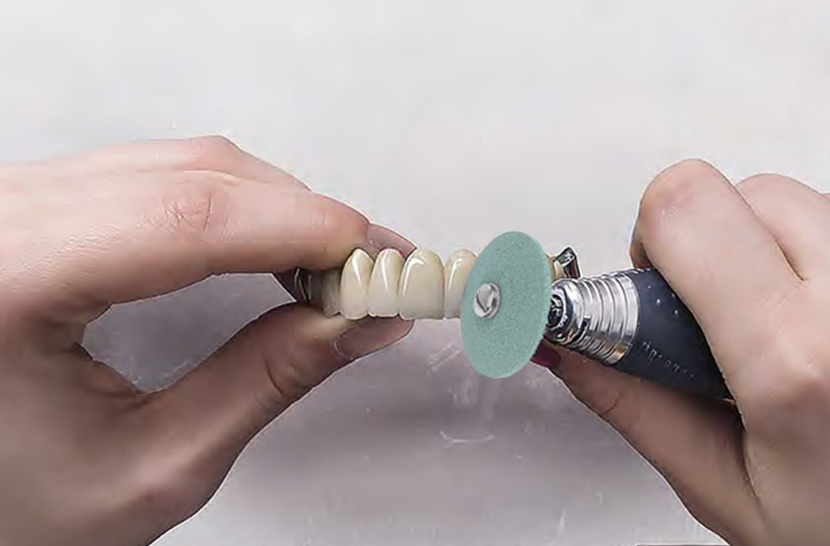
Use light to moderate pressure and let the diamond do the work. Excessive force generates heat, which can damage the zirconia crystal structure and reduce restoration strength. A handpiece speed of 10,000-15,000 RPM is appropriate for most polishing stages, though initial shaping with coarse stones may use speeds up to 20,000 RPM.
Water Cooling
Always use water irrigation when shaping or adjusting zirconia with coarse or medium-grit diamond stones. Water serves two purposes: it carries away debris that would otherwise clog the diamond surface, and it dissipates heat before it can damage the restoration. For fine and ultra-fine polishing stages, some clinicians prefer dry polishing to better visualize the surface sheen, but this should only be done with very light pressure and intermittent contact.
Movement Patterns
Use sweeping, unidirectional strokes rather than a back-and-forth scrubbing motion. Consistent directional movement produces a uniform scratch pattern that is easier to remove in the next polishing stage. Avoid lingering in one spot, as this creates localized heat buildup and uneven material removal.
Sequence Discipline
Work through each grit stage completely before moving to the next. Inspect the surface under magnification between stages to confirm that all scratches from the previous grit have been eliminated. A dental loupe at 3.5x magnification or a microscope at 10x is sufficient for this inspection.
Maintaining and Cleaning Diamond Stones
Proper maintenance extends the life of your diamond stones and ensures consistent performance across multiple uses.
Cleaning After Each Use
Zirconia dust and debris accumulate between diamond particles during use, reducing cutting efficiency. After each procedure, clean your diamond stones with an ultrasonic cleaner or a stiff nylon brush under running water. Avoid using steel brushes, as these can damage the diamond surface.
Sterilization
Diamond stones used intraorally must be sterilized between patients. Autoclave sterilization at standard cycles (134 degrees C for 3-5 minutes) is safe for sintered and metal-bonded diamond stones. Resin-bonded stones may have lower heat tolerance, so check the manufacturer's sterilization guidelines.
Inspection and Replacement
Inspect diamond stones regularly for signs of wear. A stone that has lost its cutting efficiency, shows visible bald spots where diamond has worn away, or produces inconsistent results should be replaced. Continuing to use a worn stone requires more pressure and generates more heat, which increases the risk of damaging the restoration.
Storing stones in a dedicated bur block or organizer protects them from damage and makes it easy to identify worn instruments that need replacement.
Common Mistakes to Avoid
Even experienced technicians sometimes make errors when polishing zirconia. Here are the most frequent problems and how to prevent them:
- Skipping grit stages: Always follow the full coarse-to-fine sequence. Shortcuts lead to subsurface damage that weakens the restoration.
- Too much pressure: If you find yourself pressing hard, the stone is either worn out or the wrong grit for the task. Switch to a coarser stone or replace the worn one.
- No water during shaping: Dry grinding with coarse stones generates temperatures above 300 degrees C, which triggers the damaging tetragonal-to-monoclinic phase transformation.
- Using generic polishing kits: Not all polishing instruments work on zirconia. Use stones and polishers specifically rated for zirconia hardness.
Results You Can Expect
A properly polished zirconia restoration will have a surface roughness (Ra) below 0.2 micrometers, which is smooth enough to resist plaque accumulation and minimize wear on opposing natural teeth. The gloss level should be comparable to glazed porcelain, providing a natural, lifelike appearance that blends with adjacent dentition.
For more detail on polishing materials and instrument options for ceramic restorations, see our guide on the advantages of diamond stones for zirconia and all-ceramic restorations. And if you need high-quality diamond instruments for your lab or practice, browse our selection of diamond dental burs.