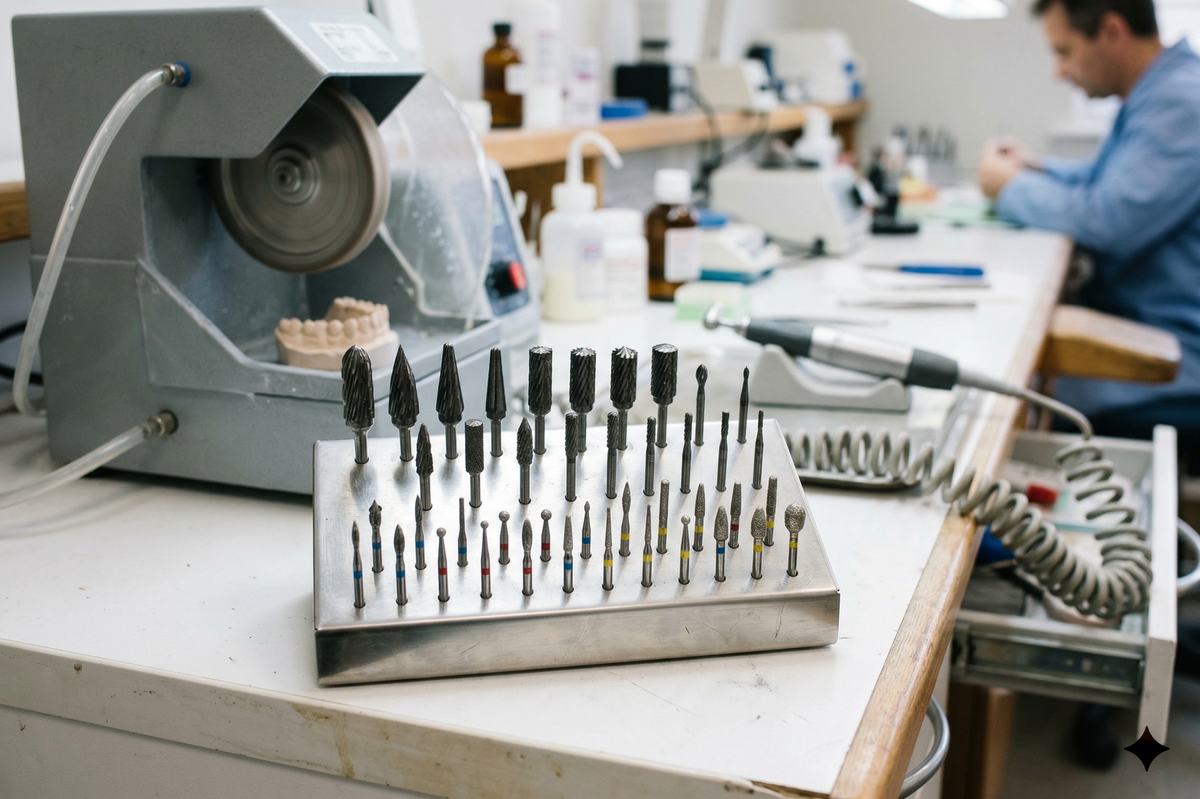
Every dental lab technician reaches for a die grinder dozens of times a day. But the handpiece is only as good as the die grinder bits loaded into it. Picking the wrong bit for acrylic trimming or zirconia adjustment means wasted time, ruined restorations, and unnecessary heat buildup. This guide breaks down exactly which bit types belong in a dental lab bench setup, what materials they cut best, and how to match them to the work you actually do.
Types of Die Grinder Bits Used in Dental Labs
Industrial die grinder accessories number in the hundreds, but dental lab work only calls for a handful of categories. Here are the four bit types that handle 95% of bench work.
Tungsten Carbide Cutters
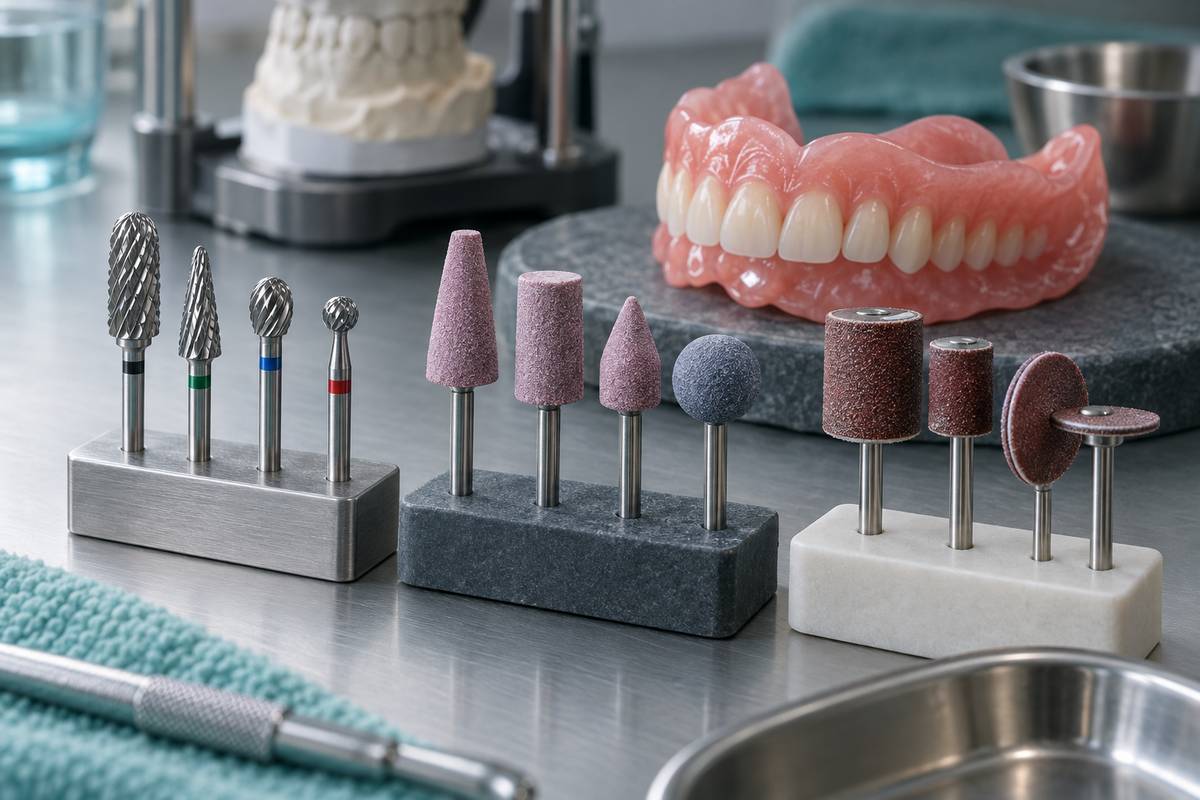
Tungsten carbide cutters are the workhorse of any dental lab. They remove material fast and leave a reasonably smooth surface on acrylics, base metals, and plaster models. Single-cut flutes are aggressive — good for bulk removal on denture bases. Cross-cut (double-cut) patterns produce finer chips and less vibration, which matters when you're trimming a partial framework and don't want to slip.
For dental lab work, stick with HP shank carbide cutters in flame, pear, and cylindrical shapes. A flame-shaped carbide cutter handles interproximal trimming on models, while a large barrel shape makes quick work of acrylic flanges. If you want a deeper look at how these perform, see our tungsten carbide cutters dental lab guide.
Diamond Points
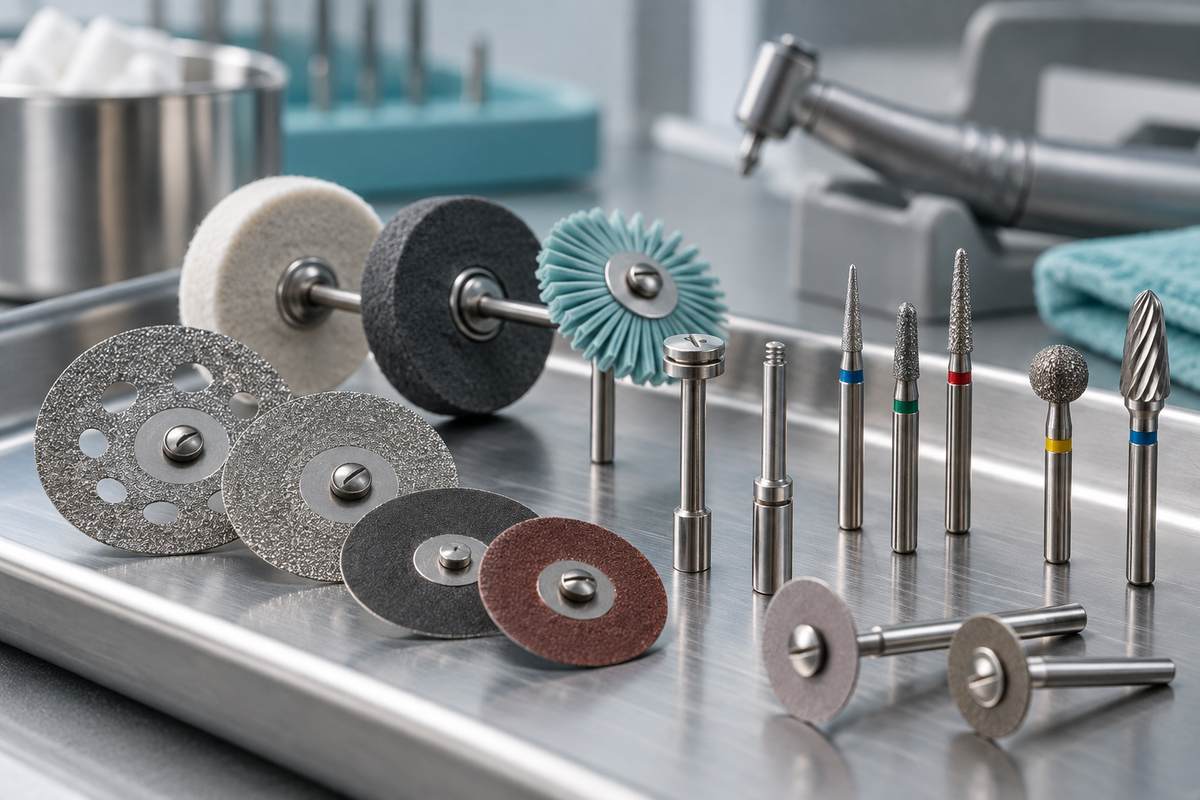
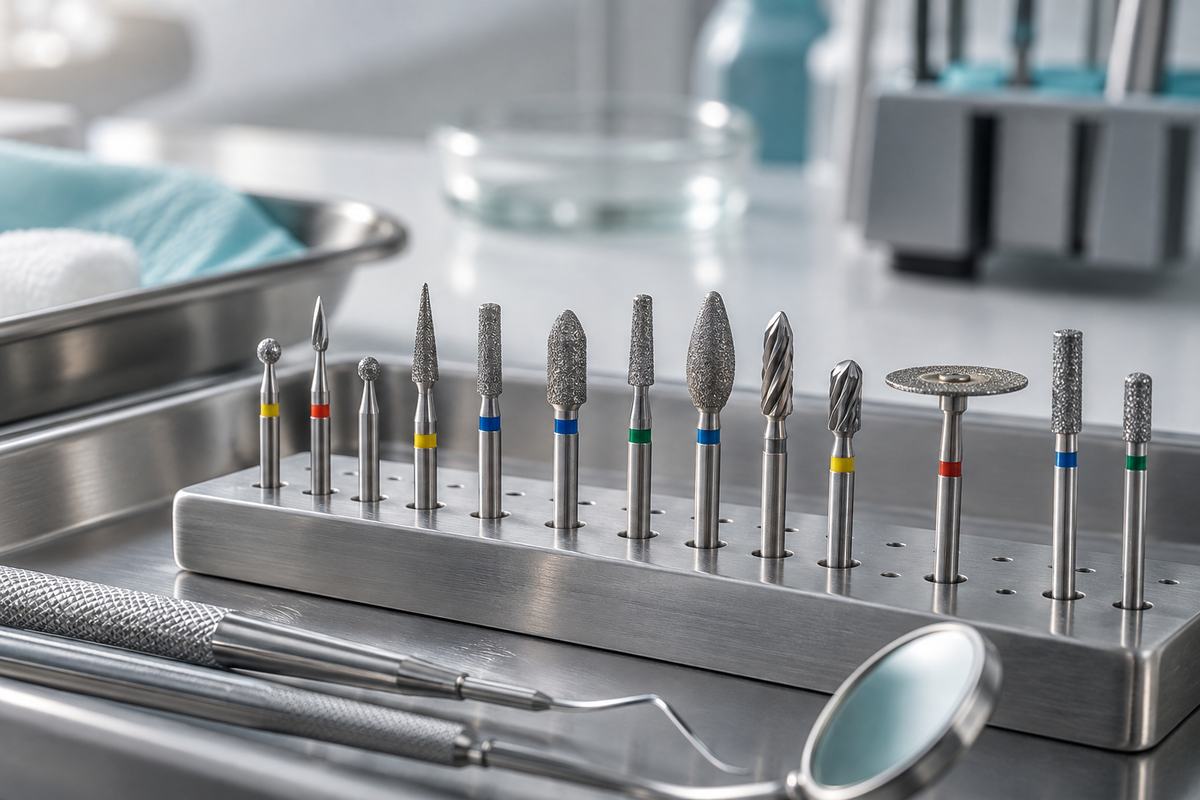
Diamond points for laboratory use handle tasks that carbide cutters can't — specifically, cutting and adjusting ceramics, zirconia, and lithium disilicate. Diamond grit is the only thing hard enough to shape sintered zirconia without burning out the bit in seconds.
Coarse grit (100-150 micron) diamonds work for initial shaping and adjustment of ceramic restorations. Medium grit (70-100 micron) handles contouring. Fine grit (30-50 micron) is for pre-polish smoothing. In a lab setting, you'll use HP shank diamond points rather than the FG shanks your chairside colleagues prefer — the larger shank gives you more control at the bench.
Mounted Stones
Mounted stones — both green stones and white stones — remain essential for specific lab tasks. Green stones (silicon carbide) cut metal alloys and porcelain efficiently. White stones (aluminum oxide) work better on acrylics and softer materials without loading up as quickly.
The main advantage of mounted stones over carbide cutters is their grinding action. They don't grab or chatter the way a carbide cutter can on thin metal clasps or delicate porcelain margins. For a detailed breakdown of when to use each type, check out our comparison of white stones and green stones.
Polishing Bobs and Brushes
Finishing work requires felt bobs and polishing brushes loaded with polishing compound. Silicone polishers in various grits handle pre-polish on acrylics and metals. Felt bobs charged with rouge or diamond paste bring restorations to a high shine. Muslin buffs on mandrels work for final luster on denture bases.
Don't skip the polishing sequence. Going from a coarse silicone to a fine silicone to a felt bob with compound produces a surface that patients notice. Jumping straight from a carbide cutter to a polishing buff leaves scratches that catch stain and plaque.
Selecting the Right Bit by Material
The material you're working on dictates everything — bit type, grit, RPM, and pressure. Here's a quick-reference table that covers the most common dental lab scenarios.
| Material | Best Bit Type | Grit / Cut | RPM Range | Notes |
|---|---|---|---|---|
| Acrylic (denture base) | Carbide cutter | Cross-cut | 10,000–25,000 | Keep RPM moderate to avoid melting; let the flutes do the work |
| Zirconia (sintered) | Diamond point | Coarse to medium | 15,000–25,000 | Use water spray or light touch; zirconia generates heat fast |
| Porcelain / Ceramic | Diamond point or green stone | Medium to fine | 10,000–20,000 | Green stones for bulk; diamond for precise adjustments |
| Metal framework (Co-Cr) | Green stone or carbide cutter | Single-cut carbide / medium stone | 15,000–30,000 | Carbide for sprues and bulk; stones for finishing margins |
| Plaster / Die stone | Carbide cutter | Single-cut or cross-cut | 8,000–15,000 | Low RPM prevents dust clouds; use dust collection |
| Wax | Carbide cutter (fine) | Fine cross-cut | 5,000–10,000 | Very low RPM; heat from friction will deform the pattern |
| Composite / Temp material | Carbide cutter or white stone | Cross-cut or fine stone | 10,000–20,000 | White stones resist loading better than green on composites |
Shank Compatibility: HP vs. Industrial 1/4-Inch
This is where dental lab technicians run into trouble with generic die grinder bits from hardware stores. Most dental lab burs and accessories use an HP shank (handpiece shank) that measures 2.35mm in diameter. Industrial die grinder bits use a 1/4-inch (6.35mm) or 1/8-inch (3.175mm) shank.
These are not interchangeable without an adapter, and even with an adapter, there are problems:
- Runout increases with adapters — the bit wobbles slightly, which ruins precision work and accelerates wear
- Collet grip may be unreliable — an adapter holding an HP shank bit in a 1/4-inch collet can slip under load
- Balance changes — industrial bits are heavier and designed for different RPM ranges than dental lab handpieces can handle safely
The best approach: use dental-specific HP shank bits in a dental lab handpiece. If you must use an industrial die grinder for heavy tasks (trimming large orthodontic models, cutting through thick acrylic), get proper 1/8-inch shank bits rated for your grinder's RPM. For a full explanation of shank types and what fits where, read our guide to dental bur shank types.
Care and Maintenance
Getting the most life out of your die grinder bits comes down to three habits: clean them, inspect them, and replace them before they cause problems.
Cleaning
Carbide cutters clog with acrylic and wax debris. A brass wire brush clears the flutes without damaging the cutting edges. For diamond points, an ultrasonic bath with a cleaning solution dissolves bonded debris that manual brushing can't reach. Mounted stones can be dressed with a stone dresser to expose fresh abrasive — this extends their useful life significantly.
When to Replace
A dull carbide cutter requires more pressure, generates more heat, and gives less control. If you're pushing harder than usual to get the same cut, the bit is done. Diamond points lose their grit over time — when a coarse diamond starts feeling like a medium, it won't cut efficiently and will overheat the restoration. Mounted stones that have been dressed down to half their original diameter should be retired; they're no longer balanced and can snap at high RPM.
Storage
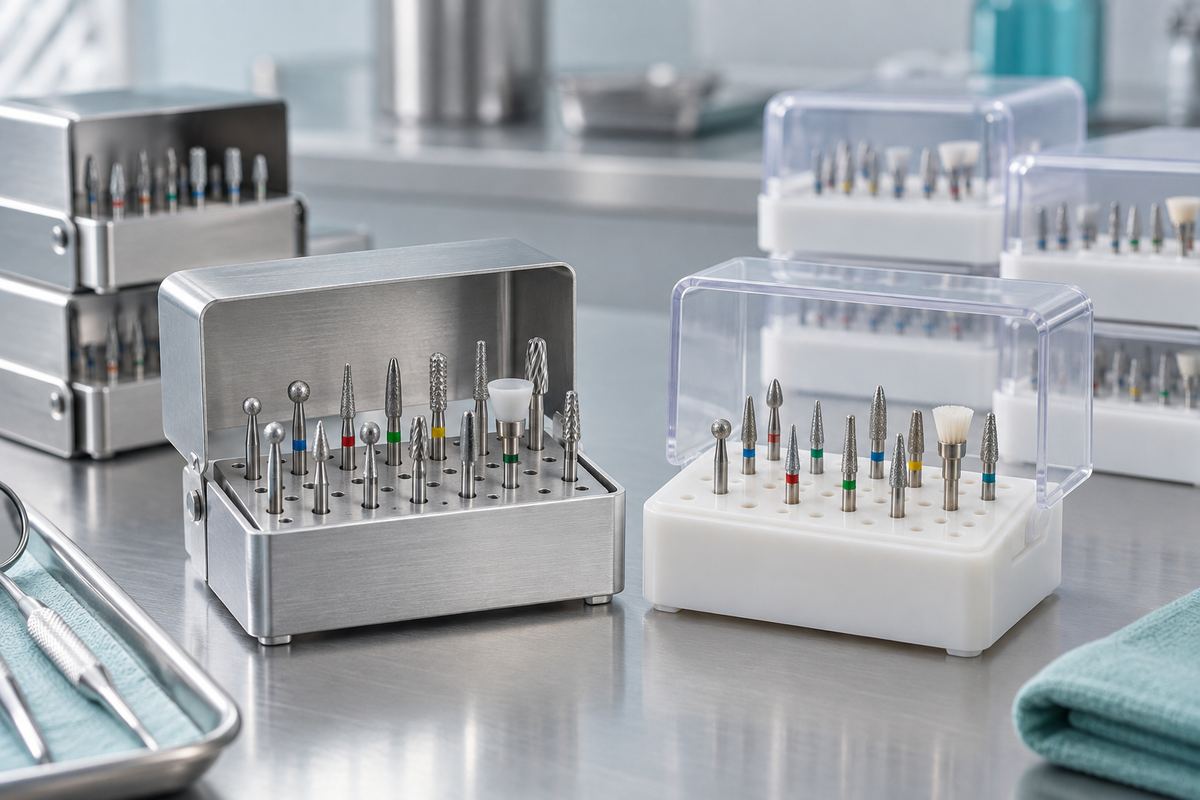
Keep bits organized in a bur block or stand, not loose in a drawer. Carbide cutting edges chip when bits knock against each other. Diamond points lose grit from abrasion against other instruments. A labeled bur block also saves time — you grab the right bit on the first try instead of sorting through a pile.
Frequently Asked Questions
Can I use industrial die grinder bits in my dental lab handpiece?
Generally, no. Industrial die grinder bits have 1/4-inch or 1/8-inch shanks, while dental lab handpieces accept HP shanks (2.35mm). The sizes don't match, and using adapters introduces wobble that affects precision. Stick with dental-specific HP shank bits for lab handpieces. If you're using an actual industrial die grinder for rough work, buy bits made for that tool's collet size and RPM rating.
How often should I replace my carbide cutters?
There's no fixed schedule — it depends on what you're cutting and how many hours a day you use them. A carbide cutter used primarily on acrylic might last several weeks of daily use. The same cutter used on Co-Cr metal frameworks might dull in a few days. Replace them when you notice you're applying more pressure than normal to achieve the same cut. Forcing a dull cutter creates heat, reduces control, and risks damaging the workpiece.
What RPM should I run die grinder bits at for dental lab work?
It varies by material. Wax and plaster need low RPM (5,000–15,000) to prevent heat damage and dust. Acrylics do well at moderate speeds (10,000–25,000). Metal frameworks and ceramics can handle higher speeds (15,000–30,000) but require a light touch to manage heat. Start slower than you think necessary and increase speed until the bit cuts smoothly without chattering or grabbing.
Diamond point or carbide cutter — which should I reach for first?
For acrylics, plaster, wax, and base metals, start with a carbide cutter. Carbide removes material faster and the fluted design clears debris efficiently. For ceramics, porcelain, and zirconia, always use diamond. Carbide cutters can't handle the hardness of these materials and will dull immediately. When in doubt about an unfamiliar material, a diamond point is the safer choice — it won't damage as easily, though it may cut slower than necessary on softer materials.
Do I need both green stones and white stones in my lab?
Yes, if you work with a variety of materials. Green stones (silicon carbide) excel on metals and porcelain. White stones (aluminum oxide) perform better on acrylics and composites because they resist clogging. Having both types means you always have the right grinding tool for the substrate. If you only work with one material category — say, all-acrylic removable prosthetics — you could get by with just white stones and carbide cutters.
Building the right collection of die grinder bits takes time. Start with a cross-cut carbide cutter set, a few diamond points in different grits, and a selection of mounted stones. Add specialty bits as your caseload demands them. The technicians who work fastest and produce the best surfaces aren't the ones with the most bits — they're the ones who know exactly which bit to grab for each task and keep those bits sharp.