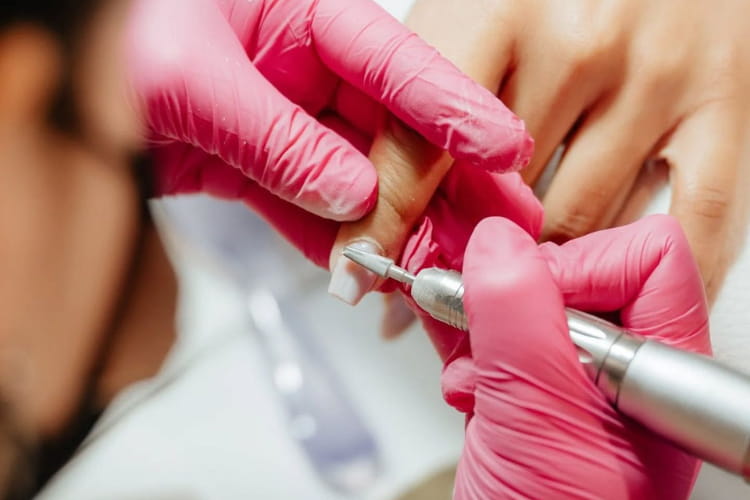
Removing acrylic nails at a salon costs $15–30 per visit. That adds up fast. With the right nail drill and a bit of practice, you can do it yourself in under 30 minutes—safely, without damaging your natural nails.
Here’s how to get acrylic nails off at home using a nail drill, which bits to use, and what to avoid so you don’t wreck your nail bed in the process.
What You Need Before Starting
Gather everything before you sit down. Stopping mid-removal to hunt for supplies is how mistakes happen.
Electric nail drill – any e-file rated 20,000+ RPM works. Doesn’t need to be expensive.
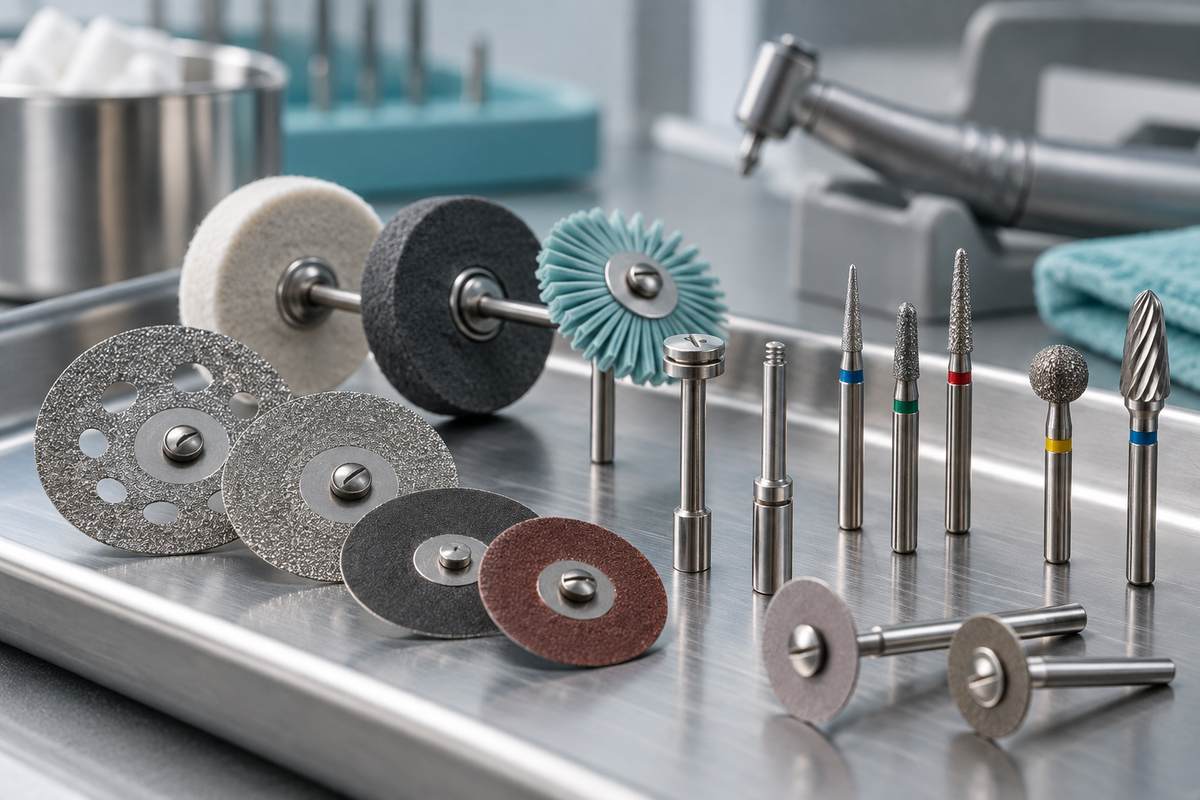
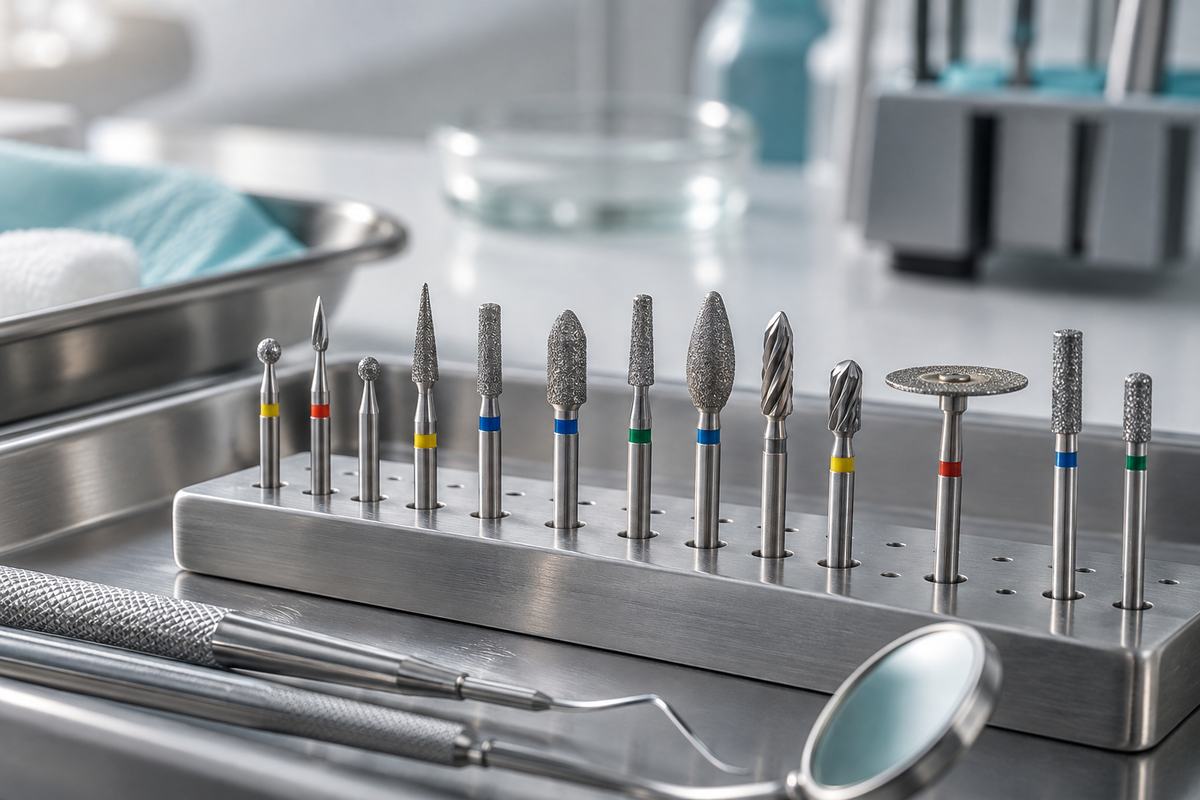
Coarse carbide bit (3/32” shank) – for bulk acrylic removal. A tungsten carbide bur is ideal because it cuts clean without generating excessive heat.
Fine-grit sanding band – for the last thin layer near the natural nail.
Cuticle pusher – metal or wooden, for testing thickness.
Nail buffer – 220+ grit for final smoothing.
Cuticle oil – jojoba or vitamin E, applied after removal.
Dust mask – acrylic dust isn’t something you want in your lungs.
Pro Tip: Keep a small bowl of acetone nearby. If you accidentally drill too close to the natural nail, you can soak the remaining thin layer instead of risking damage with the drill.
Choosing the Right Drill Bit
This is where most beginners go wrong. Using the wrong bit turns a simple removal into a painful disaster.
Drill Bit Type | Best For | Speed Setting | Risk Level |
|---|---|---|---|
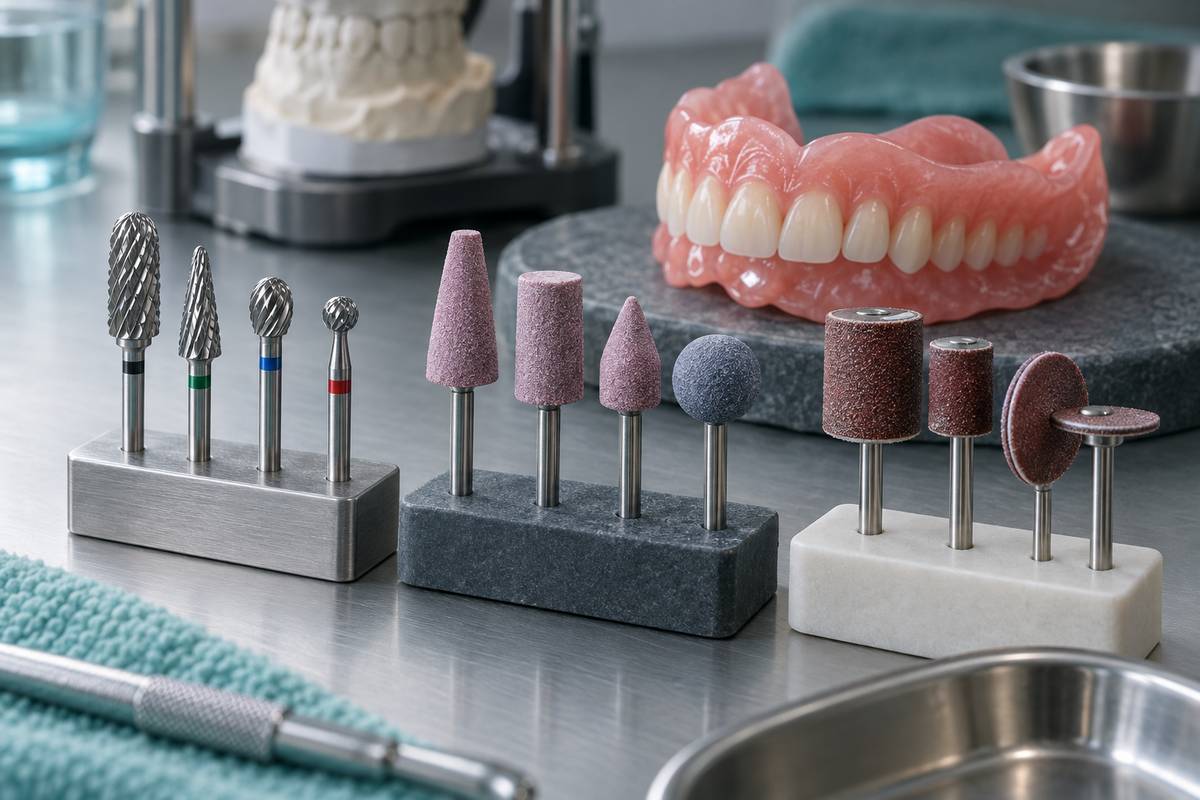
Carbide barrel (coarse) | Bulk acrylic removal | 15,000–20,000 RPM | Low (if used correctly) |
Ceramic barrel | Acrylic and gel removal | 10,000–15,000 RPM | Low–Medium |
Diamond barrel | Shaping, NOT removal | 8,000–12,000 RPM | High for removal |
Sanding bands (fine) | Final thin layer | 8,000–10,000 RPM | Very low |
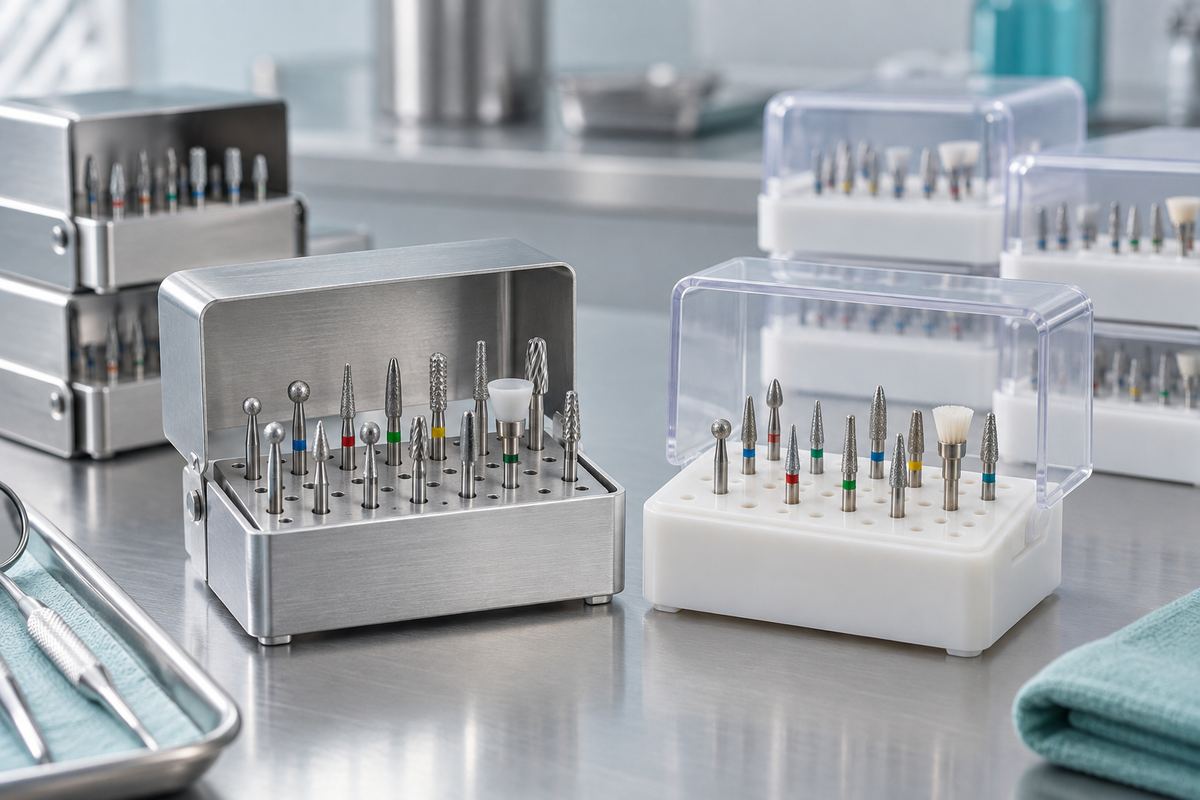
Carbide bits are the industry standard for acrylic removal. They cut through product efficiently without clogging, and they produce less heat than diamond bits. For a deeper breakdown of each type, read our guide on picking the best drill bit to remove acrylic nails.
Warning: Never use a diamond bit for bulk acrylic removal. Diamond bits grind rather than cut, creating friction heat that can burn the nail bed. They’re meant for shaping and finishing only.
Step-by-Step: How to Remove Acrylic Nails with a Drill
Step 1: Shorten the Nails First
Clip the acrylic nails as short as possible with nail clippers. Less material to drill through means less time, less dust, and less chance of overheating. Cut straight across—don’t try to shape them at this stage.
Step 2: File the Top Coat
Most acrylic sets have a gel topcoat or sealant. This glossy layer needs to go first. Use a coarse hand file or a medium-grit sanding band at low speed to break through the shine. Takes about 30 seconds per nail.
Step 3: Drill Down the Bulk
Switch to your coarse carbide bit. Set your drill between 15,000–20,000 RPM. Forward rotation for right-handers, reverse for left-handers—the bit should spin away from the cuticle, not toward it.
Work in smooth, even strokes across the nail surface. Move from side to side, not in circles. Keep the bit flat against the nail—tilting it creates grooves and uneven spots. Light pressure only. Let the bit do the work.
Remove about 80% of the acrylic thickness. Stop when you can see the nail changing color slightly—that color shift means you’re getting close to the natural nail underneath.
Pro Tip: Check your progress by pressing the nail surface with a cuticle pusher. If it flexes, you’re close to the natural nail. If it’s rigid, keep filing. This is the most reliable thickness test.
Step 4: Switch to a Fine Bit
Once you’re down to a thin layer of acrylic, switch to a fine sanding band or a smooth carbide bit. Drop your speed to 8,000–10,000 RPM. This is the part that requires patience. Rushing here is how natural nails get damaged.
Work slowly and check frequently. The goal is to remove the remaining acrylic without touching the natural nail plate.
Step 5: Buff and Hydrate
Once all the acrylic is off, use a 220-grit buffer to smooth the nail surface by hand. Don’t use the drill for this—hand buffing gives you more control on the bare natural nail.
Apply cuticle oil generously. Massage it into each nail and the surrounding skin. The nails will be dehydrated after removal, and oil helps restore flexibility and prevents peeling.
Safety Tips That Actually Matter
Every tutorial lists safety tips. Most are obvious filler. These are the ones that actually prevent problems:
Never drill in one spot. Keep the bit moving. Stationary contact for even two seconds can burn through to the nail bed.
Watch for heat. If your nail feels warm, stop immediately. Let it cool. Heat means you’re either pressing too hard or staying in one area too long.
Don’t drill the sidewalls or cuticle area. Carbide bits can cut skin instantly. Stay on the flat nail surface and leave the edges for hand filing.
Replace worn bits. A dull carbide bit requires more pressure to cut, which increases heat and reduces control. Swap them out regularly.
Practice on tips first. Glue a practice tip to a finger form or an old press-on nail and drill it off. Get comfortable with the speed and pressure before working on your real nails.
If you’re new to using a nail drill, our beginner’s guide to nail drill bits covers the fundamentals—grip technique, speed settings, and common mistakes to avoid.
How to Take Off Acrylic Nails Without a Drill
No drill? You can still remove acrylics at home. It just takes longer.
Acetone Soak Method
Clip nails short and file off the top coat.
Soak cotton balls in pure acetone (not regular nail polish remover—it’s too diluted).
Place a soaked cotton ball on each nail and wrap with aluminum foil.
Wait 25–35 minutes. The acrylic should be soft and gummy.
Gently scrape off the softened acrylic with a cuticle pusher.
Repeat the soak if stubborn spots remain.
Drill vs. Acetone: Which Is Better?
Factor | Nail Drill | Acetone Soak |
|---|---|---|
Time | 15–25 minutes | 35–50 minutes |
Skill needed | Moderate | Low |
Nail damage risk | Low (with proper technique) | Medium (dries nails out) |
Skin irritation | None | High (acetone dries skin) |
Reuse cost | Low (bits last months) | Ongoing (acetone + supplies) |
The drill is faster and actually gentler on your nails and skin once you know what you’re doing. Acetone works, but long soaks dehydrate everything—nails, cuticles, and surrounding skin. For regular removal, a drill pays for itself quickly.
Pro Tip: The best approach combines both methods. Drill off 80% of the acrylic, then do a quick 5-minute acetone soak to soften the last thin layer. Minimal drilling near the natural nail, minimal skin exposure to acetone.
Common Mistakes and How to Fix Them
Rings or grooves on the nail surface: You’re tilting the bit. Keep it flat and parallel to the nail plate at all times.
Burning sensation: Too much pressure or too high speed. Back off and let the bit speed do the cutting.
White patches on natural nail after removal: Surface dehydration. Apply cuticle oil twice daily for a week—they’ll grow out.
Bit clogging with acrylic: Your bit is too fine for the amount of product remaining. Switch to a coarser carbide bit and clean the current one with a brass brush.
Looking for professional-grade carbide bits that last? Download our full product catalog to see the complete range of tungsten carbide burs available for nail techs and DIY users.
Frequently Asked Questions
Does removing acrylic nails with a drill hurt?
No, not if done correctly. You should feel vibration and slight warmth but never pain. If it hurts, you’re pressing too hard or the bit is too coarse for how thin the remaining acrylic is. Stop, switch to a finer bit, and reduce your pressure.
How often should I replace my nail drill bits?
Carbide bits last 3–6 months with regular home use. You’ll know it’s time when the bit stops cutting smoothly and you have to press harder to get through the acrylic. Sanding bands are single-use and should be discarded after each session.
Can I remove gel nails the same way?
Gel is softer than acrylic, so the process is similar but faster. Use a medium carbide bit at lower speed (10,000–12,000 RPM) and be extra cautious near the natural nail since the color change between gel and natural nail is harder to spot.
Is it safe to remove acrylic nails at home?
Yes, as long as you use the right tools and take your time. Professional nail techs use the exact same drills and bits. The only difference is practice. Start with one nail to build confidence before doing a full set.
What RPM should I use to remove acrylic nails?
Use 15,000–20,000 RPM with a coarse carbide bit for bulk removal, then drop to 8,000–10,000 RPM with a fine bit for the last layer. Higher RPM doesn’t mean faster removal—it just means more heat if you’re not careful.