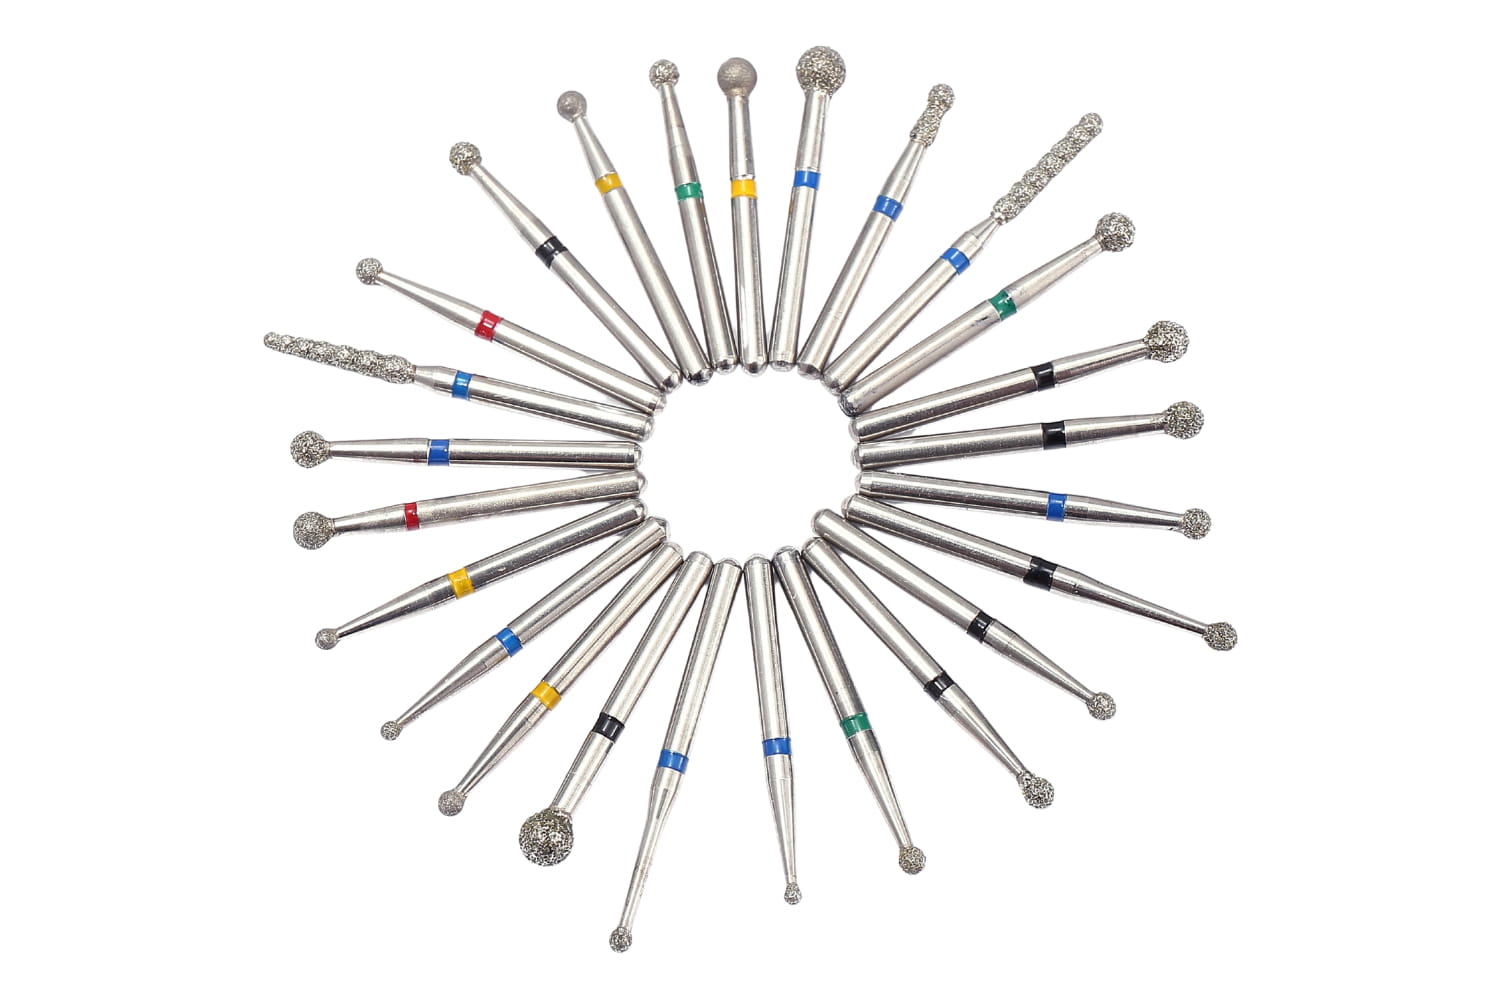
Why Bur Selection Directly Affects Crown Prep Quality
Crown preparation demands controlled, predictable tooth reduction. The bur you reach for at each stage determines surface roughness, margin integrity, and how well the final restoration seats. A poorly chosen bur leaves ragged margins that no lab technician can compensate for, while the right sequence produces preparations that practically impress themselves.
Bur selection for crown work comes down to three variables: the shape that matches the geometry you need, the grit that matches the stage of preparation, and the material compatibility with your intended restoration. Get these three right, and your preps become faster and more consistent.
Diamond Burs for Initial Tooth Reduction
The bulk reduction phase requires aggressive cutting with coarse-grit (100-125 micron) diamond burs. These remove enamel and dentin efficiently while generating depth orientation grooves that guide uniform reduction.
Coarse Grit Tapered Burs: The Workhorses
For axial reduction, a coarse-grit tapered flat-end diamond (ISO 806 314 173 524 016, commonly called the 856-016) is the standard starting point. The flat end creates a definitive shoulder margin in a single pass, and the 6-degree taper per side provides adequate draw for most clinical situations. Use a 1.6 mm diameter for posterior crowns and step down to 1.4 mm for premolars where space is tighter.
Occlusal reduction calls for a different approach. A coarse round-end taper (ISO 806 314 199 524 018, the 850-018) follows cusp anatomy more naturally than a flat-end instrument. Place depth-cut grooves to 1.5-2.0 mm on the functional cusps and 1.0-1.5 mm on non-functional cusps, then connect the grooves. This prevents the most common error in crown prep: insufficient occlusal clearance.
Depth-Cut Technique
Before free-hand reduction, place three orientation grooves on the buccal surface and two on the lingual using your coarse tapered diamond. Each groove at full bur diameter gives a known depth reference. For a 856-016 bur, that reference is 0.8 mm per half-diameter. Two parallel grooves spaced by the bur width confirm you have removed 1.6 mm of structure, exactly what most PFM and layered zirconia crowns require on the facial.
Bur Shapes and Their Specific Roles
Understanding ISO numbering removes the guesswork from bur selection. Each shape has a defined role in crown preparation.
Tapered Flat-End (856)
The 856 produces a shoulder finish line. It is the default choice for all-ceramic crowns (e.max, zirconia) where the lab needs a 1.0-1.2 mm shoulder with a defined 90-degree internal angle. Available in lengths from 6 mm to 10 mm, the longer variants allow single-pass axial reduction on molars without repositioning.
Round-End Taper (850)
The 850 creates a chamfer or heavy chamfer margin. This is the preferred finish line for PFM restorations and monolithic zirconia where a rounded internal line angle distributes stress more favorably. The round end naturally produces a chamfer depth proportional to the bur diameter, so a 1.2 mm bur yields approximately a 0.6 mm chamfer.
Flame (862)
The 862 flame shape handles subgingival margin refinement and interproximal slice cuts. Its narrow taper reaches into the gingival sulcus without overcuts on adjacent teeth. Use a fine-grit 862 (30 micron) for final margin adjustment in the interproximal zones where larger burs risk damaging neighboring tooth structure.
Football / Egg (379)
A coarse football-shaped diamond excels at occlusal reduction when you want to preserve cusp anatomy while achieving uniform depth. It naturally follows the concavities of the occlusal table better than a flat-end taper.
Finishing Burs for Margin Refinement
After bulk reduction with coarse diamonds, the preparation surface is rough, scored with deep scratches at 100+ microns. This surface is unacceptable for final impression or scanning. Finishing burs bring the prep to its final form.
Fine-Grit Diamond Finishing
A fine-grit (30-45 micron) diamond of the same shape used for bulk reduction is the first finishing step. Using the same geometry ensures you refine the existing preparation without altering the taper or margin design. Run the fine-grit diamond at light pressure with water spray, focusing on the margin area. This step smooths the axial walls and defines the finish line.
Carbide Finishing Burs
Multi-fluted carbide burs (12-blade or 30-blade) produce the smoothest surface finish achievable with rotary instruments. A 12-blade carbide tapered bur (H48L-016 for flat-end, H49L-016 for round-end) removes the micro-scratches left by fine diamonds and creates a surface that scans cleanly with intraoral scanners. For digital workflows, this step directly impacts scan accuracy.
The 30-blade ultra-fine carbide takes this further for anterior preparations where the impression must capture every detail of the margin. These burs cut slowly and deliberately, making them impractical for bulk work but ideal for the final 0.2 mm of margin refinement.
Finishing Sequence Summary
Step 1: Coarse diamond (100-125 micron) for bulk reduction and depth grooves
Step 2: Fine diamond (30-45 micron) same shape for surface refinement
Step 3: 12-blade carbide for margin smoothing and final contour
Step 4 (optional): 30-blade carbide for anterior or high-demand esthetic cases
Step-by-Step: Which Bur at Each Stage of Crown Prep
Here is a practical sequence for a posterior full-coverage crown preparation, from start to finish.
Stage 1: Depth Orientation
Bur: Coarse 856-016 (tapered flat-end) or coarse 850-016 (round-end taper). Place three depth grooves on the buccal at 1.5 mm. Place two to three grooves on the occlusal using a coarse round-end taper at 2.0 mm on functional cusps.
Stage 2: Axial Reduction
Bur: Same coarse tapered diamond. Connect the depth grooves on the buccal, then repeat on the lingual. Reduce the proximal surfaces with sweeping strokes, keeping the bur parallel to the intended path of insertion. Check taper with a visual line of sight from the occlusal: you should see all axial walls simultaneously.
Stage 3: Occlusal Reduction
Bur: Coarse 850-018 round-end taper or 379 football. Follow the anatomical planes, reducing functional cusps to 2.0 mm clearance and non-functional cusps to 1.5 mm. Verify with a bite registration material or opposing model.
Stage 4: Margin Definition
Bur: Fine 856-016 or fine 850-016 matching your margin design. Run around the entire finish line at low pressure. The goal here is not further reduction but refinement of the margin geometry. Transition to a fine 862 flame in interproximal areas.
Stage 5: Final Smoothing
Bur: 12-blade carbide H48L-016 (shoulder) or H49L-016 (chamfer). One pass around all axial walls and the margin. The preparation should now feel glass-smooth when explored with a sharp explorer tip.
Stage 6: Verification
No bur needed. Check clearance, taper, margin continuity, and surface smoothness before proceeding to impression or scan.
Bur Comparison by Crown Material
Different restorative materials have different preparation requirements. The table below matches bur recommendations to the three most common crown types.
Preparation Aspect | PFM Crown | Monolithic Zirconia | e.max (Lithium Disilicate) |
|---|---|---|---|
Margin Design | Chamfer (850 round-end) | Chamfer or light shoulder (850 or 856) | Shoulder with rounded internal angle (856) |
Axial Reduction | 1.2-1.5 mm (coarse 850-014) | 1.0-1.5 mm (coarse 850-016) | 1.5-2.0 mm (coarse 856-016) |
Occlusal Reduction | 2.0 mm (coarse 850-018) | 1.5 mm (coarse 850-018) | 2.0 mm (coarse 850-018) |
Margin Depth | 0.5-0.8 mm chamfer | 0.5-1.0 mm chamfer | 1.0-1.2 mm shoulder |
Finishing Bur | Fine diamond + 12-blade carbide | Fine diamond + 12-blade carbide | Fine diamond + 30-blade carbide |
Interproximal Finishing | Fine 862 flame | Fine 862 flame | Fine 862 flame |
For zirconia-specific diamond burs, look for instruments rated for the hardness of pre-sintered zirconia blocks, as standard diamonds wear faster on this material during adjustments.
Common Mistakes in Bur Selection for Crown Work
1. Using One Bur for the Entire Preparation
A single coarse diamond cannot produce an acceptable finish line. Skipping the fine diamond and carbide finishing steps leaves micro-rough margins that trap bacteria under the restoration and create visible gaps at the cement line. Every crown prep needs a minimum of two grit stages.
2. Wrong Shape for the Margin Design
Using a flat-end 856 when the lab expects a chamfer margin (or vice versa) creates a mismatch between preparation and restoration design. Confirm your margin design before selecting your primary bur. If you place a shoulder for a PFM crown, the lab has to deal with unnecessary metal thickness at the margin.
3. Oversized Burs in Tight Spaces
A 1.8 mm diameter bur in a premolar interproximal area guarantees damage to the adjacent tooth. Scale your bur diameter to the anatomy. Use a 1.2 mm or 1.4 mm taper in confined proximal zones and reserve larger diameters for open buccal and lingual surfaces.
4. Worn Diamond Burs
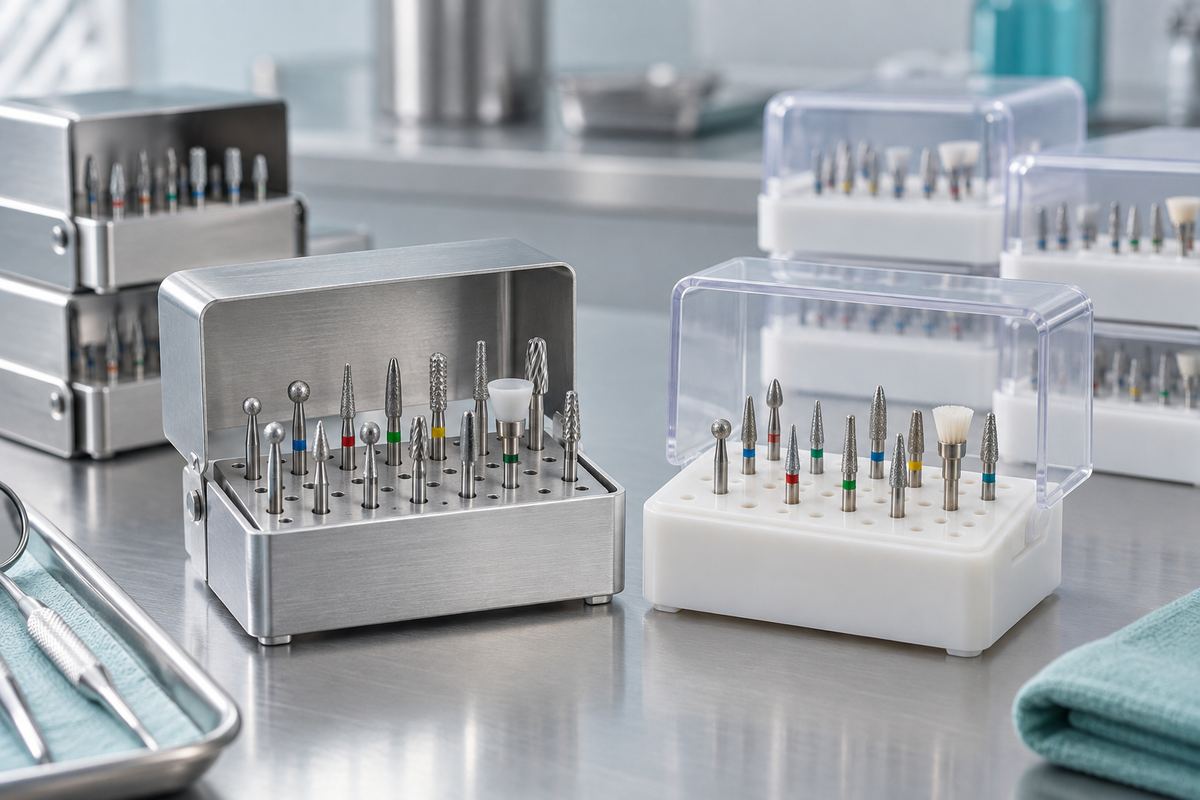
Coarse diamonds lose their cutting efficiency after approximately 15-20 preparations. A worn diamond generates excessive heat, requires heavy pressure to cut, and produces uneven reduction. Track your bur usage and replace instruments before they force you to compensate with technique. Keeping pre-assembled clinic kits with fresh burs for each procedure type ensures consistent results.
5. Ignoring Material-Specific Requirements
Preparing a monolithic zirconia crown with the same reduction as an e.max crown wastes tooth structure. Zirconia's flexural strength (1000+ MPa) allows thinner axial walls than lithium disilicate (400 MPa). Match your reduction depths to the material, not to a one-size-fits-all protocol.
6. Skipping Depth Grooves
Free-hand reduction without depth orientation grooves is the fastest route to uneven preparations. It takes thirty seconds to place three reference grooves. That thirty seconds prevents remakes and ensures the restoration has uniform wall thickness for predictable strength.
Building Your Crown Prep Bur Set
A well-organized crown preparation kit does not need dozens of instruments. The following set covers the majority of clinical situations for all three major crown types:
Coarse 856-016: Axial reduction, shoulder margins
Coarse 850-016: Axial reduction, chamfer margins
Coarse 850-018: Occlusal reduction
Coarse 862-012: Interproximal slicing
Fine 856-016: Shoulder margin finishing
Fine 850-016: Chamfer margin finishing
Fine 862-010: Subgingival margin refinement
12-blade carbide H48L-016: Final smoothing, shoulder preps
12-blade carbide H49L-016: Final smoothing, chamfer preps
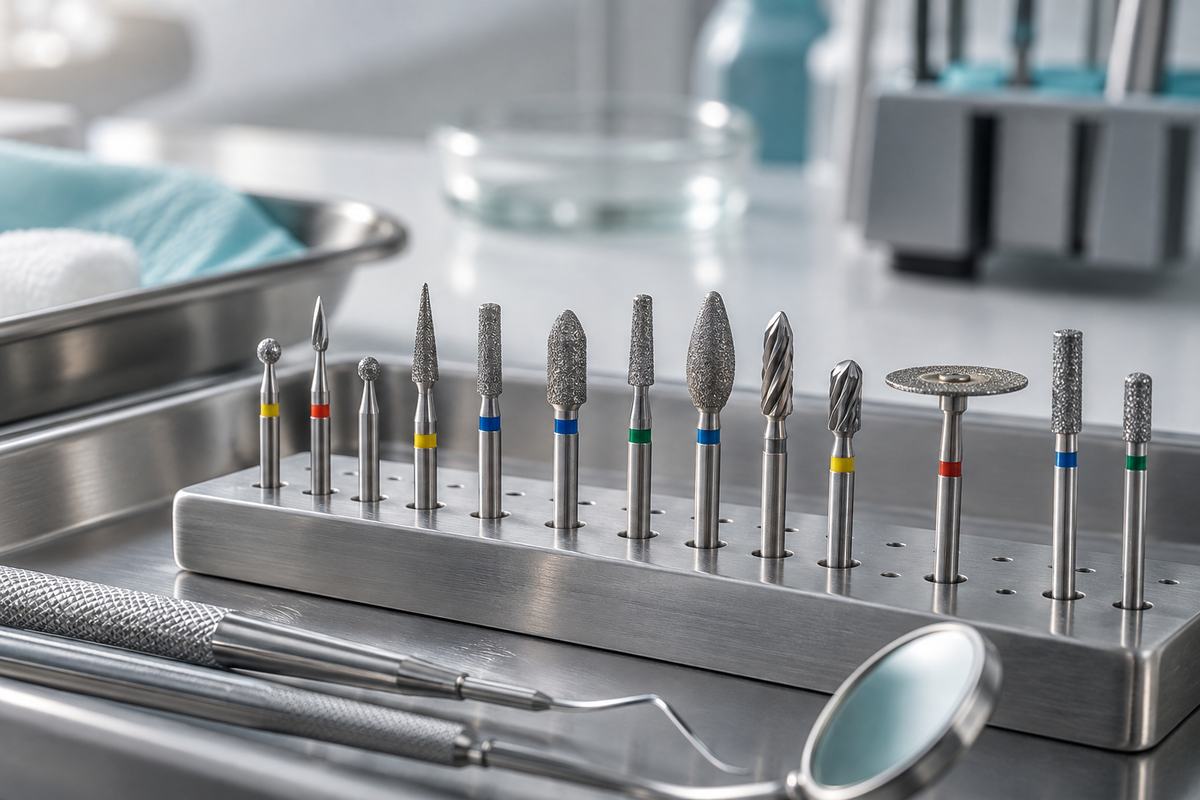
Nine instruments. Label them, organize them in a bur block in sequence, and your crown preparations become a repeatable, systematic process rather than a scavenger hunt through a disorganized bur drawer. Pair this with knowledge of cavity preparation principles and you have a solid foundation for both direct and indirect restorative work.