Why Clamping and Vibration Problems Occur
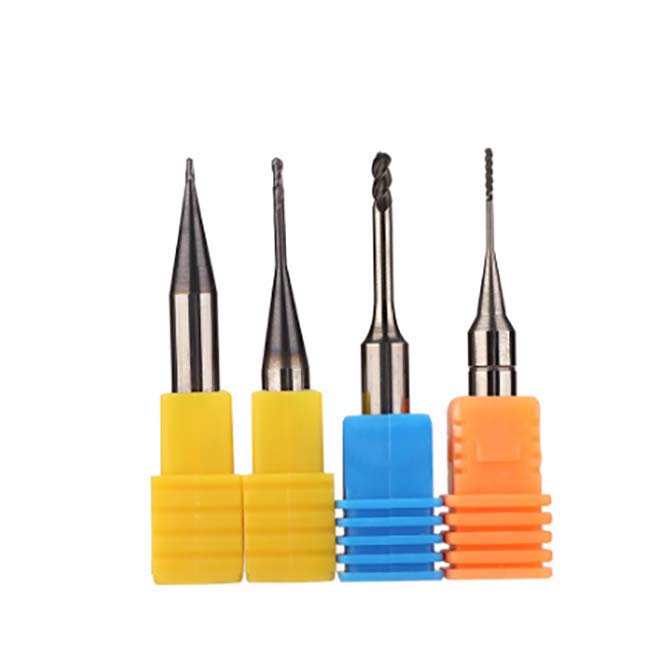
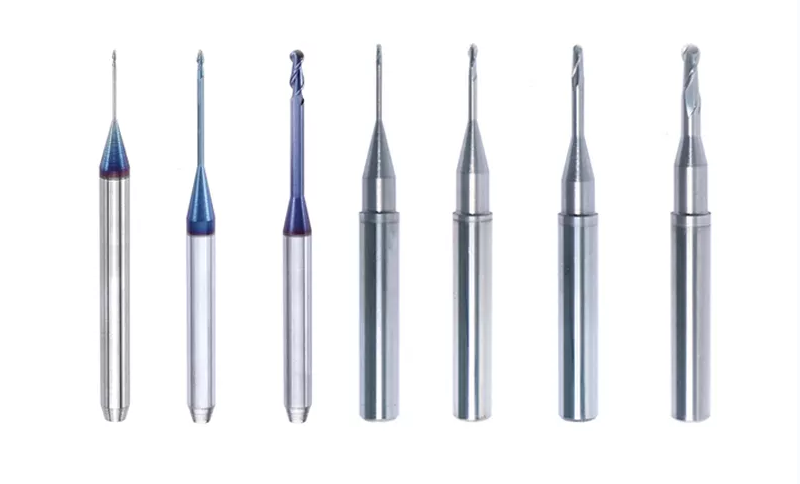
Milling burs are precision cutting tools used in CNC machining centers to mill dental restorations from blocks of zirconia, wax, PMMA, and other materials. When these burs are not properly secured in the tool holder, or when vibration develops during cutting, the consequences range from poor surface finish to complete tool breakage and scrapped workpieces.
Understanding the root causes of clamping failures and vibration issues is the first step toward preventing them. This article covers the main factors that contribute to both problems and provides practical solutions that dental lab technicians and machining professionals can apply immediately.
How Milling Bur Clamping Works
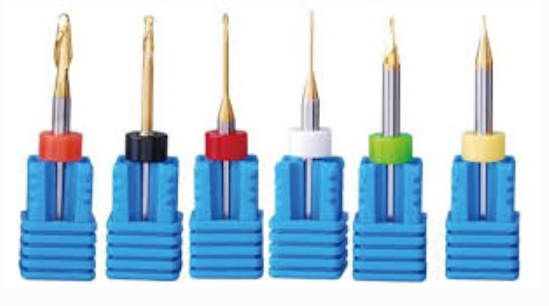
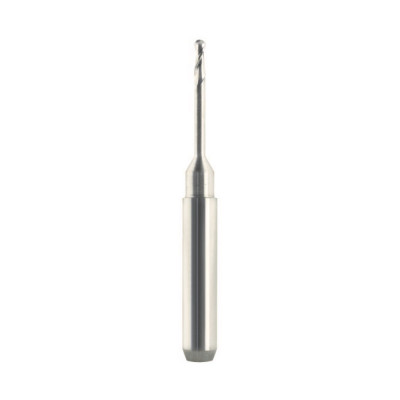
Most milling burs used in dental CAD/CAM machining centers are held in place by spring collet chucks. The collet tightens around the shank of the bur when the retention nut is turned, creating friction that holds the tool in position. During operation, the bur is mounted in a cantilever arrangement, meaning it extends outward from the holder with no support at the cutting end.
This cantilever setup means the clamping force at the shank is the only thing preventing the bur from slipping, pulling out, or shifting during cutting. If the grip is insufficient, the bur can gradually work its way out of the holder during operation. When this happens, the cutting geometry changes, the workpiece is ruined, and the bur itself is often damaged beyond use.
Common Causes of Clamping Failure
There are several reasons why a milling bur might not stay securely clamped during operation:
- Oil and residue on the shank -- Milling burs are typically shipped with a thin coating of anti-rust oil on the shank. If this oil is not removed before installation, it reduces the friction between the shank and the collet, making it much easier for the bur to slip during cutting.
- Oil film inside the collet -- When non-water-soluble cutting oils are used, a fine mist of oil can accumulate inside the collet bore over time. This oil film has the same friction-reducing effect as oil on the shank, gradually weakening the clamping force.
- Worn or damaged collets -- Collets wear out with repeated use. Over time, the spring tension decreases and the collet can no longer apply sufficient clamping force. Nicks, burrs, or deformation from overtightening also compromise the grip.
- Incorrect collet size -- Using a collet that does not precisely match the shank diameter of the bur results in uneven pressure distribution. The bur may appear secure but can slip under cutting loads.
- Insufficient tightening -- Under-torquing the retention nut is a straightforward but common cause of tool slippage. Always tighten to the manufacturer's recommended torque specification.
How to Prevent Clamping Problems
Preventing clamping failures requires consistent attention to a few basic maintenance steps. These are not time-consuming, but skipping them leads to expensive problems.
Clean the Shank Before Every Installation
Before inserting a milling bur into the tool holder, wipe the shank thoroughly with a clean cloth dampened with a degreasing solvent or isopropyl alcohol. The goal is to remove all traces of anti-rust oil, cutting fluid residue, and any debris. Allow the shank to dry completely before inserting it into the collet.
Clean the Collet Bore Regularly
The inside of the collet should be cleaned on a regular schedule, not just when problems appear. Use a small brush or lint-free cloth with solvent to remove accumulated oil and metal particles from the bore. Compressed air can help blow out loose debris, but it will not remove oil film on its own.
Inspect and Replace Worn Collets
Collets are consumable components. Inspect them regularly for signs of wear, scoring, or loss of spring tension. A collet that no longer grips firmly should be replaced immediately. Running a worn collet risks tool pullout, which can damage the spindle, the workpiece, and the bur simultaneously.
Verify Shank-to-Collet Fit
Always confirm that the collet size matches the bur shank diameter exactly. Even small mismatches of a few hundredths of a millimeter can cause problems under the forces generated during milling. Keep a range of collet sizes on hand if your lab uses burs from multiple manufacturers with slightly different shank tolerances.
Understanding Milling Bur Vibration
Vibration during milling is a separate but related problem that affects surface quality, dimensional accuracy, and tool life. When a milling bur vibrates excessively, it leaves chatter marks on the workpiece surface, accelerates tool wear, and can cause the bur to fracture. In severe cases, vibration can also damage the machine spindle and bearings.
The primary cause of vibration in dental milling is excessive tool deflection. Because the bur is mounted in a cantilever configuration, any lateral force during cutting causes the tool to bend slightly. If the bur is long relative to its diameter, or if the cutting forces are too high, this deflection can become unstable and produce vibration.
Factors That Increase Vibration Risk
Several conditions make vibration more likely to occur:
- Long tool overhang -- The farther the cutting end of the bur extends from the collet, the greater the deflection for any given cutting force. This is the single biggest factor in milling vibration.
- Long cutting edge length -- Burs with long fluted sections experience more lateral force than those with shorter cutting lengths, even at the same overhang distance.
- High feed rates -- Pushing the bur through material too quickly increases cutting forces and makes deflection-induced vibration more likely.
- Excessive depth of cut -- Taking too much material in a single pass increases the load on the bur and raises vibration risk.
- Worn or dull burs -- A bur that has lost its cutting edge sharpness requires more force to remove material, increasing deflection and vibration.
- Unbalanced tool assembly -- If the bur is not perfectly concentric in the holder, the rotating assembly is out of balance, which creates vibration at high RPM.
Strategies for Reducing Vibration
Reducing vibration requires a combination of proper tool selection, appropriate machining parameters, and good maintenance practices.
Use Short-Edge, Long-Shank Burs
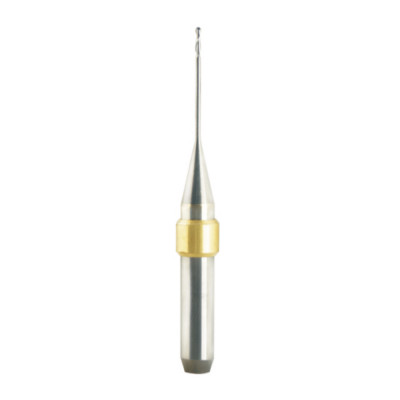
When milling deep cavities or concave features that require long tool reach, choose a bur with a short cutting edge and a long shank rather than a long cutting edge. A short-edge bur has less contact area with the workpiece at any given moment, which reduces lateral forces. The long shank provides the needed reach without the vibration penalty of a long cutting edge.
Optimize Feed Rate and Depth of Cut
Reducing the feed rate decreases cutting forces, which directly reduces deflection and vibration. Similarly, taking shallower passes distributes the workload across more cutting cycles, keeping forces low during each individual pass. Finding the right balance between feed rate, depth of cut, and overall machining time is one of the most important skills in CNC milling.
Maintain Sharp Cutting Edges
Replace milling burs before they become excessively worn. A sharp bur cuts cleanly with lower force, while a dull bur pushes through material, generating higher forces and more vibration. Tracking bur usage by the number of units milled helps predict when replacement is needed before problems start.
Check Tool Runout
Tool runout refers to the amount of wobble in the rotating tool assembly. Even a few microns of runout can produce vibration at the high spindle speeds used in dental milling. Measure runout with a dial indicator and address the cause, whether it is a worn collet, a bent shank, or debris in the tool holder.
Matching Burs to Materials
The material being milled also affects both clamping demands and vibration behavior. Harder materials like fully sintered zirconia generate higher cutting forces than softer materials like wax or pre-sintered zirconia. When working with harder materials, proper clamping is even more important because the higher forces are more likely to pull a bur free from an inadequate grip.
For zirconia milling specifically, use burs designed for that purpose with appropriate coatings and geometry. General-purpose milling burs may work on softer materials but can fail quickly and vibrate excessively when used on hard ceramics. Browse our selection of CAD/CAM milling burs for tools engineered to handle the demands of dental material processing.
Maintenance Schedule for Milling Equipment
A regular maintenance routine prevents most clamping and vibration issues before they affect production. Here is a suggested schedule:
| Task | Frequency |
|---|---|
| Clean bur shanks before installation | Every tool change |
| Clean collet bore | Weekly or every 20 tool changes |
| Inspect collets for wear | Monthly |
| Measure tool runout | Monthly or when vibration is noticed |
| Replace worn collets | As needed based on inspection |
| Check spindle condition | Quarterly |
Maintaining a log of bur usage and collet replacements helps identify patterns and prevent recurring problems. For further reading on extending the working life of your milling tools, see our article about milling bur usage and maintenance.
When to Seek Professional Service
If vibration or clamping problems persist after following the steps above, the issue may be with the milling machine itself rather than the tooling. Worn spindle bearings, misaligned axes, or damaged collet receivers require professional service. Continuing to run a machine with mechanical problems risks further damage and consistently poor results. Contact your machine manufacturer or an authorized service technician for diagnosis and repair.