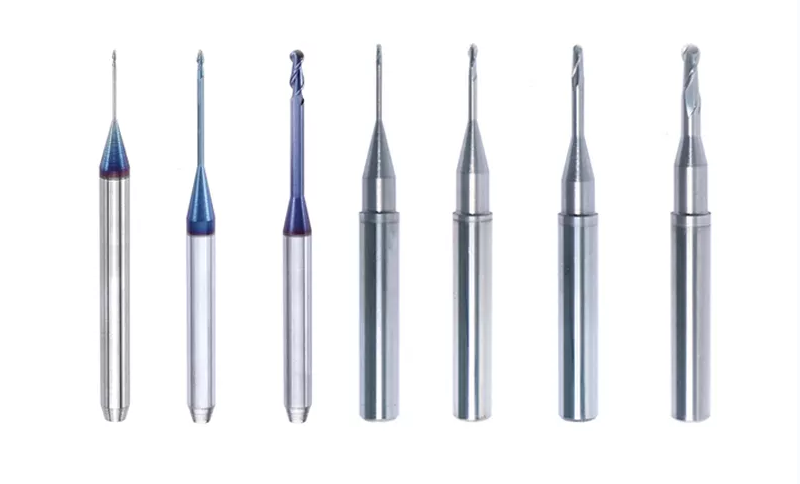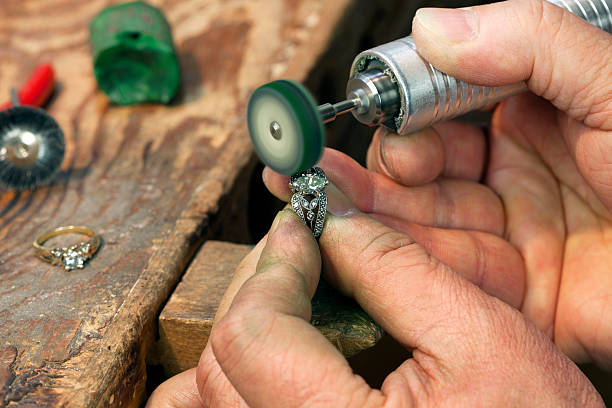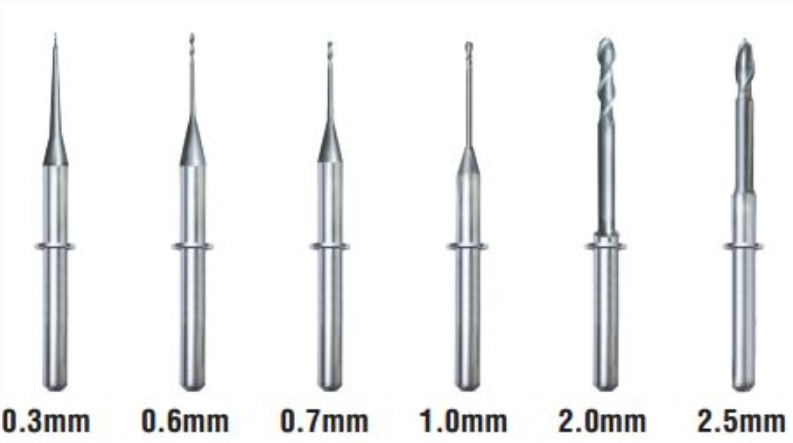
Dental milling burs are the workhorses behind every CAD/CAM restoration. Whether you are cutting zirconia, lithium disilicate, PMMA, or wax, the quality and condition of your milling burs directly affect marginal fit, surface finish, and turnaround time. Yet many dental labs treat these tools as disposable commodities instead of precision instruments that reward proper handling.
This guide covers everything dental technicians need to know about selecting, using, and maintaining milling burs so you get consistent results and longer tool life from every bur you install.
How Dental Milling Burs Work
A milling bur rotates at high speed inside a CNC milling unit and removes material from a blank or block in programmed tool paths. The flute geometry, substrate material, and coating determine how aggressively the bur cuts and how long it lasts.
Most modern dental milling burs fall into two broad families:
- Diamond-coated burs — used primarily for hard ceramics such as zirconia, lithium disilicate, and glass ceramics. The diamond grit provides the abrasion needed to grind these tough materials without excessive heat.
- Carbide burs — preferred for softer substrates like PMMA, wax, and composite resin. Their sharp flutes shear material cleanly, producing smooth surfaces and fine detail.
Choosing the wrong bur type for the material is one of the fastest ways to ruin both the restoration and the tool. Always match bur specification to the block material recommended by your milling machine manufacturer.
Selecting the Right Cutting Parameters
Every milling bur has an optimal operating window defined by spindle speed (RPM), feed rate (mm/min), and depth of cut. Straying outside that window accelerates wear and compromises restoration quality.
Spindle Speed
Spindle speed depends mainly on the material being milled. Hard ceramics require moderate RPM to prevent overheating the diamond coating, while softer materials tolerate higher speeds. Consult your machine's material database as a starting point and fine-tune from there.
Feed Rate
Feed rate controls how fast the bur travels through the material. A rate that is too high forces the bur, increasing lateral load and the risk of chipping. A rate that is too low causes the bur to rub instead of cut, generating heat and glazing the surface. The ideal feed rate produces consistent chip formation without excessive vibration.
Depth of Cut
Deeper cuts remove material faster but place greater stress on the bur shank. For finishing passes, reduce depth of cut to improve surface quality and dimensional accuracy. Most milling software lets you define separate roughing and finishing parameters, and you should take advantage of that separation.
Common Mistakes During Milling
Even experienced technicians fall into habits that shorten bur life or reduce restoration quality. Here are frequent problems and how to avoid them.
| Mistake | Consequence | Solution |
|---|---|---|
| Using a worn bur for finishing | Poor marginal fit, rough surfaces | Track bur usage and replace at recommended intervals |
| Wrong coolant flow | Overheating, micro-cracks in ceramic | Verify nozzle alignment and coolant pressure before each job |
| Excessive tool overhang | Vibration, chatter marks, bur breakage | Seat bur fully in the collet; keep overhang to minimum |
| Skipping calibration | Dimensional inaccuracy across restorations | Run calibration routine after every bur change |
| Mixing bur brands | Inconsistent geometry causes uneven wear | Standardize on one supplier per machine |
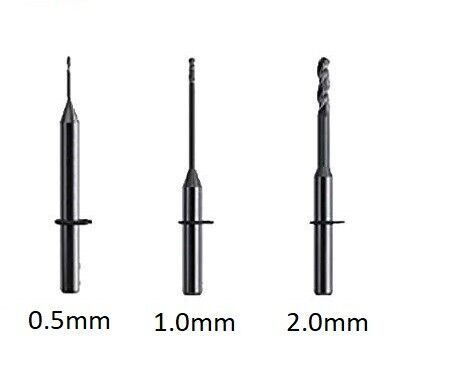
Daily Maintenance Routine
A simple daily routine adds measurable life to your milling burs and keeps restoration quality stable from the first unit to the last.
After Every Milling Cycle
- Remove the bur from the collet and blow off debris with clean compressed air.
- Inspect the cutting surface under magnification. Look for chipped diamond coating, dull flute edges, or visible wear bands.
- Wipe the bur shank with an alcohol swab to remove residue that could affect collet grip.
- Return the bur to its labeled storage slot so you can track total milling time per bur.
Weekly Deep Clean
Once a week, soak diamond-coated burs in an ultrasonic cleaner with a mild alkaline solution for five to ten minutes. This removes embedded ceramic particles that reduce cutting efficiency. Rinse with distilled water and dry thoroughly before storing. Carbide burs benefit from the same ultrasonic treatment but can also be lightly brushed with a brass wire brush to clear packed material from the flutes.
When to Replace a Milling Bur
Replacement intervals vary by material and manufacturer, but these warning signs indicate a bur is past its useful life:
- Milling time per unit has increased noticeably compared to a new bur
- Surface finish on restorations is rougher than usual, requiring extra polishing
- You hear a change in milling sound — a higher pitch often signals a dull bur pressing harder
- Visual inspection shows significant coating loss or flute rounding
Tracking the number of units milled per bur in a simple spreadsheet helps you predict replacements before quality drops.
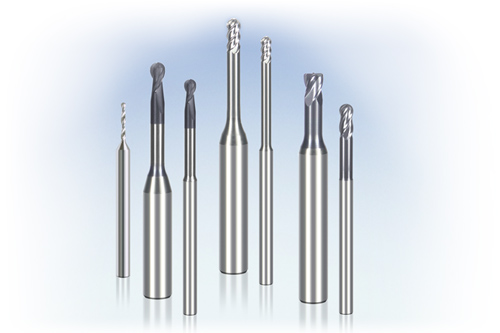
Extending Milling Bur Lifespan
Beyond routine cleaning, several practices help you get more restorations from each bur without sacrificing quality.
- Use dedicated roughing and finishing burs. Roughing burs absorb the heavy cutting load, preserving the finer geometry of your finishing bur for the passes that matter most.
- Keep coolant systems clean. Clogged filters reduce coolant flow, causing thermal damage to both the bur and the restoration. Replace or clean filters on the schedule your machine manufacturer recommends.
- Store burs properly. A dedicated bur block or foam-lined case prevents burs from knocking against each other and chipping their coatings.
- Respect the recommended duty cycle. Running continuous heavy milling sessions without cool-down periods accelerates thermal wear on diamond coatings.
Matching Burs to Restoration Materials
The table below provides general guidance for matching bur type to common dental milling materials. Always verify with your specific machine and bur manufacturer documentation.
| Material | Recommended Bur Type | Key Consideration |
|---|---|---|
| Pre-sintered zirconia | Diamond-coated or carbide | Moderate speed; bur choice depends on machine brand |
| Fully sintered zirconia | Diamond-coated | Lower speed, higher torque; generates significant heat |
| Lithium disilicate (e.max) | Diamond-coated | Requires careful coolant management to prevent micro-cracks |
| PMMA / wax | Carbide | Higher speed tolerated; clean flutes frequently |
| Composite resin | Carbide | Watch for material buildup on flute edges |
If your lab also works with zirconia blocks, choosing the right bur-and-block combination from the start saves time on adjustments and reduces waste.
Troubleshooting Common Milling Issues
When milling results suddenly degrade, the bur is often the first suspect, but the root cause may lie elsewhere. A systematic approach saves you from discarding good burs prematurely.
Chipping on Margins
Marginal chipping usually points to a dull bur, excessive feed rate, or insufficient coolant at the cutting zone. Check all three before blaming the bur alone.
Rough Surface Finish
If roughness appears on the internal surface of a crown, inspect the finishing bur for wear and verify that the finishing tool path has not been altered during a software update. Some CAM updates reset machining parameters to defaults.
Bur Breakage
Repeated bur breakage is almost always mechanical. Check the collet for wear or contamination, verify the blank is securely clamped, and confirm that the tool length offset is correctly calibrated. A bur that extends too far from the collet is especially vulnerable to snap failures during lateral movements.
For labs looking to compare milling bur options, our article on common materials for milling burs covers substrate differences in detail. You may also find useful information in our guide on clamping and vibration issues with milling burs.
Final Thoughts
Dental milling burs are small tools with an outsized impact on lab productivity and restoration quality. By selecting the correct bur for each material, running within recommended cutting parameters, and following a consistent maintenance routine, you protect your investment and deliver better results to your clinicians. Track usage, inspect often, and replace burs before they compromise your work.