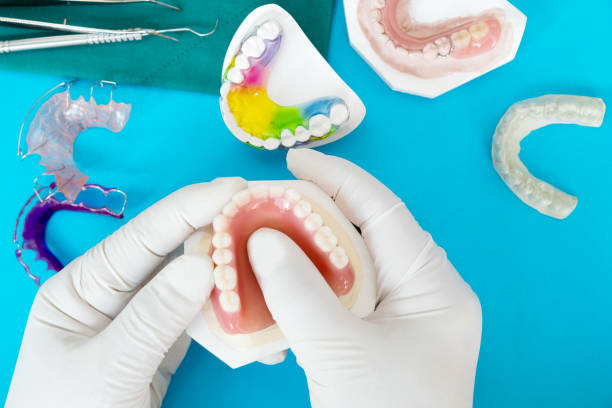
Dentures remain one of the most common restorative solutions for patients who have lost some or all of their natural teeth. Behind every comfortable, natural-looking denture lies a precise laboratory workflow that combines artistry with material science. This guide walks through each stage of the denture fabrication workflow, from the first preliminary impression to the final high-gloss polish, so clinicians and laboratory technicians alike can understand and appreciate the craftsmanship involved at every step.
What Are Dentures Made Of?
A complete denture consists of two primary components: the base and the prosthetic teeth.
The denture base is manufactured from polymethyl methacrylate (PMMA), a carefully pigmented acrylic resin that mimics the color and translucency of natural gingival tissue. PMMA was adopted decades ago for its biocompatibility, ease of processing, and ability to accept lifelike pigmentation. It remains the standard material for conventional denture bases worldwide.
The prosthetic teeth can be fabricated from either acrylic resin or porcelain. Acrylic teeth are far more common today because they bond chemically to the PMMA base, are easier to adjust chairside, and produce less noise during function. Porcelain teeth offer superior wear resistance and aesthetics but are heavier, more brittle, and do not bond to the base as readily. Both types are carefully shade-matched to complement the patient's complexion and any remaining natural dentition.
The 10-Step Denture Fabrication Process
Step 1: Pouring the Preliminary Model
The process begins with a preliminary impression of the patient's edentulous ridges, taken using stock trays designed for patients without teeth. Border molding with wax may be needed to extend the tray flanges and capture the full denture-bearing area. The impression is poured into Type III dental stone on a vibrator to eliminate air bubbles and voids, producing a diagnostic cast that faithfully represents the patient's oral anatomy and ridge contours.
Step 2: Fabricating the Custom Tray and Bite Rim
Using the preliminary cast, the lab technician fabricates a custom impression tray from light-cured or auto-polymerizing acrylic. A wax bite rim is built on the tray and shaped to approximate the position of the future teeth. The clinician adjusts the bite rim intraorally to establish correct lip support, the incisal edge position, the occlusal plane, the vertical dimension of occlusion, and the facial midline. Tooth mold and shade selections are recorded on the prescription and returned to the laboratory along with the custom tray impression.
Step 3: Articulating the Models
The lab technician pours the custom tray impression to create master casts in Type IV dental stone. These casts are then mounted on a semi-adjustable articulator using the bite rim records and facebow transfer data. The articulator replicates the patient's jaw relationship, allowing the technician to set up the teeth in a position that will function correctly once the denture is delivered.
Step 4: Setting Up the Teeth
Working on the articulator, the technician arranges the selected prosthetic teeth in wax following the prescribed occlusal scheme. Anterior teeth are positioned for aesthetics and phonetics, while posterior teeth are set for balanced or lingualized occlusion depending on the clinician's treatment plan. Every contact is verified against the opposing arch to ensure proper form and function.
Step 5: Waxing the Contours
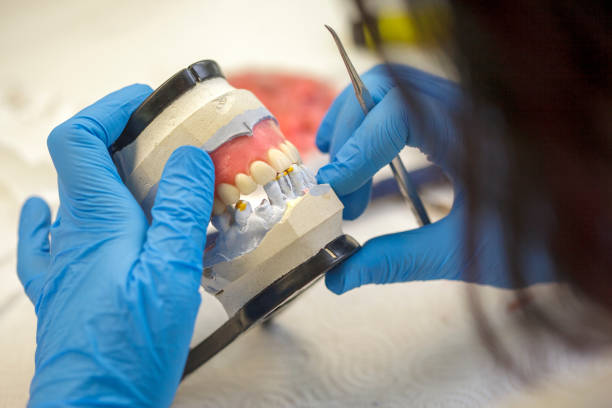
Once the teeth are correctly positioned, the technician sculpts additional wax around the cervical areas to build natural gingival contours. The wax is carved to replicate the stippled texture of healthy gingival tissue, create realistic root eminences, and provide adequate flange thickness to support the patient's facial muscles. Attention to detail here directly influences the denture's final appearance. Excessively smooth wax produces an artificial-looking result, so light stippling with a textured instrument is standard practice.
Step 6: Flasking
After the clinician and patient approve the wax try-in, the denture is ready for processing. The model with its waxed denture is invested in the lower half of a two-part metal flask using dental plaster. Once the plaster sets, the upper half of the flask is positioned and filled with additional plaster to encase the wax completely. The assembled flask is then placed in a hot water bath or boil-out unit to melt and flush away all wax, leaving a clean mold cavity that precisely captures the tooth positions and gingival anatomy.
Step 7: Mixing the Acrylic
The technician weighs the PMMA monomer (liquid) and polymer (powder) according to the manufacturer's recommended ratio. The components are mixed thoroughly until the acrylic reaches the dough stage, at which point it can be packed into the flask without sticking or flowing excessively. Precise proportioning is critical because an incorrect monomer-to-polymer ratio produces a weaker, more porous base that is prone to fracture and staining.
Step 8: Pressing and Curing
The dough-stage acrylic is packed into the mold cavity, and the two flask halves are pressed together under controlled force. Trial closures ensure excess acrylic (flash) is trimmed before the final press. The sealed flask is then cured under heat and pressure in a water bath or dry-heat curing unit. The curing cycle polymerizes the PMMA, transforming it from soft dough into a hard, durable denture base. After curing is complete, the flask is bench-cooled slowly to minimize internal stress and dimensional distortion. Rapid cooling can introduce warpage that affects the fit of the finished denture on the patient's ridge.
Step 9: Finishing
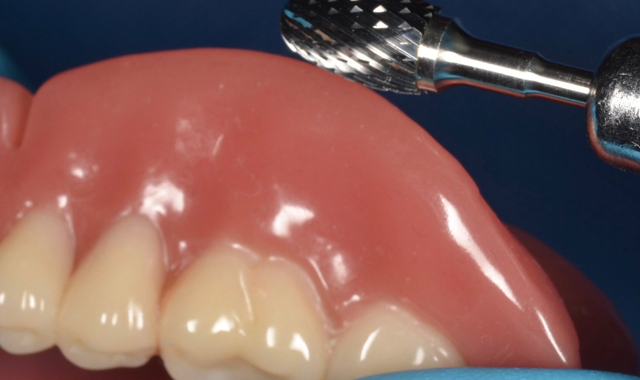
The cured denture is carefully deflasked and all residual plaster is removed. Excess acrylic flash along the flanges, palate, and borders is trimmed using tungsten carbide burs or acrylic trimming burs in a laboratory handpiece. The technician checks the fit on the master cast, verifies the occlusion on the articulator, and makes any necessary adjustments. This stage demands precision, because over-trimming the borders can compromise retention while leaving excess material creates pressure spots that cause patient discomfort.
Step 10: Polishing
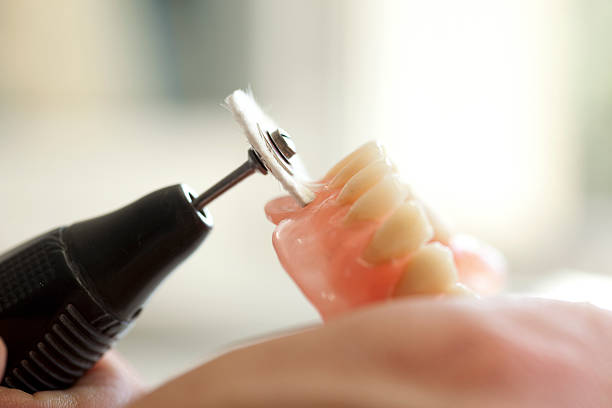
The final step transforms the matte, bur-marked surface into a smooth, high-gloss finish. The technician progresses through increasingly fine abrasives, starting with pumice on a silicone rubber polisher or rag wheel and finishing with a high-shine polishing compound. A well-polished denture resists plaque accumulation, feels comfortable against the oral mucosa, and displays the natural luster patients expect. Skipping grits or rushing this stage leaves visible scratches that collect stain and bacteria over time.
Common Denture Materials at a Glance
| Component | Material | Key Property |
|---|---|---|
| Base | PMMA acrylic resin | Biocompatible, pigmentable, easy to reline |
| Teeth (standard) | Cross-linked acrylic | Bonds to base, adjustable, quiet |
| Teeth (premium) | Porcelain | Wear-resistant, highly aesthetic |
| Framework (partial) | Chrome-cobalt alloy | Strong, thin, biocompatible |
Tips for a Better Clinical Outcome
- Accurate impressions are everything. Invest time in border molding and custom tray impressions to capture the full denture-bearing area.
- Communicate shade and mold clearly. Provide the lab with detailed prescriptions, photographs, and any patient preferences regarding tooth shape and arrangement.
- Always schedule a wax try-in. This appointment is the last opportunity to verify aesthetics, phonetics, and occlusion before processing.
- Choose quality finishing instruments. Sharp finishing and trimming carbide burs produce cleaner margins and reduce chairside adjustment time at delivery.
From the first impression to the final buff, denture fabrication is a collaborative process that rewards attention to detail at every stage. Equipping your lab with the right laboratory diamond burs and finishing instruments helps ensure each denture leaves the bench looking and fitting its best.