
How to Clean Partial Dentures: A Step-by-Step Guide
Partial dentures restore your ability to chew, speak, and smile with confidence when you are missing several teeth. But like natural teeth, they need consistent daily cleaning to stay functional and hygienic. Neglecting denture care leads to plaque buildup, bad breath, gum irritation, and staining that shortens the life of your appliance.
This guide walks you through a complete daily cleaning routine for partial dentures, along with tips for long-term care and common mistakes to avoid.
What Are Partial Dentures?
Partial dentures are removable dental appliances that replace one or more missing teeth. They consist of artificial teeth attached to a gum-colored base, which connects to a metal or flexible framework. Small clasps wrap around your remaining natural teeth to hold the partial in place.
Unlike full dentures, which replace an entire arch of teeth, partials are designed to work alongside your existing teeth. This means your cleaning routine must address both the appliance and your natural teeth to prevent decay and gum disease at the contact points.
Supplies You Will Need
Before you begin, gather the following items:
- A soft-bristled denture brush (not a regular toothbrush)
- Non-abrasive denture cleanser
- A clean towel or folded washcloth
- A basin or sink filled with lukewarm water
- Denture soaking solution
- A soft toothbrush and toothpaste for your natural teeth
Avoid using regular toothpaste on your dentures. Most toothpastes contain mild abrasives that can scratch the denture surface over time, creating tiny grooves where bacteria collect.
Step-by-Step Cleaning Instructions
Step 1: Prepare Your Workspace
Fill your sink with a few inches of lukewarm water. Place a folded towel on the counter next to the sink and another on the floor if you have hard tile or stone flooring. Dentures are fragile and can crack or break if they hit a hard surface. The water and towels serve as a safety net in case the denture slips from your hands.
Step 2: Loosen and Remove the Denture
If you use denture adhesive, gargle with warm water for 30 to 60 seconds to soften the seal. Start with the bottom partial by gripping the middle section between your thumb and forefinger. Rock it gently with a back-and-forth motion until it loosens, then lift it out carefully. For an upper partial, use the same rocking motion and press it downward and outward once you feel it release. Take your time and never force a partial out, as this can damage the clasps or injure your gums.
Step 3: Rinse Under Running Water
Hold the denture under a stream of lukewarm running water to wash away loose food particles and debris. Do not use hot water, as it can warp the acrylic base and permanently alter the fit of your partial.
Step 4: Brush the Denture Thoroughly
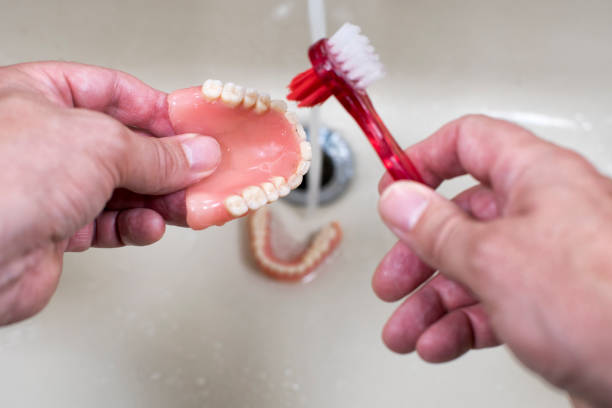
Apply a small amount of non-abrasive denture cleanser to your denture brush. Brush all surfaces of the denture, including the teeth, the gum-colored base, and the metal clasps. Pay special attention to the areas where the clasps meet the base, as plaque and food particles tend to accumulate in these crevices. Use gentle circular motions rather than aggressive scrubbing, which can scratch the surface or bend the clasps.
Step 5: Clean the Adhesive Residue
If you use denture adhesive, check the grooves and ridges on the tissue side of the denture for leftover residue. Use your denture brush and warm water to remove it. Then clean your gums and the roof of your mouth with a damp washcloth or very soft toothbrush. Gargling with warm saltwater helps dissolve stubborn adhesive remnants from your oral tissues. Never use denture cleanser inside your mouth.
Step 6: Brush Your Natural Teeth
Because partial dentures sit alongside your remaining teeth, those teeth are especially prone to plaque buildup at the contact points. Brush your natural teeth with a fluoride toothpaste and a regular soft-bristled toothbrush. Floss between each tooth, paying extra attention to the teeth that the denture clasps wrap around. These anchor teeth bear additional stress and need thorough cleaning to stay healthy.
Step 7: Soak the Denture Overnight
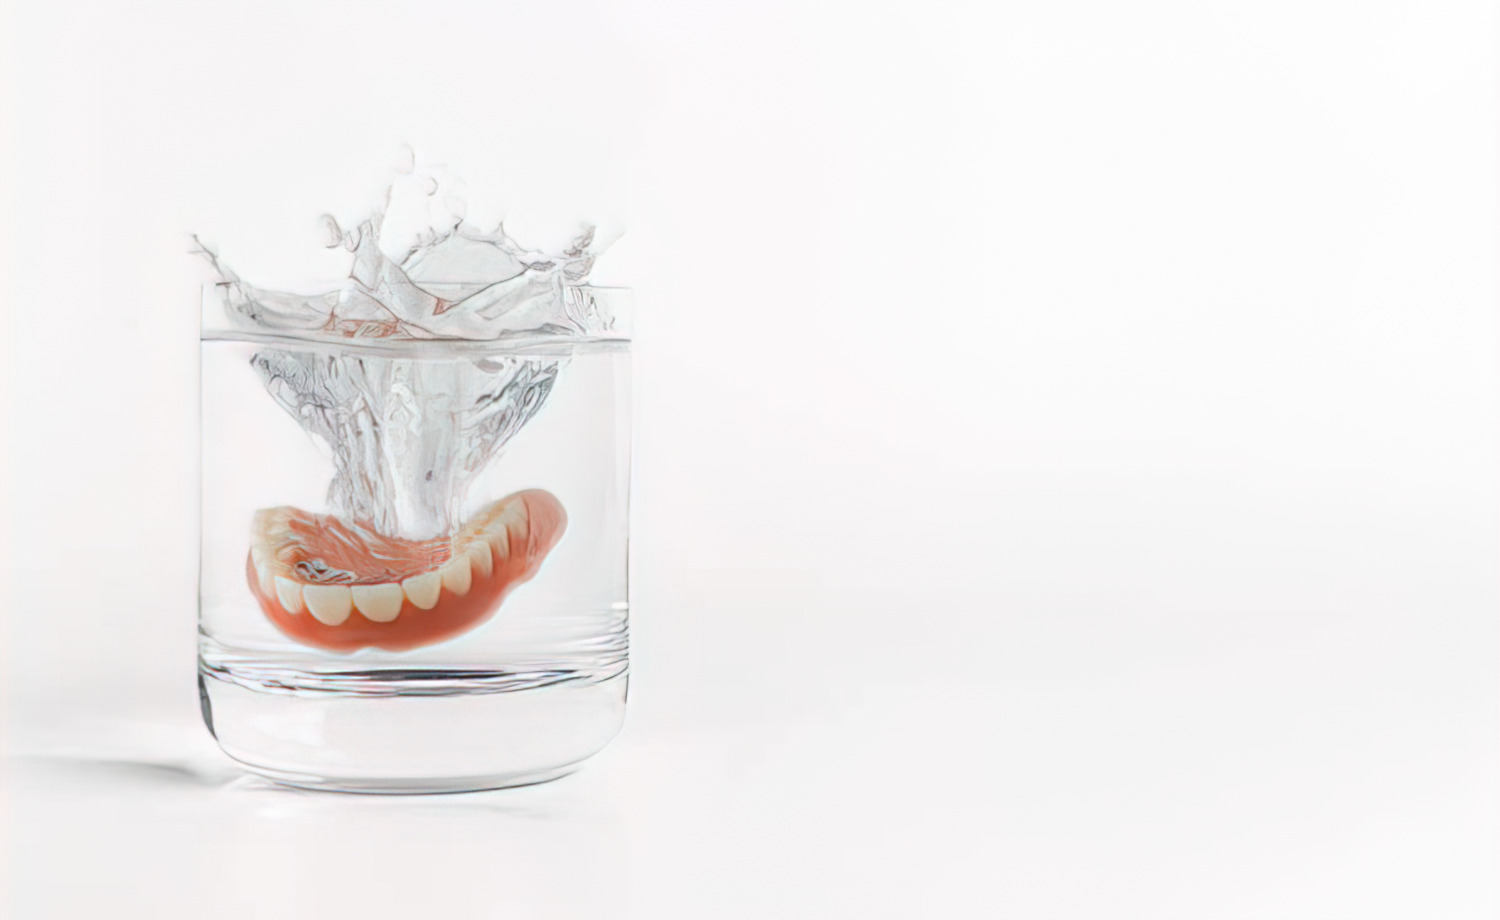
Place your cleaned partial denture in a container of cool water or a denture soaking solution before bed. Overnight soaking serves two purposes. First, it prevents the acrylic from drying out, which can cause the material to become brittle and lose its shape. Second, soaking solutions contain mild antimicrobial agents that kill bacteria your brushing may have missed.
Always use cool or room-temperature water for soaking. Hot water can warp the denture, and some soaking solutions lose effectiveness at high temperatures.
Step 8: Rinse Before Reinserting
In the morning, remove your denture from the soaking solution and rinse it thoroughly under running water before placing it back in your mouth. Denture soaking solutions contain chemicals that are safe for the appliance but should not be ingested. A thorough rinse ensures none of these chemicals contact your gums or tongue.
Weekly Deep Cleaning
In addition to your daily routine, perform a deeper cleaning once a week. Use an effervescent denture cleaning tablet dissolved in lukewarm water and soak the partial for the time specified on the package, usually 15 to 30 minutes. After soaking, brush the denture again with your denture brush and rinse well. This weekly treatment removes stains and mineral deposits that daily brushing alone may not address.
Common Cleaning Mistakes to Avoid
Several common habits can damage your partial denture or reduce its lifespan:
- Using hot water: Heat warps the acrylic base and can permanently change the fit.
- Using regular toothpaste: Abrasive ingredients scratch the denture surface.
- Using bleach or household cleaners: These chemicals can weaken the metal framework, discolor the acrylic, and leave harmful residue.
- Letting the denture dry out: Acrylic that dries out becomes brittle and may crack or warp.
- Bending the clasps: Trying to adjust the fit yourself can weaken or snap the metal clasps. Leave adjustments to your dentist.
- Skipping your natural teeth: Partial denture wearers who neglect their remaining teeth risk losing those teeth too, which could mean transitioning to full dentures.
When to Visit Your Dentist
Even with excellent home care, your partial denture needs professional attention. Schedule a dental checkup at least twice a year. During these visits, your dentist will examine your gums and remaining teeth, check the fit of your partial, and professionally clean the appliance using tools and solutions not available for home use. The burs and polishing instruments used in dental labs, such as silicone rubber polishers, help restore a smooth surface that resists plaque adhesion.
Contact your dentist sooner if you notice any of the following: the denture feels loose or shifts when you chew, you develop sore spots on your gums, the clasps no longer grip your teeth firmly, or you see cracks or chips in the acrylic base.
How Long Do Partial Dentures Last?
With proper daily cleaning and regular dental checkups, partial dentures typically last between 5 and 15 years. The exact lifespan depends on the materials used, how well you care for the appliance, and how your mouth changes over time. Bone and gum tissue naturally shift after tooth loss, which means even a well-maintained partial will eventually need relining or replacement.
For a broader comparison of denture types and their longevity, our article on the differences between partial and full dentures covers material options and expected lifespans in detail.
Storage Tips for Partial Dentures
When your partial is not in your mouth, it should always be stored in liquid. Use a dedicated denture container with a secure lid to prevent spills and keep the appliance clean. Change the soaking solution daily to prevent bacterial growth. Store the container in a safe location away from children and pets, as denture soaking tablets can be harmful if swallowed.
If you travel frequently, pack a small denture care kit that includes a travel-sized denture brush, a few soaking tablets, and a leak-proof container. Maintaining your cleaning routine on the road is just as important as keeping it up at home.
Consistent daily cleaning is the single most effective thing you can do to protect your partial denture and your oral health. The routine takes only a few minutes each morning and evening, and it pays off through a comfortable fit, fresh breath, and a denture that serves you well for years to come.