Wood Carving: A Practical Guide to the Complete Process
Wood carving is a traditional craft that transforms raw timber into decorative sculptures, functional objects, and fine art. The practice dates back thousands of years and remains popular among hobbyists, professional artists, and artisans worldwide. Unlike machined woodworking, hand carving relies heavily on the maker's skill, tool control, and understanding of the wood itself.
This guide covers the full wood carving process from selecting your material through to the finished, glazed piece. Each stage builds on the one before it, so following the correct sequence produces the best results.
Choosing the Right Wood Species
Not every wood is suitable for carving. The ideal carving wood is fine-grained, flexible enough to accept detailed cuts without splitting, and stable enough to resist warping over time. Here are some of the most commonly used species:
- Basswood (linden) is the most popular carving wood in North America. It has a uniform grain, minimal figure, and cuts cleanly in all directions. Basswood is ideal for beginners and detailed work alike.
- Birch is harder than basswood but still carves well with sharp tools. It takes stains and finishes beautifully and is widely available.
- Butternut is a softer hardwood with a warm brown tone. It splits less easily than many alternatives and responds well to hand tools.
- Mahogany offers a rich, deep color and a straight grain that cooperates with both hand and power tools. It is a traditional choice for furniture-scale carvings.
- Cypress and cedar are naturally rot-resistant, making them suitable for outdoor carvings and architectural elements.
Avoid woods with prominent interlocking grains, excessive knots, or high resin content. These characteristics make clean cuts difficult and increase the risk of tool damage.

Stage 1: Chiseling the Rough Blank
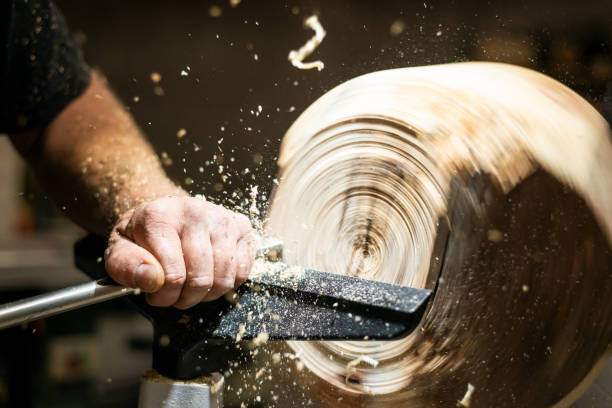
The rough blank is the foundation of any wood carving. At this stage, you are not concerned with detail. Your goal is to establish the overall proportions, primary masses, and basic silhouette of the final piece. Think of it as creating a simplified geometric version of your design.
Key objectives during rough blanking include:
- Establishing correct proportions between major body parts or structural elements
- Setting the center of gravity so the piece will stand or mount securely
- Creating a strong sense of movement or pose through the overall form
- Removing large amounts of waste material quickly and efficiently
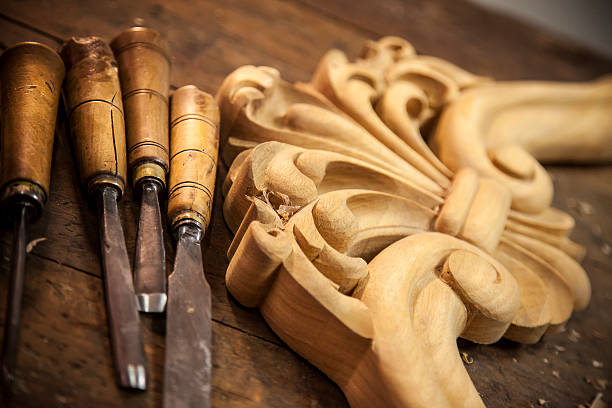
Use large gouges, mallets, and roughing chisels at this stage. Do not reach for detail tools yet. The rough blank should look blocky and simplified, with only the broadest contours defined. Every surface will be refined in later stages, so leave generous material for the fine blanking phase.
Stage 2: Digging the Fine Blank
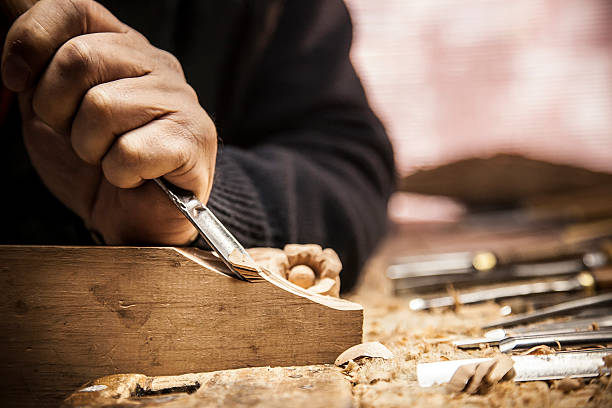
Fine blanking is where the carving begins to take on its true character. Starting from the rough blank, you now refine every area systematically. Work from the whole to the parts: first adjust overall proportions, then move into specific features.
For figure carvings, this stage is where you define limbs, facial features, clothing folds, and any props or accessories the figure holds. For decorative or abstract pieces, you establish the final contours, flowing lines, and surface rhythms that give the work its identity.
The fine blanking process requires patience and a methodical approach:
- Step back frequently and evaluate the piece from multiple angles.
- Work symmetrically, refining both sides of the carving at the same pace to maintain balance.
- Leave slightly more material than you think you need. It is always easier to remove more wood than to add it back.
- Switch to smaller gouges and chisels as you work into tighter areas.
By the end of this stage, the volumes and major lines of the carving should be clearly readable. The surface will still show tool marks, which is expected. These marks get addressed in the next phase.
Stage 3: Polishing with Fine Cuts
Polishing in wood carving does not refer to buffing with compound. Instead, it describes the process of using a thin knife and very controlled, shallow cuts to refine every surface of the fine blank. The goal is to remove all visible chisel marks and create smooth, continuous surfaces with crisp edges and clean transitions.
At this stage, tool sharpness is everything. A dull blade tears wood fibers instead of slicing them cleanly, which creates a fuzzy surface that no amount of sanding can fully correct. Keep your carving knives and gouges razor-sharp throughout this phase.
Work methodically across the entire piece, paying attention to:
- Concave surfaces where chisel marks tend to accumulate
- Transitions between different planes and volumes
- Fine details like eyes, fingers, feathers, or leaf edges
- Any areas where the grain direction changes, which requires adjusting your cutting angle
Some carvers prefer to leave the polishing stage as the final finish, keeping the subtle tool marks that give hand-carved work its distinctive texture. Others proceed to sanding for a completely smooth surface.
Stage 4: Sanding to a Smooth Surface
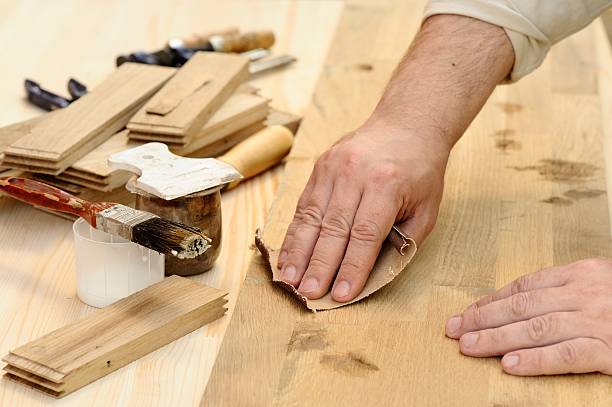
Sanding removes any remaining tool marks and reveals the natural beauty of the wood grain. This step is optional for some carving styles, but it is standard practice for most decorative and display pieces.
Follow this sanding sequence for the best results:
| Step | Grit | Purpose |
|---|---|---|
| 1 | 120-150 | Remove remaining tool marks |
| 2 | 220 | Smooth out scratches from coarse grit |
| 3 | 320-400 | Prepare surface for finish application |
Always sand in the direction of the wood grain. Cross-grain sanding leaves scratches that become highly visible once stain or finish is applied. For carved surfaces with tight curves, wrap sandpaper around a dowel or use small sanding sticks to reach into recesses.
Rotary tools equipped with sanding drums and abrasive attachments can speed up this process significantly, especially on larger carvings. For suitable abrasive accessories, browse our accessories range, which includes mounted abrasives and sanding supplies compatible with common rotary handpieces.
Stage 5: Coloring and Staining
Coloring serves two purposes in wood carving: it can correct minor material flaws such as sapwood patches or filler spots, and it enhances the visual depth and character of the finished piece. A well-applied stain brings out the grain pattern and gives the carving a professional, finished appearance.
When selecting colors for your carving, keep these principles in mind:
- Stain should enhance the natural wood tone, not mask it. Choose colors that complement the species you are using.
- Test your stain on a scrap piece of the same wood before applying it to the carving. Colors can look very different on various species.
- Apply thin, even coats and build up color gradually. Heavy application creates blotchy, uneven results.
- Consider using different stain tones on recessed and raised areas to create visual depth and contrast.
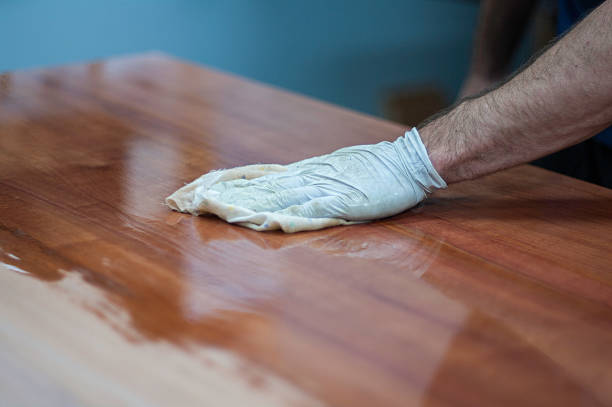
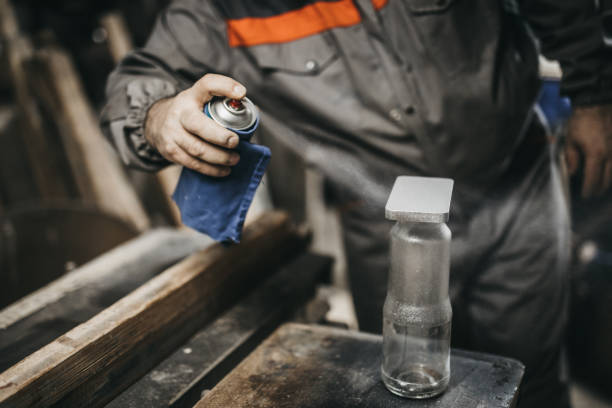
After staining, apply a protective glaze or finish coat. Glazing moistens the wood fibers, produces a subtle sheen, and protects the surface from dust, moisture, and handling oils. Common finish options include tung oil, Danish oil, lacquer, and polyurethane. Each produces a different level of sheen from matte to high gloss.
Apply finish coats evenly and allow full drying between coats. Two to three thin coats produce a more durable and attractive result than a single heavy coat.
Stage 6: Configuring the Base
The base is not just a practical support. It is an integral part of the overall composition. A well-chosen base frames the carving, provides visual weight at the bottom, and communicates the mood of the piece.
General guidelines for base design:
- Active, dynamic carvings with flowing lines often look best on simple, unadorned bases that do not compete with the movement of the piece.
- Formal or solemn subjects can be paired with more ornately carved bases that add gravitas.
- The base material should match or complement the carving wood. Using a contrasting wood can work, but it requires careful color coordination.
- Scale the base proportionally. An oversized base overwhelms the carving; an undersized base makes it look top-heavy.
Attach the carving to the base securely using dowels, screws from underneath, or strong wood glue. The attachment method should be invisible from the viewing angle.
Tools and Accessories for Efficient Carving
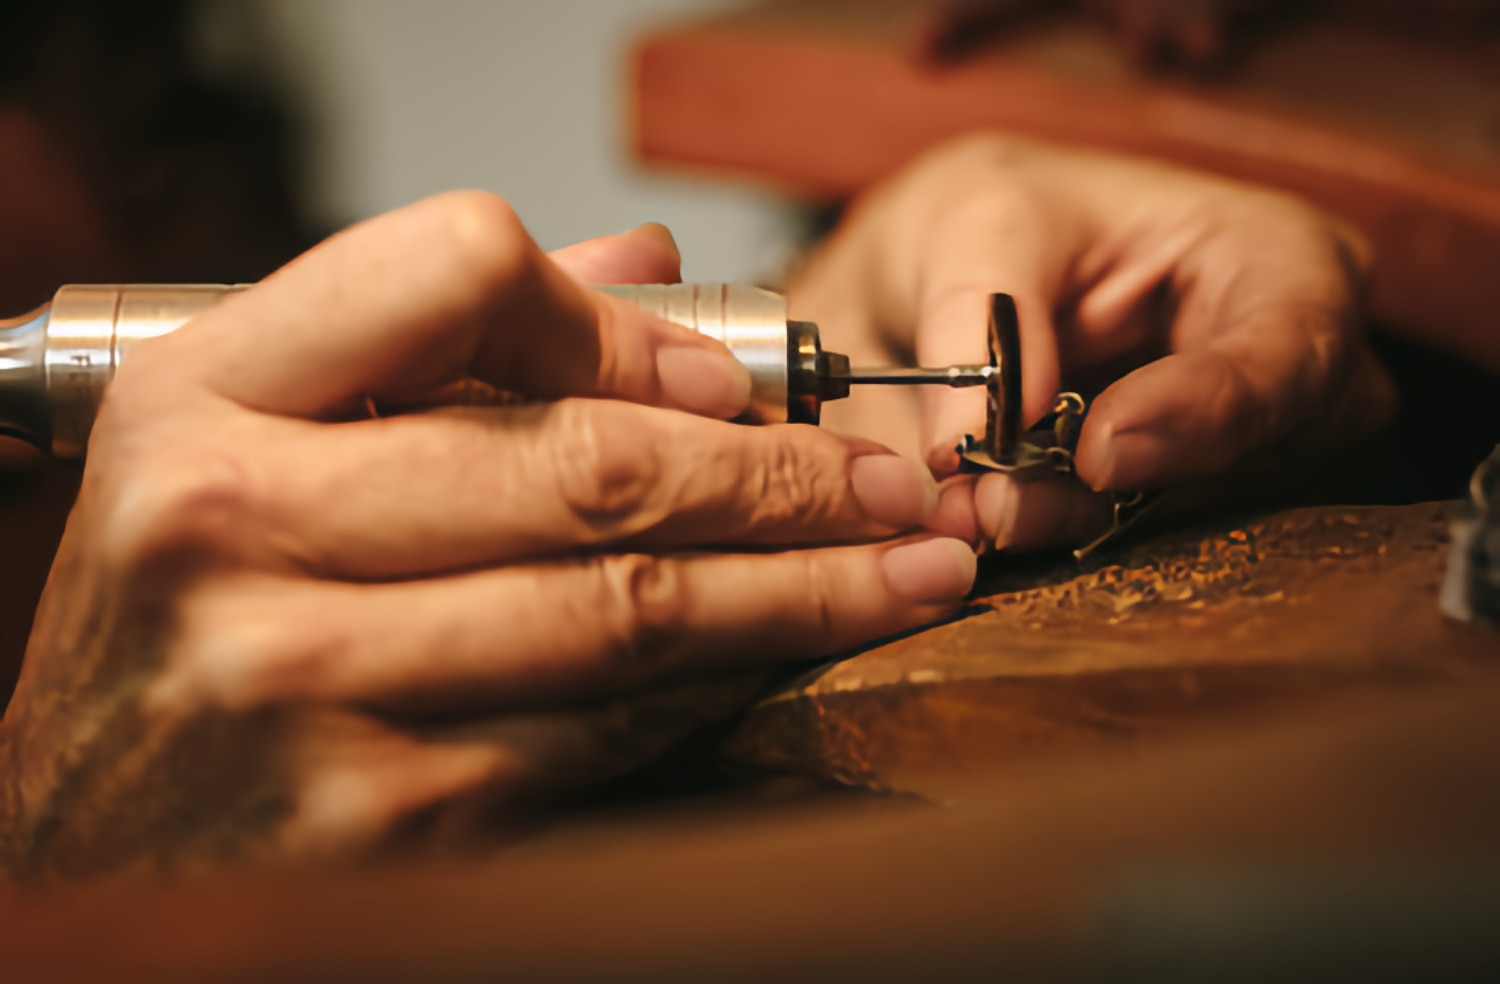
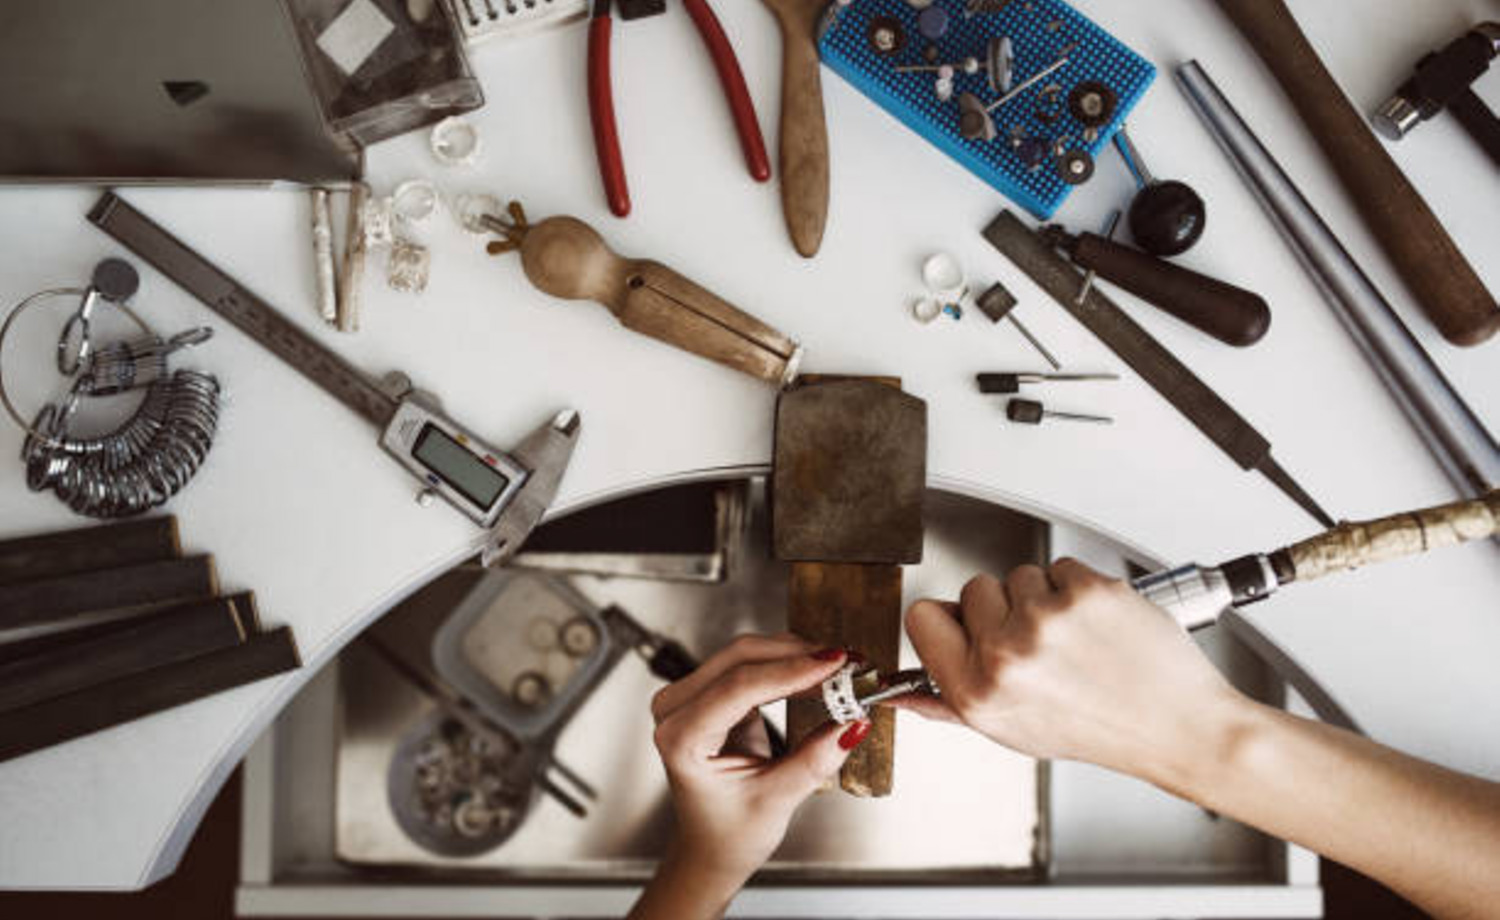
While hand tools remain at the heart of wood carving, rotary power tools dramatically speed up roughing, shaping, and sanding stages. A flex shaft or rotary handpiece fitted with carbide or diamond burs can remove material several times faster than a mallet and gouge.
For power-assisted carving, tungsten carbide burs in ball, flame, and cylinder shapes are popular for roughing and shaping. Their aggressive cutting action makes quick work of waste removal while still allowing reasonable control over the final surface.
If you use a flex shaft in your carving work, our guide on flex shaft accessories covers the full range of mandrels, discs, and polishing attachments available for these versatile tools.
Whatever tools and methods you choose, the fundamentals remain the same: start with good wood, follow the stages in order, keep your tools sharp, and give each phase the time and attention it requires. The result will be a carving that shows both technical skill and artistic intention.