Why Diamond Burs Work for Metal Engraving
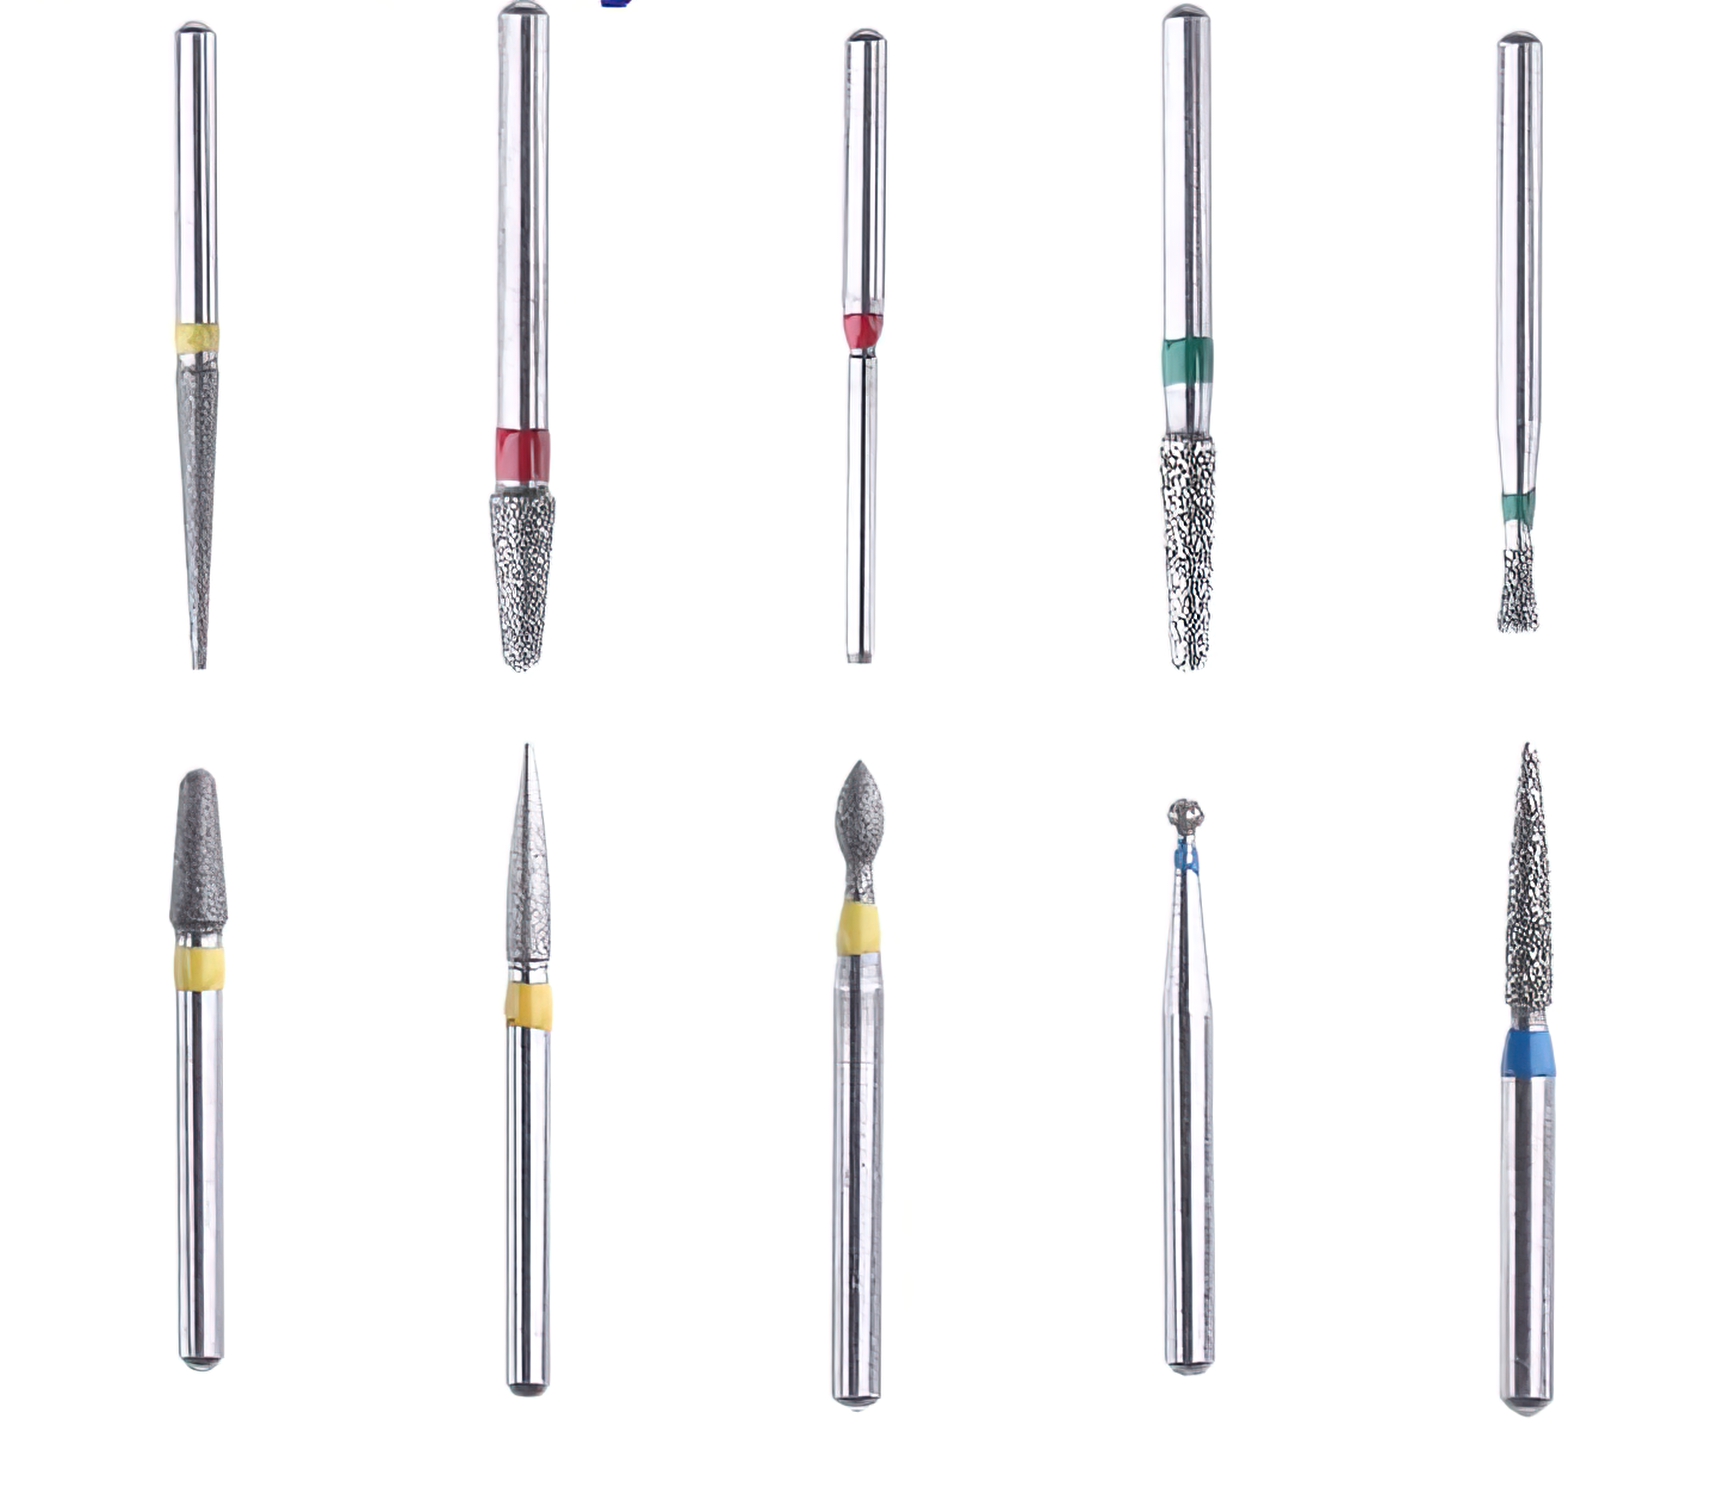
Diamond burs are familiar to dental professionals as precision cutting and finishing instruments, but their hardness and variety of shapes make them equally effective for creative metalwork. When fitted into a standard rotary tool, a diamond bur can engrave detailed designs into stainless steel, brass, copper, and other hard metals with a level of control that dedicated engraving tools often cannot match.
Stainless steel bottles, flasks, and tumblers have become popular items for personalized engraving. Whether you are creating custom gifts, branded merchandise, or decorative art pieces, diamond burs offer the precision needed to produce clean lines and fine detail on curved metal surfaces. This guide covers everything from selecting the right bur to finishing your engraved design.
Understanding Diamond Bur Basics
A diamond bur consists of a steel shank coated with industrial diamond particles bonded to the working head. The diamond grit does the actual cutting, and the size of those particles determines the coarseness of the cut. Finer grit produces smoother engraving lines, while coarser grit removes material faster but leaves a rougher surface.
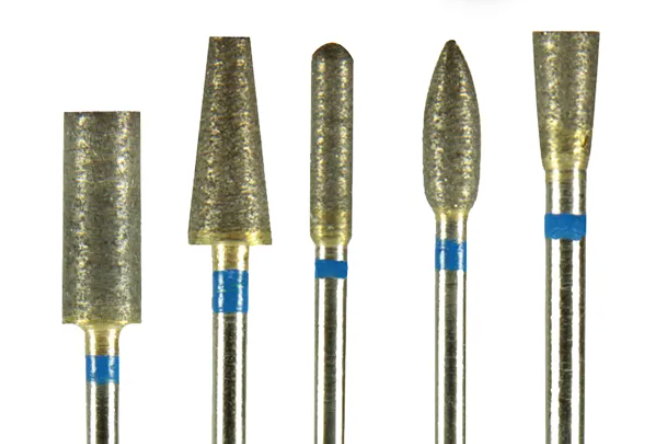
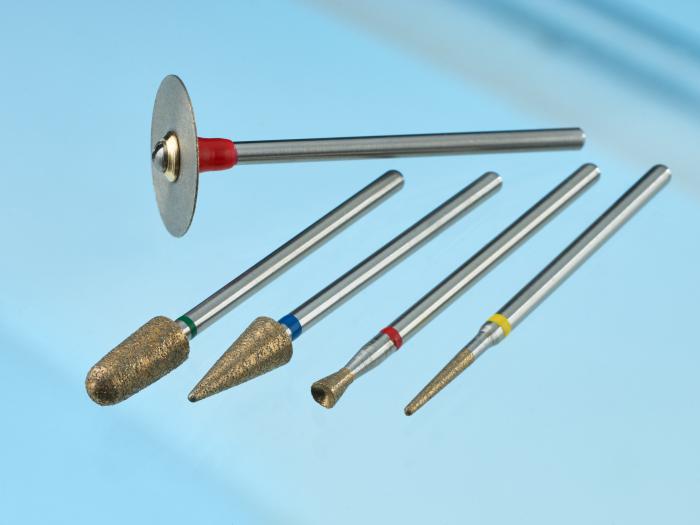
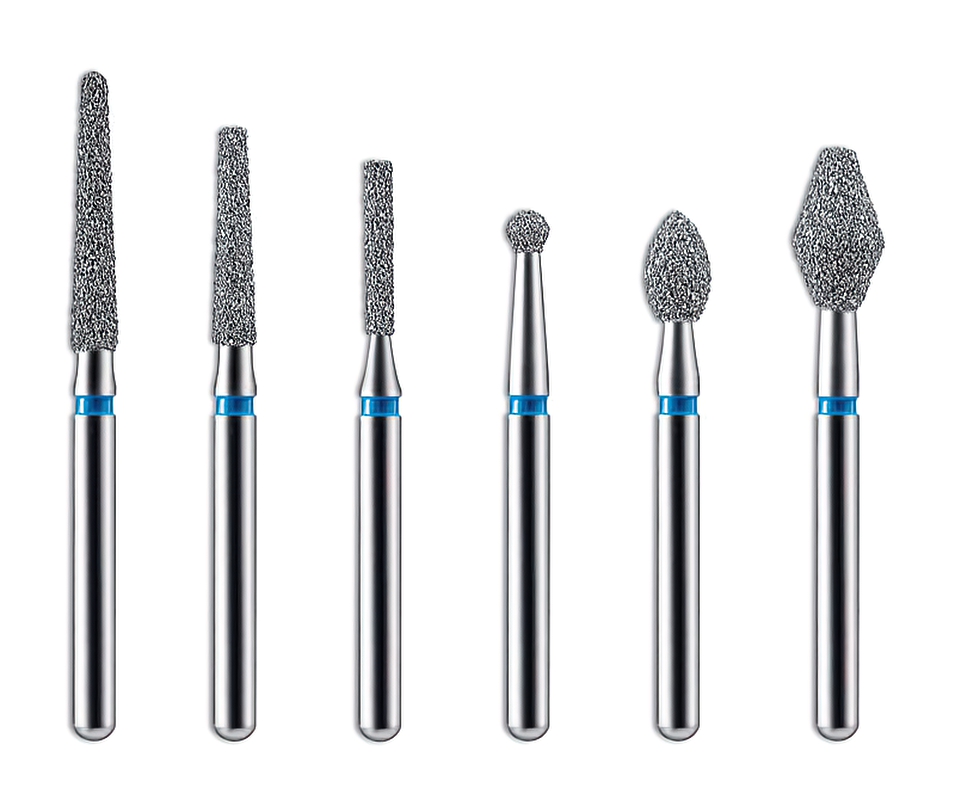
Diamond burs are rated by grit in color-coded bands on the shank. For metal engraving, medium grit (blue band) burs provide a good balance between material removal speed and line quality. Fine grit (red band) burs are better for detailed finishing work and text engraving where precision matters more than speed.
Choosing the Right Bur Shape for Your Design
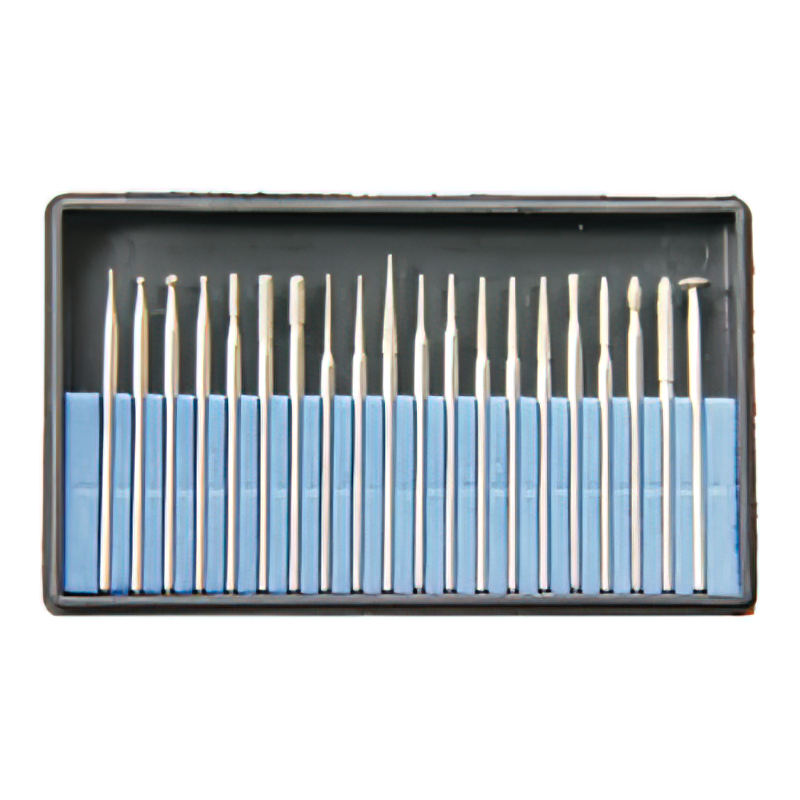
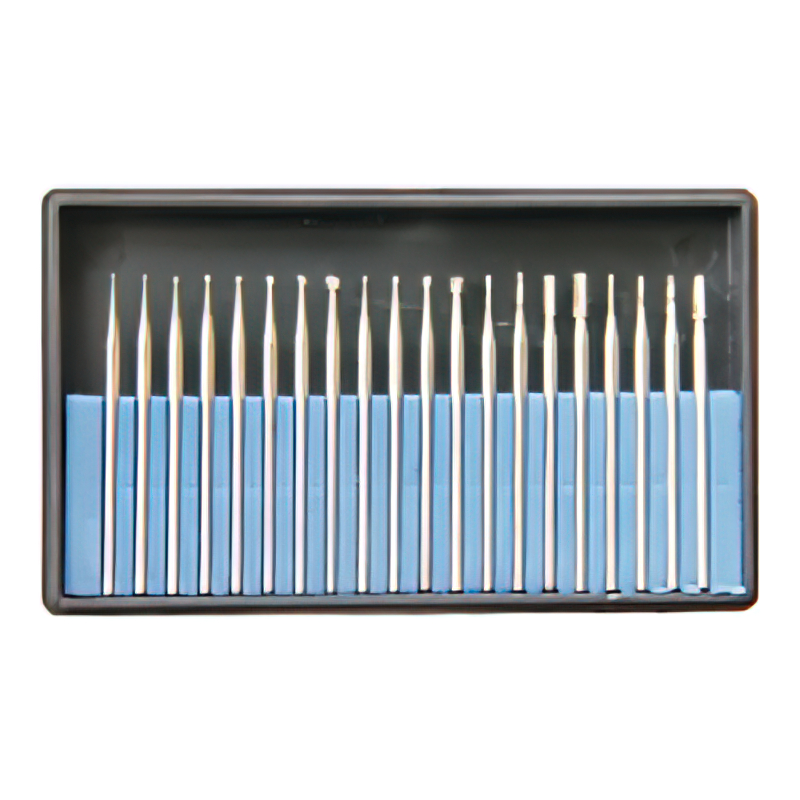
Diamond burs come in dozens of shapes, and each one produces a different line character when used for engraving. Selecting the right profile before you start saves time and avoids having to rework areas that do not match your intended design.
Pointed Cone and Needle Shapes
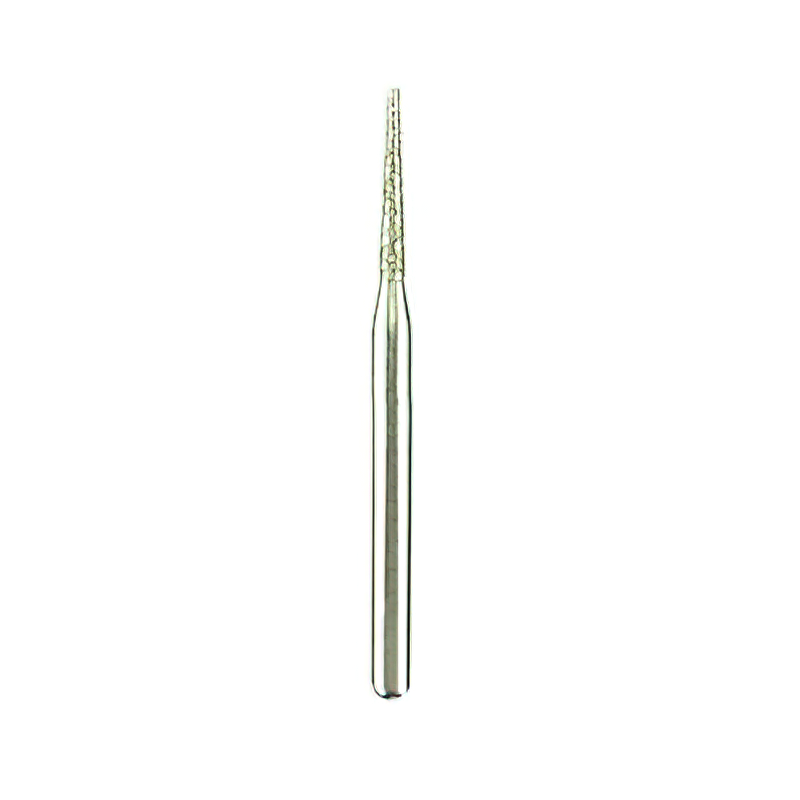
These are the most commonly used shapes for engraving. The sharp tip allows you to create fine lines, small text, and intricate patterns. A needle-shaped bur with a tapered tip is ideal for writing and outline work on flat or gently curved surfaces.
Ball and Round Shapes
Ball-shaped diamond burs create softer, rounded grooves. They work well for shading effects, stippling, and filling in larger areas of a design. A small ball bur can also be used to add texture inside outlined shapes, giving depth and visual interest to the engraving.
Flame and Torpedo Shapes
Flame-shaped burs combine a pointed tip with a wider midsection, making them useful for lines that transition from thin to thick. This shape is effective for decorative scrollwork, leaf patterns, and calligraphic lettering styles where line width variation is part of the aesthetic.
Cylinder and Wheel Shapes
Flat-ended cylinder burs produce consistent-width channels and are useful for geometric patterns, borders, and straight line work. Wheel-shaped burs cut narrow, deep grooves and work well for creating separation lines between design elements. Browse our full range of diamond dental burs to find the profiles suited to your project.
Tools and Materials You Will Need
Before starting your engraving project, gather these items to ensure a smooth workflow from design transfer to finished piece.
- Rotary tool (Dremel, Foredom, or similar) with variable speed control
- Diamond burs in two to three shapes appropriate for your design
- Carbon transfer paper for applying the design to the metal surface
- Standard pencil for tracing the design onto carbon paper
- Masking tape to secure the transfer paper during tracing
- Safety glasses to protect against metal particles
- Dust mask to prevent inhalation of fine metal dust
- Small container of water for cooling the bur during extended use
- Soft cloth for wiping the work surface between passes
- Optional: magnifying visor for fine detail work
Preparing the Stainless Steel Surface
Proper surface preparation directly affects the quality of your engraving. Stainless steel bottles often have protective coatings, painted finishes, or powder coat layers that must be addressed before engraving.
Start by cleaning the target area thoroughly with isopropyl alcohol to remove oils, fingerprints, and dust. If the bottle has a painted or powder-coated surface, you can engrave through the coating to reveal the bare metal underneath, which creates a natural color contrast without any additional finishing.
For bare stainless steel surfaces, lightly scuff the engraving area with fine sandpaper (400 grit or higher) to give the carbon paper transfer better adhesion. Wipe away all sanding residue before applying your design.
Transferring Your Design
Cut a piece of carbon transfer paper to fit the area you plan to engrave. Tape the carbon paper ink-side down onto the bottle surface, then place your printed or hand-drawn design on top. Secure everything with additional tape to prevent shifting during tracing.
Using a ballpoint pen or sharp pencil, trace every line of the design with firm, even pressure. Lift one corner periodically to verify that the carbon is transferring clearly. Once complete, remove the paper carefully and inspect the transferred lines. Touch up any faint areas with a fine-tip permanent marker.
Engraving Technique: Step by Step
With your design transferred and your rotary tool fitted with the appropriate diamond bur, you are ready to begin cutting. Follow these steps for consistent results.
Step 1: Set Your Speed
Start at a low to medium speed setting, typically between 10,000 and 15,000 RPM. Higher speeds generate more heat and can cause the bur to skip across the surface rather than cutting cleanly. You can increase speed slightly as you become comfortable with the material's response, but stainless steel generally responds best to moderate speeds with steady hand pressure.
Step 2: Outline First
Begin by tracing the outer lines of your design with a pointed or needle bur. Use light pressure and let the diamond coating do the cutting. Pressing too hard forces the bur sideways and creates wobbly lines. Short, controlled strokes produce cleaner results than long continuous passes, especially on curved surfaces.
Step 3: Add Detail and Depth
Once your outlines are established, switch to appropriate bur shapes for interior details. Use ball burs for shading, flame burs for decorative elements, and cylinder burs for geometric fill patterns. Build depth gradually by making multiple light passes rather than trying to cut deep in a single stroke.
Step 4: Cool the Bur Regularly
Diamond burs generate significant heat when cutting stainless steel. Dip the bur tip in water every 30 to 60 seconds of continuous cutting. This prevents heat buildup that can damage the diamond coating and shorten the bur's working life. It also reduces thermal discoloration of the metal around your engraving lines.
Step 5: Clean and Inspect
Periodically wipe the engraving area with a soft cloth to remove metal dust and inspect your progress. Fine metal particles can obscure line quality and make it difficult to judge depth consistency. Compare your work against the original design at regular intervals.
Using Tungsten Carbide Burs as an Alternative
While diamond burs excel at fine detail work, tungsten carbide burs offer an alternative for certain engraving tasks. Carbide burs have machined flutes rather than diamond grit coatings, which means they cut with a shearing action instead of grinding.
For bold lines, deep channels, and removing larger amounts of material, carbide burs are often faster than diamond equivalents. Many engravers use a combination approach: carbide burs for roughing out the design and heavy lines, followed by diamond burs for fine detail and finishing. Cross-cut carbide burs with their smaller flute pattern produce smoother cuts than single-cut versions for engraving applications.
Finishing and Protecting Your Engraving
After completing the engraving, clean the entire surface with isopropyl alcohol to remove all metal dust and debris. To enhance the visual contrast of your design, you can apply a thin layer of black enamel paint over the engraved area, then immediately wipe the flat surface clean with a cloth dampened with paint thinner. The paint remains in the engraved grooves while the raised surface wipes clean, creating a bold contrast effect.
For long-term protection, apply a clear coat spray rated for metal surfaces. Two light coats with adequate drying time between applications will seal the engraving against oxidation and wear without obscuring the detail of your work.
Common Mistakes and How to Avoid Them
- Running too fast: High RPM causes skipping and uneven lines. Start slow and increase only as needed.
- Pressing too hard: Let the diamond coating cut at its own pace. Heavy pressure distorts lines and wears burs prematurely.
- Skipping the cooling step: Heat damages both the bur and the metal surface. Keep water nearby and use it frequently.
- Using worn burs: A diamond bur that feels like it is sliding rather than cutting has lost its grit. Replace it for clean results.
- Neglecting eye protection: Stainless steel particles are sharp and can cause serious eye injury. Safety glasses are mandatory.
For more on getting the most from your rotary burs, read our article on new diamond bur technology and how recent manufacturing improvements affect performance and lifespan.
Final Thoughts on Diamond Bur Engraving
Diamond burs bring the same precision that makes them indispensable in dentistry to the world of metal engraving. Their variety of shapes, consistent cutting action, and long working life make them a reliable choice for both hobbyists producing their first engraved bottle and experienced artists executing detailed metalwork commissions. With the right bur selection, proper speed settings, and patience during the cutting process, stainless steel engraving is an accessible and rewarding skill to develop.