Cavity preparation is the foundation of every successful dental restoration. Whether treating a carious lesion or repairing a fractured tooth, the outcome depends on proper technique, the right instruments, and a well-planned preparation design. This guide walks through the tools, classifications, and step-by-step procedures that produce reliable, long-lasting results.
Why Proper Cavity Preparation Matters
A well-executed cavity preparation removes all decayed tissue while preserving as much healthy tooth structure as possible. The preparation must provide adequate retention and resistance form so the final restoration stays in place under the forces of occlusion. Poor technique or dull instruments can lead to microleakage, recurrent decay, and premature restoration failure.
Understanding the principles behind each step allows clinicians to adapt their approach for different cavity classifications, materials, and patient needs.
Essential Tools for Cavity Preparation
Selecting the correct instruments is the first step toward a predictable outcome. Cavity preparation requires a combination of rotary instruments, hand tools, and isolation materials.
High-Speed Handpiece Burs
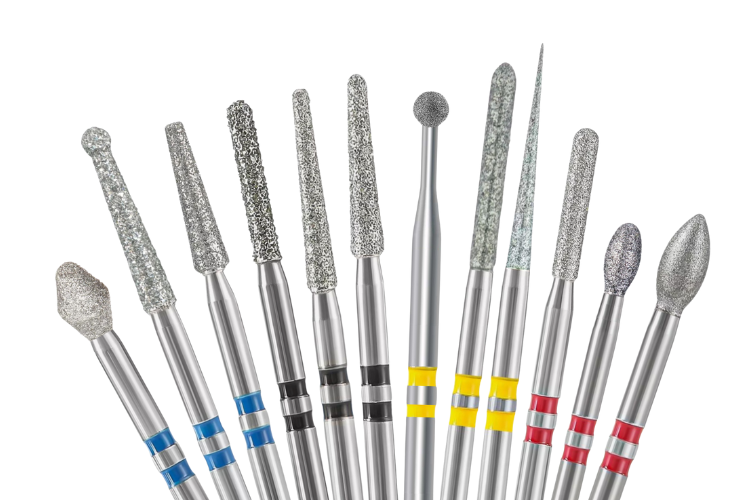
The high-speed handpiece operates at 300,000 to 450,000 RPM and is used for initial tooth reduction, outline form creation, and enamel removal. The most common burs for this stage include:
- Pear-shaped burs (330, 331): Ideal for creating the initial outline form in Class I and Class II preparations. The tapered shape produces a natural convergence toward the occlusal surface.
- Round burs (1/4, 1/2, 1): Used for initial caries penetration and gaining access to decayed dentin.
- Straight fissure burs (56, 57): Create flat floors and straight walls in larger preparations.
- Tapered fissure burs (169, 170): Produce divergent walls for cast restorations that require a path of insertion.
Both tungsten carbide burs and diamond dental burs are used at high speed. Carbide burs produce smoother cuts with less vibration, while diamond burs remove enamel efficiently and are preferred when preparing for ceramic or porcelain restorations.
Slow-Speed Handpiece Burs
The slow-speed handpiece (5,000 to 40,000 RPM) provides the control needed for caries excavation and preparation refinement:
- Large round burs (4, 6, 8): Remove softened, decayed dentin from the pulpal floor without risk of pulp exposure.
- Steel round burs: Offer tactile feedback that helps clinicians distinguish between healthy and carious dentin.
- Finishing burs: Smooth preparation walls and margins for better adaptation of the restorative material.
Hand Instruments
Hand instruments remain important for precise caries removal and preparation refinement:
- Spoon excavators: Scoop out softened dentin near the pulp without generating heat.
- Chisels and hatchets: Trim enamel margins and create sharp internal line angles.
- Gingival margin trimmers: Refine the gingival seat in Class II preparations.
Cavity Classification System
G.V. Black's classification system organizes cavity preparations by location and the tooth surfaces involved. Each class has specific preparation requirements:
| Class | Location | Common Burs | Key Considerations |
|---|---|---|---|
| Class I | Occlusal pits and fissures | 330 pear, round burs | Conservative depth (1.5-2 mm), follow fissure pattern |
| Class II | Proximal surfaces of premolars/molars | 245 pear, 169 tapered fissure | Requires matrix band, proximal box preparation |
| Class III | Proximal surfaces of anterior teeth | Round burs, 330 pear | Lingual approach preserves facial esthetics |
| Class IV | Proximal + incisal edge of anteriors | Round burs, tapered fissure | Beveled margins for composite bonding |
| Class V | Cervical third of any tooth | Round burs, 330 pear | Gingival retraction may be needed |
For a more detailed look at bur numbering and sizing, see our guide on ISO numbers for dental burs.
Step-by-Step Cavity Preparation Procedure
The following sequence applies to most cavity preparations, though each class may require slight modifications.
Step 1: Diagnosis and Treatment Planning
Before picking up a handpiece, the clinician must evaluate the extent of decay using radiographs and clinical examination. Determine the cavity classification, choose the appropriate restorative material, and plan the preparation design accordingly.
Step 2: Anesthesia and Isolation
Administer local anesthesia and place a rubber dam for moisture control. Proper isolation prevents saliva contamination, improves visibility, and is especially important when placing composite restorations that require a dry field for bonding.
Step 3: Establish the Outline Form
Using a high-speed handpiece with a pear-shaped bur (such as a 330 carbide bur), penetrate the enamel and establish the external boundaries of the preparation. The outline should include all carious or defective tooth structure while staying as conservative as possible. For a Class I preparation on a molar, follow the natural fissure pattern to a depth of approximately 1.5 to 2 mm.
Step 4: Obtain Resistance and Retention Form
Resistance form prevents the restoration from fracturing under occlusal forces. This is achieved by creating a flat pulpal floor perpendicular to the long axis of the tooth and rounding internal line angles to reduce stress concentration.
Retention form keeps the restoration in place. For amalgam restorations, the pear-shaped bur naturally creates a slight convergence toward the occlusal opening, producing a mechanical undercut. For composite restorations, retention relies primarily on adhesive bonding rather than mechanical features.
Step 5: Remove Remaining Carious Dentin
Switch to a slow-speed handpiece with a large round bur or use a spoon excavator to remove any remaining decayed dentin. Work carefully near the pulpal floor to avoid exposing the pulp. Caries indicator dye can help distinguish between infected dentin (which must be removed) and affected dentin (which can be preserved).
Step 6: Finish the Preparation Walls and Margins
Use finishing burs or hand instruments to smooth the preparation walls, refine the cavosurface margins, and remove any unsupported enamel. For composite restorations, place a bevel on the enamel margins to increase the bonding surface area and improve the esthetic blend between tooth and restoration.
Step 7: Clean and Inspect
Rinse the preparation thoroughly and dry with gentle air. Inspect all walls, margins, and the pulpal floor under magnification if available. Confirm that no caries remains and that the preparation meets the requirements for the chosen restorative material.
Special Considerations for Two-Surface Preparations
When a carious occlusal lesion extends to the proximal surface of a molar, the preparation requires a proximal box in addition to the occlusal portion. This Class II preparation involves several additional considerations:
- Proximal box: Extend the preparation through the marginal ridge using a fissure bur, creating a box form with a defined gingival seat.
- Retention grooves: Place small grooves in the dentin at the axiobuccal and axiolingual line angles to prevent horizontal displacement of the restoration.
- Gingival margin: The gingival seat should be flat and smooth. If the margin is close to or below the gumline, consider beveling the gingival cavosurface to improve marginal adaptation.
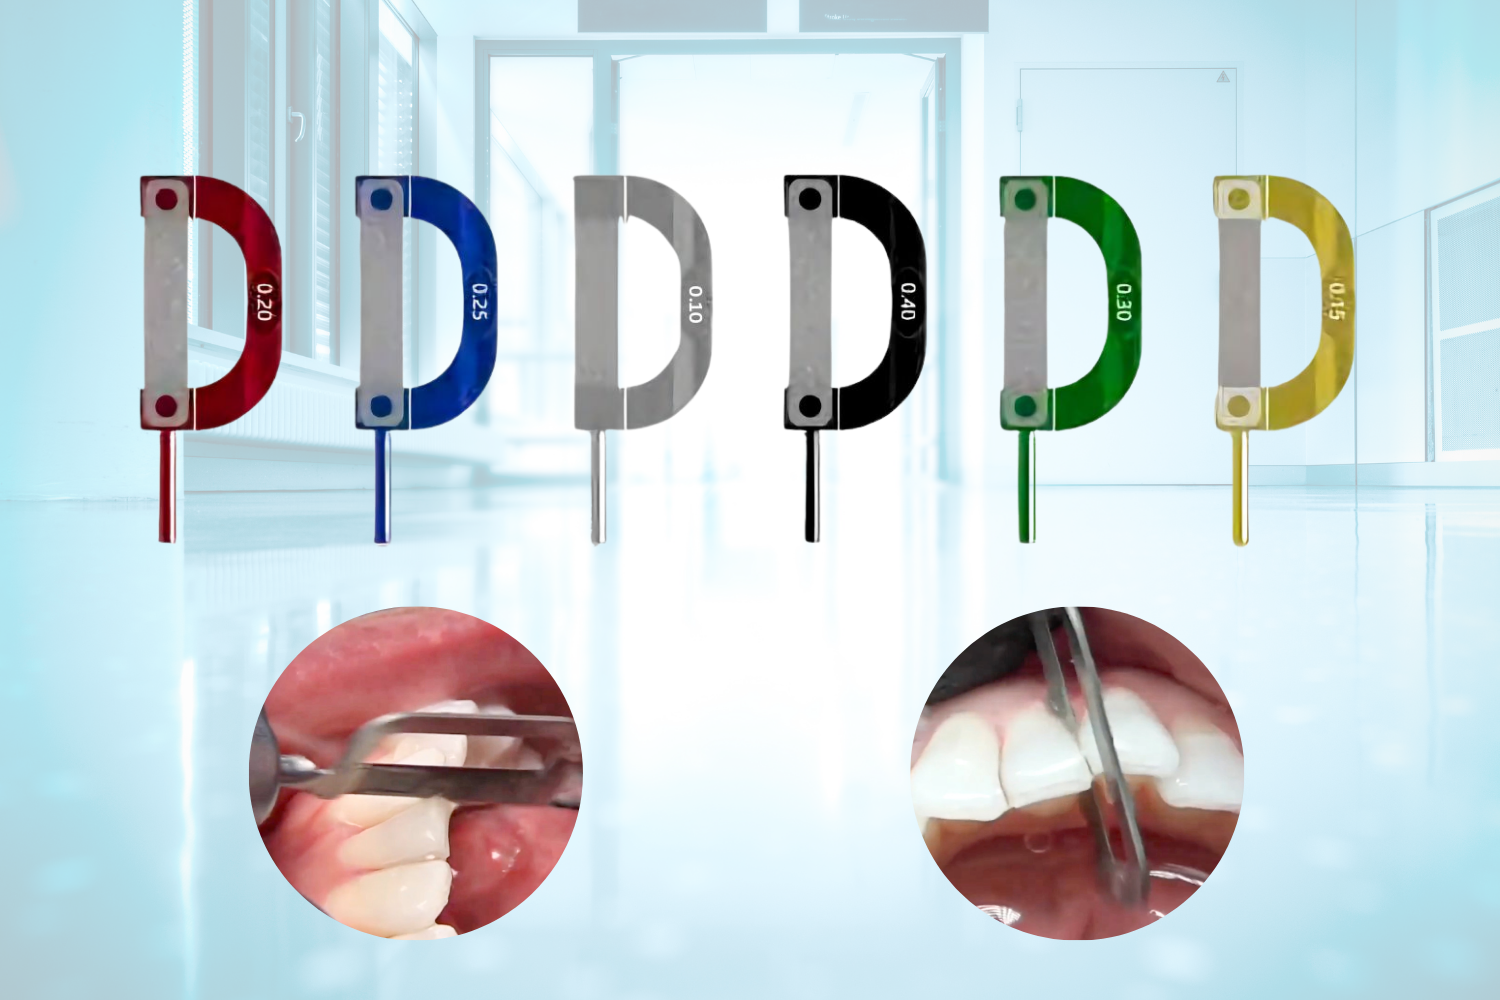
- Matrix placement: A properly contoured matrix band and wedge are needed to restore the proximal contact and contour.
Bur Selection Tips for Better Preparations
The quality of your burs directly affects preparation quality. Keep these guidelines in mind:
- Always use sharp, new burs. Worn burs generate excess heat, vibrate more, and produce rough preparation surfaces.
- Match the bur size to the preparation size. Using a bur that is too large wastes healthy tooth structure.
- Use carbide burs for precise cutting and finishing. Use diamond burs when bulk enamel removal or roughened surfaces are needed.
- Replace burs frequently during long procedures or when treating multiple teeth.
- Store burs properly in organized bur blocks to prevent damage to the cutting surfaces.
For more guidance on selecting between diamond and carbide instruments, read our comparison of diamond burs vs carbide burs.
Common Mistakes to Avoid
Even experienced clinicians can fall into habits that compromise preparation quality:
- Over-preparation: Removing more tooth structure than necessary weakens the remaining tooth and increases the risk of pulp exposure.
- Under-preparation: Failing to remove all decay leads to recurrent caries beneath the restoration.
- Poor moisture control: Contamination during bonding procedures causes adhesive failure and microleakage.
- Using dull burs: This generates excessive heat that can damage the pulp and produces rough surfaces that compromise the marginal seal.
- Ignoring unsupported enamel: Thin enamel without underlying dentin support will fracture, creating gaps at the restoration margin.
Final Thoughts
Successful cavity preparation depends on understanding the principles behind each step and selecting the right tools for the job. Sharp burs, proper isolation, and careful technique produce preparations that support long-lasting restorations. Whether working on a straightforward Class I occlusal filling or a more involved multi-surface preparation, following a systematic approach consistently leads to better clinical outcomes for both the practitioner and the patient.