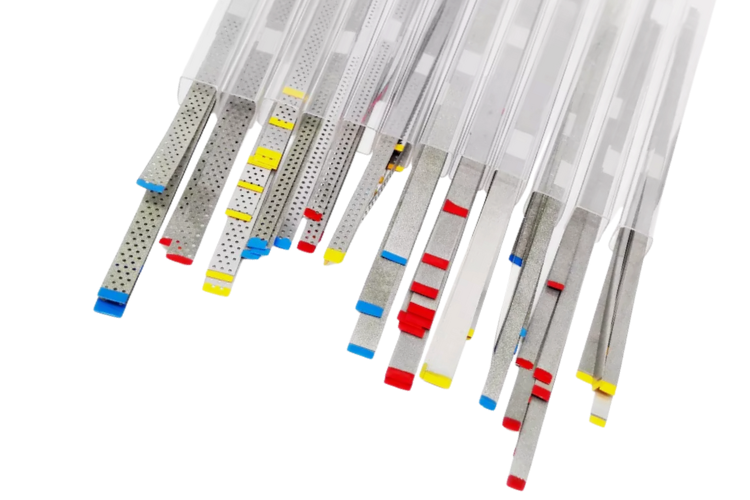
Diamond finishing strips are thin, flexible abrasive strips coated with diamond particles on one or both sides. They are used primarily for interproximal reduction (IPR), contouring proximal surfaces, and polishing restorations in tight contact areas where rotary instruments cannot reach. This article explains how diamond finishing strips work, when to use each grit level, and how to get consistent clinical results with every patient.
What Are Diamond Finishing Strips?
Each strip consists of a flexible metal or polyester backing coated with a layer of diamond abrasive. The diamond particles are graded by size and bonded to the strip surface through electroplating or resin bonding. Most strips include a smooth, uncoated center section that allows the clinician to slide the strip through the contact point without removing enamel prematurely.
Diamond finishing strips are available in widths from 2 mm to 4 mm and lengths typically between 150 mm and 170 mm. Some systems use a color-coded handle or packaging to indicate grit level, making chairside selection quick and intuitive. The flexibility of the strip allows it to conform to the natural curvature of the proximal surface, which is an advantage over rigid disc-based instruments that work best on flat or convex surfaces.
Common Grit Levels and Their Applications
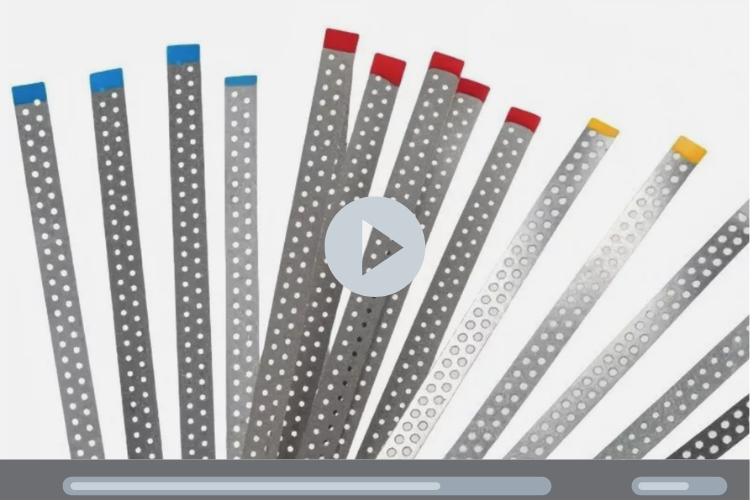
Selecting the correct grit is the first step toward achieving the intended result without over-reducing enamel. The following table summarizes standard grit categories used across most manufacturer systems.
| Color Code | Grit | Particle Size (μm) | Primary Use |
|---|---|---|---|
| Black | Extra-Coarse | 90–120 | Rapid enamel reduction for significant crowding |
| Green | Coarse | 60–80 | Moderate IPR and gross contouring |
| Blue | Medium | 40–60 | Standard IPR and surface smoothing |
| Red | Fine | 20–40 | Light reduction and pre-polishing |
| Yellow | Ultra-Fine | 8–15 | Final polishing and gloss finishing |
Always start with the coarsest grit needed for the case and work down to finer grits. Finishing with an ultra-fine strip leaves a smooth, plaque-resistant enamel surface that reduces the risk of post-treatment sensitivity. Skipping the final polishing step is a common mistake that leaves micro-scratches on the enamel, which can trap bacteria and lead to demineralization over time.
Interproximal Reduction (IPR): When and Why
IPR is a controlled technique for removing small amounts of enamel from the mesial or distal surfaces of teeth. It is most commonly performed during orthodontic treatment to resolve mild to moderate crowding without extracting teeth. IPR is also used to reshape black triangles, correct Bolton discrepancies, and create space for aligner tracking.
How Much Enamel Can Be Removed?
Most clinicians follow the guideline of removing no more than 0.2–0.5 mm of enamel per proximal surface. The total amount depends on the tooth, the patient's enamel thickness (visible on periapical radiographs), and the treatment plan. Diamond finishing strips are well suited for this range because their controlled abrasion removes material gradually, reducing the chance of accidental over-reduction. Lower incisors, which have the thinnest enamel, require the most caution — typically no more than 0.2 mm per surface.
Upper premolars and molars, by contrast, have thicker enamel and can tolerate slightly more reduction when the treatment plan calls for it. Always verify the planned amounts against radiographic measurements before beginning the procedure.
For more information on IPR instruments and workflows, see our detailed guide on IPR kits, dental strips, and discs.
Step-by-Step IPR Technique with Diamond Strips
- Measure the required reduction. Use a thickness gauge or digital caliper to determine the exact amount of enamel to remove per surface. Record the planned reduction for each interproximal site in the patient chart.
- Protect adjacent soft tissue. Place a thin metal matrix band or wedge between the teeth to shield the gingiva from the abrasive surface of the strip. This step is especially important in the lower anterior region where the interdental papilla is narrow and easily traumatized.
- Insert the strip through the contact. Slide the uncoated center section through the contact point. Avoid forcing the strip, which can damage the papilla or chip enamel at the contact ridge. If the contact is too tight for the strip to pass, use a gentle rocking motion rather than brute force.
- Begin reduction with the appropriate grit. Pull the strip in a sawing motion, applying gentle pressure. Let the diamond particles do the cutting. Keep the strip parallel to the long axis of the tooth to produce an even, flat surface. Angling the strip creates an uneven reduction that can leave a ledge on the proximal surface.
- Measure frequently. After every 5–10 strokes, remove the strip and check the gap with a gauge. It is easier to remove more enamel than to replace it. Frequent measurement also helps you maintain symmetry between mesial and distal surfaces.
- Step down through grits. Once the target reduction is reached, switch to finer grits to polish the enamel surface. This step is important for preventing plaque retention and sensitivity at the reduced site.
- Apply fluoride varnish. After polishing, apply a fluoride varnish to the treated surfaces to promote remineralization and reduce post-operative sensitivity. Some practitioners also recommend a remineralizing paste containing casein phosphopeptide for additional protection.
Clinical Uses Beyond Orthodontic IPR
Proximal Restoration Finishing
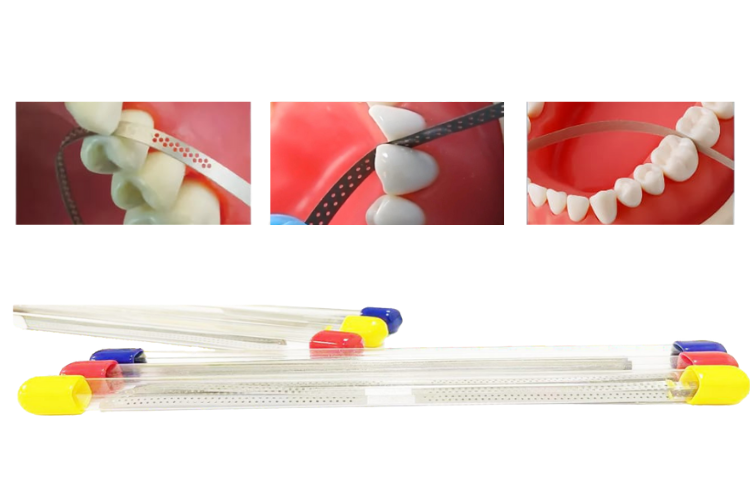
After placing a Class II or Class III composite restoration, diamond finishing strips smooth the proximal surface and remove flash without opening the contact. This produces a tighter, more anatomically correct contact point than disc-based finishing alone. The strip conforms to the concavity of the proximal surface, reaching areas that a flat disc would skip over entirely.
Veneer and Crown Margin Refinement
When an indirect restoration has a slightly overcontoured proximal margin, a fine-grit diamond strip can blend the margin into the tooth structure without disturbing the occlusal surface. This is particularly useful for anterior veneers where aesthetics demand an invisible margin line. A few passes with a fine strip followed by an ultra-fine strip can eliminate the visible ledge that would otherwise collect plaque and stain.
Ceramic and Composite Polishing
Diamond strips in fine and ultra-fine grits polish ceramic and composite proximal surfaces to a high gloss. A smooth interproximal surface reduces plaque accumulation and lowers the risk of secondary caries at the restoration margin. For broader polishing techniques using rotary instruments, see our article on dental polishing discs and brushes.
Debonding Cleanup
After removing orthodontic brackets, residual adhesive often remains on the proximal surfaces near the bracket base. A medium-grit diamond strip can remove this adhesive without scratching the enamel, provided you follow up with fine and ultra-fine strips to restore the surface smoothness.
Tips for Better Results
- Do not use excessive force. Heavy pressure bends the strip and creates an uneven surface. A light, consistent sawing motion produces the best outcome.
- Replace worn strips. Diamond particles wear down with use. A dull strip requires more pressure and generates more heat, increasing the risk of enamel damage and patient discomfort.
- Use single-sided strips near restorations. When only one proximal surface needs treatment, a single-sided strip protects the adjacent tooth or restoration from unintended abrasion.
- Store strips flat. Bending or coiling diamond strips can crack the abrasive coating and create uneven cutting zones.
- Match the strip width to the tooth. Narrower strips (2 mm) work well for anterior teeth, while wider strips (3–4 mm) cover more surface area on premolars and molars.
- Irrigate when possible. Rinsing with water or having the patient sip water between passes flushes away enamel debris and reduces heat at the contact point.

Diamond Strips vs. Diamond Discs
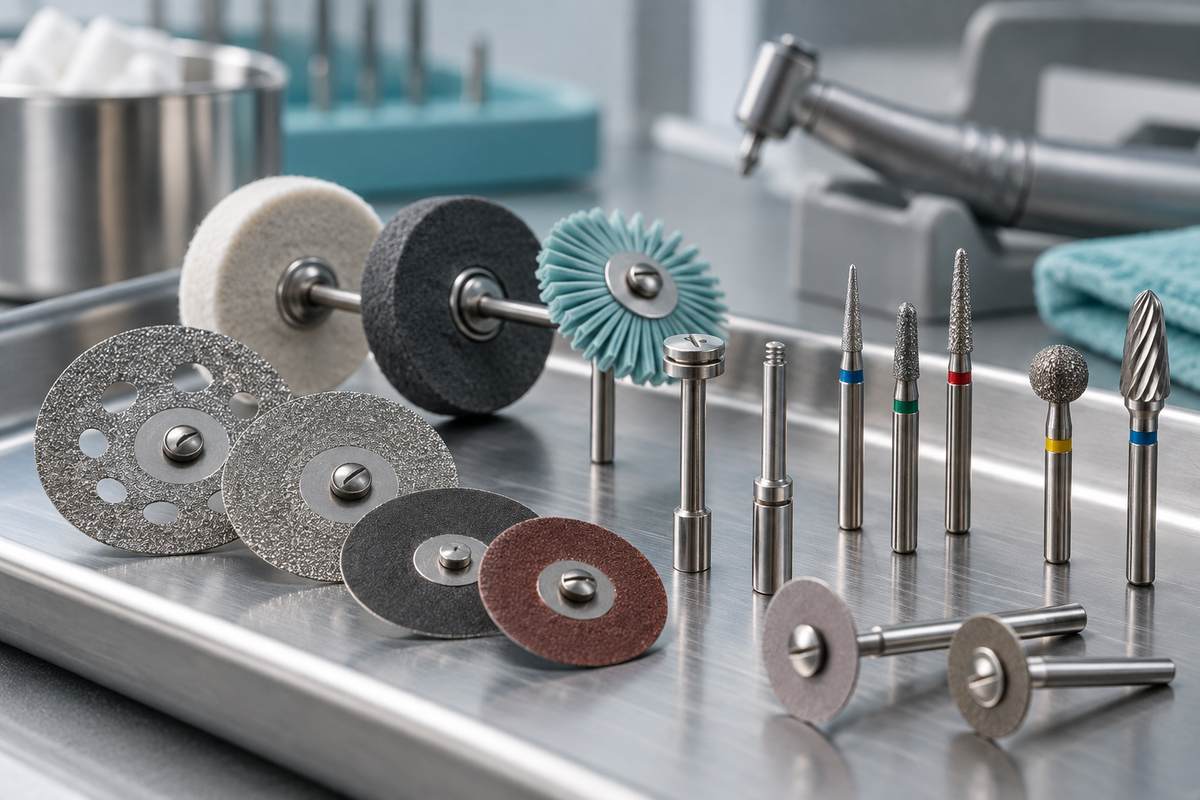
Diamond strips and diamond discs both remove interproximal enamel, but they serve different situations. Strips are flexible and can navigate curved proximal surfaces, making them ideal for anterior teeth and tight contacts. Discs mount on a mandrel and spin at high speed, removing material faster but with less control in confined spaces. Many clinicians use discs for initial reduction and follow up with strips for finishing and polishing.
The choice between strips and discs often depends on access. In the posterior region, where mouth opening and cheek retraction limit visibility, strips may be easier to maneuver than a disc on a handpiece. In the anterior region with good access, either instrument works well, but strips give finer control for the final polishing passes.
Infection Control and Strip Reuse
Most diamond finishing strips are designed for single use and should be discarded after each patient. Metal-backed strips that are labeled as reusable must be cleaned, inspected for diamond loss, and sterilized in an autoclave before reuse. Always follow the manufacturer's instructions for sterilization temperature and cycle time. Reusing a strip that has lost significant diamond coating is both ineffective and a potential source of cross-contamination if debris from a previous patient remains embedded in the worn surface.
Summary
Diamond finishing strips are a precise, controlled tool for interproximal enamel reduction, restoration finishing, and surface polishing. By selecting the correct grit, using proper technique, and finishing with fine abrasives and fluoride, clinicians can achieve predictable results with minimal patient discomfort. Whether used in orthodontic IPR or restorative finishing, these strips belong in every operatory drawer and should be part of every clinician's standard instrument kit.