
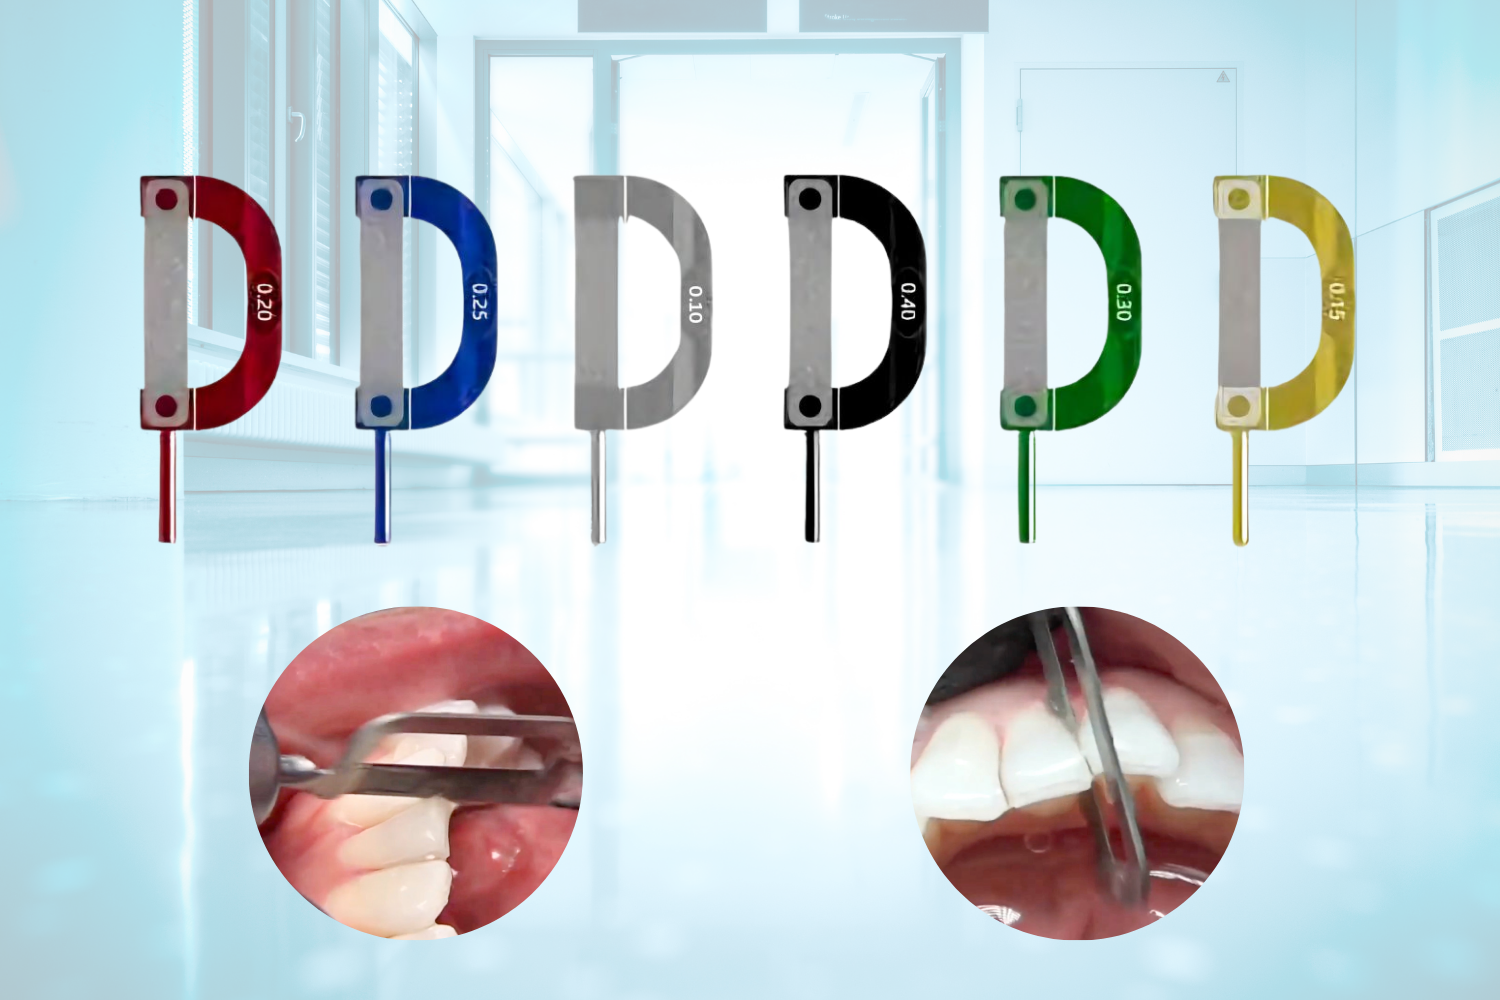
Interproximal reduction (IPR) is a routine orthodontic procedure that involves removing small amounts of enamel between teeth to create space for alignment. Diamond ortho strips are the instrument of choice for this task, offering predictable enamel removal with minimal patient discomfort. This guide covers how diamond ortho strips work, how to select the right grit, and how to use them effectively in clinical practice.
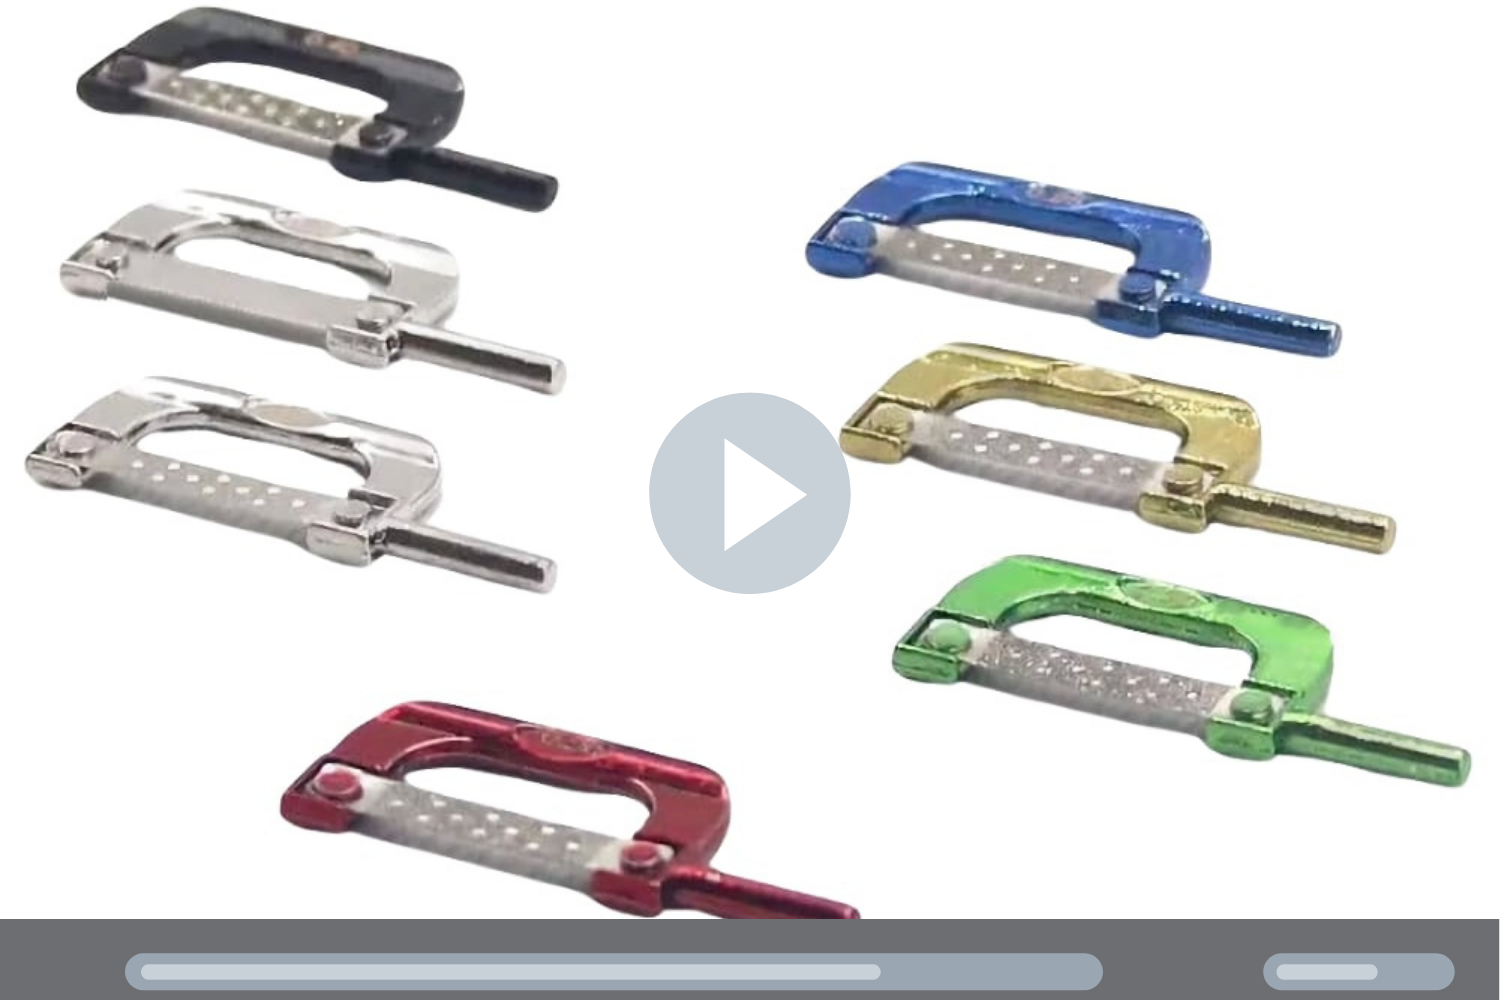
What Are Diamond Ortho Strips?
Diamond ortho strips are thin, flexible metal strips coated with diamond particles on one or both sides. They are inserted into the interproximal contact area and moved in a back-and-forth sawing motion to reduce enamel thickness. Unlike disc-based IPR systems, strips conform to the natural contour of the tooth, allowing controlled material removal in tight contact areas.
The diamond coating is bonded to a stainless steel substrate, giving each strip enough rigidity to pass through contacts while remaining flexible enough to follow tooth anatomy. Strips are available in single-sided and double-sided configurations, with single-sided versions preferred when the operator needs to protect one adjacent tooth surface.
How Diamond Coating Affects Performance
The grit size of the diamond particles directly determines how much enamel is removed per stroke. Coarser grits cut faster but leave a rougher surface, while finer grits remove less material and produce a smoother finish. Most professional IPR strip systems use a graded sequence that moves from coarse to fine, allowing the clinician to reduce enamel efficiently and then polish the surface in a single appointment.
High-quality diamond coatings feature uniform particle distribution across the strip surface. This consistency matters because uneven grit creates hot spots that can remove too much enamel in one area while leaving adjacent areas untouched. When evaluating diamond dental instruments, look for manufacturers that specify their particle size range and bonding method.
Color-Coded Grit System Explained
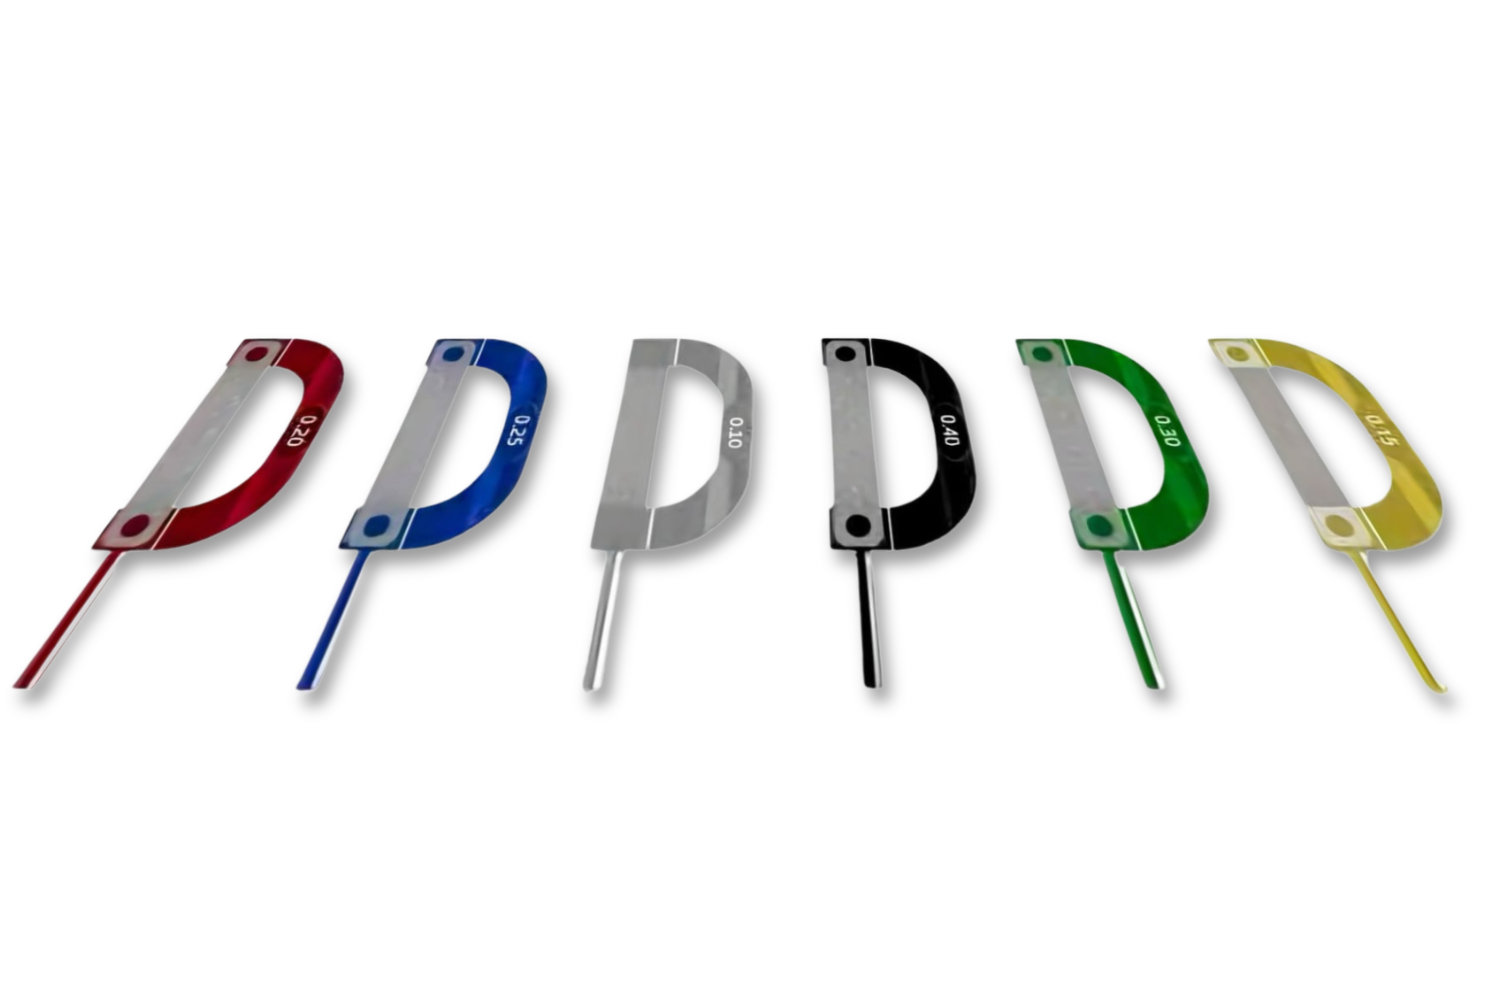
Professional diamond ortho strip sets use a color-coded system to identify grit levels at a glance. This reduces selection errors during procedures and speeds up workflow. The table below outlines a typical color-coded IPR strip system:
| Model | Thickness | Purpose | Grit Level |
|---|---|---|---|
| OS40 | 0.40 mm | Initial separation | Coarse |
| OS30 | 0.30 mm | Enamel reduction | Medium-coarse |
| OS25 | 0.25 mm | Contouring | Medium |
| OS20 | 0.20 mm | Surface smoothing | Medium-fine |
| OS15 | 0.15 mm | Pre-polishing | Fine |
| OS10 | 0.10 mm | Final polishing | Superfine |
| OS05 | 0.05 mm | Fine adjustment (serrated, no diamond) | N/A |
The color coding eliminates the need to read small text on packaging during a procedure. Clinicians can organize strips in a tray by color and pick the next one in sequence without interrupting their workflow.
Step-by-Step IPR Procedure with Diamond Strips
Performing IPR with diamond ortho strips follows a systematic sequence from coarse reduction to fine polishing. Here is the recommended protocol:
- Measure the contact area. Use a thickness gauge or IPR measurement tool to determine how much enamel needs to be removed. Most aligner treatment plans specify IPR amounts between 0.1 mm and 0.5 mm per contact.
- Insert the coarsest appropriate strip. For contacts requiring 0.3 mm or more of reduction, start with the OS40 strip. For smaller reductions, begin with the OS30 or OS25.
- Use a controlled sawing motion. Apply light pressure and move the strip in short, horizontal strokes. Let the diamond particles do the work rather than forcing the strip through the contact.
- Check progress frequently. Remove the strip and measure the gap every few strokes. Over-reduction cannot be reversed, so incremental checking is important.
- Step down through grits. Once the target reduction is reached, progress through the finer strips (OS20, OS15, OS10) to smooth and polish the enamel surface.
- Apply fluoride. After polishing, apply topical fluoride to the reduced surfaces to support remineralization and reduce sensitivity.
For more detail on the IPR workflow, including when IPR is indicated and contraindicated, see our guide on the IPR process in dentistry.
Choosing the Right Strip Thickness
Selecting the correct starting strip depends on the amount of enamel to be removed and the tightness of the existing contact. Here are practical guidelines:
- Tight contacts (new patients): Start with the thinnest strip that can pass through the contact. Forcing a thick strip through a tight contact can cause patient discomfort and strip breakage.
- Moderate contacts: The OS30 is a good starting point for most routine IPR cases where 0.2 to 0.3 mm of reduction is needed.
- Previously treated contacts: If IPR was started at a prior visit, thinner finishing strips (OS15 or OS10) may be all that is needed.
- Anterior vs. posterior teeth: Anterior teeth generally have thinner enamel, so finer grits and lighter pressure are appropriate. Posterior teeth tolerate more aggressive reduction.
Maintenance and Longevity
Diamond ortho strips are typically single-use items, but proper handling during the procedure extends their effective life within that single session. Keep these points in mind:
- Avoid lateral bending. Flexing the strip sideways can crack the diamond coating and cause particle shedding.
- Rinse during use. Water spray or periodic rinsing removes enamel debris from the diamond surface and maintains cutting efficiency.
- Inspect before each use. Check the strip for coating loss or deformation before inserting it between teeth.
- Store flat. Bending strips during storage can damage the diamond coating before use.
These same principles apply to other diamond-coated instruments. If you also use diamond burs in your laboratory, proper handling and cleaning will similarly extend tool life. Our article on cleaning diamond burs covers maintenance best practices in more detail.
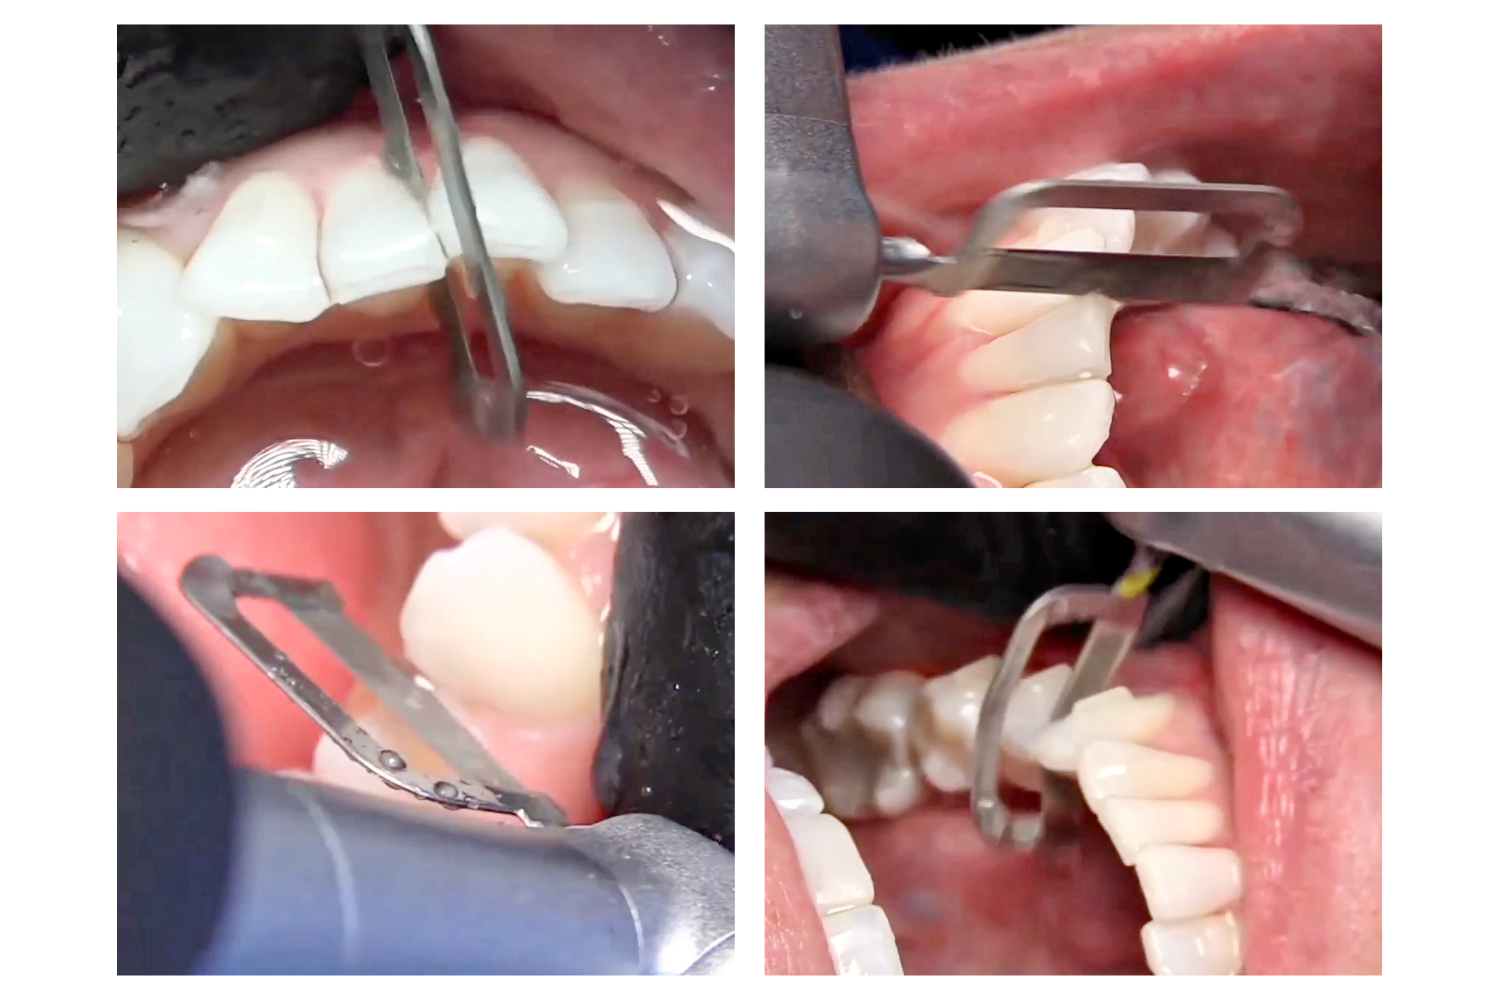
Clinical Tips for Better IPR Results
Experienced orthodontists have developed practical techniques to improve IPR outcomes with diamond strips:
- Work in pairs. Reduce both mesial and distal contacts of a tooth in the same visit when possible. This distributes the enamel loss evenly and avoids asymmetric tooth shapes.
- Use magnification. Loupes or a microscope help you see the contact area clearly and avoid over-reduction on one surface.
- Communicate with the patient. Explain that IPR removes only a fraction of a millimeter of enamel and does not increase cavity risk when followed by fluoride application.
- Document reductions. Record the amount removed at each contact in the patient chart. This is especially important for staged IPR across multiple visits.

When to Use Strips vs. Discs for IPR
Diamond strips are not the only option for IPR. Rotating diamond discs mounted on a handpiece can also reduce interproximal enamel. Each method has its strengths:
- Strips offer better tactile control, work well in tight posterior contacts, and produce less heat. They are preferred for conservative reductions under 0.3 mm.
- Discs remove material faster and are useful for larger reductions (0.4 mm or more) in anterior teeth where access is straightforward.
- Combination approach: Some clinicians use a disc for initial bulk reduction, then finish with strips for polishing and final shaping.
The choice between strips and discs also depends on available equipment. Strips require no handpiece and can be used manually, making them accessible in any clinical setting. Discs require a slow-speed handpiece with a compatible mandrel, adding equipment cost but reducing the physical effort needed from the operator during longer IPR sessions.
Summary
Diamond ortho strips provide orthodontists with a reliable, controlled method for interproximal enamel reduction. The color-coded grit system simplifies strip selection, and the graded sequence from coarse to fine ensures both efficient reduction and a polished final surface. By following a systematic protocol and using proper technique, clinicians can achieve accurate IPR results while maintaining patient comfort throughout the procedure.