Diamond burs represent a significant recurring expense for any dental practice. Each bur contains precisely graded industrial diamond particles bonded to a metal shank, and that cutting surface begins to degrade the moment it contacts tooth structure. The good news is that a disciplined approach to cleaning, usage, and storage can dramatically extend the working life of every diamond bur in your inventory. The tips below are drawn from manufacturer guidelines and the habits of practitioners who consistently get the most out of their instruments.
Why Diamond Burs Lose Their Edge
Before exploring preservation strategies, it helps to understand what causes diamond burs to dull. During cutting, three processes work against the diamond surface simultaneously:
- Particle fracture – Individual diamond crystals chip or shatter under load, reducing the number of active cutting points.
- Particle pull-out – The metal bond matrix that holds diamond particles in place erodes from heat and mechanical stress, allowing intact crystals to fall away.
- Debris loading – Tooth structure, composite, ceramic dust, and biological material pack into the spaces between diamond particles, effectively burying the cutting surface and reducing efficiency.
Of these three, debris loading is the most preventable. A bur that appears dull may simply be clogged, and proper cleaning can restore much of its original cutting ability.
Tip 1: Clean After Every Patient
Rinsing burs under running water immediately after use removes gross debris before it hardens and bonds to the diamond surface. Follow the rinse with gentle scrubbing using a soft brass-bristle brush or a dedicated bur-cleaning brush. Work along the length of the bur head, not across it, to avoid bending or loosening diamond particles.
For stubborn residue, an ultrasonic cleaner with an enzymatic cleaning solution is highly effective. Place burs in a perforated basket or bur holder to prevent them from rattling against each other during the ultrasonic cycle. Five to ten minutes in an ultrasonic bath dislodges material that manual brushing alone cannot reach. For a detailed protocol, see our guide on cleaning and storing diamond dental burs.
Tip 2: Use the Right Bur for the Right Task
Every diamond bur is designed for a specific range of materials and procedures. Using a fine-grit finishing bur for bulk enamel removal forces it to work beyond its intended capacity, generating excessive heat and stripping diamond particles prematurely. Conversely, using a coarse bur where a fine one is needed wastes cutting potential and produces an unnecessarily rough surface.
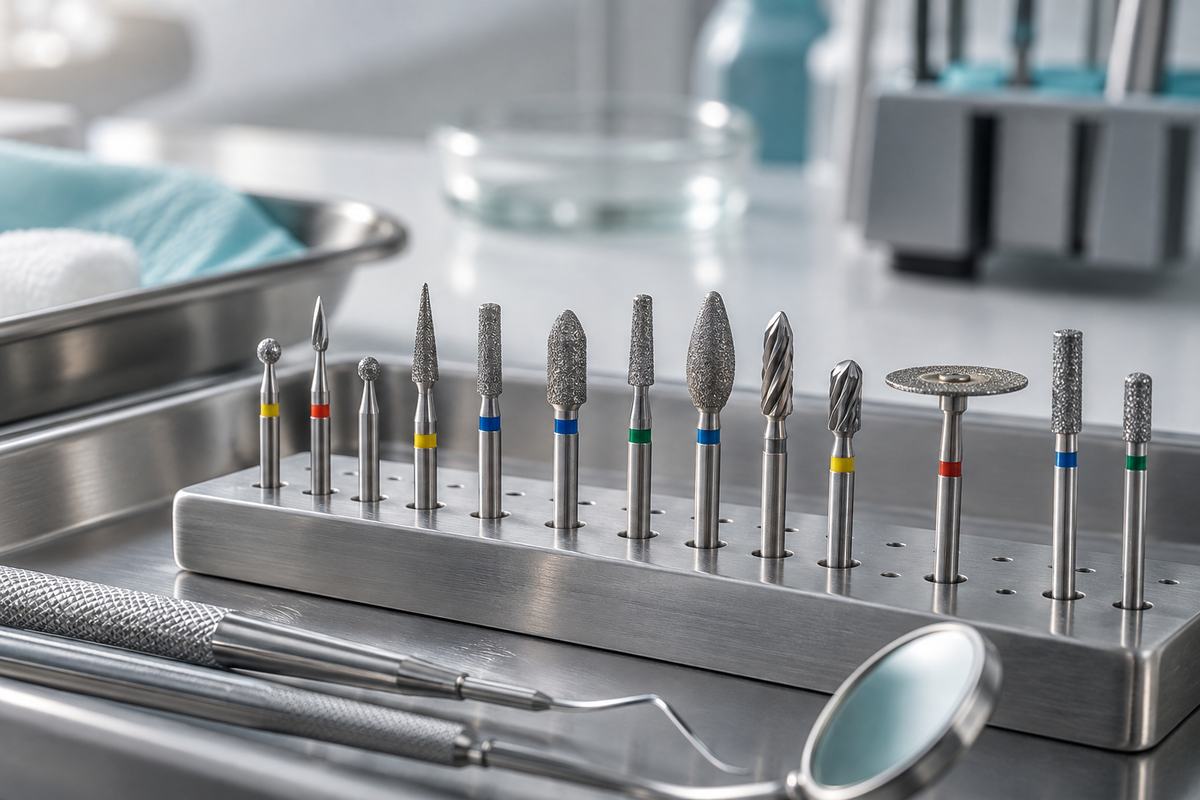
Match the bur to the task: coarse grit for initial preparation and bulk reduction, medium grit for refining cavity walls and margins, and fine or extra-fine grit for finishing and polishing. Following this progression not only preserves each bur but also produces better clinical results. If you are unsure which grit to use, our diamond burs for beginners guide covers selection in detail.
Tip 3: Control Speed and Pressure
Excessive handpiece speed and heavy contact pressure are the two fastest ways to destroy a diamond bur. High RPM without adequate water coolant generates friction heat that degrades the bonding matrix and can cause thermal damage to the tooth. Heavy pressure, meanwhile, overloads individual diamond particles and accelerates both fracture and pull-out.
Follow the manufacturer's recommended RPM range, use a light touch, and let the diamond coating do the cutting. A well-maintained bur at the correct speed removes material efficiently with minimal effort. If you find yourself pressing harder to achieve the same cut, the bur is likely worn or clogged and should be cleaned or replaced rather than forced.
Tip 4: Always Use Water Coolant
Water spray serves two critical functions during diamond bur use. First, it cools the cutting interface, protecting the pulp from thermal injury and preventing the bonding matrix from heat degradation. Second, the water stream flushes away cutting debris in real time, keeping the diamond surface clean and exposed throughout the procedure.
Dry cutting should be avoided whenever possible. Even brief periods without coolant can spike interface temperatures above the threshold that damages both tooth structure and the bur itself. Make sure your handpiece water lines are clear and delivering adequate flow before starting any preparation.
Tip 5: Store Burs Individually
Tossing used burs into a shared tray or drawer allows them to contact each other and other metal instruments. Diamond-on-diamond contact chips cutting particles, while contact with steel instruments can scratch and gouge the bonding surface. Both forms of damage reduce cutting efficiency before the bur ever reaches another patient.
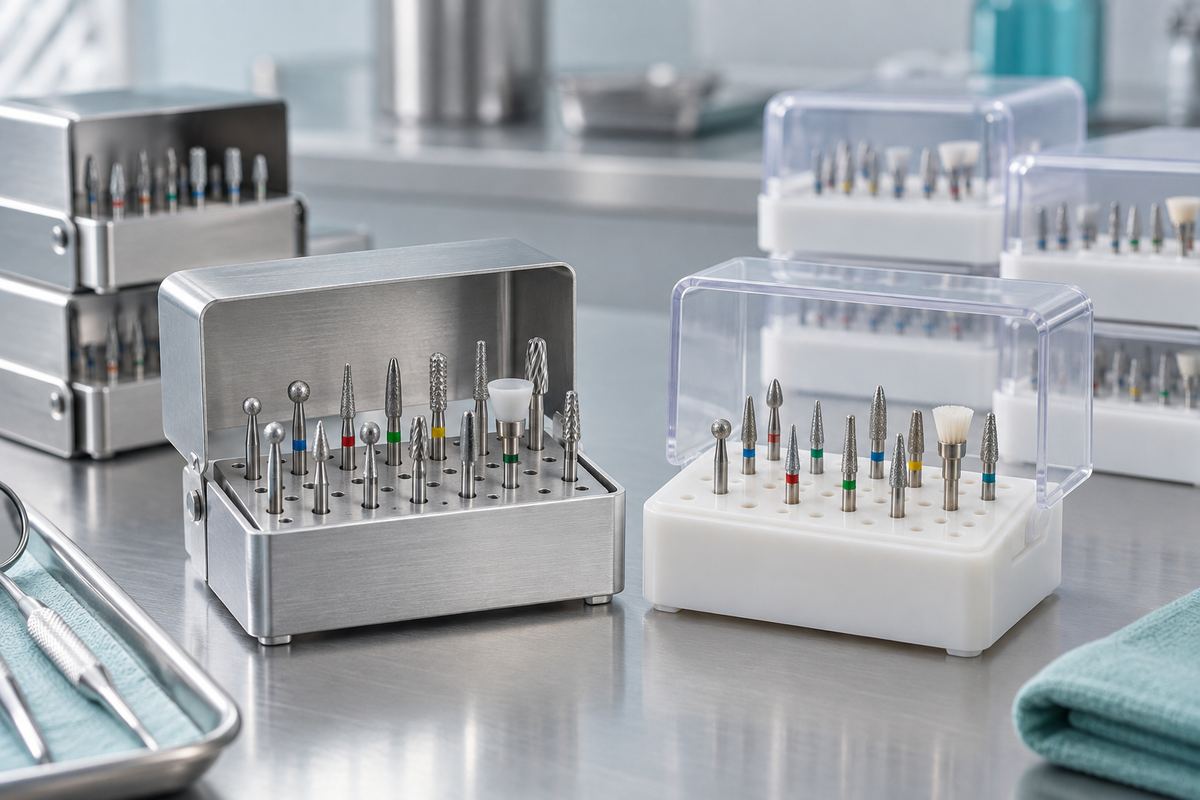
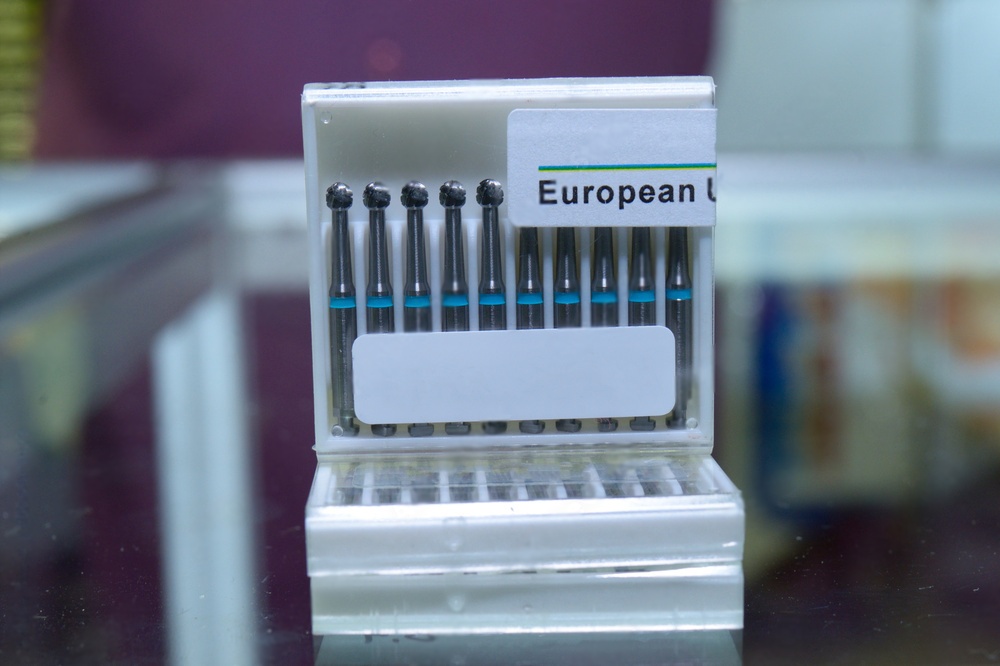
Invest in a dedicated bur block or autoclavable bur organizer that holds each instrument in its own slot. This protects the cutting surfaces, keeps your inventory organized by grit and shape, and makes it easy to spot burs that need replacement. For practices with large bur inventories, color-coded blocks by grit or procedure type streamline clinical workflow considerably.
Tip 6: Sterilize Properly
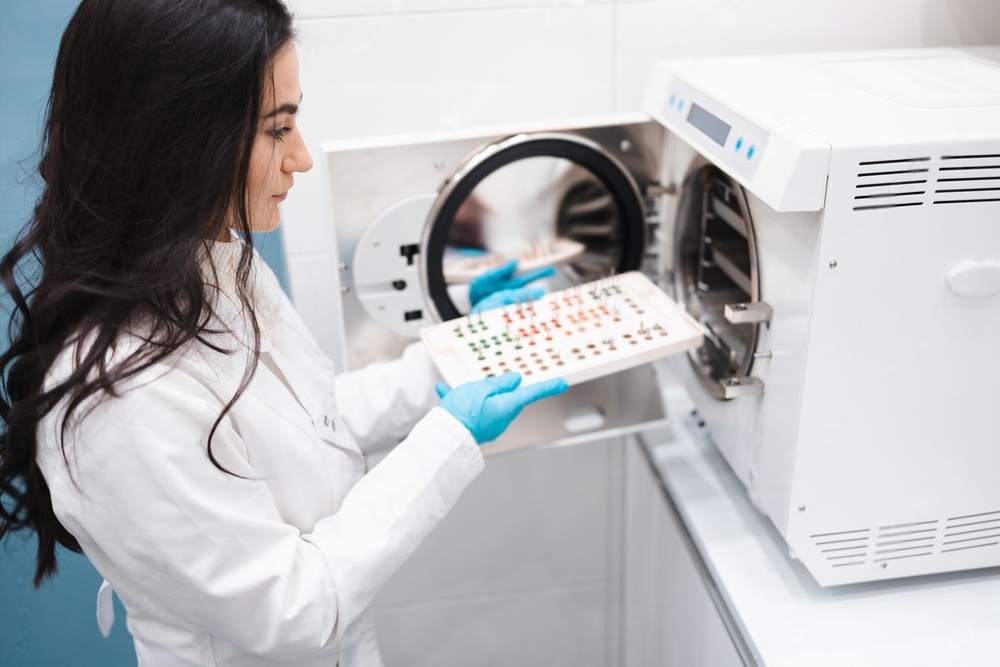
Diamond burs must be sterilized between patients, and the sterilization method matters for longevity. Standard steam autoclaving at 134 degrees Celsius is safe for most diamond burs and does not harm the bonding matrix when cycle times are kept within recommended limits. Chemical sterilization solutions, however, can corrode certain bond metals over time if burs are left soaking beyond the recommended duration.
Always clean burs thoroughly before autoclaving. Residue that is baked onto the diamond surface during sterilization becomes much harder to remove afterward and accelerates the clogging cycle. A clean-then-sterilize protocol is standard in infection control guidelines and also happens to be the best practice for bur longevity.
Tip 7: Inspect and Retire Worn Burs
No maintenance regimen can make a diamond bur last forever. Regularly inspect your burs under magnification for signs of wear: visible loss of diamond particles, smooth or shiny patches on the head, bent shanks, or reduced cutting efficiency despite thorough cleaning. A worn bur requires more pressure to cut, generates more heat, and produces rougher surfaces, all of which compromise clinical quality and patient comfort.
Establish a retirement policy based on use count or visual inspection. Many practitioners mark burs with a dot of autoclave-safe paint after each sterilization cycle and retire them after a set number of uses. Others rely on tactile feedback during cutting. Either approach is better than using burs until they fail catastrophically or cause a clinical problem.
Tip 8: Buy Quality From the Start
The single most impactful factor in diamond bur longevity is manufacturing quality. Burs made with uniformly graded diamond particles and a robust electroplated or sintered bond last significantly longer than budget alternatives with inconsistent grit and weak adhesion. While premium burs carry a higher unit cost, they often deliver a lower cost per procedure because they maintain cutting efficiency through many more uses.
When evaluating suppliers, look for consistent diamond particle distribution, concentricity of the bur head on the shank, and published specifications for grit size and bond type. Browse our selection of diamond dental burs and laboratory diamond burs to see the range of grits and shapes available for both clinical and bench applications.
Quick-Reference Maintenance Checklist
| When | Action |
|---|---|
| After each patient | Rinse, brush, ultrasonic clean |
| Before autoclaving | Verify all debris is removed |
| After autoclaving | Store individually in bur block |
| Weekly | Inspect burs under magnification for wear |
| As needed | Retire visibly worn or bent burs |
Diamond burs are precision instruments that reward consistent care. By building these eight habits into your daily routine, you protect your investment, maintain clinical quality, and reduce the long-term cost of your rotary instrument inventory.