

Dental Instrument Maintenance: Scratch Removal Guide
Dental instruments represent significant investments for any practice. Over time, surgical instruments, mirrors, and metal tools can develop surface scratches that affect both functionality and appearance. Professional instrument maintenance through proper polishing techniques extends instrument lifespan and maintains optimal performance. This guide covers effective methods for removing scratches and restoring dental instruments to their original condition.
Understanding Surface Damage on Dental Instruments
Scratches on dental instruments occur through normal use, contact with other instruments during processing, or improper handling during sterilization. Surface damage can range from fine hairline scratches to deeper gouges that affect instrument function.
Stainless steel instruments commonly used in dental procedures develop scratches more readily than carbide or ceramic instruments. The chromium oxide layer that protects stainless steel from corrosion can be disrupted by scratches, potentially leading to corrosion if not addressed. Regular inspection and maintenance prevent minor surface damage from progressing to functional impairment.
Mirror surfaces on mouth mirrors and explorers require particular attention. Even minor scratches on reflective surfaces can impair visibility during procedures. Maintaining smooth, scratch-free surfaces on these instruments directly impacts clinical effectiveness.
Essential Tools and Materials for Instrument Polishing
Professional instrument restoration requires specific tools and polishing compounds. Gathering the proper materials before beginning ensures efficient work and optimal results.
Rotary Polishing Equipment
A variable-speed rotary tool provides the foundation for instrument polishing. Dental laboratories and practices typically use bench-mounted polishing lathes or handheld rotary tools with speed ranges from 5,000 to 35,000 RPM. Lower speeds work best for initial polishing with coarser compounds, while higher speeds achieve final high-gloss finishes.
For small instruments or detailed work, compact rotary tools offer better control. Ensure your equipment includes proper safety guards and eye protection. Adequate ventilation prevents inhalation of polishing dust generated during the process.
Polishing Wheels and Brushes
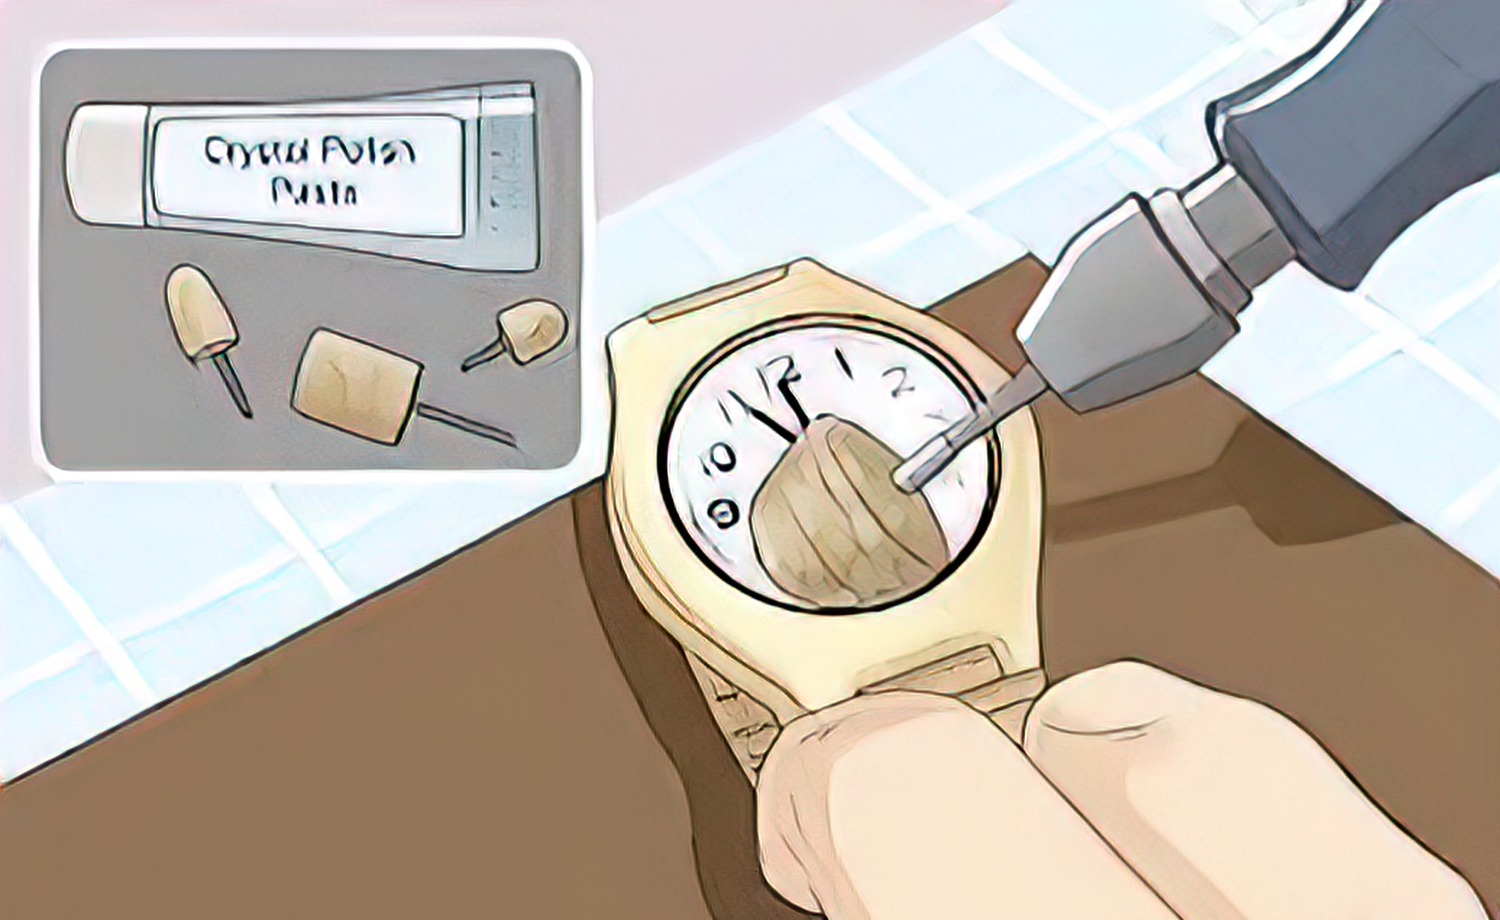
Different polishing accessories serve specific purposes in the restoration process. Cotton wheels provide soft, flexible surfaces ideal for applying polishing compounds to curved or irregular instrument surfaces. These wheels conform to instrument contours without removing excessive material.
Felt wheels and bobs work well for harder materials and provide more aggressive cutting action when needed. Silicon rubber polishers in various grits offer another option, particularly for pre-polishing steps. Professional silicone rubber polishers come in coarse, medium, and fine grits for progressive polishing sequences.
Mounted brushes with natural or synthetic bristles reach into crevices and around hinges on instruments like forceps or scissors. Selecting the appropriate brush stiffness for the material being polished prevents damage while effectively removing scratches.
Polishing Compounds
Professional polishing compounds contain abrasive particles suspended in a wax or grease base. Different colors typically indicate different abrasive grades and intended applications.
| Compound Type | Abrasive | Application | Typical Use |
|---|---|---|---|
| Brown/Tripoli | Coarse | Initial cutting | Deep scratch removal |
| White/Lime | Medium | Intermediate polish | Stainless steel smoothing |
| Green/Chromium Oxide | Fine | Pre-finish | Stainless steel brightening |
| Red/Rouge | Very Fine | Final polish | High-gloss mirror finish |
| Blue | Ultra Fine | Ultra-polish | Precious metals, chrome |
Quality polishing compounds designed for dental and surgical instruments provide consistent results. Avoid automotive or general-purpose compounds that may contain abrasives too aggressive for delicate dental instruments.
Step-by-Step Scratch Removal Process
Preparation and Safety
Before beginning any polishing work, thoroughly clean instruments to remove any biological debris, disinfectants, or sterilization residues. Proper cleaning prevents contamination of polishing equipment and ensures polishing compounds contact metal surfaces directly.
Personal protective equipment should include safety glasses or a face shield, dust mask or respirator, and protective gloves. Polishing generates fine metal particles and compound dust that should not be inhaled or allowed to contact eyes.
Secure small instruments to prevent them from being pulled from your grasp by the rotating polishing wheel. Use proper holding techniques and never polish directly in line with the wheel rotation direction where instruments could be thrown if released.
Initial Scratch Assessment
Examine instruments under good lighting to assess scratch depth and distribution. Superficial scratches that do not catch a fingernail require only fine polishing compounds. Deeper scratches that can be felt may need progressive polishing starting with coarser compounds.
Mark or note areas requiring attention to ensure complete coverage during polishing. For instruments with functional surfaces like scalers or curettes, verify that polishing will not alter critical edge geometry or working angles.
Progressive Polishing Sequence
For instruments with moderate scratching, begin with a white or medium compound on a cotton wheel. Apply compound to the wheel by touching the compound bar to the rotating wheel edge. A thin, even coating provides optimal cutting action without excess buildup.
Hold the instrument against the wheel with light to moderate pressure. Move the instrument continuously across the wheel surface to ensure even polishing. Avoid concentrating on one spot, which can create uneven surfaces or remove too much material.
Set rotary speed between 10,000-15,000 RPM for initial polishing. Higher speeds generate excessive heat that can damage instruments or cause compound to sling off the wheel. Monitor instrument temperature and allow cooling as needed.
After initial polishing removes visible scratches, clean the instrument thoroughly to remove all traces of compound. Any remaining compound will contaminate finer grades used in subsequent steps. Ultrasonic cleaning works well for compound removal, or instruments can be scrubbed with detergent and a brush.
Progress to finer compounds for each subsequent polishing step. Green chromium oxide compound on a clean cotton wheel provides excellent pre-finishing for stainless steel. Apply the compound sparingly and use light pressure with the instrument moving continuously across the wheel surface.
Final High-Gloss Finishing
The final polishing step uses red rouge compound or equivalent ultra-fine abrasive. A dedicated finishing wheel should be used only for final polishing to prevent contamination with coarser abrasives. Soft cotton wheels or specialized finishing brushes work best for this stage.
Apply rouge sparingly to the wheel and increase rotary speed to 15,000-20,000 RPM. Very light pressure with continuous movement produces the best mirror finish. The instrument surface should develop a bright, reflective appearance without visible scratch marks.
For mirror surfaces on dental mirrors or highly polished explorers, additional polishing with blue compound may achieve an even higher luster. These ultra-fine compounds remove the finest surface irregularities left by rouge polishing.
Special Considerations for Different Instrument Types
Surgical Instruments
Forceps, scissors, and needle holders require careful polishing to avoid altering critical functional surfaces. Never polish cutting edges or gripping surfaces where texture provides necessary function. Focus polishing efforts on external surfaces and non-functional areas.
Hinged instruments should have moving parts protected during polishing. Excess compound entering hinge mechanisms can cause stiffness or accelerated wear. Cover joints with tape or work carefully around these areas.
Mirror Instruments
Mouth mirrors develop scratches readily from contact with teeth or other instruments. The rhodium or chrome plating on mirror surfaces requires gentle polishing with fine compounds only. Aggressive polishing can remove plating and ruin the reflective surface.
Start with green compound and progress to rouge if needed. Use very light pressure and frequently inspect the mirror surface. Stop polishing once scratches are minimized, as excessive polishing will damage the mirror coating.
Carbide and Diamond Instruments
Tungsten carbide instruments and diamond burs require different maintenance approaches. The cutting surfaces of tungsten carbide burs cannot be restored through polishing. However, the shanks and non-cutting portions can be polished using standard techniques to remove corrosion or staining.
Diamond instruments should not be polished as this would damage the diamond particles. Clean diamond dental burs thoroughly after use and inspect for wear, but polishing is not appropriate for maintaining cutting performance.
Maintaining Polished Instruments
Once instruments have been restored through polishing, proper handling and processing procedures help maintain their condition. Prevent instrument-to-instrument contact during ultrasonic cleaning by using instrument holders or cassettes. This simple step significantly reduces scratch formation.
Inspect instruments after each sterilization cycle. Address new scratches promptly before they deepen or spread. Minor scratches can often be removed with quick touch-up polishing using fine compounds.
Store instruments properly to prevent damage. Instrument trays with individual compartments or foam inserts separate instruments and protect polished surfaces. Avoid dropping instruments into containers where they contact each other.
Polishing Accessories and Supplies
Maintaining an adequate supply of polishing materials ensures instruments can be serviced as needed. Stock various grades of polishing compounds, replacement wheels and brushes, and cleaning supplies for equipment maintenance.
Quality dental accessories including mandrels, polishing points, and specialty wheels expand polishing capabilities. Diamond stones and polishers offer alternative approaches for certain instrument types or materials.
Mounted stones in various shapes and grits can smooth rough spots or remove small burrs before polishing. These abrasive tools work well for pre-polishing hard materials or reshaping damaged instrument surfaces.
When Professional Restoration is Needed
Some instrument damage exceeds what can be addressed through polishing. Deep gouges, severe corrosion, or damage to functional surfaces may require professional instrument repair services. Specialized facilities can refinish instruments, replace worn components, or restore proper function.
Cutting instruments like scalers, curettes, and chisels require sharpening rather than polishing. Professional sharpening services or proper sharpening stone techniques maintain these instruments. Attempting to polish cutting edges will dull rather than restore them.
For valuable or specialized instruments, professional restoration may prove more cost-effective than replacement. Many instrument manufacturers offer refurbishment services that include polishing, replating, and functional testing.
Instrument Care Best Practices
Prevention remains the most effective approach to maintaining instrument appearance and function. Implement these best practices to minimize scratch formation and extend time between polishing needs.
- Use instrument cassettes or holders during all processing steps
- Avoid stacking instruments in ultrasonic cleaners
- Hand-dry instruments carefully with soft, lint-free cloths
- Store instruments in protected trays or organizers
- Inspect instruments regularly for early signs of damage
- Address corrosion or staining promptly before it progresses
- Train all staff on proper instrument handling procedures
- Use appropriate instrument protection during sterilization
Related Resources
- Discover more about caring for your dental burs
- Learn about cleaning and sterilizing tungsten carbide burs
Proper maintenance through polishing techniques restores scratched dental instruments to optimal condition. Understanding the progressive polishing process, selecting appropriate compounds and tools, and following systematic procedures produces professional results. Regular instrument care combined with proper handling and storage minimizes future damage and extends instrument service life. Well-maintained instruments not only function better but also reflect the professionalism and attention to detail that patients expect from quality dental practices.
