How to Sand Resin Smooth for a Professional Finish
Whether you are making resin jewelry, tabletop art, or 3D-printed parts, achieving a smooth and glossy surface is the final step that separates amateur work from professional results. Resin is a versatile material that cures into a rigid polymer, but the curing process often leaves imperfections such as bumps, uneven edges, and small craters known as fish eyes.
The good news is that sanding resin is straightforward once you understand the technique. This guide walks you through the complete process, from choosing the right sandpaper grit to finishing with a high-gloss polish.
Understanding Resin and Why Sanding Is Necessary
Resin starts as a liquid that hardens through a chemical curing process triggered by heat, UV light, or a setting agent. Common types include epoxy resin, UV resin, and polyester casting resin. After curing, the surface may look cloudy, rough, or uneven due to air bubbles, dust particles, or inconsistent pouring.
Sanding removes these surface defects layer by layer. By progressing through increasingly fine grits of sandpaper, you gradually smooth the surface until it becomes clear and glass-like. Without proper sanding, even a top-quality resin pour can look dull and unprofessional.
When Should You Sand Resin?
Only sand resin after it has fully cured. For most epoxy resins, this takes 24 to 72 hours depending on the product and ambient temperature. Sanding partially cured resin will clog your sandpaper, gouge the surface, and produce a sticky mess. Test by pressing your fingernail into an inconspicuous area. If it leaves no mark, the resin is ready to sand.
Materials and Tools You Will Need
Gathering the right supplies before you begin saves time and produces better results. Here is what you need:
- Wet/dry sandpaper in grits from 400 to 3000 (400, 600, 800, 1000, 1500, 2000, 3000)
- A flat, hard sanding surface such as a glass plate or granite tile
- A shallow bowl or spray bottle of clean water
- A dust mask or respirator rated for fine particles
- Microfiber cloths for drying and inspection
- Optional: rotary tool accessories for power sanding
- Optional: polishing compound for a final high-gloss finish
Choosing the Right Sandpaper Grit
Sandpaper grit numbers indicate how many abrasive particles fit per square inch. Lower numbers mean coarser abrasive, and higher numbers mean finer abrasive. For resin work, start no lower than 400 grit to avoid deep scratches that are hard to remove later.
| Grit Range | Purpose | When to Use |
|---|---|---|
| 400-600 | Remove major imperfections | Bumps, drips, sharp edges |
| 800-1000 | Smooth out coarse scratch marks | After initial shaping |
| 1500-2000 | Refine the surface | Preparing for polish |
| 2500-3000 | Pre-polish smoothing | Final sanding before compound |
Step-by-Step Wet Sanding Process
Wet sanding is the preferred method for resin because water acts as a lubricant, reduces heat buildup, and prevents fine resin dust from becoming airborne. Dry sanding creates a cloud of resin particles that are harmful to breathe and can scratch the surface unevenly.
Step 1: Set Up Your Workspace
Place your lowest-grit sandpaper (400 grit) on a flat, hard surface with the abrasive side facing up. Fill a bowl with clean water and keep it within reach. Put on your dust mask even when wet sanding, as some particles still escape.
Step 2: Soak the Resin Piece
Submerge your resin piece in water for 30 seconds to a minute. This initial soak softens the outermost layer slightly and ensures even contact with the sandpaper.
Step 3: Sand with the Coarsest Grit
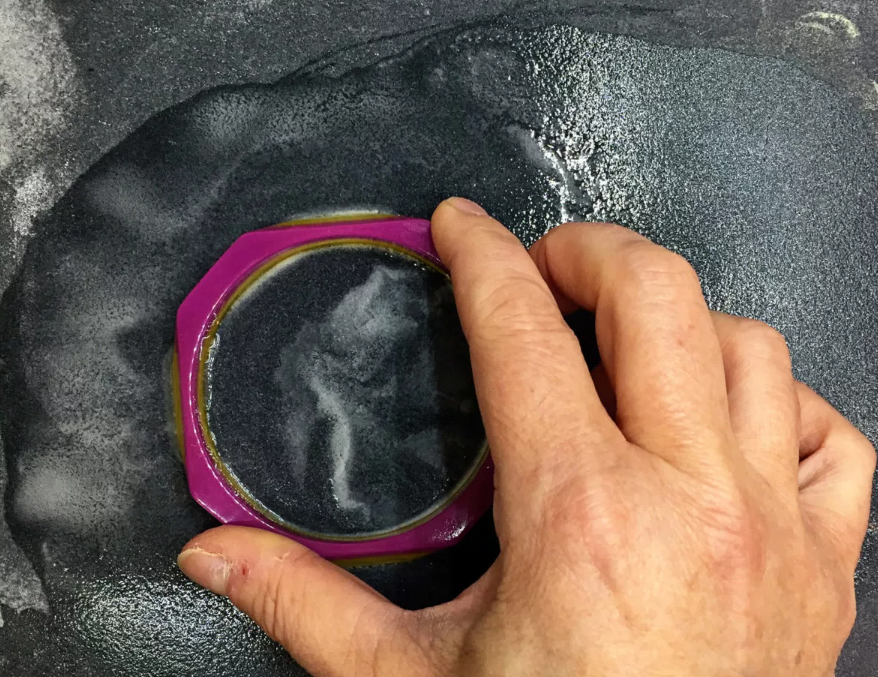
Hold the resin piece firmly and sand it across the wet sandpaper using moderate, even pressure. Move in one direction first, such as north to south, for about 10 to 15 passes. Then rotate 90 degrees and sand east to west for the same number of passes. Finish with a figure-eight motion. This multi-directional approach prevents flat spots and ensures uniform material removal.
Dip the piece in water frequently to wash away sanding debris and keep the surface lubricated. Inspect the surface under good lighting after every 30 seconds of sanding.
Step 4: Progress Through Finer Grits
Once the surface feels uniformly smooth at 400 grit, rinse the piece thoroughly and move to 600 grit. Repeat the same sanding pattern. Each finer grit removes the scratch marks left by the previous one. Skipping grits will leave visible scratches that are nearly impossible to remove later.
Continue through 800, 1000, 1500, and 2000 grit, rinsing between each stage. By 2000 grit, the resin should start to look translucent and almost glossy.
Step 5: Final Fine Sanding
For a true glass-like finish, sand with 2500 or 3000 grit. At this stage, you are not removing material so much as burnishing the surface. Use very light pressure and plenty of water. The resin should now appear nearly transparent with a soft sheen.
Using a Rotary Tool for Resin Sanding
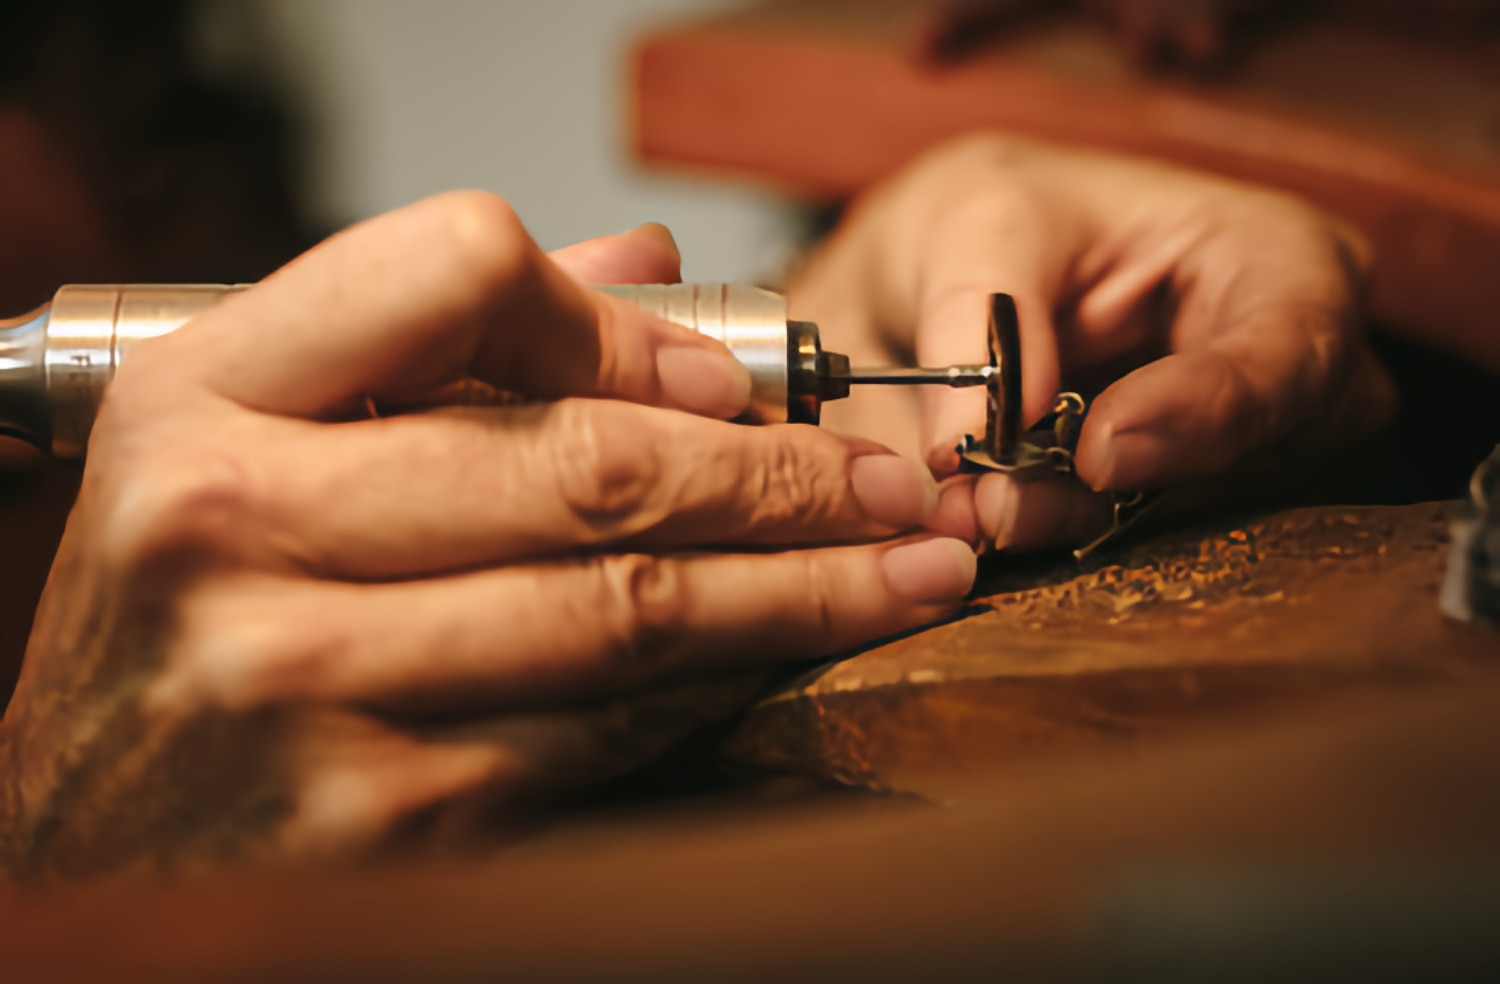
A rotary tool such as a Dremel can speed up the sanding process significantly, but it requires a careful hand. Rotary tools remove material much faster than hand sanding, and it is easy to accidentally create gouges or uneven spots if you apply too much pressure or stay in one area too long.
Tips for Rotary Tool Sanding
- Use a low to medium speed setting (5,000 to 15,000 RPM) to maintain control
- Choose sanding drums or disc attachments designed for fine work
- Keep the tool moving at all times to avoid heat buildup
- Work in the same grit progression as hand sanding
- Wet the surface periodically, even when power sanding
Rotary tools are especially useful for sanding curved or irregular shapes where flat sandpaper cannot make full contact. However, for flat surfaces, hand sanding on a flat plate gives more consistent results.
When to Avoid Power Sanding
Avoid rotary tools on thin resin pieces, items with embedded objects close to the surface, or pieces with delicate details. The vibration and material removal rate can crack thin sections or expose embedded elements. Stick to hand sanding for these projects.
Polishing Resin After Sanding
After completing the sanding progression, you can take the finish one step further with a polishing compound. Apply a small amount of plastic or automotive polishing compound to a soft cloth or buffing wheel attachment on your rotary tool. Work the compound into the surface using circular motions until the resin achieves a high-gloss, mirror-like finish.
For resin jewelry, a final coat of resin applied as a thin top layer can also restore a perfectly smooth surface. This technique, called flood coating, is particularly effective for pieces with complex shapes that are difficult to sand evenly.
Common Mistakes to Avoid
Even experienced crafters make errors when sanding resin. Here are the most frequent problems and how to prevent them:
- Sanding before full cure: Always wait the recommended cure time. Rushing leads to clogged sandpaper and a ruined surface.
- Skipping grit levels: Each grit removes the scratches from the last. Jumping from 400 to 1500 will leave deep marks that 1500 grit cannot remove.
- Dry sanding without protection: Resin dust is a respiratory irritant. Always wet sand or wear a proper respirator.
- Applying too much pressure: Let the sandpaper do the work. Heavy pressure creates uneven surfaces and can warp thin pieces.
- Forgetting to rinse between grits: Leftover coarse particles from a lower grit can scratch the surface during fine sanding.
Finishing Touches and Maintenance
Once your resin piece is sanded and polished, protect the finish by storing it away from direct sunlight, which can yellow some resins over time. For jewelry, keep pieces in a soft pouch or lined box to prevent surface scratches. If the finish dulls over time, a quick pass with 3000-grit sandpaper and polishing compound will restore the shine.
Sanding resin is a skill that improves with practice. Start with a test piece or an item you do not mind experimenting on, and work your way up to your best projects. With patience and the right technique, you can achieve a finish that looks factory-produced using nothing more than sandpaper, water, and a steady hand.
For more hands-on craft guides, check out our article on how to polish jewelry for related finishing techniques that apply to resin and other materials.