How to Polish Jewelry: A Step-by-Step Guide
Jewelry polishing is both an art and a technical skill. Whether you are a professional jeweler or a hobbyist working from a home bench, knowing how to polish jewelry properly can transform a rough casting into a gleaming finished piece. This guide walks through each stage of the polishing process, from initial grinding to final buffing, with practical advice on the tools and materials that produce the best results.
Understanding the Jewelry Polishing Process
Polishing jewelry involves progressively refining a metal surface. Each stage uses a finer abrasive than the last, moving from coarse material removal to mirror-bright finishing. The goal is to eliminate surface imperfections, scratches, and casting marks while preserving the design's intended contours.
Professional polishers work with gold, platinum, silver, and other precious metals. Each metal responds differently to abrasives, so selecting the right tools and compounds matters at every step.
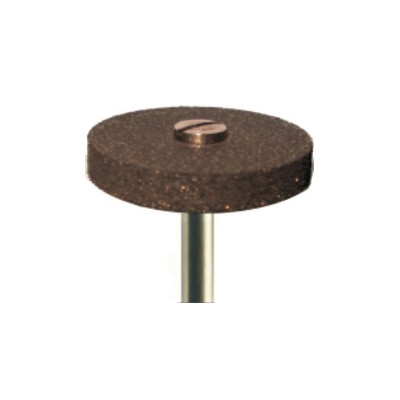
Tools and Materials You Will Need
Before starting, gather the following supplies:
- Rotary tool or flex shaft — the primary power tool for most jewelry polishing tasks
- Abrasive mounted stones — for initial shaping and scratch removal
- Silicone rubber polishers — available in coarse, medium, and fine grits for progressive smoothing
- Felt bobs and cotton buffs — used with polishing compounds for the final shine
- Polishing compounds — tripoli for cutting, rouge for color and final luster
- Magnification loupe — to inspect surfaces between stages
If you need high-quality silicone rubber polishers or diamond stones and polishers, these accessories are purpose-built for metalwork and will last through many polishing sessions.
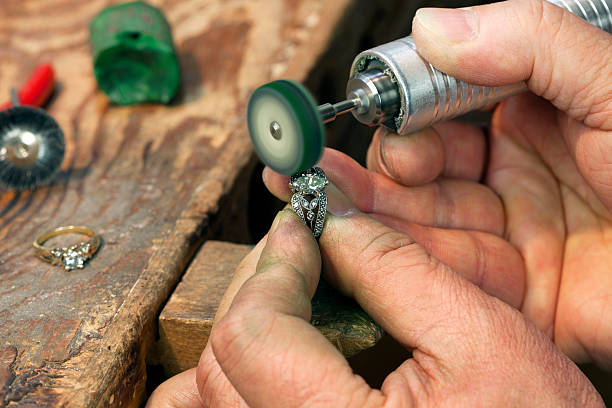
Step 1: Separating and Deburring the Casting
Most jewelry begins as a rough casting attached to a metal tree. The polisher first cuts each piece free from the tree using a separating disc or saw. The connection points, called sprues, leave behind small nubs of metal that must be ground flush with the surface.
Use a coarse tungsten carbide bur or a grinding wheel to remove sprue marks. Work carefully to avoid digging into the surrounding metal. At this stage, the piece will still look rough and dull — that is perfectly normal.
Tumbling for Initial Smoothing
After separating and deburring, many jewelers place their pieces in a rotary or magnetic tumbler. Tumbling with steel shot media burnishes the surface and compresses the metal grain, producing a uniform matte finish. Magnetic tumblers are faster and work well for intricate designs where steel pins can reach into tight areas.
A typical tumbling cycle runs 30 to 90 minutes depending on the metal and the finish required. This step alone will not produce a polished surface, but it creates an even baseline for the hand-polishing stages that follow.
Step 2: Shaping and Removing Deep Scratches
With the piece tumbled and dried, the polisher moves to a flex shaft or rotary tool fitted with abrasive attachments. This is where the real transformation begins.
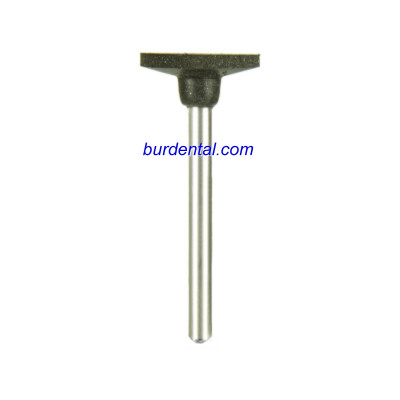
Using Mounted Stones
Mounted stones — small abrasive wheels and points in various shapes — are ideal for removing deep scratches and refining contours. Start with a medium-grit stone to eliminate visible tool marks, then switch to a fine-grit stone to smooth the surface further. Always move the stone in one consistent direction rather than back and forth, which can create new scratch patterns.
For more on selecting the right mounted stone shapes, see our guide on mounted stones for rotary tools.
Filing Flat Surfaces
Needle files are useful for flat areas, edges, and geometric designs where rotary tools may round over sharp lines. Use progressively finer cuts (from #0 to #4) and finish with an escapement file for precision work.
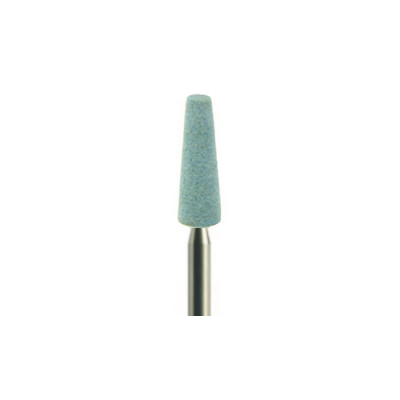
Step 3: Pre-Polishing with Rubber Wheels
Silicone rubber polishing wheels bridge the gap between abrasive shaping and final polishing. They are available in several grit levels:
| Grit Level | Color (Typical) | Purpose |
|---|---|---|
| Coarse | Brown or Black | Remove light scratches and tool marks |
| Medium | Blue or Gray | Blend surfaces and refine contours |
| Fine | Pink or White | Produce a semi-bright, smooth surface |
| Extra Fine | Light Green | Near-mirror pre-polish finish |
Work through each grit in order. Skipping a grit will leave scratches from the previous stage visible under the final polish. Rubber wheels generate minimal heat compared to bonded abrasives, making them safer for delicate settings and thin sections of metal.
Our article on silicone rubber polishers explains how to match wheel shapes and grits to different jewelry designs.
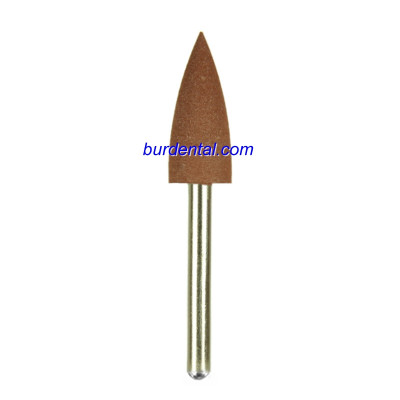
Step 4: Final Polishing and Buffing
The final stage uses soft cloth wheels or felt bobs charged with polishing compound. This is where the metal reaches its full brilliance.
Choosing Polishing Compounds
Different compounds serve different purposes:
- Tripoli — a medium-cut compound that removes fine scratches and prepares the surface for rouge. Best for gold, brass, and copper.
- White diamond — an all-purpose compound suitable for most metals including platinum and stainless steel.
- Red rouge — a very fine compound that produces the final high-gloss mirror finish on gold and silver.
- Green rouge — formulated for platinum and white gold, which require a harder polishing agent.
Apply a small amount of compound to the spinning wheel, then press the jewelry piece gently against it. Keep the piece moving to avoid heat buildup in one spot. After each compound, clean the piece thoroughly in an ultrasonic cleaner or with warm soapy water to prevent cross-contamination between grits.
Hand Polishing Tight Areas
Some areas are too small or too recessed for a buffing wheel. Use polishing sticks, thread, or string charged with compound to reach inside bezels, prongs, and filigree details. A small piece of chamois wrapped around a toothpick also works well for tight spots.
Common Jewelry Polishing Mistakes to Avoid
- Skipping grits — each stage builds on the previous one. Jumping ahead leaves visible scratches under the final polish.
- Too much pressure — let the abrasive do the work. Excess pressure generates heat and can distort thin sections.
- Using one buff for multiple compounds — always dedicate separate wheels to each compound to prevent contamination.
- Neglecting to clean between stages — residual abrasive particles from an earlier step will scratch the surface during later steps.
- Over-polishing prong tips — aggressive buffing can thin prongs and compromise stone settings.
Polishing Different Metals: What Changes
While the general process remains the same across metals, certain adjustments will improve your results:
- Gold — relatively soft and easy to polish. Use lighter pressure throughout, especially during the mounted stone stage, to avoid removing more metal than necessary. Tripoli followed by red rouge produces an excellent finish on yellow gold.
- Silver — tarnishes quickly after polishing. Apply an anti-tarnish dip or sealant immediately after the final buff. Silver is softer than gold, so extra care with pressure is needed at every stage.
- Platinum — the hardest of the common jewelry metals. Expect to spend more time at each grit level. Green rouge is the standard finishing compound for platinum because red rouge is too soft to produce a full shine on this dense metal.
- Stainless steel and titanium — these metals require aggressive initial abrasion and respond well to white diamond compound during final polishing.
Maintaining Your Polishing Tools
Clean your mounted stones and rubber wheels regularly. Clogged abrasives cut poorly and generate more heat. Store felt bobs and cloth wheels in labeled bags to keep compounds separated. Replace any tool that shows uneven wear, as it will produce inconsistent results.
With practice and the right tools, jewelry polishing becomes a reliable, repeatable process. Start with quality abrasives, follow the grit sequence faithfully, and let each stage do its job before moving to the next. The result will be jewelry that catches the light exactly as the designer intended.
