
Porcelain Veneer Preparation: What Every Patient Should Know
Porcelain veneers remain one of the most requested cosmetic dental treatments worldwide. These thin shells of ceramic material are bonded to the front surfaces of teeth, correcting chips, discoloration, gaps, and misalignment in a single treatment plan. But the success of any veneer case depends heavily on how well the teeth are prepared before placement.
This guide walks through each stage of porcelain veneer preparation, explains why each step matters, and covers the maintenance habits that protect your investment for years to come.
Why Proper Preparation Matters
Veneer preparation is not simply about shaving down tooth structure. It is a precise clinical process that determines how well the final restoration fits, how natural it looks, and how long it lasts. Poorly prepared teeth can lead to veneers that pop off, show visible margins, or cause sensitivity. When each step is performed correctly, porcelain veneers can last 10 to 15 years or longer with minimal maintenance.
The preparation also gives the dentist an opportunity to identify problems that could interfere with treatment. Decay, gum inflammation, or bite issues must be addressed first. Skipping this foundational work puts the entire case at risk.
Step 1: The Initial Dental Examination
Every veneer case begins with a thorough clinical exam. The dentist evaluates the teeth, gums, and supporting bone structure to confirm that the patient is a good candidate for veneers. This evaluation typically includes:
- Visual inspection for cavities, cracks, and gum recession
- Periapical or panoramic X-rays to assess root health and bone levels
- Bite analysis to check for clenching, grinding, or malocclusion
- Shade assessment and smile design discussion
Patients with active gum disease or untreated decay will need those conditions resolved before moving forward. In some cases, orthodontic alignment or gum recontouring may be recommended first to achieve the best possible outcome.
Step 2: Enamel Reduction and Tooth Reshaping
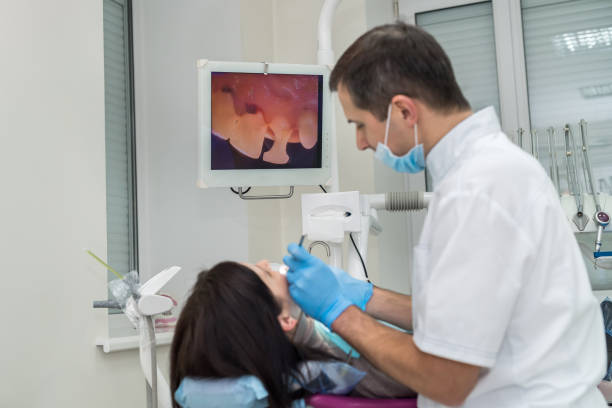
Once the treatment plan is finalized, the dentist prepares the tooth surfaces. This step involves removing a thin layer of enamel, usually between 0.3 mm and 0.7 mm, from the front face of each tooth receiving a veneer. The amount removed corresponds roughly to the thickness of the veneer itself, so the final result does not look or feel bulky.
Enamel reduction is typically performed under local anesthesia. The dentist uses a high-speed handpiece fitted with a fine diamond dental bur to create controlled, uniform reduction across the tooth surface. Diamond burs are preferred for this task because they allow precise material removal without generating excessive heat or vibration.
Key points about enamel reduction:
- The process is irreversible. Once enamel is removed, veneers become a permanent commitment.
- Minimal-prep and no-prep veneers exist for select cases, but traditional preparation provides the most predictable bonding and aesthetics.
- The dentist may place depth-cut grooves first to ensure even reduction across the entire surface.
Step 3: Taking Impressions
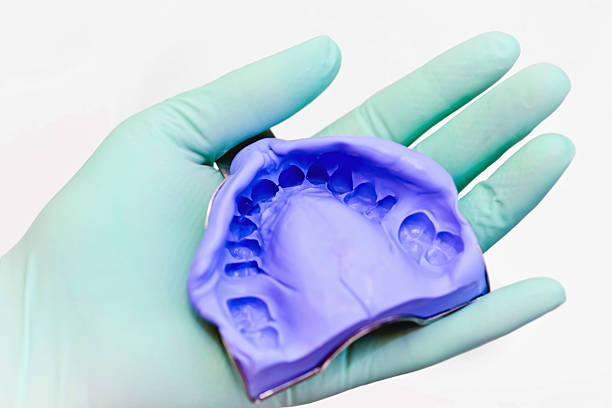
After the teeth are prepared, the dentist captures a detailed impression of the prepared teeth. This impression serves as the blueprint for the dental laboratory to fabricate veneers that fit with precision.
Two main impression methods are used today:
- Traditional impressions using polyvinyl siloxane (PVS) or polyether materials in a tray
- Digital impressions using an intraoral scanner that creates a 3D model on screen
Digital scanning has become increasingly popular because it eliminates the discomfort of impression trays and reduces the chance of distortion. Regardless of the method, accuracy at this stage is critical. Even small errors in the impression can result in veneers that do not seat properly.
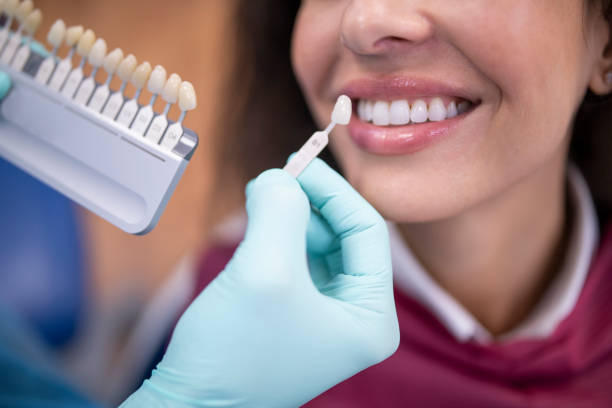
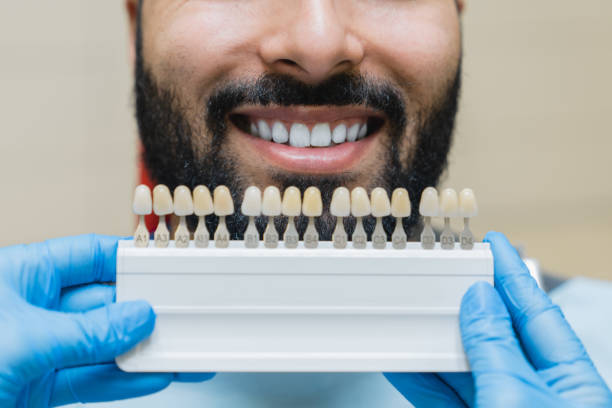
The dentist also records the patient's bite relationship and selects a shade for the veneers. Many practices use digital shade-matching devices to ensure consistent color between the laboratory and the clinical result.
Temporary Veneers During the Waiting Period
While the permanent veneers are being fabricated, the dentist places temporary veneers over the prepared teeth. These serve several purposes:
- Protect the exposed dentin from sensitivity and damage
- Maintain the appearance of the smile during the fabrication period
- Allow the patient to preview the approximate shape and size of the final veneers
The laboratory fabrication process generally takes one to two weeks. During this time, patients should avoid biting into hard foods directly with the temporary veneers and maintain gentle brushing around the margins.
Step 4: Try-In, Adjustment, and Final Bonding
When the permanent veneers arrive from the laboratory, the dentist performs a try-in. Each veneer is placed on its corresponding tooth without cement so the dentist and patient can evaluate the fit, shape, and color. Adjustments to the veneer margins or contact points can be made at this stage.
Once both parties are satisfied, the bonding process begins:
- The tooth surface is cleaned and etched with phosphoric acid to create micro-retention.
- A bonding agent is applied to the prepared tooth.
- Light-cure resin cement is placed on the inner surface of the veneer.
- The veneer is seated on the tooth and positioned precisely.
- A curing light is used to harden the cement and lock the veneer in place.
- Excess cement is carefully removed and the margins are polished smooth.
The entire bonding appointment typically takes one to two hours depending on the number of veneers being placed. Patients can eat and drink normally once the cement has fully cured.
Choosing the Right Dentist for Veneer Work
Not every general dentist has extensive experience with porcelain veneers. When selecting a provider, patients should consider:
- Training and credentials: Look for dentists with post-graduate education in cosmetic or prosthetic dentistry.
- Before-and-after portfolio: Ask to see cases similar to yours. Consistent, natural-looking results across multiple cases indicate reliable skill.
- Laboratory partnership: The quality of the dental laboratory matters as much as the clinical work. Ask which lab the dentist uses and whether they work with a dedicated ceramist.
- Technology: Practices that use digital impressions, smile design software, and guided preparation techniques tend to deliver more predictable outcomes.
Aftercare and Long-Term Maintenance
Porcelain veneers require the same daily care as natural teeth. Brush twice daily with a non-abrasive fluoride toothpaste and floss every night. Regular professional cleanings every six months allow the hygienist to check the veneer margins and polish the surfaces without scratching the porcelain.

Habits to Avoid
Certain habits can chip, crack, or debond porcelain veneers prematurely:
- Biting fingernails or chewing on pen caps
- Using teeth to open packages or tear tape
- Crunching ice or hard candy
- Grinding or clenching teeth during sleep
Patients who grind their teeth should wear a custom night guard. A hard acrylic occlusal splint protects both veneers and natural teeth from the damaging forces of bruxism.
When to Contact Your Dentist
Reach out to your dental provider if you notice any of the following after veneer placement:
- Persistent sensitivity that lasts more than two weeks
- A rough or sharp edge along the veneer margin
- A change in how your bite feels when closing
- Visible darkening or discoloration at the margin line
Early intervention prevents small issues from becoming larger problems that require full veneer replacement, which means repeating the preparation and bonding process from scratch.
Related Reading
For more on cosmetic dental procedures and the instruments involved, see our guides on what you should know about dental veneers and the role of dental burs in cosmetic dentistry.