Gold and silver rings remain among the most treasured forms of jewelry worldwide. Whether crafted from platinum, gold, or sterling silver, every metal ring must go through a careful polishing process before it reaches its final mirror-like finish. Understanding how to polish a metal ring properly is essential for jewelers, hobbyists, and anyone looking to restore a favorite piece to its original brilliance.
This guide walks through every stage of the ring polishing process, from initial rough work to the final mirror finish, including the tools you need, the compounds that work best for each stage, and the mistakes to avoid along the way.

Why Ring Polishing Matters
After casting, soldering, or filing, a metal ring will have visible tool marks, burrs, oxidation layers, and surface irregularities. These imperfections are a natural result of the fabrication process, but they must be removed before the ring can be considered finished. Polishing removes these marks in progressive stages, each one refining the surface further until the metal reflects light evenly and cleanly.
A poorly polished ring will look dull and unfinished, reducing its perceived value and wearability. For professional jewelers, the quality of the polish is often what separates an average piece from an outstanding one. Customers notice the difference immediately when they see their reflection in the band.
The polishing process for metal rings follows three main stages: rough polishing, medium polishing, and fine polishing. Each stage uses progressively finer abrasives and compounds to bring the surface closer to a perfect mirror finish.
Tools and Materials You Will Need
Before you begin the polishing process, gather all your tools and materials so you can work through each stage without interruption. Having everything ready prevents compound cross-contamination and keeps your workflow efficient.
- Polishing motor or rotary tool with variable speed control
- Bristle brushes in multiple stiffness grades
- Cotton cloth polishing wheels in various diameters
- Mandrels and polishing accessories for mounting wheels and buffs
- Green polishing compound (chromium oxide) for rough work
- Medium-grade polishing compound for intermediate smoothing
- Red polishing compound (jeweler's rouge) for fine finishing
- Velvet polishing rods for ring interiors
- Abrasive sandpaper in multiple grits (320, 600, 1200)
- Safety glasses, dust mask, and good task lighting
- Ultrasonic cleaner or warm soapy water for cleaning between stages
Stage 1: Rough Polishing
Rough polishing is the first and most aggressive stage. The goal here is to remove all visible marks left by files, pliers, drills, soldering torches, and any black oxide layers on the metal surface. By the end of this stage, the ring should have smooth, coordinated contours with no sharp edges, no burrs, and no visible tool impressions anywhere on its surface.
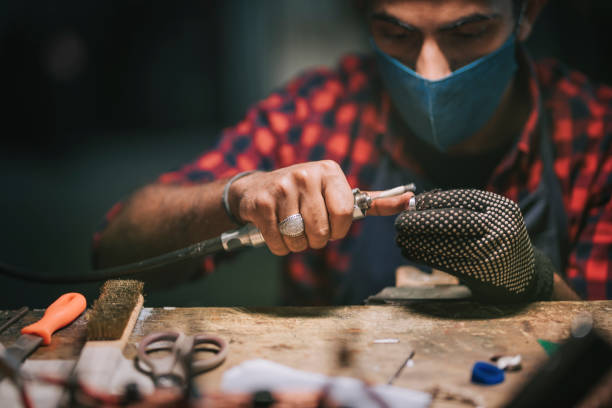
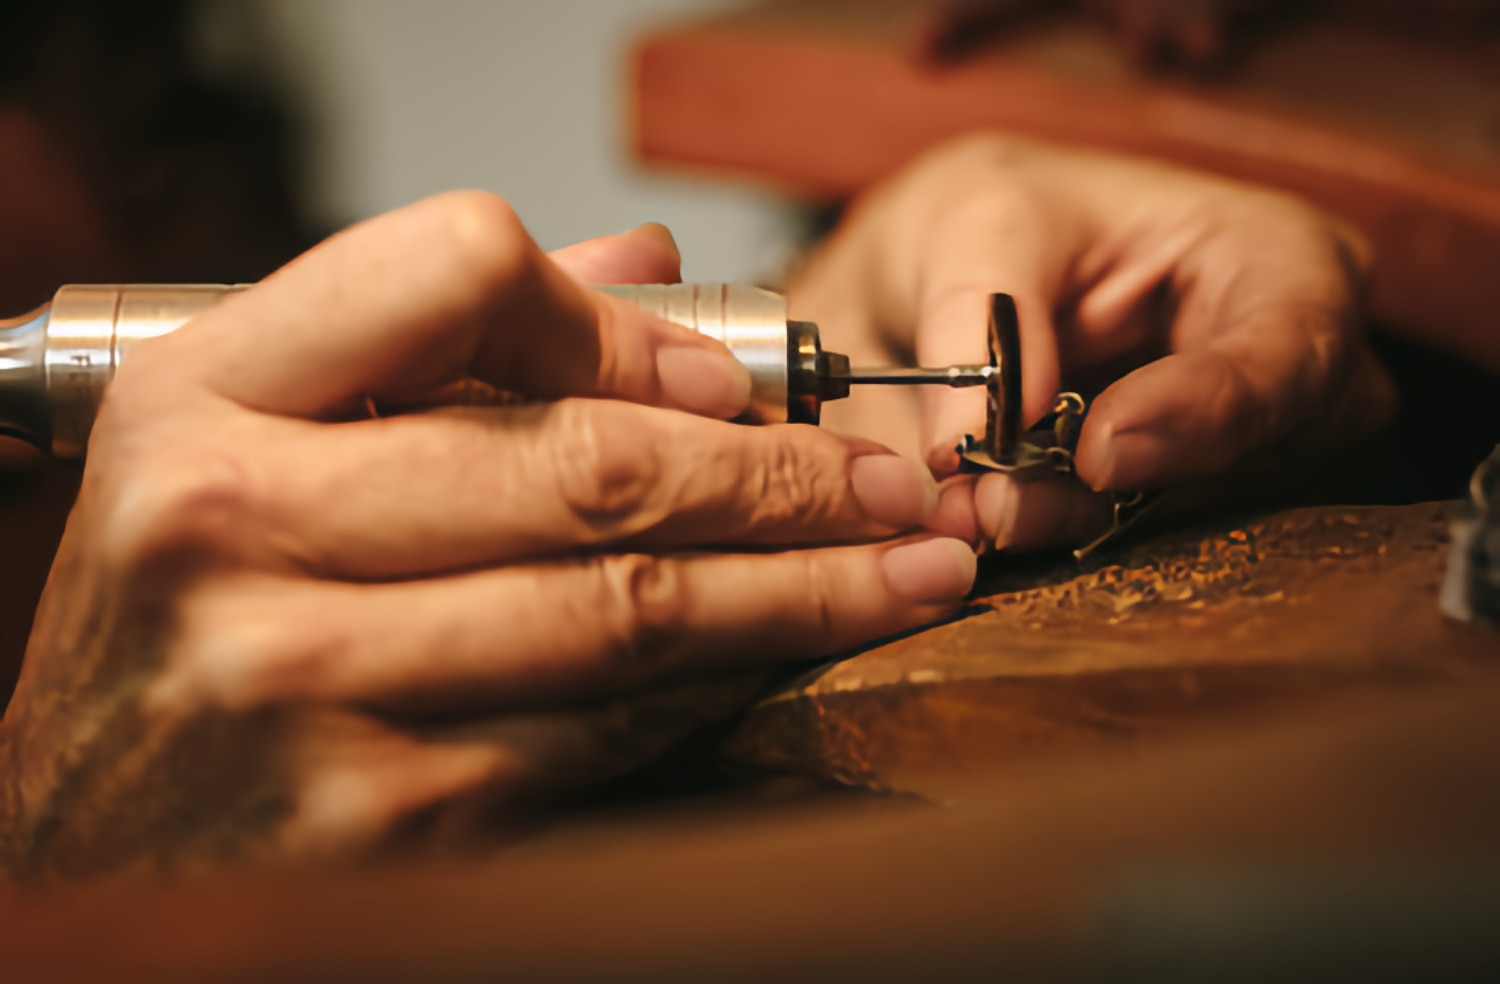
Start by mounting a stiff bristle brush on your polishing motor. Set the motor to a moderate speed appropriate for the metal you are working with. Apply green polishing wax (chromium oxide compound) to the brush before bringing it into contact with the ring. Work the brush across all surfaces methodically, paying particular attention to joints, prong bases, gallery areas, and any spots where filing or soldering was performed.
Move the ring against the rotation of the brush, maintaining firm but controlled contact. The compound will darken as it picks up metal and oxide particles, which is normal and indicates that material is being removed effectively.
Polishing the Ring Interior
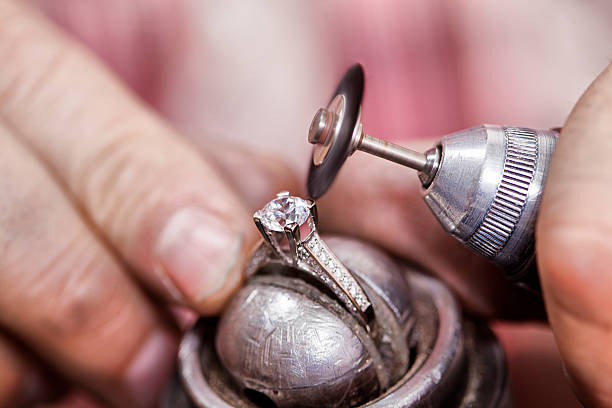
For inlaid or stone-set rings, the inner band requires separate attention because flat wheels cannot reach inside the circle. Use a velvet polishing rod sized appropriately for the ring diameter. Apply green polishing wax to the velvet surface before inserting it into the ring. When polishing, be careful not to push the ring too deep onto the mandrel, as this limits the contact area and can cause uneven polishing results. Work the ring back and forth along the rod, rotating it to cover the entire inner circumference evenly.
Common Rough Polishing Mistakes
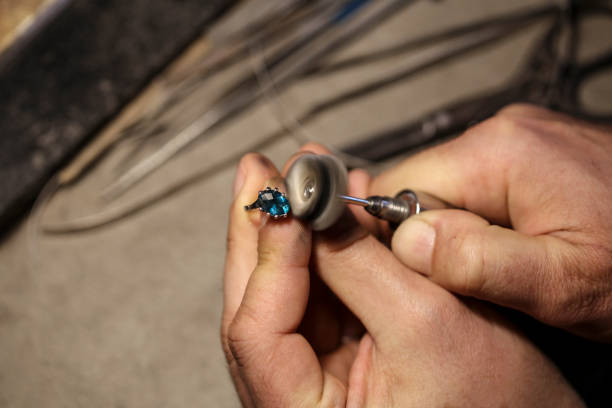
The most frequent error during rough polishing is applying too much wax at once. When excess compound heats up from friction, it melts and coats the jewelry surface, hiding scratches and pits rather than removing them. This creates a false impression of smoothness that only becomes apparent during the next polishing stage. Apply wax in thin, even layers and reapply only as needed during the process. If you notice the surface becoming glazed or sticky, you have applied too much compound.
Another common mistake is using too much pressure against the wheel. Let the compound do the cutting work. Excessive force generates unnecessary heat and can distort thin ring bands or round over crisp edges that should remain sharp.
Stage 2: Medium Polishing
Medium polishing bridges the gap between rough and fine work. This stage uses a softer cloth wheel with a medium-grade compound to begin smoothing the surface at a finer level. The scratches left by rough polishing are progressively reduced in depth and visibility during this stage.
Switch from the bristle brush to a cotton cloth wheel. Apply medium-grade polishing compound and work across all surfaces of the ring with moderate, even pressure. Rotate the ring frequently to ensure uniform coverage and avoid creating flat spots or uneven wear zones. The surface should begin to show some reflectivity at this point, even if it is not yet mirror-bright.
Pay special attention to transitions between different planes of the ring, such as where the top surface meets the sides. These areas often retain scratches longer because the wheel contact angle changes there. Tilting the ring slightly as you work these transitions helps the compound reach every surface.
Stage 3: Fine Polishing for Mirror Finish
Fine polishing is the final stage that produces the mirror-like reflection customers expect from finished jewelry. This step further refines the surface using a soft white cloth wheel and red polishing compound, commonly known as jeweler's rouge.
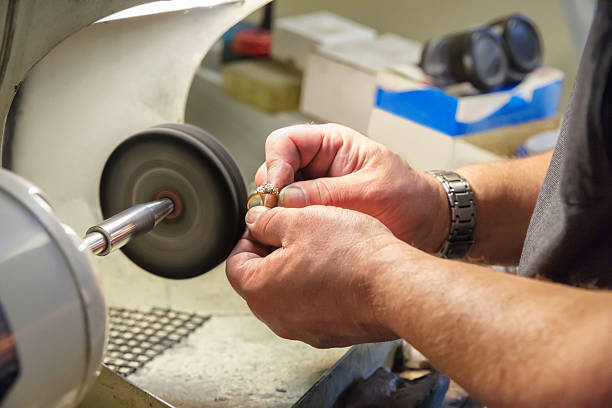
Use light, uniform pressure throughout this stage. The contact area between the wheel and the ring should be small and carefully controlled. Polish the front face of the ring first, then move to the sides, and finally address the edges and corners. Every surface must be covered completely to produce a consistent, uniform finish across the entire piece.
The fine polishing stage requires patience. Rushing this step or applying too much pressure will leave swirl marks that are visible under close inspection. Take your time and let the rouge do its work gradually.
Polishing Grit Progression Reference
| Stage | Compound | Tool | Purpose |
|---|---|---|---|
| Rough | Green wax (chromium oxide) | Bristle brush | Remove tool marks, oxide, burrs |
| Medium | Medium-grade compound | Cotton cloth wheel | Smooth scratch patterns |
| Fine | Red rouge | Soft white cloth wheel | Achieve mirror finish |
Troubleshooting: What If Marks Remain?
After completing all three polishing stages, the ring surface should be smooth enough to reflect like a mirror. However, if the initial grinding or filing was too aggressive, deep marks or scratches may persist even after fine polishing. Additionally, subsurface pitting can become exposed during the polishing process, creating small visible craters that were not apparent before.
When this happens, you need to step back and address the problem area directly. Use a precision grinder with fine-grit abrasive sandpaper to rework the affected spots. Start with a coarser grit to remove the defect, then work through finer grits before returning to the polishing stages. Once the marks are removed, repeat the polishing from rough through fine to blend the reworked area seamlessly into the surrounding surface.
Tips for Better Polishing Results
- Keep separate wheels for each compound. Cross-contamination between rough and fine compounds will ruin the finish and force you to start over.
- Work in good lighting. Angle the ring under a bright light source between stages to spot remaining imperfections before moving on.
- Control your speed. Too much speed generates heat that can warp thin bands or melt polishing compound into the surface instead of removing material.
- Clean between stages. Use an ultrasonic cleaner or warm soapy water to remove all traces of the previous compound before moving to the next stage.
- Use the right bur shapes. For pre-polishing cleanup on textured or detailed rings, select burs matched to the contour you need. See our guide on bur shapes for jewelry for detailed recommendations.
- Inspect under magnification. A jeweler's loupe reveals scratches and pits invisible to the naked eye, allowing you to catch problems early.
Maintaining a Polished Ring Over Time
Even after professional polishing, metal rings will gradually accumulate surface scratches and micro-abrasions from daily wear. Gold is particularly soft and shows wear quickly, while platinum develops a distinctive patina over time. To maintain the finish between professional cleanings, wipe the ring regularly with a soft microfiber cloth and mild soap solution. For deeper restoration at home, a light pass with jeweler's rouge on a soft handheld buff can bring back much of the shine without removing significant material.
Store polished rings separately in soft-lined compartments or individual pouches to prevent them from scratching against other jewelry pieces. Remove rings before heavy manual work, gardening, sports, or exposure to harsh chemicals such as bleach and chlorine.
With patience and the correct progression of tools and compounds, anyone can achieve a professional-quality polish on a metal ring. The key is working through each stage thoroughly before advancing to the next, and never rushing the process. A well-polished ring not only looks stunning but also demonstrates the skill and attention that went into its creation.