When a tooth is damaged beyond what a simple filling can repair, a porcelain crown is one of the most reliable restoration options available. Yet many patients feel anxious about the procedure because they are unsure what to expect. A clear understanding of each step, from initial preparation to final placement, removes much of that uncertainty and helps patients approach treatment with confidence.
This article walks through the complete process of making and fitting a porcelain crown, explaining what happens at each stage and why it matters for the final result.
What Is a Porcelain Crown?
A porcelain crown is a tooth-shaped cap that fits over a damaged or weakened tooth, restoring its original shape, size, strength, and appearance. Modern porcelain materials closely mimic the translucency and color of natural enamel, making crowns virtually indistinguishable from surrounding teeth.
Porcelain crowns are used in several situations:
- Restoring a tooth after root canal treatment
- Protecting a tooth with a large cavity or fracture
- Covering a dental implant
- Improving the appearance of a severely discolored or misshapen tooth
- Anchoring a dental bridge
The process typically requires two appointments spread over one to two weeks, with a dental laboratory fabricating the crown between visits.
Step 1: Tooth Preparation
The first and most involved step is preparing the natural tooth to receive the crown. The dentist needs to reshape the tooth so the porcelain cap can fit over it without making the restored tooth larger than the original.
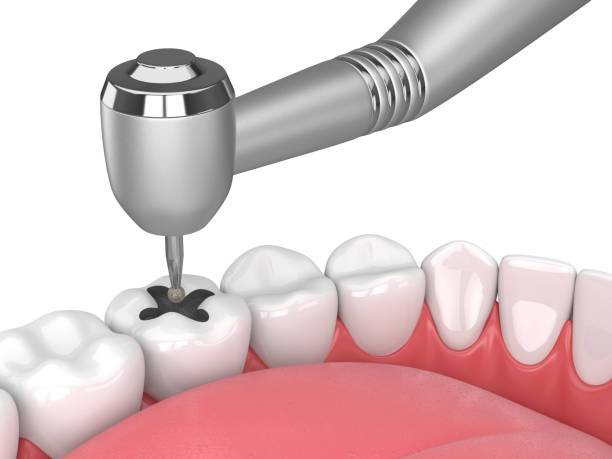
How the Tooth Is Shaped
Using a high-speed handpiece fitted with a diamond dental bur, the dentist removes a thin layer of enamel from all surfaces of the tooth. The amount removed, usually between 1.0 and 2.0 millimeters, matches the thickness of the porcelain that will replace it. This ensures the finished crown sits flush with neighboring teeth and does not interfere with the bite.
The prepared tooth, called the abutment, must have a specific geometry for the crown to seat properly and stay in place. Key features of a well-prepared abutment include:
- A defined finish line around the base of the tooth, typically a chamfer or shoulder margin
- A slight taper on the axial walls, usually between 4 and 8 degrees, to allow the crown to slide on and off during trial fitting
- Adequate reduction on the occlusal (biting) surface to provide room for the porcelain without thinning it to the point of fracture
- Smooth, rounded transitions with no sharp internal angles that could concentrate stress in the finished crown
Tapered diamond burs are the preferred instruments for this step because they allow the dentist to control both the depth of reduction and the angle of the taper in a single motion. For more on how different bur types perform in clinical settings, see our comparison of diamond burs vs carbide burs.
Is Tooth Preparation Painful?
Local anesthesia is administered before preparation begins, so most patients feel only pressure and vibration during this step. The procedure itself typically takes 20 to 40 minutes depending on the tooth location and the amount of structure that needs to be removed.
Step 2: Taking the Dental Impression
Once the tooth is prepared, the dentist creates an accurate record of its shape and the surrounding teeth. This impression is sent to the dental laboratory where the crown will be fabricated.
The Two-Stage Impression Technique
Most dentists use a two-stage silicone impression technique to capture the preparation with high accuracy:
- Preliminary impression. A tray loaded with heavy-body silicone material is placed over the teeth to create a rough outline. The dentist then trims the impression to open relief channels and remove excess material from the preparation area.
- Final impression. A thin layer of light-body silicone is applied over the preliminary impression and the tray is reseated. The light-body material flows into fine details, capturing the exact contours of the preparation margin, the gum tissue, and the neighboring teeth.
In addition to the tooth impression, the dentist records the patient's bite relationship using a wax or silicone bite registration. This tells the laboratory how the upper and lower teeth come together, so the crown can be shaped to function correctly during chewing.
Digital Impressions
Some practices now use intraoral scanners instead of silicone trays. A small wand is moved around the mouth, capturing thousands of images that are stitched together into a precise 3D model. Digital impressions eliminate the need for physical trays and can be sent to the lab electronically, often reducing turnaround time.
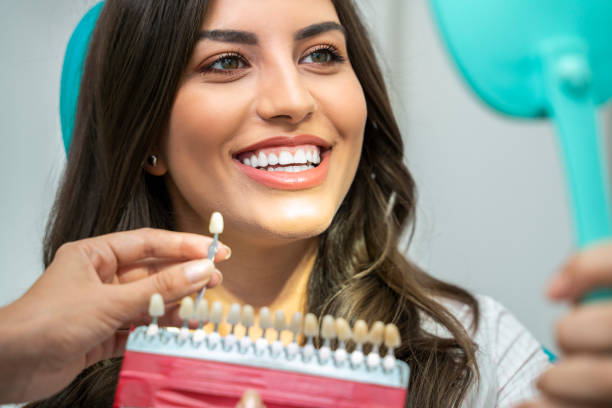
Step 3: Shade Matching
One of the most important steps for a natural-looking result is matching the porcelain color to the patient's existing teeth. This process requires careful observation and must be done under the right conditions.

How Shade Selection Works
The dentist uses a shade guide, a set of tooth-shaped porcelain tabs in a range of colors, to compare against the natural teeth. The comparison follows a structured approach:
- Determine the base shade by comparing the middle third of the adjacent teeth, as this zone best represents the overall color
- Assess the cervical (neck) region, which is typically darker and more saturated due to thinner enamel and proximity to the root
- Evaluate the incisal (biting edge) region, which often appears more translucent and lighter than the body of the tooth
Natural teeth are not a single uniform color. The neck, body, and biting edge each have distinct characteristics. A skilled ceramist uses this three-zone information to build color gradients into the porcelain that replicate the depth and vitality of a real tooth.
Shade matching should be done quickly and under natural daylight or color-corrected lighting. Prolonged staring at shade tabs causes the eye to adapt, reducing accuracy. Many offices also photograph the teeth with a standardized color reference card, giving the lab technician a visual record to work from.
Step 4: Laboratory Fabrication
With the impression and shade information in hand, the dental laboratory begins building the crown. The fabrication process varies depending on the type of porcelain system used, but the general workflow includes:
- Die preparation. The lab pours the impression in dental stone to create a plaster model. The prepared tooth is isolated as an individual die and trimmed to expose the margin.
- Coping fabrication. A thin inner shell, called a coping, is created from a high-strength material such as zirconia or lithium disilicate. This coping provides the structural backbone of the crown.
- Porcelain layering. The ceramist applies successive layers of porcelain powder mixed with liquid, building up the shape, color, and translucency. Each layer is fired in a porcelain furnace at temperatures between 850 and 1000 degrees Celsius.
- Glazing and finishing. A final glaze layer is applied and fired to create a smooth, lifelike surface with natural luster.
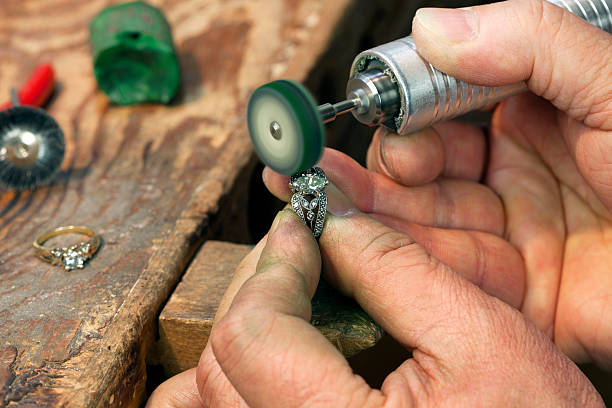
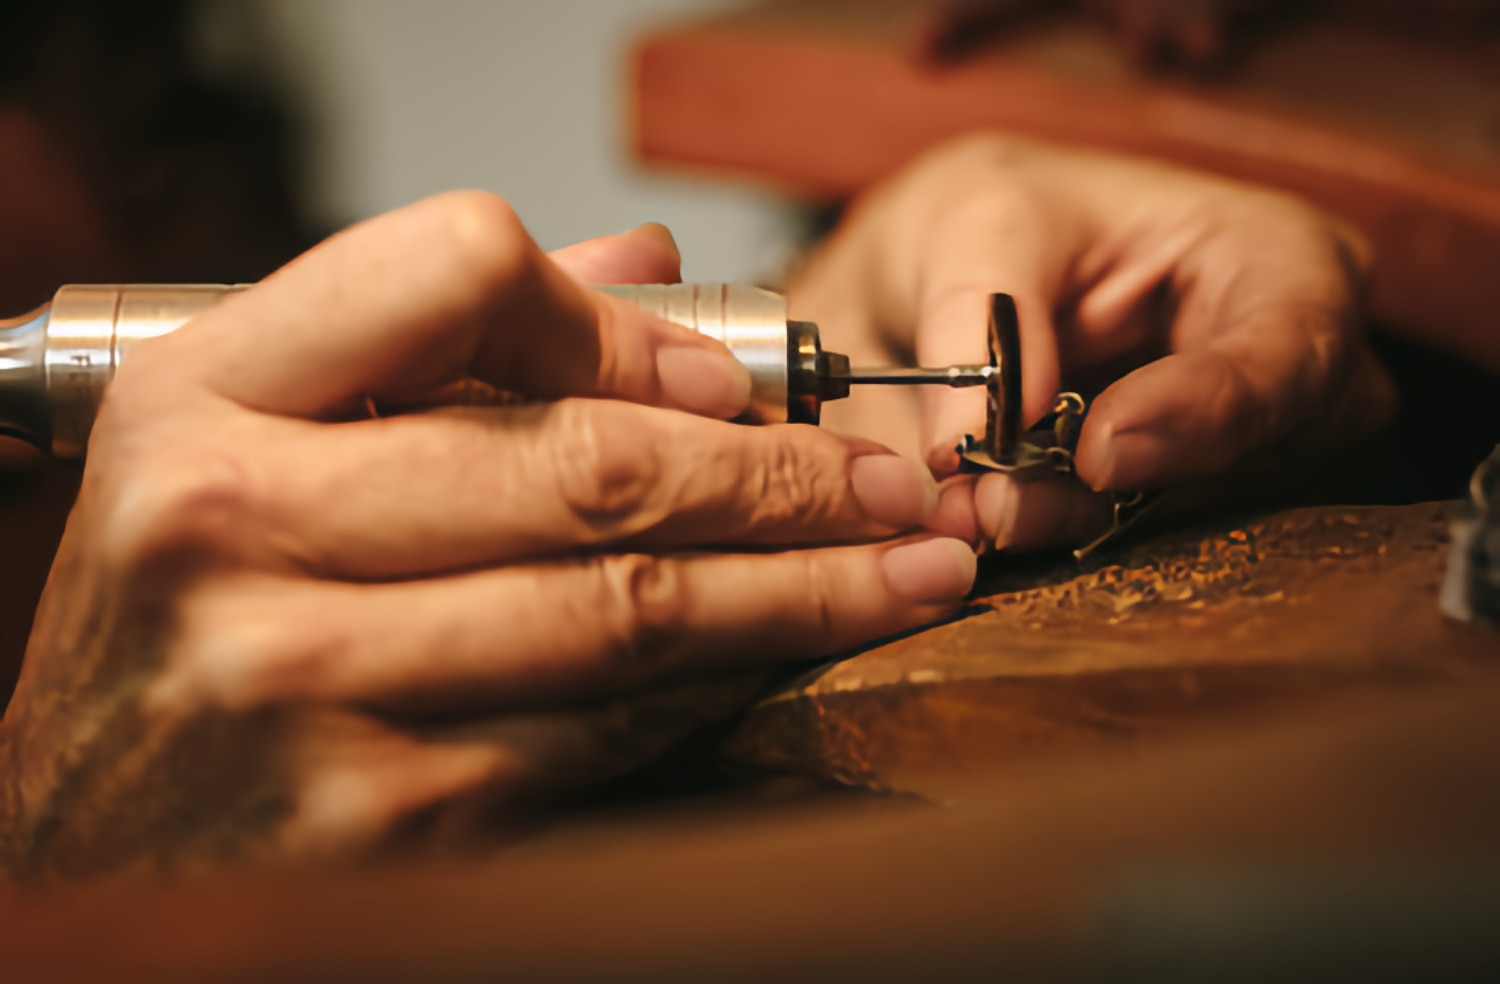
During fabrication, the laboratory technician uses specialized laboratory diamond burs to adjust the crown shape, refine contours, and ensure the margins fit the die precisely. This step demands extremely fine instruments that can remove small amounts of porcelain without chipping or cracking the material.
Step 5: Trial Fitting and Final Bonding
When the crown returns from the laboratory, the dentist performs a careful evaluation before permanently attaching it.
What the Dentist Checks
| Checkpoint | What Is Evaluated |
|---|---|
| Marginal fit | The crown edge seats flush against the preparation margin with no visible gap |
| Contact points | Proper tightness against neighboring teeth to prevent food packing |
| Occlusion | The crown meets the opposing teeth evenly during biting and lateral movements |
| Color match | The shade blends naturally with adjacent teeth under multiple lighting conditions |
| Shape and contour | The crown replicates the natural anatomy and supports healthy gum tissue |
If any adjustments are needed, the dentist uses fine-grit diamond burs and silicone rubber polishers to refine the crown chairside. Minor occlusal adjustments and contact point corrections are common and do not affect the long-term durability of the restoration.
Permanent Cementation
Once the fit is confirmed, the dentist bonds the crown in place using dental cement. The inner surface of the crown and the prepared tooth are treated with bonding agents, and the cement is applied. Excess cement is carefully removed, and the bite is checked one final time.
After cementation, patients can expect mild sensitivity for a few days as the tooth adjusts. Normal eating and oral hygiene can usually resume within 24 hours.
How Long Does a Porcelain Crown Last?
With proper care, a well-made porcelain crown typically lasts 10 to 15 years, and many last significantly longer. The longevity depends on oral hygiene habits, bite forces, and whether the patient grinds their teeth. Regular dental checkups allow the dentist to monitor the crown and catch any issues early.
Understanding each step of the porcelain crown process shows that the procedure is methodical, well-controlled, and far less uncomfortable than many patients expect. From the precision of tooth preparation to the artistry of shade matching and porcelain layering, every stage is designed to produce a restoration that looks, feels, and functions like a natural tooth.