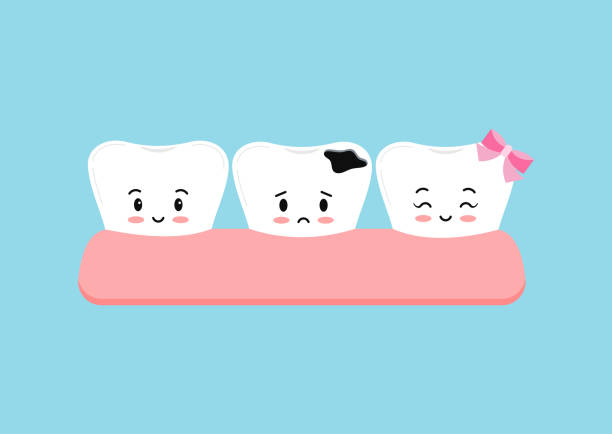
Cavity preparation is a foundational procedure in restorative dentistry. It involves removing decayed tooth structure and shaping the remaining cavity to receive and retain a filling material. When performed correctly, cavity preparation restores both the form and function of the affected tooth while preserving as much healthy tissue as possible.
This guide walks through each stage of the cavity preparation process, the instruments involved, and the principles that ensure long-lasting restorations.
What Is Cavity Preparation?
In clinical terms, a cavity preparation (or tooth preparation) is the mechanical alteration of a tooth to remove carious tissue and create a defined shape capable of supporting a restoration. The prepared cavity must meet specific criteria for retention, resistance, and cleanliness before any restorative material is placed.
The goal is straightforward: eliminate disease, protect the pulp, and create a stable foundation for the filling. Each step in the process builds on the previous one, and skipping or rushing any stage can compromise the final result.
Five Essential Steps of Cavity Preparation
Although cavity designs vary depending on the classification (Class I through Class VI), the fundamental workflow follows five sequential steps.
Step 1: Opening and Expanding the Cavity
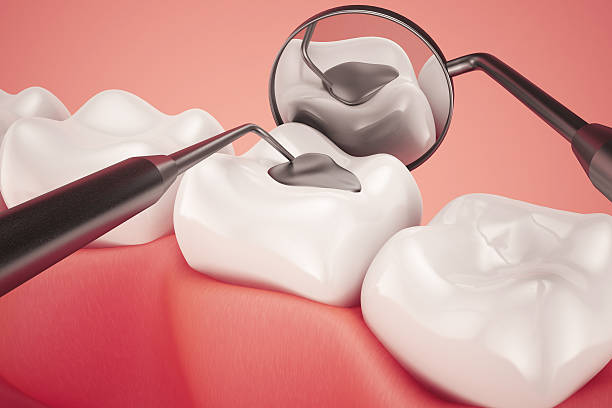
The first objective is to gain adequate access to the carious lesion. Many cavities are hidden beneath intact enamel or located in areas that are difficult to visualize directly. The clinician must create an opening that exposes the full extent of decay and provides a clear path for instrumentation.
Unsupported enamel at the cavity margins is removed using a fissure bur or diamond bur. The opening is extended along the lesion boundaries, or a groove is cut from one side to establish a working channel. The key principle here is visibility: if you cannot see the decay, you cannot remove it predictably.
Step 2: Caries Removal
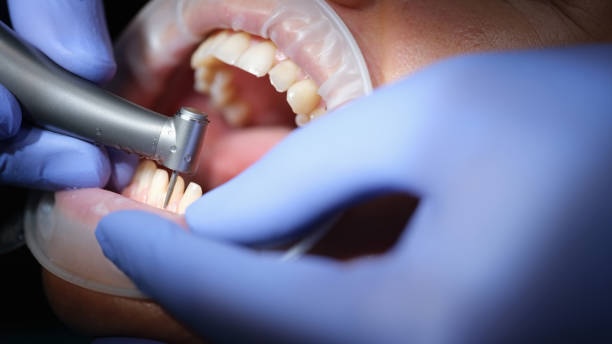
With the cavity fully exposed, the next priority is removing all infected dentin and debris. This step typically proceeds in a specific order:
- Gross removal: A spoon excavator clears food remnants and the bulk of soft, necrotic dentin from the cavity floor.
- Peripheral removal: A round diamond bur or carbide bur removes caries from the cavity walls and margins, ensuring clean enamel-dentin junctions.
- Floor cleanup: Remaining decay at the pulpal floor is carefully removed last, with particular caution near the pulp chamber.
In deep cavities, a thin layer of affected (but not infected) dentin near the pulp may be left in place to avoid pulp exposure. This decision depends on clinical judgment, the patient's symptoms, and radiographic findings. Using the correct bur type is critical at this stage. Tungsten carbide burs offer precise cutting control that helps preserve healthy tooth structure during caries excavation.
Step 3: Designing and Preparing the Cavity Shape

Once the decay is eliminated, the cavity must be shaped according to established principles. The outline form, which is the perimeter of the cavity at the tooth surface, should encompass all diseased tissue while extending to areas that are self-cleansing.
Two biomechanical principles govern the internal geometry of the preparation:
| Principle | Purpose | Features |
| Retention form | Prevents the restoration from being dislodged | Undercuts, grooves, converging walls, bonding surfaces |
| Resistance form | Prevents fracture of the tooth or restoration under load | Flat pulpal floor, adequate bulk, rounded internal angles |
The clinician must balance these requirements against the need to conserve healthy tooth structure. Over-preparation weakens the tooth, while under-preparation leads to restoration failure. Modern adhesive materials have shifted practice toward more conservative preparations, but the underlying principles remain relevant.
Step 4: Refining the Cavity and Cleaning
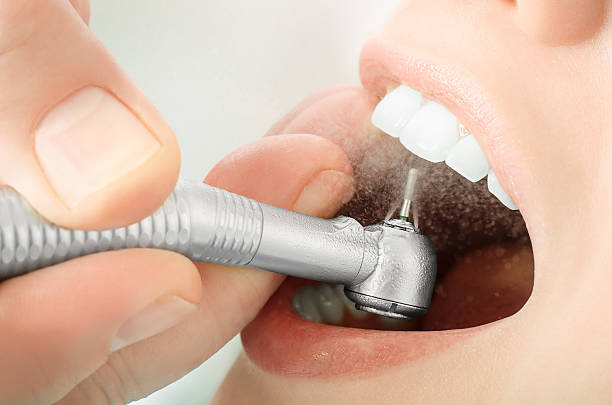
After the primary shaping is complete, the cavity undergoes a thorough inspection and refinement. The clinician checks several things during this stage:
- All carious dentin has been removed
- Retention and resistance forms meet requirements
- Cavity margins are smooth and well-defined
- Enamel rods at the margins are supported by underlying dentin
Any remaining unsupported enamel is trimmed with a finishing bur to align with the direction of the enamel prisms. The cavity walls are smoothed, internal line angles are rounded, and all dentin chips and debris are flushed out with water spray and gentle air drying.
This step is often underestimated, but meticulous finishing of the cavity margins directly affects the marginal seal and longevity of the restoration.
Step 5: Cavity Disinfection
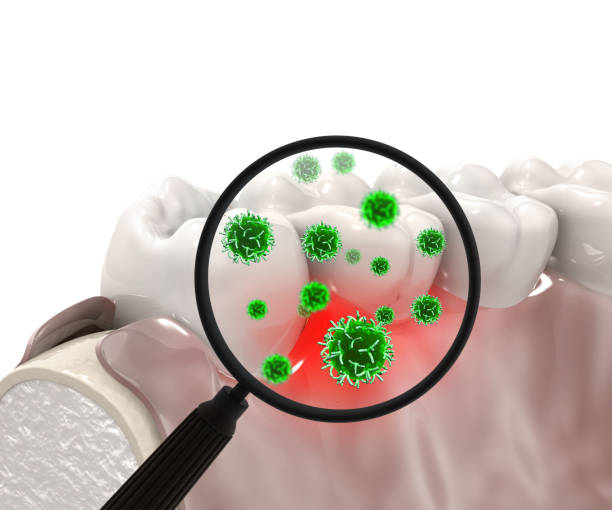
Even after thorough caries removal, a small number of bacteria remain within the dentinal tubules. Cavity disinfection aims to reduce this residual bacterial load before the restoration is placed.
Common disinfection agents include:
- Chlorhexidine gluconate (2%): Broad-spectrum antimicrobial that also inhibits matrix metalloproteinases, potentially improving bond durability.
- Sodium hypochlorite: Effective antimicrobial, though it may affect bond strength to dentin if not rinsed thoroughly.
- Cavity varnishes and liners: Provide a physical barrier and may contain antimicrobial agents such as calcium hydroxide.
It is worth noting that no currently available disinfectant can sterilize the prepared cavity without risking pulp damage. For this reason, thorough mechanical caries removal in the earlier steps is considered more important than chemical disinfection. Bacteria sealed beneath a well-adapted restoration in a clean cavity typically become inactive over time due to the lack of nutrients.
Instruments and Burs Used in Cavity Preparation
Successful cavity preparation depends on selecting the right instruments for each stage. The table below summarizes the most commonly used tools:
| Stage | Instrument / Bur | Function |
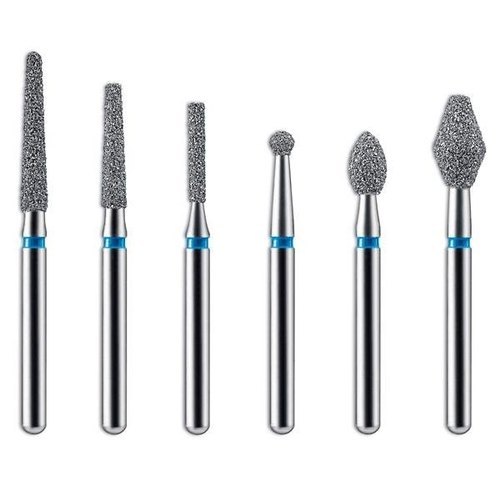
| Access opening | Fissure bur, diamond bur | Remove enamel, expose caries |
| Caries removal | Round bur, spoon excavator | Excavate soft and infected dentin |
| Shaping | Straight fissure bur, tapered bur | Establish cavity walls and floor |
| Finishing | Finishing bur, fine diamond bur | Smooth margins and refine form |
| Disinfection | Cotton pellet, micro-applicator | Apply disinfectant to prepared surfaces |
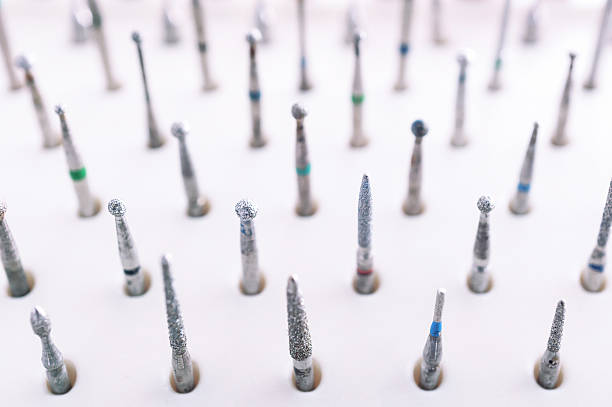
Understanding the role of each bur type helps clinicians work more efficiently and achieve better outcomes. For a deeper overview of bur selection, see our guide on dental bur types.
Common Mistakes to Avoid
Even experienced practitioners can fall into habits that compromise cavity preparation quality. Watch for these common pitfalls:
- Inadequate caries removal: Leaving infected dentin leads to recurrent decay beneath the restoration.
- Over-extension of the outline: Removing healthy tooth structure unnecessarily weakens the tooth.
- Ignoring enamel support: Unsupported enamel margins fracture under occlusal forces, breaking the marginal seal.
- Rushing the finishing step: Rough cavity margins create gaps that harbor bacteria and cause microleakage.
- Skipping disinfection: While mechanical removal is paramount, chemical disinfection provides an additional safety margin.
Choosing the Right Approach for Each Classification
Cavity preparations are classified according to the location and surfaces involved, following the system originally developed by G.V. Black. Class I preparations address pit and fissure caries on occlusal surfaces, while Class II preparations involve proximal surfaces of posterior teeth. Class III and IV preparations deal with proximal surfaces of anterior teeth, with Class IV extending to the incisal edge. Class V preparations target the gingival third of facial or lingual surfaces, and Class VI addresses cusp tips or incisal edges worn by attrition.
Each classification has unique outline form requirements and retention considerations. For example, Class II preparations require a proximal box with adequate depth to clear the adjacent tooth, while Class V preparations on smooth surfaces rely heavily on adhesive bonding rather than mechanical undercuts. Familiarity with these distinctions allows the clinician to adapt the five fundamental steps to any clinical situation encountered in daily practice.
Conclusion
Cavity preparation remains a skill that balances scientific knowledge with hands-on technique. Each of the five steps, from access to disinfection, serves a specific purpose in creating a restoration that protects the tooth and serves the patient for years to come. By selecting appropriate instruments, following established biomechanical principles, and paying close attention to detail at every stage, clinicians can consistently achieve predictable and durable results.